Burning wood is a common occurrence that happens when you light a match or turn on a stove. But have you ever wondered what happens to the wood when it burns? The answer lies in the chemical reaction that occurs between the wood and oxygen.
When wood burns, it undergoes a process called pyrolysis, which is the decomposition of organic matter by heat. During this process, the heat causes the wood to release volatile gases, such as methane and carbon monoxide. These gases ignite and produce a flame, which is what we see when wood burns.
Ragam Permainan yang Luas menjadi daya tarik utama IDN Poker terbaru. Dari Texas Hold’em hingga Omaha, pemain dapat menjelajahi berbagai variasi poker sesuai dengan tingkat keahlian dan preferensi mereka. Turnamen seru dan tantangan berhadiah besar juga menjadi bagian integral dari pengalaman bermain, menambah tingkat kompetitivitas dan keseruan di meja poker virtual. Bonus dan Promosi Menarik melengkapi pengalaman bermain di IDN Poker terbaru. Pemain dapat menikmati berbagai jenis bonus, termasuk bonus selamat datang, cashback, dan turnamen eksklusif dengan hadiah menggiurkan. Ini tidak hanya meningkatkan nilai hiburan, tetapi juga memberikan kesempatan tambahan untuk meraih kemenangan besar.
The chemical reaction of burning wood involves the combustion of the wood’s cellulose, hemicellulose, and lignin components. The cellulose and hemicellulose break down into simple sugars, which then undergo oxidation to produce carbon dioxide and water vapor. The lignin component of wood is more complex and produces a variety of compounds when burned, including carbon dioxide, carbon monoxide, and various organic compounds.
Understanding Combustion
When wood burns, it undergoes a chemical reaction known as combustion. This reaction involves the release of energy in the form of heat and light. Understanding the process of combustion is essential to understanding the chemical reaction of burning wood.
Role of Oxygen
One of the key components of combustion is oxygen. When wood burns, it reacts with oxygen in the air to produce carbon dioxide, water vapor, and other gases. This reaction is exothermic, which means it releases heat. The heat produced by the reaction is what causes the wood to continue burning.
Heat Production
The heat produced by combustion can be used for a variety of purposes. For example, it can be used to generate steam to power turbines in power plants. It can also be used to heat homes and buildings. The amount of heat produced by combustion depends on several factors, including the type of fuel being burned and the amount of oxygen present.
Overall, combustion is a complex chemical process that plays an important role in our daily lives. By understanding the role of oxygen and the heat production involved, you can gain a better understanding of the chemical reaction of burning wood.
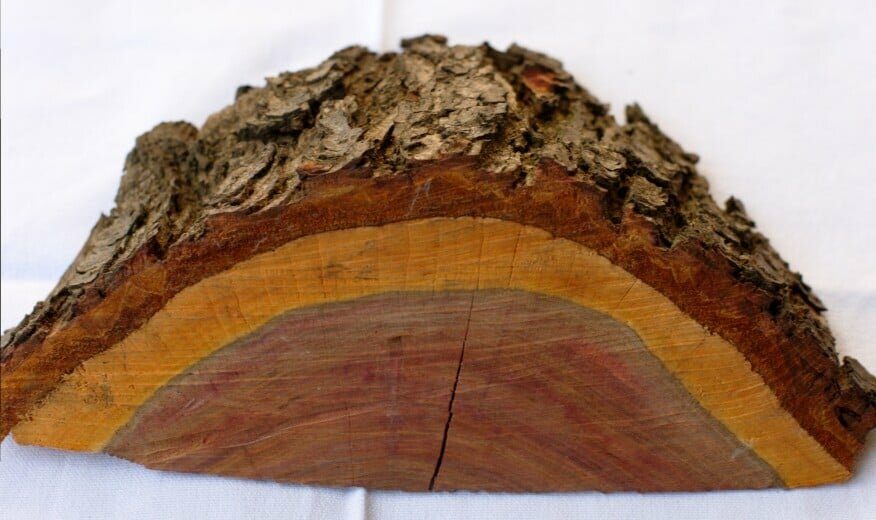
Chemistry of Wood

When wood burns, it undergoes a chemical reaction that releases energy in the form of heat and light. The chemical composition of wood is primarily made up of cellulose and lignin, which are two of the main components that determine how wood reacts when it is burned.
Cellulose and Lignin
Cellulose is a carbohydrate that makes up the majority of the wood’s composition, accounting for 40-50% of its total weight. It is a polymer made up of repeating units of glucose, which are linked together by beta-1,4-glycosidic bonds. Lignin, on the other hand, is a complex polymer that is responsible for giving wood its rigidity and strength. It makes up 18-35% of the wood’s composition and is composed of three main types of monomers: coniferyl, sinapyl, and p-coumaryl alcohols.
Salah satu daya tarik utama dari situs Slot88 adalah ragam permainan slot yang ditawarkan. Dengan ribuan judul slot dari berbagai penyedia perangkat lunak terkemuka, pemain dapat memilih dari berbagai tema dan fitur yang menarik. Dari slot klasik yang nostalgis hingga slot progresif dengan jackpot besar, Slot88 menyajikan pilihan yang memenuhi selera setiap pemain. Keberagaman bonus dan promosi juga menjadi keunggulan situs Slot88. Mulai dari bonus selamat datang, putaran gratis, hingga program loyalitas, pemain memiliki banyak kesempatan untuk meningkatkan kemenangan mereka dan memperpanjang waktu bermain. Bonus-bonus ini tidak hanya menambah nilai hiburan, tetapi juga memberikan insentif tambahan bagi para pemain yang setia.
When wood is burned, cellulose and lignin undergo a process called pyrolysis, which is the thermal decomposition of organic materials in the absence of oxygen. During this process, the high temperatures break down the complex molecules of cellulose and lignin into simpler molecules such as carbon dioxide, water vapor, and various organic compounds.
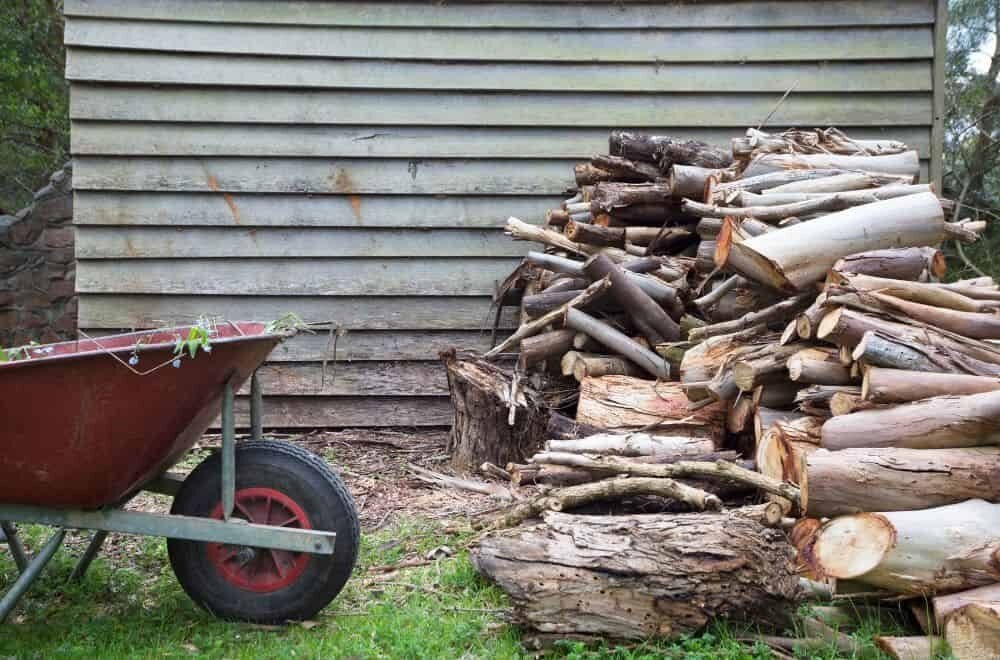
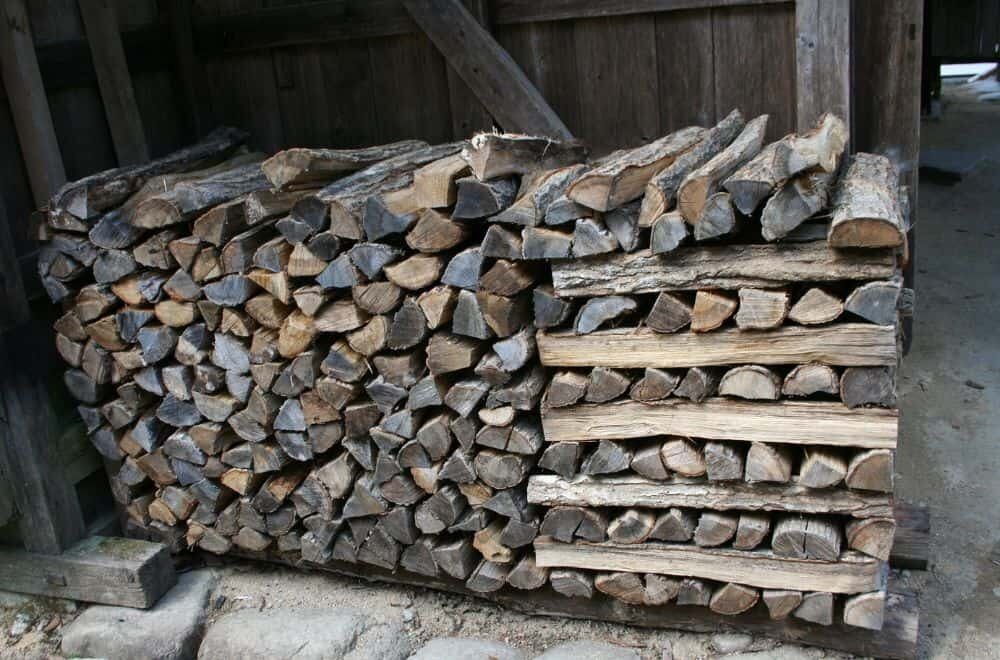
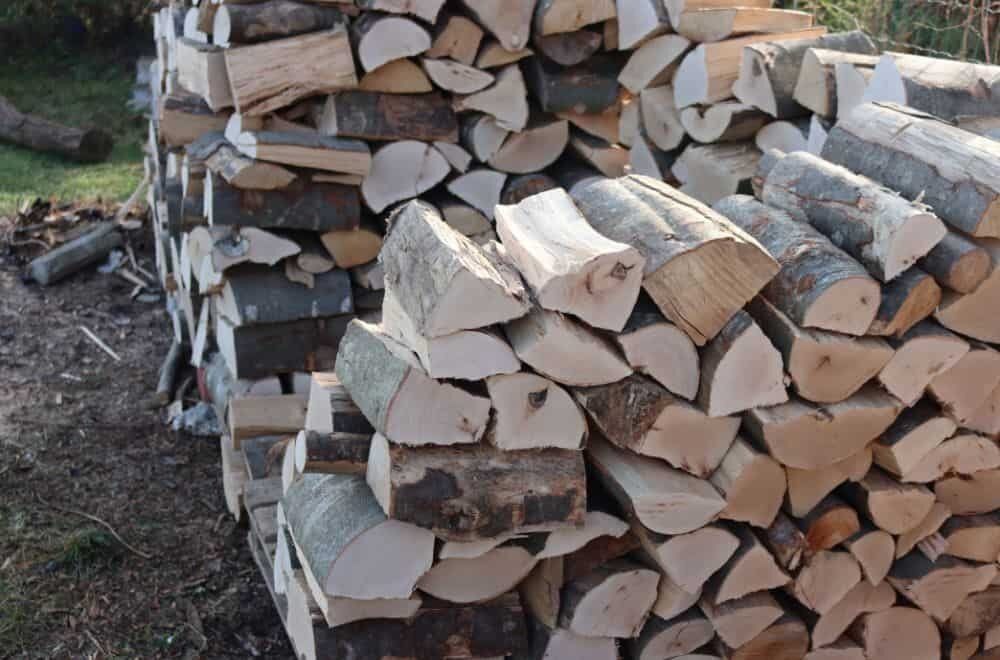
Moisture Content
The moisture content of wood also plays a critical role in how it burns. When wood is exposed to high temperatures, the water inside the wood evaporates, which requires a significant amount of energy. As a result, burning wet or green wood can be less efficient because a significant amount of energy is used to evaporate the water instead of producing heat.
In general, dry wood with a moisture content of less than 20% is ideal for burning because it produces more heat and burns more efficiently. In contrast, wood with a moisture content of more than 20% can be difficult to ignite and can produce more smoke and creosote, which can be hazardous to your health and can also increase the risk of chimney fires.
In conclusion, understanding the chemical composition of wood and its moisture content can help you to burn wood more efficiently and safely. By using dry wood with a low moisture content, you can maximize the heat output of your fire while minimizing the amount of smoke and pollutants that are released into the environment.
Stages of Wood Burning
When you burn wood, it goes through three distinct stages: Drying Stage, Gasification Stage, and Charcoal Burning Stage.
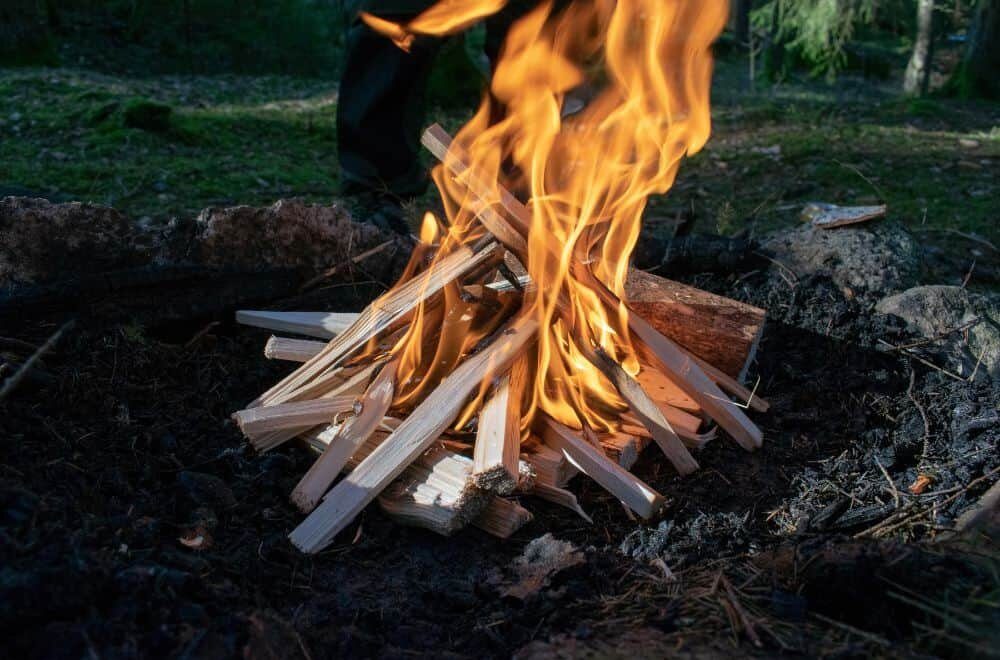
Drying Stage
During the Drying Stage, the moisture in the wood evaporates as it heats up. This stage is important because wet wood doesn’t burn efficiently. The Drying Stage is complete when the wood has lost all of its moisture and the temperature of the wood has risen to around 212°F (100°C).
Gasification Stage
During the Gasification Stage, the wood begins to break down into its component parts, releasing volatile gases like hydrogen, carbon monoxide, and methane. These gases mix with oxygen in the air and ignite, producing a flame. This is the stage where the majority of the heat is produced. The Gasification Stage is complete when all of the volatile gases have been released and burned.
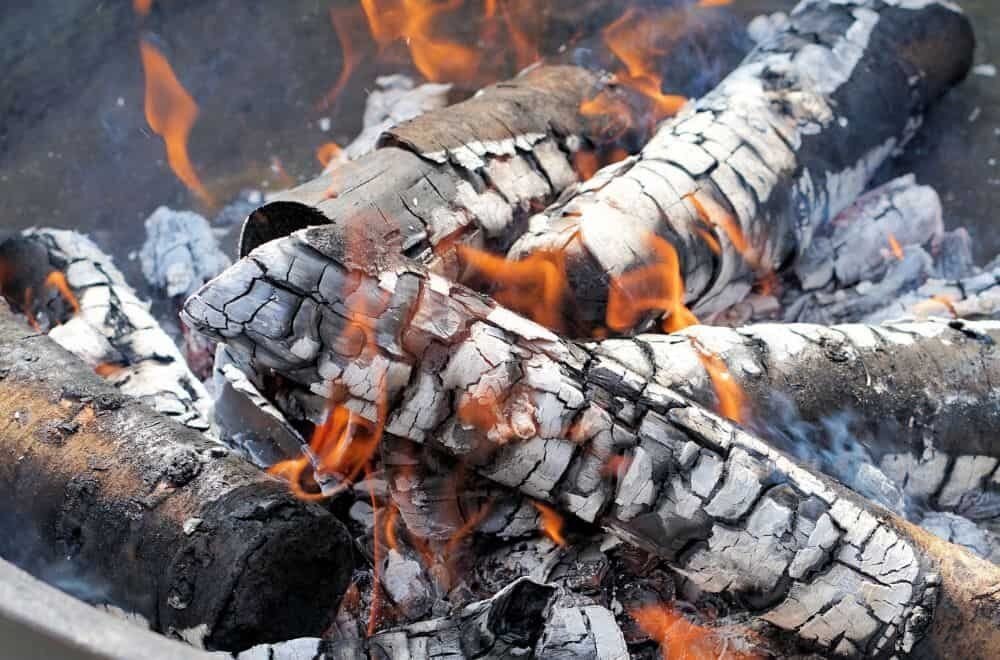
Charcoal Burning Stage
During the Charcoal Burning Stage, the remaining charcoal burns slowly and steadily, producing a low, steady heat. This stage is important because it produces a long-lasting heat source that can be used for cooking or heating. The Charcoal Burning Stage is complete when all of the charcoal has been burned.
Overall, the burning of wood is a complex chemical process that involves multiple stages. By understanding these stages, you can better control the fire and produce a more efficient burn.
Chemical Reactions Involved
When wood is burned, it undergoes various chemical reactions that release energy in the form of heat and light. The main components of wood are cellulose, hemicellulose, and lignin. Each of these components has a different chemical structure and undergoes a different reaction when burned.
Cellulose Decomposition
Cellulose is the most abundant component of wood, making up about 40-50% of its dry weight. It is a polymer of glucose molecules and has a complex structure that is difficult to break down. When cellulose is heated, it undergoes a process called pyrolysis, which breaks down the long chains of glucose into smaller molecules. The pyrolysis of cellulose can be represented by the following equation:
C6H10O5 (cellulose) + heat → 6C + 5H2O
As you can see, the pyrolysis of cellulose produces carbon (C) and water (H2O) as the main products. The carbon is left behind as a black residue, which is commonly known as charcoal.
Lignin Decomposition
Lignin is another important component of wood, making up about 20-30% of its dry weight. It is a complex polymer of phenylpropane units and has a highly cross-linked structure. When lignin is heated, it undergoes a process called depolymerization, which breaks down the complex structure into simpler molecules. The depolymerization of lignin can be represented by the following equation:
C9H10O3 (lignin) + heat → 3C + 3H2O + CO
As you can see, the depolymerization of lignin produces carbon (C), water (H2O), and carbon monoxide (CO) as the main products. The carbon is left behind as a black residue, similar to the residue produced by the pyrolysis of cellulose.
In summary, the burning of wood involves the decomposition of cellulose and lignin, which produces carbon, water, and carbon monoxide as the main products. The exact amounts of these products depend on various factors, such as the temperature and oxygen supply during the combustion process.
Byproducts of Burning Wood
When you burn wood, it undergoes a chemical reaction called combustion. This process releases various byproducts such as smoke and ash. In this section, we will explore these byproducts in detail.
Smoke
Smoke is the visible gas that is released when wood is burned. It is a complex mixture of gases and particles, some of which can be harmful to human health. The composition of smoke can vary depending on the type of wood being burned, the temperature of the fire, and the amount of oxygen available.
Some of the common components of wood smoke include carbon monoxide, nitrogen oxides, sulfur dioxide, and particulate matter. In addition, wood smoke contains a variety of volatile organic compounds (VOCs) such as benzene, toluene, and formaldehyde.
Exposure to wood smoke can cause a range of health problems, including respiratory irritation, headaches, and nausea. Long-term exposure to wood smoke can also increase the risk of developing lung cancer and other respiratory diseases.
Ash
Ash is the residue that remains after wood has been burned. It is composed of the non-combustible minerals and other inorganic compounds that were present in the wood. The composition of ash can vary depending on the type of wood being burned.
Ash can be used as a source of nutrients for plants and can also be used as a soil amendment. However, it is important to note that ash can also contain harmful substances such as heavy metals and other pollutants. As a result, it is important to use caution when handling and disposing of ash.
In conclusion, burning wood can release various byproducts such as smoke and ash. These byproducts can have both positive and negative effects on the environment and human health. It is important to use caution when burning wood and to properly handle and dispose of the resulting byproducts.
Environmental Impact
Burning wood can have a significant impact on the environment. Here are some of the ways it can affect the air, water, and soil:
Air Pollution
When wood is burned, it releases a variety of pollutants into the air, including carbon monoxide, nitrogen oxides, and particulate matter. These pollutants can have a negative impact on human health, particularly for people with respiratory conditions like asthma.
Wood smoke can also contribute to the formation of smog, which can make it difficult to breathe and can cause eye and throat irritation.
Climate Change
Burning wood releases carbon dioxide into the atmosphere, which contributes to climate change. While it is true that trees absorb carbon dioxide as they grow, burning wood releases that carbon back into the atmosphere, making it a net contributor to greenhouse gas emissions.
Additionally, the production and transportation of wood can also contribute to greenhouse gas emissions, particularly if the wood is harvested from forests that are not sustainably managed.
Water and Soil Pollution
Wood ash can be a source of nutrients for plants, but it can also be a source of pollution. If wood is burned with treated or painted wood, the ash can contain harmful chemicals like lead and arsenic.
Additionally, if wood ash is not disposed of properly, it can leach into the soil and water, potentially contaminating them.
Overall, while burning wood can be a renewable source of energy, it is important to consider the environmental impact before doing so. Properly managing forests and using sustainably harvested wood can help mitigate some of the negative effects, but it is important to be aware of the potential consequences.
Frequently Asked Questions
What are the products of burning wood?
When wood burns, it produces carbon dioxide, water vapor, and a variety of other compounds, depending on the type of wood and the conditions under which it is burned.
What happens chemically when wood burns?
The chemical reaction that occurs when wood burns is called combustion. During combustion, the oxygen in the air combines with the carbon, hydrogen, and other elements in the wood to form new compounds, such as carbon dioxide and water vapor. This reaction releases energy in the form of heat and light.
How does oxygen play a role in the burning of wood?
Oxygen is a key component in the combustion of wood. Without oxygen, the wood cannot burn. During combustion, the oxygen in the air combines with the carbon, hydrogen, and other elements in the wood to form new compounds.
What is the balanced chemical equation for the combustion of wood?
The balanced chemical equation for the combustion of wood is:
C6H12O6 + 6O2 → 6CO2 + 6H2O + energy
This equation shows that when wood burns, it reacts with oxygen to produce carbon dioxide, water vapor, and energy.
Is the burning of wood a chemical or physical change?
The burning of wood is a chemical change, not a physical change. During combustion, the chemical composition of the wood changes, and new compounds are formed.
What are the reactants involved in the burning of wood?
The reactants involved in the burning of wood are oxygen and the organic compounds that make up the wood, such as cellulose, hemicellulose, and lignin. When these compounds react with oxygen, they undergo combustion and produce carbon dioxide, water vapor, and energy.