Tag Archives: providing long-lasting protection

Is Rust-Oleum “Ebony” Wood Stain Black or Dark Brown? Find Out Here!

Is Rust-Oleum “Ebony” Wood Stain Black or Dark Brown? Find Out Here!

If you are looking for a dark wood stain, Rust-Oleum’s “Ebony” wood stain may be a great option for you. One common question people have about this product is whether it is black or really dark brown. The answer is that the Ebony wood stain is indeed very black in color.

When applied correctly, the Ebony wood stain can provide a beautiful, rich finish to your wooden furniture or other projects. However, it is important to properly prepare the wood before applying the stain in order to achieve an even, consistent color. This may involve sanding and water-popping the wood beforehand.

Understanding Wood Stains
understanding-wood-stains

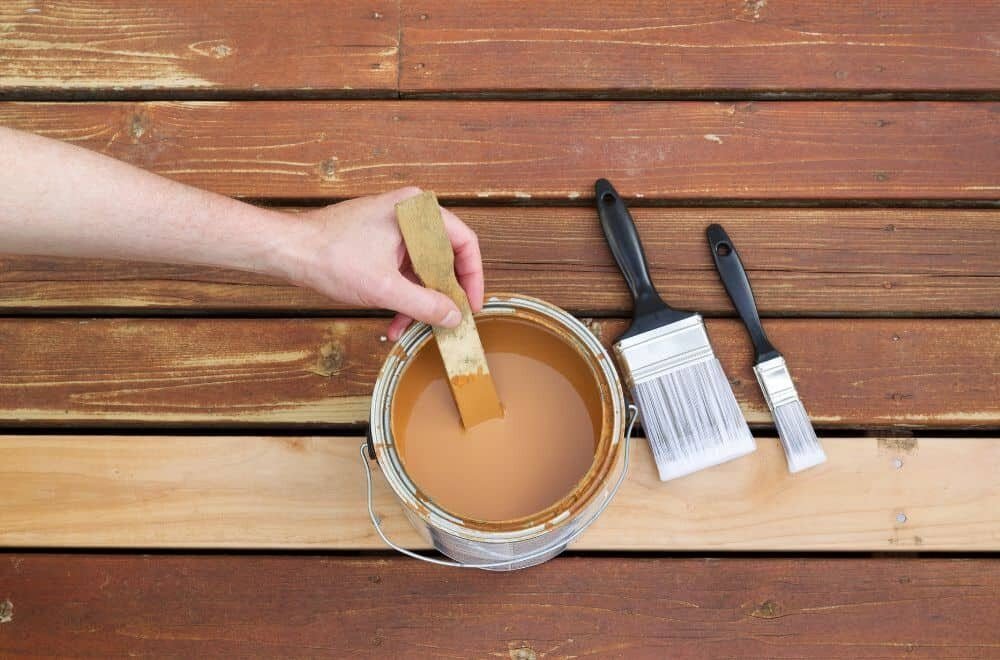
When it comes to choosing a wood stain, there are a few things to consider. Wood stains come in a variety of colors and shades, and it’s important to choose the right one to achieve the desired look. Rust-Oleum’s “Ebony” wood stain is a popular choice for those looking for a dark, rich color. But is it black or really dark brown?

Wood stains are designed to enhance the natural grain of the wood while adding color. The color of the stain is determined by the type of wood and the number of coats applied. The more coats applied, the darker the color will be. It’s important to note that the color of the stain may look different on different types of wood.

When choosing a wood stain, consider the following:

  • Type of wood: Different types of wood absorb stain differently, so it’s important to test the stain on a small area first to ensure the desired color is achieved.
  • Color: Choose a color that complements the existing decor or the desired look.
  • Transparency: Wood stains come in transparent, semi-transparent, and opaque options. Transparent stains allow the natural grain of the wood to show through, while opaque stains cover the wood completely.

Rust-Oleum’s “Ebony” wood stain is a very dark color that appears almost black. It’s a popular choice for those looking for a dramatic look. However, it’s important to note that the color may appear differently on different types of wood. It’s always a good idea to test the stain on a small area first to ensure the desired color is achieved.

In conclusion, choosing the right wood stain can make a big difference in the overall look of a project. Consider the type of wood, color, and transparency when making a decision. Rust-Oleum’s “Ebony” wood stain is a popular choice for those looking for a dark, rich color, but it’s important to test the stain on a small area first to ensure the desired color is achieved.

Rust-Oleum Ebony Wood Stain Overview

If you’re looking for a wood stain that will give your project a rich, dark finish, Rust-Oleum Ebony Wood Stain might be the perfect choice for you. This high-performance stain is designed to enhance the natural beauty of wood while providing exceptional coverage and fast drying times.

Rust-Oleum Ebony Wood Stain is a part of the Ultimate Wood Stain line and is recommended for use on interior wood projects such as furniture, cabinets, doors, trim, floors, and paneling. It is available in a quart size and can cover up to 275 square feet per quart.

One of the key features of Rust-Oleum Ebony Wood Stain is its unique base, which provides ultra-fast drying and recoat times. This means that you can complete your project much faster than with other wood stains. Additionally, the stain is enhanced with nano pigments that provide premium color quality in just one coat.

Another advantage of Rust-Oleum Ebony Wood Stain is that it does not require a wood conditioner, saving you time and money. The stain can be top-coated in just one hour, which means that you can finish your project quickly and move on to other tasks.

Overall, Rust-Oleum Ebony Wood Stain is an excellent choice for anyone looking for a high-quality, fast-drying wood stain that provides exceptional coverage and a beautiful, dark finish. Whether you’re a professional woodworker or a DIY enthusiast, this stain is sure to meet your needs and exceed your expectations.

Color Characteristics of Ebony
color-characteristics-of-ebony

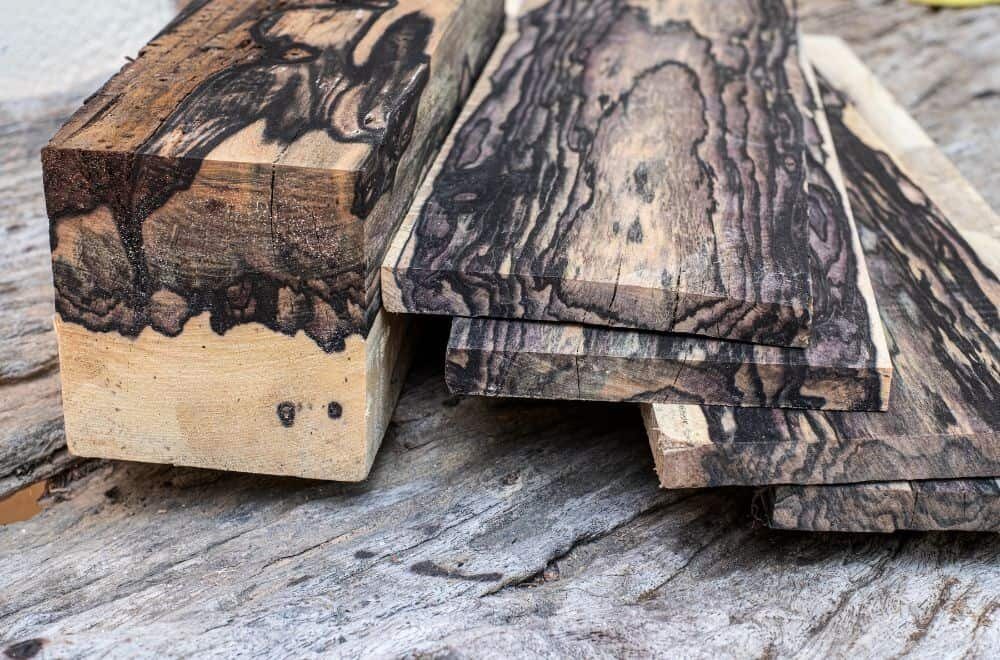
If you are looking for a dark and rich color for your wood, Ebony is an excellent choice. As the name suggests, Ebony wood stain is a very black stain that provides a deep and dramatic effect on your wood. The color is so dark that it almost appears black, but in certain lighting conditions, it can appear to be a very dark brown.

Ebony wood stain is ideal for those who want to make a statement with their woodwork. It is perfect for creating a bold and sophisticated look that will make your furniture or other wooden items stand out. It is also an excellent choice for those who want to create a classic and timeless look.

One of the benefits of using Ebony wood stain is that it enhances the natural beauty of the wood. It allows the wood grain to show through, which gives the wood a unique and beautiful texture. The stain also penetrates deeply into the wood, providing long-lasting protection against wear and tear.

In terms of color, Ebony wood stain is darker than other stains such as espresso or dark walnut. It is also darker than many other types of wood stains, making it an excellent choice for those who want to create a bold and dramatic effect. If you are looking for a rich and dark color for your wood, Ebony wood stain is an excellent choice.

Comparing Ebony to Black and Dark Brown

When it comes to wood stains, the terms “ebony,” “black,” and “dark brown” can be confusing. While they may seem similar, there are some differences between them that you should be aware of.

First, let’s talk about ebony. Ebony wood stain is a very dark, almost black stain that is typically used to create a dramatic effect. It is a popular choice for modern and contemporary designs and can be used on both interior and exterior wood surfaces.

Black wood stain, on the other hand, is a more general term that can refer to any stain that is black in color. It may not be as dark as ebony and may have a slightly different hue. Black wood stain is often used to create a sleek and modern look, but it can also be used for more traditional designs.

Dark brown wood stain is another option to consider. While it is not as dark as ebony or black, it can still create a rich, warm look that is perfect for traditional or rustic designs. Dark brown stain can also be used to highlight the natural grain of the wood.

When choosing between ebony, black, and dark brown wood stains, consider the overall look and feel you are trying to achieve. Ebony and black stains are great for creating a modern and dramatic look, while dark brown stains are better suited for traditional and rustic designs.

It is important to note that the exact color of a wood stain can vary depending on the type of wood it is applied to and the application method. Always test your stain on a small, inconspicuous area before applying it to the entire surface.

Factors Influencing the Perception of Ebony’s Color
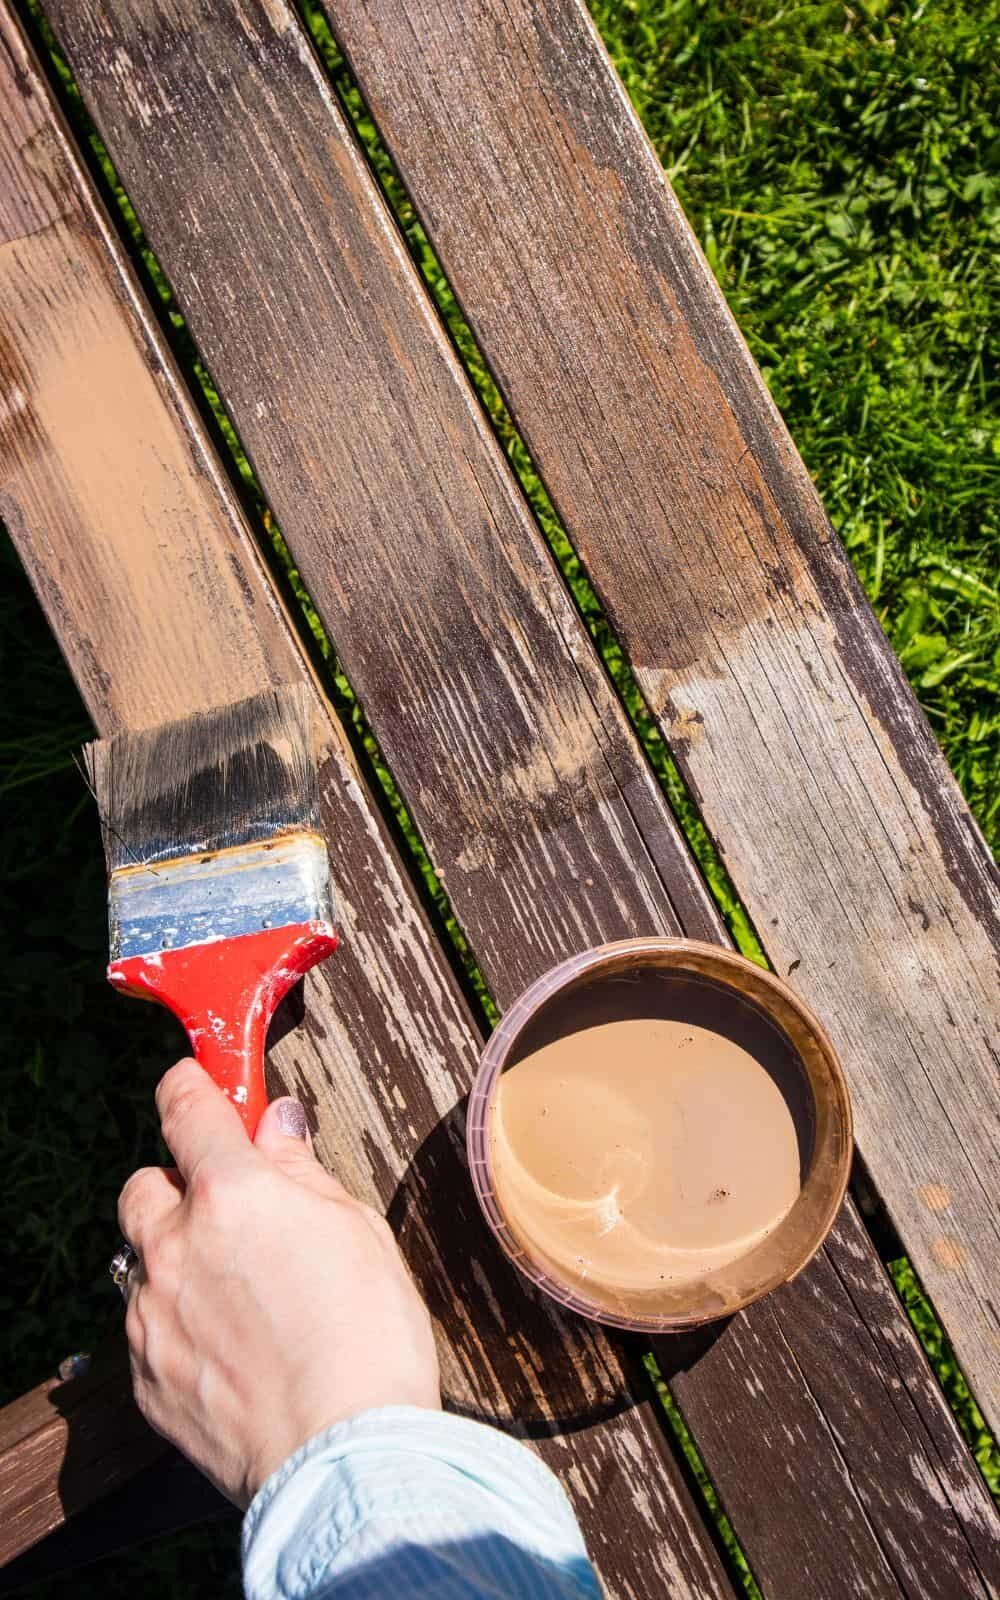
factors-influencing-the-perception-of-ebonys-color

The perception of color is influenced by various factors, including lighting conditions, the type of wood being stained, and the application method. These factors can affect the final color of Rust-Oleum “Ebony” wood stain, making it appear either black or really dark brown.

Lighting conditions play a significant role in how Ebony wood stain appears. Under bright lighting conditions, Ebony wood stain may appear black, while under low light conditions, it may appear dark brown. Therefore, it is essential to consider the lighting conditions of the room where the stained wood will be placed.

The type of wood being stained can also influence the final color of Ebony wood stain. Hardwoods such as oak and maple tend to absorb stain differently than softwoods such as pine and spruce. This can affect the final color of the stain, making it appear either black or dark brown.

The application method can also affect the final color of Ebony wood stain. Applying the stain with a brush or cloth can result in a darker color, while spraying the stain can result in a lighter color. Additionally, applying too much stain can result in a darker color, while applying too little can result in a lighter color.

In conclusion, the final color of Rust-Oleum “Ebony” wood stain can vary depending on various factors such as lighting conditions, wood type, and application method. It is essential to consider these factors when staining wood to achieve the desired color.

Practical Applications of Rust-Oleum Ebony Wood Stain

If you are looking for a wood stain that is black or really dark brown, Rust-Oleum Ebony Wood Stain is an excellent choice. This stain is perfect for a variety of applications, including furniture, cabinets, doors, trim, and paneling. Here are some practical applications of Rust-Oleum Ebony Wood Stain:

Furniture

Rust-Oleum Ebony Wood Stain is great for furniture. It can be used on all types of wood furniture, including tables, chairs, bookcases, and more. This stain will give your furniture a beautiful, rich color that will last for years.

Cabinets

If you want to give your cabinets a new look, Rust-Oleum Ebony Wood Stain is a great option. It can be used on all types of cabinets, including kitchen cabinets, bathroom cabinets, and more. This stain will give your cabinets a beautiful, rich color that will make them look like new.

Doors

Rust-Oleum Ebony Wood Stain is perfect for doors. It can be used on all types of doors, including interior doors, exterior doors, and more. This stain will give your doors a beautiful, rich color that will make them stand out.

Trim and Paneling

If you want to give your trim and paneling a new look, Rust-Oleum Ebony Wood Stain is a great option. It can be used on all types of trim and paneling, including baseboards, crown molding, wainscoting, and more. This stain will give your trim and paneling a beautiful, rich color that will make them stand out.

Overall, Rust-Oleum Ebony Wood Stain is a great choice for anyone who wants a wood stain that is black or really dark brown. It is perfect for a variety of applications, including furniture, cabinets, doors, trim, and paneling.

User Experiences with Rust-Oleum Ebony Wood Stain

user-experiences-with-rust-oleum-ebony-wood-stain

If you’re considering using Rust-Oleum Ebony Wood Stain for your next project, you may be wondering what other users have experienced. Here are a few user experiences to give you an idea of what to expect:

  • One user applied the stain to a wooden chair and found that it gave the chair a deep, rich black color. They were impressed with how easy it was to apply and the fact that it only required one coat.
  • Another user used the stain on a wooden table and found that it gave the table a very dark brown color rather than a true black. They noted that the color varied depending on the type of wood being stained and the number of coats applied.
  • A third user used the stain on a wooden dresser and was pleased with the results. They noted that the stain dried quickly and didn’t leave any streaks or blotches. They also appreciated that the stain didn’t have a strong odor.

Overall, users seem to be generally satisfied with Rust-Oleum Ebony Wood Stain. While the color may vary slightly depending on the type of wood and number of coats applied, it generally gives a deep, rich color. Additionally, users appreciate how easy it is to apply and the fact that it dries quickly.

Frequently Asked Questions

Is Rust-Oleum Ebony wood stain a true black color?

Yes, Rust-Oleum Ebony wood stain is a true black color. It is a deep, rich color that provides a classic, elegant look to any project.

Does Rust-Oleum Ebony wood stain have any brown undertones?

No, Rust-Oleum Ebony wood stain does not have any brown undertones. It is a pure black color that does not have any hints of brown.

What is the difference between Rust-Oleum Ebony wood stain and black wood stain?

There is no difference between Rust-Oleum Ebony wood stain and black wood stain. Ebony wood stain is a type of black wood stain that is named after the black wood of the ebony tree.

Will Rust-Oleum Ebony wood stain give a glossy or matte finish?

Rust-Oleum Ebony wood stain will give a matte finish. It is designed to enhance the natural beauty of the wood without adding any shine or gloss.

Can Rust-Oleum Ebony wood stain be used on all types of wood?

Yes, Rust-Oleum Ebony wood stain can be used on all types of wood. It is perfect for use on furniture, cabinets, doors, trim, floors, and paneling.

Is Rust-Oleum Ebony wood stain easy to apply and does it dry evenly?

Yes, Rust-Oleum Ebony wood stain is easy to apply and dries evenly. Its unique base provides ultra-fast dry and recoat time, and it is enhanced with Nano pigments to provide premium color quality in one coat.
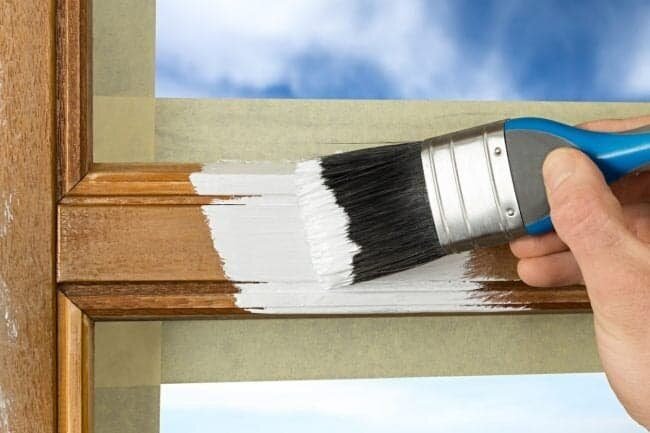
Can You Stain Over Painted Wood? A Quick Guide

Can You Stain Over Painted Wood? A Quick Guide

Are you tired of the look of your painted wood furniture or deck? Do you want to add some depth and character to your surfaces? If so, you may be wondering if you can stain over painted wood. The good news is that it is possible, but there are some important factors to consider before you start.

Firstly, it’s important to note that not all types of stain will work over painted wood. Regular wood stain requires the ability to penetrate the wood grain, which is not possible on a painted surface. Instead, you will need to use a gel stain that sits on top of the paint and does not require penetration. Additionally, the type of paint used on the surface will affect the success of staining over it. Oil-based paints will not allow the stain to adhere properly, while water-based paints are more compatible with gel stains.

Before you begin staining over painted wood, you will need to properly prepare the surface. This includes cleaning and sanding the surface to remove any dirt, debris, or glossy finish that could interfere with the stain. It’s also important to test a small, inconspicuous area first to ensure that the stain adheres properly and achieves the desired color. With the right materials and preparation, you can successfully stain over painted wood and transform the look of your surfaces.

Why Stain Over Painted Wood?

If you have a piece of furniture or a wooden deck that has been painted, you may be wondering if you can change its color without having to strip the paint. Staining over painted wood is a great solution for those who want to change the color of their wooden surfaces without having to go through the hassle of removing the old paint.

Staining over painted wood can also be a great way to add depth and texture to your wooden surfaces. Unlike paint, which sits on top of the wood, stain penetrates the wood fibers, highlighting the natural grain and texture of the wood. This can give your furniture or deck a more rustic and natural look.

Another advantage of staining over painted wood is that it can be a cost-effective way to update your wooden surfaces. Instead of buying new furniture or replacing your deck, you can simply stain over the existing paint to give it a fresh new look.

Staining over painted wood can also be a great way to protect your wooden surfaces from the elements. Most stains contain a sealant that can help protect the wood from moisture, UV rays, and other environmental factors that can cause it to deteriorate over time.

Overall, staining over painted wood can be a great way to update, protect, and enhance the natural beauty of your wooden surfaces.

Preparation for Staining Over Painted Wood

preparation-for-staining-over-painted-wood

Before you start staining over painted wood, it is essential to prepare the surface properly. This will ensure that the stain adheres well and provides an even finish. Here are two critical steps to follow when preparing a painted surface for staining:

Cleaning the Surface

The first step is to clean the painted surface thoroughly. This will remove any dirt, grime, or debris that may be on the surface. You can use a mild detergent and warm water to clean the surface. Make sure to rinse the surface well and let it dry completely before proceeding to the next step.

Sanding the Surface

The second step is to sand the painted surface lightly. This will help to remove any gloss or sheen from the surface and provide a rougher texture for the stain to adhere to. Use a fine-grit sandpaper (220 grit or higher) to sand the surface. Sand in the direction of the wood grain, and be careful not to sand too aggressively, as this can damage the surface.

After sanding, make sure to remove any dust or debris from the surface. You can use a tack cloth or a soft-bristled brush to remove any dust or debris. This will ensure that the surface is clean and ready for staining.

In summary, cleaning and sanding the painted surface are two critical steps to follow when preparing a surface for staining. By following these steps, you can ensure that the stain adheres well and provides an even finish.

Choosing the Right Stain

When it comes to staining over painted wood, choosing the right type of stain is crucial. There are three main types of stains to consider: oil-based, water-based, and gel stain. Each type has its own unique characteristics and benefits. Here’s what you need to know about each one:

Oil-Based Stain

Oil-based stains are the most commonly used type of stain for staining over painted wood. They are known for their durability and ability to penetrate deeply into the wood, providing long-lasting protection against the elements. Oil-based stains are also easy to apply and provide a beautiful, natural finish.

When choosing an oil-based stain, look for one that is specifically formulated for use on painted surfaces. This will ensure that the stain adheres properly and provides the best possible finish. Some popular oil-based stain brands include Minwax, Cabot, and Olympic.

Water-Based Stain

Water-based stains are another option for staining over painted wood. They are known for their ease of use and fast drying time. Water-based stains are also environmentally friendly and offer a wide range of color options.

When choosing a water-based stain, look for one that is specifically formulated for use on painted surfaces. This will ensure that the stain adheres properly and provides the best possible finish. Some popular water-based stain brands include Varathane, General Finishes, and Minwax.

Gel Stain

Gel stains are a thicker, more viscous type of stain that can be used to achieve a variety of finishes, from a natural wood look to a painted look. They are easy to apply and provide great coverage, making them a popular choice for DIY projects.

When choosing a gel stain, look for one that is specifically formulated for use on painted surfaces. This will ensure that the stain adheres properly and provides the best possible finish. Some popular gel stain brands include General Finishes, Minwax, and Varathane.

Overall, when choosing a stain for staining over painted wood, it’s important to consider the type of wood you’re working with, the look you want to achieve, and the level of protection you need. With the right stain and proper application techniques, you can transform your painted wood surfaces into beautiful, long-lasting works of art.

Staining Process

staining-process

Staining over painted wood is possible, but it requires a different process than staining unfinished wood. Here are the steps to follow when staining over painted wood:

Applying the Stain

  1. Choose a gel stain that matches your desired color. Gel stains are thicker and adhere better to painted surfaces than regular stains.
  2. Apply the gel stain with a brush or rag, working in the direction of the grain.
  3. Be sure to apply the stain evenly and avoid overlapping strokes to prevent blotches or streaks.

Wiping Off Excess Stain

  1. After applying the stain, wait a few minutes before wiping off any excess with a clean rag.
  2. Be sure to wipe off all excess stain to prevent it from drying and creating a sticky or tacky surface.
  3. Use a dry brush or rag to remove any leftover stain from corners or crevices.

Drying Time

  1. Allow the stain to dry completely before applying a topcoat or sealant.
  2. The drying time will vary depending on the type of stain and the humidity and temperature of the environment.
  3. Be patient and avoid touching or disturbing the surface until the stain is completely dry.

Staining over painted wood can be a great way to update the look of your furniture or home decor. Just be sure to follow the proper process to achieve a beautiful and long-lasting finish.

Post-Staining Care

After staining your painted wood, it’s essential to take proper care of the finish to ensure it lasts for years to come. Here are some post-staining care tips to keep in mind:

Sealing the Stain

To protect your newly stained surface, it’s crucial to seal the stain with a clear coat. This will help prevent the stain from fading or chipping away over time. Here are some tips for sealing your stain:

  • Wait at least 24 hours after staining before applying a clear coat.
  • Use a high-quality brush or roller to apply the clear coat evenly.
  • Apply two to three coats of clear coat, allowing each coat to dry completely before applying the next.
  • Sand lightly between coats to ensure a smooth finish.

Maintaining the Finish

To keep your stained surface looking great, it’s essential to maintain the finish regularly. Here are some tips for maintaining your stained surface:

  • Avoid using harsh chemicals or abrasive cleaners on your stained surface, as this can damage the finish.
  • Clean your stained surface regularly with a mild soap and water solution.
  • Avoid leaving standing water on your stained surface, as this can cause water damage.
  • Use furniture pads or coasters to protect your stained surface from scratches and dents.
  • If you notice any damage or wear on your stained surface, address it promptly to prevent further damage.

By following these post-staining care tips, you can ensure that your stained painted wood looks great and lasts for years to come.

Frequently Asked Questions

Can you apply gel stain over painted wood?

Yes, you can apply gel stain over painted wood. However, it’s important to prepare the surface of the wood properly before applying the gel stain. This includes cleaning the surface thoroughly and sanding it lightly to create a rough surface for the stain to adhere to.

Is it possible to stain over primer?

Yes, it’s possible to stain over primer. However, it’s important to use a high-quality primer that is compatible with the stain you plan to use. Additionally, you should ensure that the primer is completely dry before applying the stain.

What are some popular wood stain colors?

Some popular wood stain colors include dark walnut, ebony, provincial, and weathered gray. However, the best color for your project will depend on your personal preferences and the type of wood you are staining.

Can solid stain be applied over paint?

Yes, solid stain can be applied over paint. However, it’s important to prepare the surface of the wood properly before applying the stain. This includes cleaning the surface thoroughly and sanding it lightly to create a rough surface for the stain to adhere to.

How can I achieve an antique look by staining over paint?

To achieve an antique look by staining over paint, you can use a technique called “dry brushing.” This involves lightly brushing the stain onto the surface of the painted wood, then using a dry brush to remove some of the stain, leaving behind a subtle, antique-looking finish.

Can you use stain over paint on exterior surfaces?

Yes, you can use stain over paint on exterior surfaces. However, it’s important to use a high-quality stain that is designed to withstand outdoor conditions. Additionally, you should ensure that the surface of the wood is properly prepared before applying the stain.

Ready Seal Wood Stain/Sealer: One Coat or Two?

Ready Seal Wood Stain/Sealer: One Coat or Two?

Are you wondering whether you need to use one or two coats of Ready Seal wood stain/sealer? While one coat may be sufficient in some cases, it is generally recommended to use two coats for the best results. Applying two coats will create a consistent, long-lasting finish that will protect your exterior wood surfaces.

Situs kami juga sangat mudah digunakan. Dengan antarmuka yang user-friendly, Anda dapat dengan cepat mengakses data Macau 4D kapan saja dan di mana saja. Kami memahami betapa pentingnya kecepatan dan efisiensi dalam dunia toto, sehingga kami berkomitmen untuk memberikan layanan yang cepat dan responsif. Selain itu, tim kami selalu siap sedia data macau 4d untuk membantu Anda dengan segala pertanyaan atau kebutuhan yang mungkin Anda miliki.

If the wood surface is rough or porous, or if you are applying the Ready Seal to a large area, it is especially important to use two coats. This will ensure that the wood is fully covered and protected from the elements. However, if the wood is brand new or smooth-milled, it may only require one coat initially, as it takes a few years for the pores of the wood to fully open up.

Ultimately, the number of coats you need to apply will depend on the condition of your wood surface and the size of the area you are covering. By following the recommended guidelines and using the appropriate number of coats, you can ensure that your wood surfaces are protected and look their best for years to come.

Understanding Ready Seal Wood Stain/Sealer

What Is Ready Seal Wood Stain/Sealer?

Ready Seal is a wood stain and sealer that is designed to protect and enhance the natural beauty of wood. It is a unique blend of oil-based stains and sealers that penetrate deep into the wood fibers, providing long-lasting protection against the elements. Ready Seal is easy to apply and dries quickly, making it an ideal choice for both professional contractors and do-it-yourselfers.

Benefits of Using Ready Seal Wood Stain/Sealer

Using Ready Seal wood stain/sealer has many benefits. Here are a few:

  • Two coats of Ready Seal are recommended for best results. This will create a consistent, long-lasting finish that will protect your wood from the elements.
  • Ready Seal is available in a wide range of colors, so you can choose the one that best complements your home’s exterior.
  • Ready Seal is easy to apply. You can use a brush, roller, or sprayer to apply it to your wood surface.
  • Ready Seal is designed to be used on all types of exterior wood surfaces, including decks, fences, siding, and more.
  • Ready Seal is formulated to stain and seal your projects, all in one step. This means you don’t have to apply a separate sealer after staining your wood.

In summary, using Ready Seal wood stain/sealer is a great way to protect and enhance the natural beauty of your wood surfaces. With its easy application and long-lasting protection, it’s no wonder that Ready Seal is a popular choice among homeowners and contractors alike.

The Recommendation of Two Coats

When it comes to applying Ready Seal wood stain/sealer, it is recommended to use two coats for the best results. In this section, we will explore why two coats are recommended and the impact of using two coats on wood protection.

Why Two Coats Are Recommended

Using two coats of Ready Seal wood stain/sealer ensures that the wood is fully covered and protected. The first coat penetrates the wood and prepares it for the second coat. The second coat provides a consistent finish and adds an extra layer of protection against weathering and UV rays.

Jangan lewatkan kesempatan untuk meningkatkan strategi permainan Anda dengan data SGP terpercaya dari situs toto slot resmi kami. Bergabunglah dengan komunitas kami sekarang dan rasakan perbedaan dalam cara Anda bermain dan menang. Dengan data yang akurat dan layanan yang prima, Anda dapat meraih kemenangan lebih sering di situs toto dan menikmati setiap momen permainan. Daftar sekarang dan nikmati keuntungan dari live draw SGP yang akurat dan cepat!

Another reason why two coats are recommended is that it allows you to achieve a more even finish. If you only apply one coat, you may end up with uneven areas that are more prone to wear and tear.

The Impact of Two Coats on Wood Protection

Using two coats of Ready Seal wood stain/sealer can significantly improve the protection of your wood. The first coat penetrates the wood and seals it from the inside out. The second coat provides an extra layer of protection that helps to prevent moisture from penetrating the wood.

By using two coats, you can also extend the life of your wood. The extra layer of protection helps to prevent damage from weathering, UV rays, and other environmental factors that can cause wood to deteriorate over time.

In summary, using two coats of Ready Seal wood stain/sealer is recommended for the best results. It provides a more even finish and improves the protection of your wood. By following this recommendation, you can ensure that your wood stays in great condition for years to come.

One Coat Application

one-coat-application

If you’re wondering whether one coat of Ready Seal is enough for your wood staining project, the answer is: it depends. In some cases, one coat is sufficient, while in others, it may be necessary to apply two coats for optimal results.

When Is One Coat Sufficient?

If you’re staining a new, smooth wood surface, one coat of Ready Seal may be enough. This is because the wood is less porous and will absorb the stain more evenly. Additionally, if you’re looking for a lighter, more natural finish, one coat may be enough to achieve the desired look.

Pros and Cons of One Coat Application

There are both advantages and disadvantages to applying only one coat of Ready Seal. Here are a few to consider:

Pros

  • Saves time and money: Applying only one coat will save you time and money on materials.
  • Natural look: If you’re looking for a more natural, subtle finish, one coat may be sufficient.

Cons

  • Less protection: One coat of stain may not provide enough protection for your wood surface, leaving it vulnerable to damage from the elements.
  • Uneven coverage: Depending on the type of wood and the application method, one coat may result in uneven coverage and an inconsistent finish.

Ultimately, the decision to apply one or two coats of Ready Seal will depend on your specific project and preferences. Consider the type of wood you’re staining, the look you want to achieve, and the level of protection you need before making your decision.

Comparison Between One Coat and Two Coats

When it comes to applying Ready Seal wood stain/sealer, you may be wondering if you should use one coat or two. While one coat may seem like a quicker and more cost-effective option, there are benefits to using two coats as recommended. In this section, we will compare the durability, cost-effectiveness, and time consumption of using one coat versus two coats.

Durability

One of the main benefits of using two coats of Ready Seal is increased durability. The second coat helps to provide an extra layer of protection against weathering, UV rays, and other environmental factors. This means that your wood will be better protected and will last longer with two coats of Ready Seal rather than just one.

Cost Effectiveness

While using two coats of Ready Seal may seem more expensive upfront, it can actually be more cost-effective in the long run. With two coats, your wood will be better protected and will require less maintenance over time. This means that you may save money on repairs and replacements in the future.

Time Consumption

Using two coats of Ready Seal will take more time than using just one coat. However, the extra time spent applying the second coat can be worth it in the long run. With two coats, you will have better protection and a longer-lasting finish on your wood.

In summary, while using one coat of Ready Seal may seem like a quicker and more cost-effective option, using two coats can provide increased durability, cost-effectiveness, and a longer-lasting finish. Consider these factors when deciding whether to use one coat or two.

Application Tips for Ready Seal Wood Stain/Sealer

application-tips-for-ready-seal-wood-stainsealer

When applying Ready Seal Wood Stain/Sealer, it is essential to follow the manufacturer’s recommendations to achieve the desired results. Here are some tips to help you apply Ready Seal Wood Stain/Sealer effectively:

1. Prepare the Surface

Before applying Ready Seal, make sure the surface is clean, dry, and free of any dust, dirt, or other debris. If the surface is rough, sand it down to a smooth finish. If the wood is new, allow it to weather for at least six months before applying Ready Seal.

2. Apply the Stain/Sealer

When applying Ready Seal, it is recommended to use a brush, roller, or sprayer. Pour the stain/sealer into a paint tray or bucket and start applying it to the wood surface. Make sure to apply it evenly and avoid overlapping the strokes.

3. Use Two Coats

While Ready Seal can be applied in a single coat, it is recommended to use two coats for the best results. The second coat will provide better protection and coverage, especially on rough or weathered wood.

4. Pour Carefully

When pouring Ready Seal into a paint tray or bucket, make sure to pour it slowly and carefully. Pouring too fast can cause the stain/sealer to splash and spill, which can be difficult to clean up.

5. Avoid Over-Spraying

When using a sprayer to apply Ready Seal, make sure to use a cardboard or spray shield to control overspray. Overspraying can cause the stain/sealer to coat unintended areas, which can be difficult to remove.

By following these tips, you can ensure that your Ready Seal Wood Stain/Sealer application is effective and long-lasting.

Frequently Asked Questions

How many coats of wood sealer should I use?

The number of coats of wood sealer you should use depends on the type of wood and the condition of the surface. In general, it is recommended to apply two coats of sealer to achieve a consistent, long-lasting finish.

Is one coat of Ready Seal enough?

While one coat of Ready Seal may be sufficient for some projects, it is recommended to use two coats for best results. This will ensure that the surface is adequately protected and that the color is consistent.

Does Ready Seal require two coats?

Yes, it is recommended to use two coats of Ready Seal on exterior wood surfaces. This will create a consistent, long-lasting finish. If the wood surface is rough, or if you are applying the Ready Seal to a large area, it is especially important to use two coats.

How many coats of stain and sealer do I need?

To achieve the best results, it is recommended to use two coats of stain and sealer on exterior wood surfaces. This will create a consistent, long-lasting finish.

What is the coverage of Ready Seal?

The coverage of Ready Seal will vary depending on the type of wood and the condition of the surface. On average, one gallon of Ready Seal will cover approximately 150-200 square feet with one coat.

What are the available colors of Ready Seal?

Ready Seal is available in a variety of colors, including natural cedar, pecan, dark walnut, redwood, light oak, mahogany, burnt hickory, and mission brown.