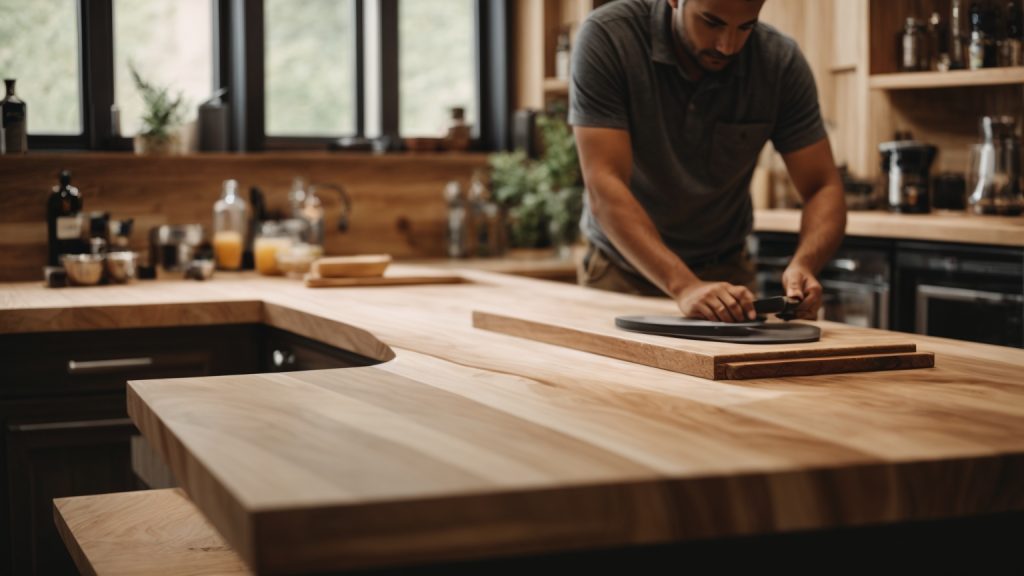
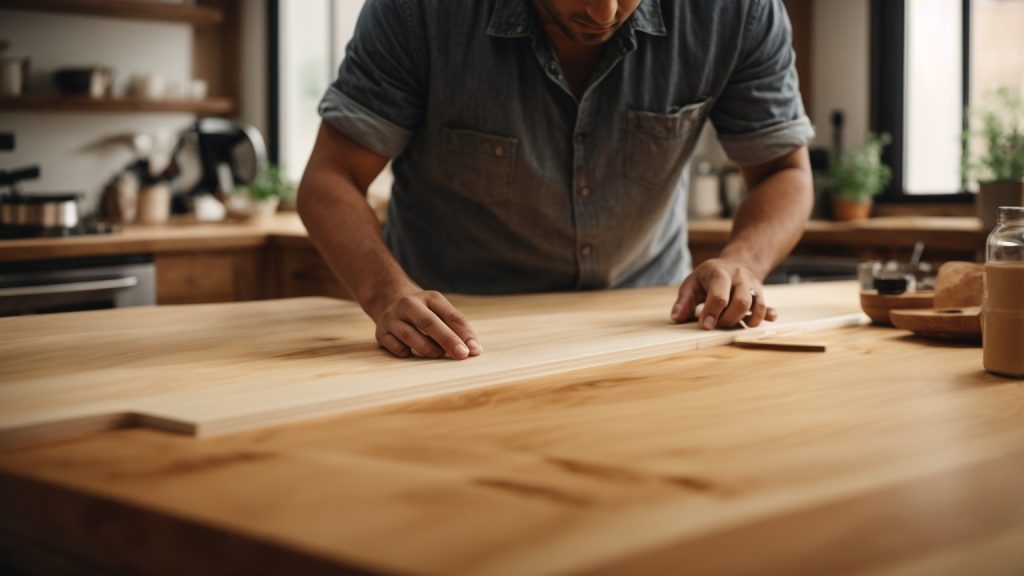
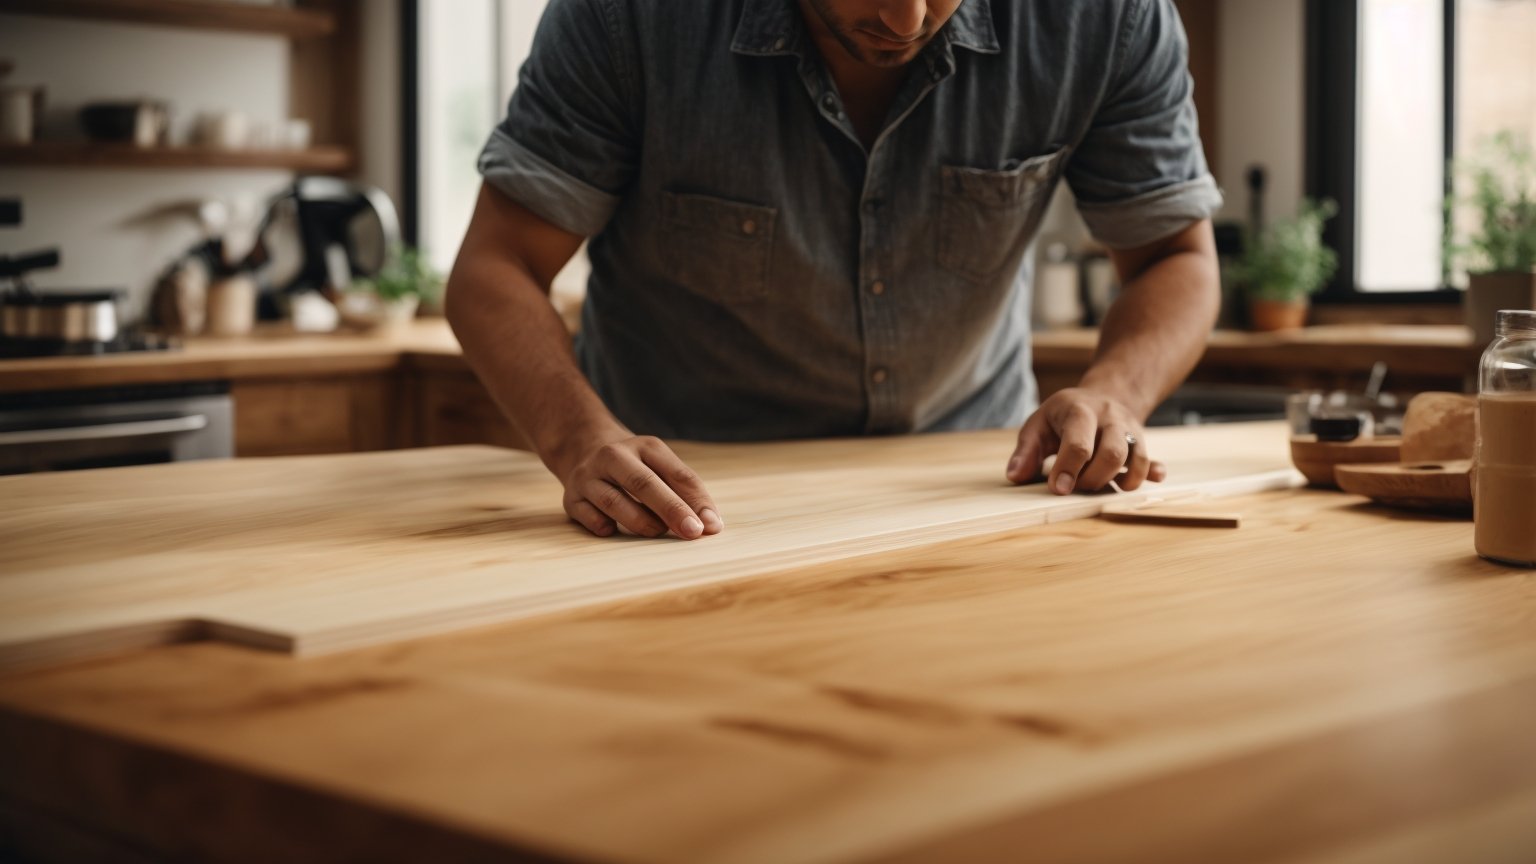
Looking to upgrade your kitchen countertops? Wooden countertops can add warmth and character to your kitchen while also being a practical choice. In this article, we will guide you through the steps of installing a wooden countertop in your kitchen.
First, it’s important to choose the right type of wood for your countertop. Hardwoods such as maple, oak, and cherry are popular choices for their durability and natural beauty. Once you have selected your wood, you will need to measure the dimensions of your countertop space and order a custom-sized countertop. Alternatively, you can purchase pre-made wooden countertops and cut them to size yourself.
Next, you will need to prepare your kitchen for the installation process. This may include removing your old countertops, making any necessary repairs to the underlying cabinets, and ensuring that the cabinets are level and secure. With the proper tools and techniques, installing a wooden countertop can be a DIY project that can greatly enhance the look and functionality of your kitchen.
Understanding Wooden Countertops

Wooden countertops are a popular choice for both their aesthetic appeal and durability. They can add warmth and character to a kitchen, and with proper care, can last for many years. However, before you decide to install a wooden countertop, there are a few things to consider.
Types of Wood
There are many types of wood that can be used for countertops, each with its own unique characteristics. Some popular choices include:
- Maple: A hard, durable wood with a fine grain and light color.
- Cherry: A softer wood with a warm, reddish-brown color that darkens over time.
- Walnut: A dark, rich wood with a distinctive grain pattern.
- Oak: A strong, durable wood with a prominent grain pattern.
Pros and Cons
Wooden countertops have both advantages and disadvantages. Some pros include:
- Aesthetic appeal: Wooden countertops can add warmth and character to a kitchen.
- Durability: With proper care, wooden countertops can last for many years.
- Repairability: Scratches and dents can be sanded out and resealed.
However, there are also some cons to consider:
- Maintenance: Wooden countertops require regular oiling and sealing to prevent damage.
- Susceptibility to water damage: Wooden countertops can warp and crack if exposed to excessive moisture.
- Susceptibility to scratches and dents: While scratches and dents can be repaired, they are more likely to occur on a wooden countertop than on other materials such as granite or quartz.
Installation
If you decide to install a wooden countertop, it is important to follow proper installation procedures. This includes:
- Acclimation: Allow the countertop to acclimate to the room’s temperature and humidity for several days before installation.
- Proper support: Wooden countertops are heavy and require proper support, such as a sturdy base cabinet or brackets.
- Sealing: Seal the countertop with a food-safe sealer to prevent water damage and staining.
By understanding the types of wood available, the pros and cons of wooden countertops, and proper installation procedures, you can make an informed decision about whether a wooden countertop is right for your kitchen.
Choosing the Right Wood
When it comes to choosing the right wood for your countertop, there are several factors to consider. Here are some things to keep in mind:
Durability
One of the most important factors to consider is durability. You want a wood that is strong enough to withstand daily use and won’t easily scratch or dent. Some popular options for durability include:
- Maple: This is a hard, dense wood that is resistant to scratches and dents. It is also a popular choice for butcher block countertops.
- Oak: Another durable option, oak is known for its strength and resistance to wear and tear.
- Cherry: While not as hard as maple or oak, cherry is still a durable option that can add warmth and character to your kitchen.
Appearance
Of course, you also want your countertop to look good! Consider the style and color of your kitchen when choosing a wood. Some popular options for appearance include:
- Walnut: This dark, rich wood is popular for its unique grain patterns and warm tones.
- Mahogany: Another dark wood, mahogany has a reddish-brown color and a smooth, even grain.
- Pine: If you prefer a lighter look, pine is a good option. It has a pale color and a knotty texture that can add charm to your kitchen.
Maintenance
Finally, consider the maintenance required for each type of wood. Some woods require more upkeep than others, so choose one that fits your lifestyle and maintenance preferences. For example:
- Maple: While durable, maple requires regular oiling to keep it looking its best.
- Walnut: This wood requires less maintenance than some other options, but it can darken over time if not properly cared for.
- Pine: This softer wood may require more frequent sanding and refinishing to keep it looking good.
By considering these factors, you can choose the right wood for your countertop that will look great and last for years to come.
Preparation Steps
Before you start installing your wooden countertop, there are a few preparation steps you need to take to ensure a smooth installation process. This section will cover two important sub-sections: Measuring Your Space and Gathering Necessary Tools.
Measuring Your Space
Measuring your space accurately is crucial to ensure that your wooden countertop fits perfectly. Here are the steps you need to follow:
- Measure the length and width of your existing countertop using a tape measure.
- Measure the depth of your cabinets from the wall to the front edge.
- Take note of any cutouts needed for sinks, cooktops, and other appliances.
- Add a 1-inch overhang to the front and sides of your countertop.
By following these steps, you will have accurate measurements for your wooden countertop, which will make the installation process much easier.
Gathering Necessary Tools
Before you start the installation process, make sure you have all the necessary tools. Here’s a list of tools you will need:
| Tools | Description |
|---|---|
| Tape Measure | For measuring your space |
| Circular Saw | For cutting your wooden countertop |
| Jigsaw | For making cutouts for sinks and other appliances |
| Clamps | For holding your wooden countertop in place |
| Drill | For making pilot holes for screws |
| Screws | For securing your wooden countertop to the cabinets |
Make sure you have all of these tools before you start the installation process. If you don’t have any of these tools, you can rent them from a hardware store or consider hiring a professional to install your wooden countertop.
By following these preparation steps, you will be ready to start the installation process for your wooden countertop.
Installation Process
Installing a wooden countertop can be a fun and rewarding DIY project. Here are the steps to follow for a successful installation.
Cutting the Wood
The first step is to measure and cut the wood to fit your countertop area. Use a circular saw or jigsaw to cut the wood to the desired size and shape. Be sure to wear safety goggles and a dust mask when cutting the wood.
Sanding and Finishing
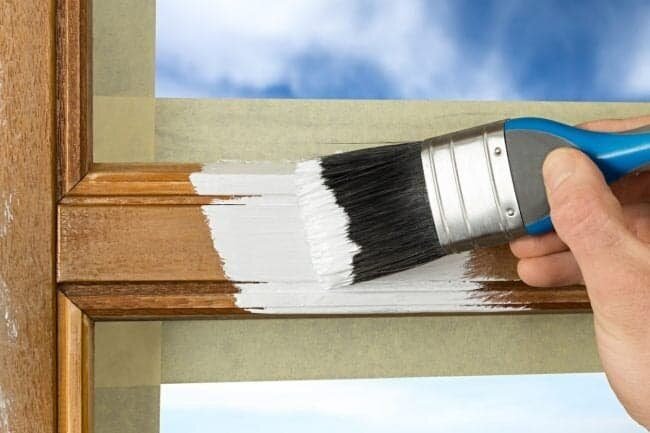
Once the wood is cut, it’s time to sand and finish it. Sand the wood with a fine-grit sandpaper to smooth out any rough spots. Then, apply a food-safe finish to protect the wood from moisture and stains. Be sure to follow the manufacturer’s instructions for the finish you choose.
Securing the Countertop
Now that the wood is cut and finished, it’s time to secure it to the cabinets. Apply a bead of construction adhesive along the top of the cabinets, then carefully place the countertop on top. Use clamps to hold the countertop in place while the adhesive dries. Finally, use screws to secure the countertop to the cabinets from underneath.
By following these simple steps, you can install a beautiful wooden countertop in your kitchen or bathroom. With a little bit of patience and some basic tools, you can create a unique and functional addition to your home.
Maintenance Tips

Cleaning the Countertop
To keep your wooden countertop looking its best, it’s important to clean it regularly. Start by wiping the surface with a damp cloth or sponge to remove any crumbs or spills. Avoid using harsh chemicals or abrasive scrubbers, as these can damage the wood. Instead, use a gentle, non-toxic cleaner such as vinegar and water or dish soap and water. Be sure to rinse the surface thoroughly with clean water and dry it with a soft cloth to prevent water damage.
If your countertop has stains or discoloration, try using a baking soda and water paste to gently scrub the affected area. For tougher stains, you may need to sand the surface lightly with fine-grit sandpaper and reapply a protective finish.
Regular Maintenance
In addition to regular cleaning, there are a few other steps you can take to maintain your wooden countertop. First, make sure to keep the surface dry and avoid leaving standing water on it for extended periods of time. This can cause the wood to warp or crack.
Second, periodically apply a protective finish such as mineral oil or beeswax to the surface. This will help to prevent stains and water damage, as well as keep the wood looking shiny and new. Be sure to follow the manufacturer’s instructions for application and reapplication.
Finally, be mindful of the types of items you place on your wooden countertop. Avoid placing hot pots or pans directly on the surface, as this can cause burns or discoloration. Use cutting boards when preparing food, and avoid cutting directly on the countertop. With proper care and maintenance, your wooden countertop can last for years to come.
Common Mistakes to Avoid
Installing a wooden countertop can be a great way to add warmth and character to your kitchen. However, it’s important to be aware of some common mistakes that can occur during the installation process. Here are a few things to keep in mind to help ensure a successful installation:
Lack of Preparation
One of the most common mistakes is rushing into the countertop installation process without proper preparation. Skipping accurate measurements, failing to create a detailed plan, or not gathering the necessary tools and materials can lead to costly errors. Take the time to prepare adequately before starting the installation.
Poor Quality Wood
Choosing the wrong type of wood can also lead to problems down the line. For example, if you choose a softwood like pine, it may be more prone to dents and scratches than a hardwood like maple. Make sure to choose a wood that is appropriate for your needs and budget.
Improper Sealing
Wooden countertops need to be sealed properly to prevent damage from moisture and other elements. Failing to seal the countertop correctly can lead to warping, cracking, and other issues. Make sure to follow the manufacturer’s instructions carefully when sealing your countertop.
Not Allowing for Movement
Wooden countertops can expand and contract with changes in temperature and humidity. Failing to allow for this movement can lead to warping and other problems. Make sure to leave enough space around the countertop to allow for movement, and avoid attaching the countertop too tightly to the cabinets.
Poor Installation
Finally, poor installation can also lead to problems with your wooden countertop. Make sure to follow the manufacturer’s instructions carefully, and consider hiring a professional if you’re not confident in your own abilities. A poorly installed countertop can be a safety hazard as well as a waste of time and money.
By avoiding these common mistakes, you can help ensure a successful installation and enjoy the beauty and functionality of your new wooden countertop for years to come.
Benefits of Wooden Countertops
Wooden countertops are a popular choice for homeowners due to their natural beauty and unique character. Here are some benefits to consider when choosing a wooden countertop for your kitchen or bathroom:
- Aesthetic Appeal: Wooden countertops offer a warm and inviting feel that can enhance the overall appearance of your space. They come in a variety of colors and grains, making it easy to find one that matches your style and decor.
- Durability: When properly installed and maintained, wooden countertops can last for many years. They are resistant to scratches and dents and can be sanded and refinished if necessary.
- Eco-Friendly: Wooden countertops are a sustainable choice as they are made from a renewable resource. They are also biodegradable and can be recycled at the end of their lifespan.
- Versatility: Wooden countertops can be customized to fit any space and can be used for a variety of purposes, including cutting boards and serving trays.
- Affordability: Wooden countertops are often more affordable than other countertop materials, such as granite or quartz. This makes them a great option for those on a budget.
Overall, wooden countertops offer a unique and natural look that can add warmth and character to any space. With proper installation and maintenance, they can be a durable and eco-friendly option for your home.


