Tag Archives: long-lasting finish

How to Make a Wooden Stool: A Beginner's Guide

How to Make a Wooden Stool: A Beginner's Guide

Are you looking to add a touch of rustic charm to your home decor? One easy way to achieve this is by making your own wooden stool. Not only is it an affordable option, but it also allows you to customize the design to fit your personal style.

To get started, you’ll need to gather the necessary materials and tools, including wood, a saw, drill, screws, and sandpaper. Once you have everything you need, the first step is to plan out your project and create a design that suits your needs. From there, it’s a matter of cutting the wood to size, assembling the pieces, and sanding down any rough edges.

Whether you’re a seasoned woodworker or a beginner looking for a fun DIY project, making a wooden stool is a great way to flex your creative muscles and add a functional piece of furniture to your home. So why not give it a try and see what beautiful and unique stool you can create?

Understanding Wood Types
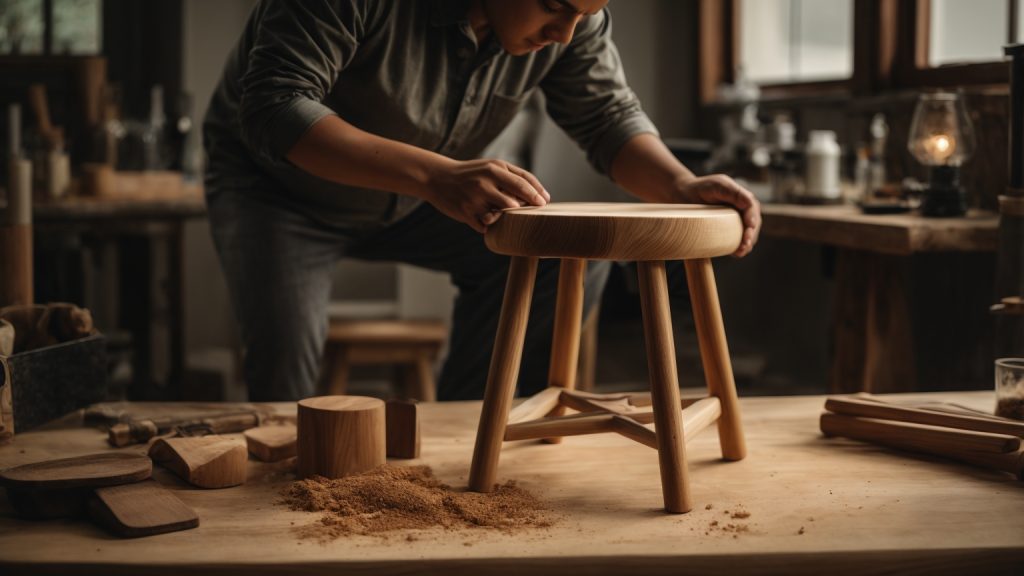
how-to-make-a-wooden-stool

When it comes to building a wooden stool, choosing the right wood type is crucial to ensure the durability and longevity of your project. Here are the two main categories of wood types:

Hardwood

Hardwood is known for its strength, durability, and resistance to wear and tear. It comes from deciduous trees, which are trees that lose their leaves annually. Hardwood is generally more expensive than softwood due to its slower growth rate. Some common types of hardwood used in woodworking include:

  • Oak
  • Maple
  • Cherry
  • Walnut
  • Mahogany

Hardwood is an excellent choice for building a stool that will last for years to come. It is also perfect for projects that require intricate designs or carvings.

Softwood

Softwood comes from coniferous trees, which are evergreen trees that have needles instead of leaves. Softwood is generally less expensive than hardwood, making it a popular choice for budget-friendly projects. Some common types of softwood used in woodworking include:

  • Pine
  • Cedar
  • Spruce
  • Fir
  • Redwood

Softwood is often used for outdoor projects such as decks, fences, and garden furniture. However, it is not as durable as hardwood and may require more maintenance over time.

When choosing a wood type for your stool, consider the look, feel, and durability of the wood. Hardwood is a great choice for a long-lasting stool, while softwood is perfect for a more affordable option.

Choosing the Right Tools

When it comes to making a wooden stool, having the right tools is crucial to achieving a polished and professional finish. Here are the essential tools you’ll need for this project.

Saw

A saw is an essential tool for any woodworking project, and making a wooden stool is no exception. A handsaw or circular saw can be used to cut the wood to the correct size and shape. A miter saw is also useful for making angled cuts. Make sure to choose a saw with sharp teeth and a comfortable handle to make the job easier.

Hammer

A hammer is used to drive nails into the wood to secure the stool’s various parts together. A claw hammer is the most common type of hammer used for woodworking projects. It has a flat surface on one end for driving nails and a claw on the other end for removing them. Choose a hammer with a comfortable grip that is easy to handle.

Screws

Screws are an alternative to nails for attaching the stool’s various parts together. A drill is needed to create pilot holes for the screws. A cordless drill is a convenient option as it allows for greater mobility while working. Choose screws that are the appropriate length and thickness for the wood you’re using.

Overall, investing in high-quality tools is important for any woodworking project, including making a wooden stool. Having the right tools will make the job easier and result in a more polished finished product.

Creating a Design

Before you start building your wooden stool, you need to create a design that fits your needs and preferences. Here are a few tips to help you with the process:

Consider the Purpose

The first step in designing your stool is to consider its purpose. Will it be used as a seat, a footrest, or a decorative item? The purpose of your stool will determine its height, size, and shape. For example, if you plan to use it as a seat, you’ll want to make sure it’s comfortable to sit on and the right height for the intended use.

Choose the Material

The next step is to choose the material for your stool. Wood is a popular choice for its durability, natural beauty, and versatility. There are many types of wood to choose from, each with its own unique characteristics. Some popular options include oak, maple, cherry, and walnut. You can also choose to use reclaimed wood for a more rustic look.

Sketch Your Design

Once you have an idea of the purpose and materials, it’s time to sketch your design. You don’t need to be an artist to create a simple sketch of your stool. Start by drawing a rough outline of the stool’s shape and size. Then, add details such as the legs, seat, and any decorative elements. You can also use a computer program or app to create a more detailed design.

Consider Ergonomics

Finally, when designing your stool, consider ergonomics. Ergonomics is the study of how people interact with their environment and the tools they use. When designing your stool, think about how it will be used and make sure it’s comfortable and safe. For example, if you plan to use it as a seat, make sure the seat is wide enough and the legs are sturdy enough to support the weight of the user.

By following these tips, you can create a design for your wooden stool that is both functional and beautiful.

Cutting the Wood

To make a wooden stool, the first step is to cut the wood to the appropriate dimensions. Here are the steps to follow:

  1. Measure and mark the wood: Use a measuring tape and a pencil to measure and mark the wood according to the dimensions you need. Make sure to double-check your measurements before cutting.
  2. Use a saw: You can use a handsaw or a power saw to cut the wood. If you are using a power saw, make sure to follow the manufacturer’s instructions and wear appropriate safety gear.
  3. Sand the wood: Once you have cut the wood, use sandpaper to smooth out any rough edges or surfaces. This will make it easier to handle the wood and ensure a better finish for your stool.

Remember to always work in a well-ventilated area and follow proper safety precautions when cutting and sanding wood. If you are unsure about any of the steps, don’t hesitate to ask for help or consult a woodworking guide. With a little practice and patience, you can create a beautiful and functional wooden stool that will last for years to come.

Assembling the Stool
assembling-the-stool

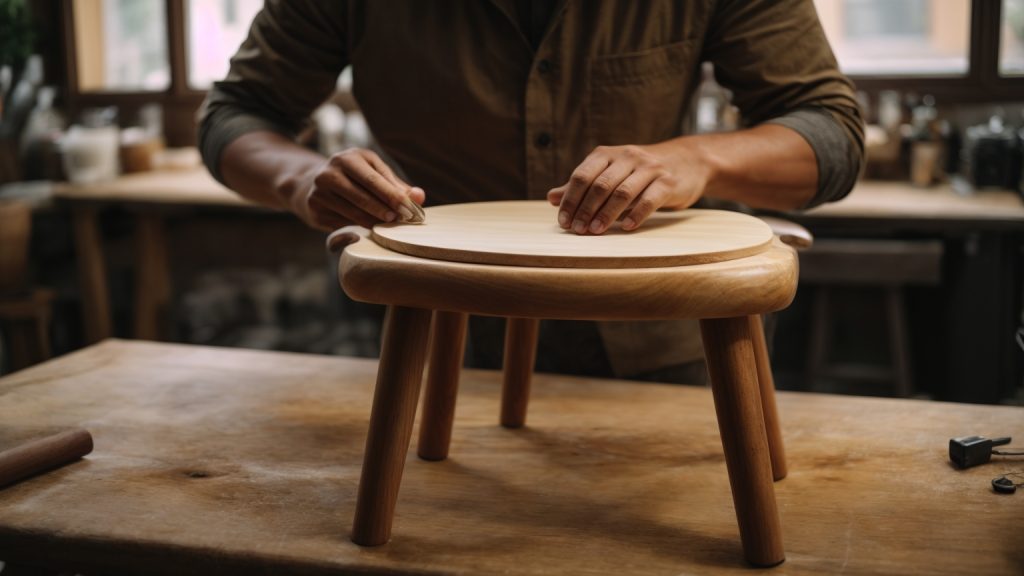
Once you have completed all the necessary steps to create the legs, seat, and stretchers, it’s time to put everything together and assemble your wooden stool. This section will guide you through the process of connecting the legs and attaching the seat, so you can have a sturdy and functional stool.

Connecting the Legs

To connect the legs, you will need to insert the stretchers into the holes you previously drilled in the legs. It’s important to make sure that the stretchers are level and flush with the legs before proceeding. You can use a level or a square to check for alignment.

Once the stretchers are in place, you can secure them to the legs using wood glue and screws. Make sure to pre-drill the holes for the screws to avoid splitting the wood. You can use clamps to hold the pieces in place while the glue dries.

Attaching the Seat

Attaching the seat is the final step in assembling your wooden stool. To do this, you will need to place the seat on top of the legs and stretchers. Make sure it is centered and level before proceeding.

Next, drill holes through the seat and into the stretchers to prepare for attaching the seat. You can use wood screws to secure the seat to the stretchers. Again, make sure to pre-drill the holes to avoid splitting the wood.

Once the seat is attached, you can add any finishing touches, such as sanding or staining, to complete your wooden stool.

Congratulations! You have successfully assembled your own wooden stool. Now you can enjoy the satisfaction of having created a functional piece of furniture with your own hands.

Finishing Touches

Adding the finishing touches to your wooden stool can make all the difference in its appearance and durability. Here are some tips to help you get the best results.

Sanding

Before applying any finish, make sure to sand your stool thoroughly. This will help to smooth out any rough spots and ensure that the finish adheres properly. Start with a coarse grit sandpaper, such as 80 or 100, and work your way up to a finer grit, such as 220. Be sure to sand with the grain of the wood to avoid scratches.

Once you have finished sanding, use a tack cloth to remove any dust or debris from the surface of the stool. This will help to ensure a smooth finish.

Painting or Staining

When it comes to finishing your wooden stool, you have a few options. You can choose to paint it, stain it, or leave it natural. Each option has its own benefits and drawbacks.

If you decide to paint your stool, be sure to use a high-quality paint that is suitable for wood. You may need to apply several coats to achieve the desired coverage. Once the paint is dry, you can add a clear coat of polyurethane to protect the surface.

If you prefer the look of natural wood, you can choose to stain your stool. This will enhance the natural beauty of the wood while also providing some protection. Be sure to choose a stain that is suitable for the type of wood you are using. Apply the stain with a brush or rag, following the grain of the wood. Once the stain is dry, you can add a clear coat of polyurethane to protect the surface.

No matter which finish you choose, be sure to follow the manufacturer’s instructions carefully. This will help to ensure a beautiful and long-lasting finish for your wooden stool.

Safety Tips

When working with wood, safety should always be your top priority. Here are some tips to help you stay safe while making your wooden stool.

Proper Handling of Tools

It is important to handle your tools properly to avoid injuries. Always keep your tools sharp and in good condition, and use them only for their intended purpose. When using power tools, make sure to follow the manufacturer’s instructions and wear appropriate safety gear, such as safety goggles, ear protection, and a dust mask.

When handling sharp tools such as chisels, be sure to keep your hands and fingers away from the cutting edge. Use a clamp or vise to secure your workpiece, and never hold it in your hand while cutting or drilling.

Using Protective Gear

Wearing protective gear can help prevent injuries while working with wood. Here are some items you should consider wearing:

  • Safety goggles: Protect your eyes from flying wood chips and sawdust.
  • Ear protection: Reduce the risk of hearing damage from loud power tools.
  • Dust mask: Prevent inhalation of sawdust and other particles.
  • Gloves: Protect your hands from cuts and splinters.

Remember to always use your tools and protective gear as instructed, and never take shortcuts when it comes to safety. With these tips in mind, you can create a beautiful and functional wooden stool while staying safe in the workshop.

How to Paint Your Wooden Porch: A Beginner's Guide

How to Paint Your Wooden Porch: A Beginner's Guide

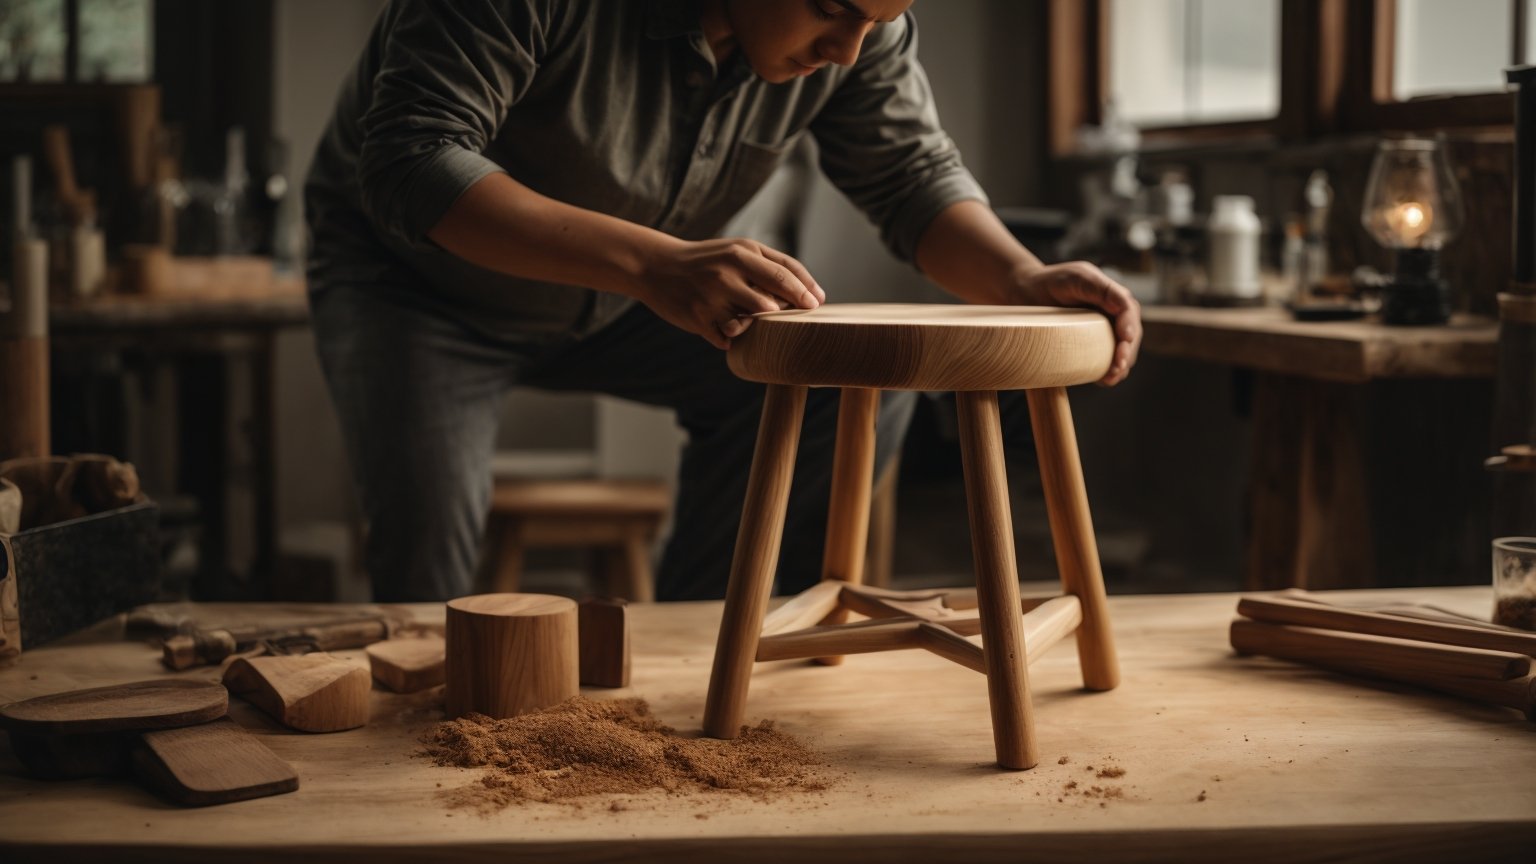
Painting a wooden porch is a great way to give your home a fresh and updated look. Whether you’re looking to enhance your curb appeal or just want to protect your porch from the elements, painting is a simple and effective solution. In this article, we’ll guide you through the process of painting your wooden porch step-by-step, so you can achieve a professional-looking finish.

Before you begin painting, it’s important to properly prepare your porch. This includes removing any furniture or decor, sweeping away debris, and cleaning the surface thoroughly. Once your porch is clean and dry, you can begin the painting process. We’ll cover everything from choosing the right paint and tools, to applying the paint and finishing touches. With our help, you’ll be able to paint your wooden porch with ease and confidence.

Choosing the Right Paint

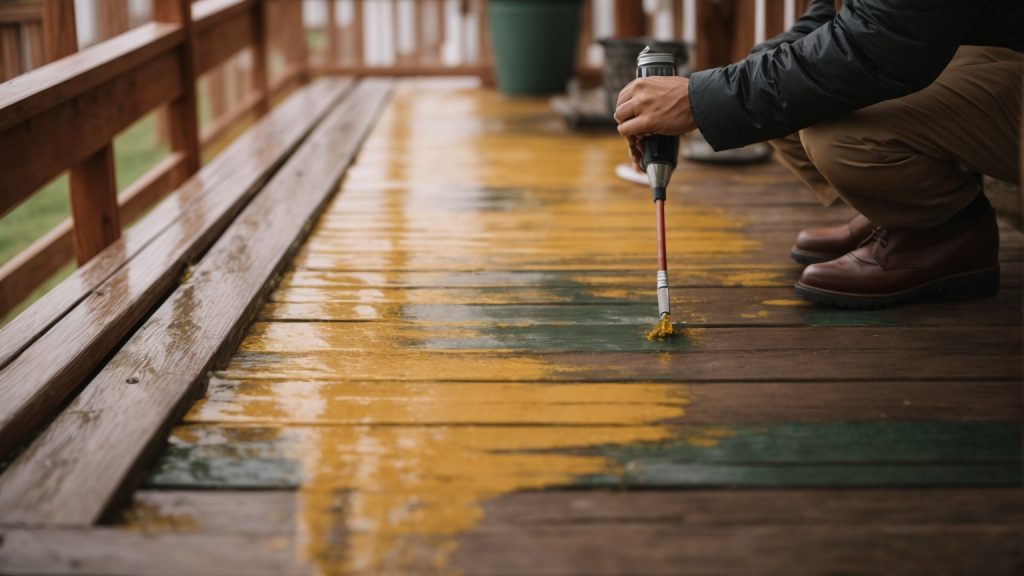
paint-your-wooden-porch

When it comes to painting your wooden porch, choosing the right paint is crucial to ensure a long-lasting finish. Here are some things to consider when selecting the right paint for your porch.

Types of Paint for Wood

There are two main types of paint to consider when painting your wooden porch: oil-based and latex-based.

Oil-based paint is known for its durability and ability to withstand harsh weather conditions. It also has a glossy finish that can enhance the natural beauty of wood. However, it takes longer to dry and requires mineral spirits for cleanup.

Latex-based paint, on the other hand, dries faster and is easier to clean up with soap and water. It also has a low odor and is more environmentally friendly. However, it may not be as durable as oil-based paint and may not adhere as well to bare wood.

Weather Considerations

The weather in your area is an important factor to consider when choosing the right paint for your porch. If you live in an area with harsh weather conditions, such as extreme heat or cold, rain, or snow, you’ll want to choose a paint that can withstand these conditions.

Look for a paint that is labeled as “exterior” and “weather-resistant.” These types of paints are formulated to withstand exposure to the elements and will provide long-lasting protection for your porch.

In addition to choosing the right paint, it’s also important to properly prepare your porch before painting. This includes cleaning the surface, repairing any damage, and priming the wood to ensure proper adhesion of the paint.

By taking the time to choose the right paint for your porch and properly preparing the surface, you can ensure a beautiful and long-lasting finish that will enhance the look of your outdoor space.

Preparing the Wooden Porch

Before you start painting your wooden porch, it’s important to prepare the surface properly. This will ensure that the paint adheres well and lasts longer. Here are some steps to follow:

Cleaning the Surface

The first step in preparing your wooden porch is to clean the surface thoroughly. This will remove any dirt, grime, or mildew that may have accumulated on the surface. Here’s how you can clean the surface:

  • Sweep the porch with a broom to remove loose dirt and debris.
  • Use a pressure washer or a garden hose with a spray nozzle to wash the surface. If there is mildew, you can use a solution of bleach and water to remove it. Be sure to follow the manufacturer’s instructions for the bleach solution.
  • Let the surface dry completely before moving on to the next step.

Sanding the Wood

After cleaning the surface, you need to sand the wood to create a smooth surface for the paint to adhere to. Here’s how you can sand the wood:

  • Use a coarse sandpaper (60-80 grit) to sand the surface. This will remove any rough spots or splinters.
  • Use a medium sandpaper (100-150 grit) to sand the surface again. This will smooth out any rough spots left by the coarse sandpaper.
  • Use a fine sandpaper (220 grit) to sand the surface one final time. This will create a smooth surface for the paint to adhere to.

After sanding the surface, be sure to remove any dust or debris with a damp cloth or a vacuum cleaner. This will ensure that the paint adheres well to the surface.

By following these steps, you can prepare your wooden porch for painting and ensure that the paint lasts longer.

Priming the Porch

Before you start painting your wooden porch, you need to prime it. Priming is an essential step that ensures the paint adheres well to the surface, and it also helps to protect the wood from moisture and other elements. In this section, you will learn how to choose and apply the right primer for your porch.

Choosing a Primer

When it comes to choosing a primer, there are a few things to consider. First, make sure you choose a primer that is specifically designed for exterior use. Exterior primers are formulated to withstand the elements and provide a strong base for the paint. Second, consider the type of paint you will be using. If you are using an oil-based paint, you will need to use an oil-based primer. If you are using a latex-based paint, you can use either a latex-based or an oil-based primer.

Another thing to consider is the condition of your porch. If your porch is new or in good condition, you can use a regular primer. However, if your porch is old or has a lot of cracks and imperfections, you may want to use a filler primer. Filler primers are thicker and can fill in small cracks and imperfections, giving you a smoother surface to paint.

Applying the Primer

Before you apply the primer, make sure your porch is clean and dry. Use a stiff-bristled brush to remove any loose or peeling paint, and then sweep the porch to remove any dust or debris.

To apply the primer, use a paintbrush or roller. If you are using a roller, use a brush to cut in around the edges and corners. Work in small sections to ensure thorough coverage. Apply the primer in thin, even coats, and make sure to follow the manufacturer’s instructions for drying time.

Once the primer is dry, you can start painting your porch. Remember to choose a paint that is specifically designed for exterior use, and follow the manufacturer’s instructions for application and drying time.

By following these steps, you can ensure that your porch is properly primed and ready for painting. A little extra effort in the priming stage can go a long way in ensuring a smooth and long-lasting paint job.

Painting Techniques

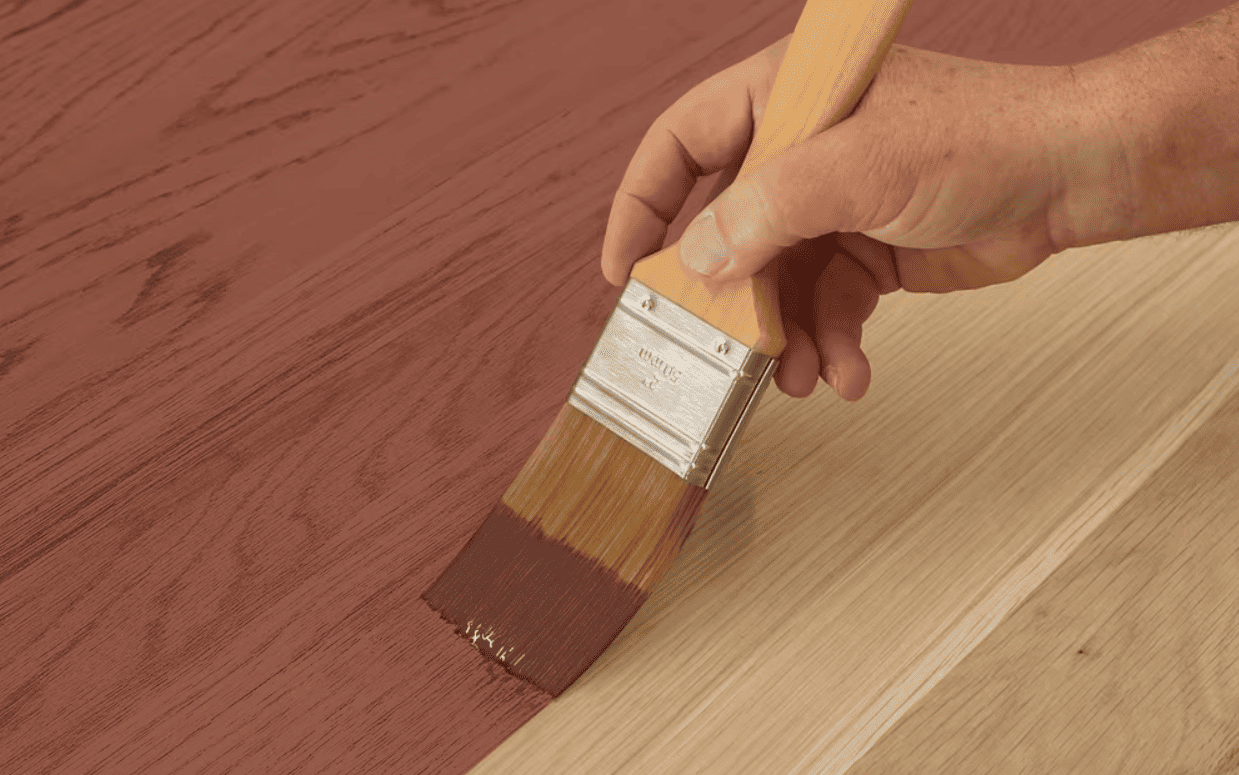
wooden-painting-techniques

When it comes to painting your wooden porch, there are a few different techniques you can use. Each technique has its own advantages and disadvantages, so it’s important to choose the one that’s right for you.

Using a Brush

Using a brush is a great way to get a precise, detailed finish. It’s also a good option if you’re working in a small area or need to touch up certain spots. To use a brush, simply dip it into the paint and apply it to the wood in smooth, even strokes. Be sure to work in the direction of the wood grain to get the best results.

One downside to using a brush is that it can be time-consuming, especially if you’re painting a large area. It can also be difficult to avoid brush marks, so you may need to do some sanding and touch-ups after the paint has dried.

Using a Roller

Using a roller is a faster way to paint your porch, especially if you’re working in a large area. It’s also a good option if you want a smooth, even finish. To use a roller, simply dip it into the paint and roll it onto the wood in long, even strokes. Be sure to work in sections to avoid overlapping.

One downside to using a roller is that it can be difficult to get into tight corners and edges. You may need to use a brush to touch up these areas after the paint has dried.

Using a Sprayer

Using a sprayer is the fastest way to paint your porch, especially if you’re working in a large area. It’s also a good option if you want a smooth, even finish without any brush marks. To use a sprayer, simply fill it with paint and spray it onto the wood in long, even strokes. Be sure to work in sections to avoid overlapping.

One downside to using a sprayer is that it can be messy and difficult to control. You may also need to use a brush to touch up certain areas after the paint has dried. Additionally, you’ll need to take extra precautions to protect nearby surfaces from overspray.

Maintenance and Care

Taking care of your newly painted wooden porch will help it look great for years to come. Here are some tips for routine cleaning and touch-ups and repairs.

Routine Cleaning

Regular cleaning is important to prevent dirt and grime buildup that can damage your porch’s finish. Here are some tips for keeping your porch clean:

  • Sweep your porch regularly to remove dirt, leaves, and other debris. Use a broom with soft bristles to avoid scratching the surface.
  • Use a mild soap and water solution to clean your porch. Avoid using harsh chemicals or abrasive cleaners that can damage the finish.
  • Rinse with a hose or pressure washer, being careful not to use too much pressure that can damage the wood.
  • Dry your porch thoroughly after cleaning to prevent water damage.

Touch-Ups and Repairs

Even with proper care, your porch may need touch-ups and repairs from time to time. Here are some tips for keeping your porch looking its best:

  • Check your porch regularly for any signs of damage, such as cracks, peeling paint, or rot. Repair any damage as soon as possible to prevent further damage.
  • Sand any rough spots or peeling paint before applying touch-up paint. Use a fine-grit sandpaper and be careful not to sand too much of the surrounding area.
  • Use a high-quality exterior paint that is designed for wooden surfaces. Apply the paint with a brush or roller, following the manufacturer’s instructions.
  • Allow the paint to dry completely before using your porch.

By following these tips, you can keep your wooden porch looking great for years to come.

Safety Precautions

When painting your wooden porch, it’s important to take certain safety precautions to protect yourself and those around you. Here are some safety tips to keep in mind:

Use of Protective Gear

Before you start painting, make sure to wear the appropriate protective gear. This includes gloves, protective eyewear, and a mask to prevent inhaling any paint fumes. In addition, make sure to wear clothing that you don’t mind getting dirty or potentially ruined by paint.

Proper Ventilation

It’s important to ensure that you have proper ventilation when painting your porch. This means opening windows, doors, and using fans to circulate air. If you’re using a paint sprayer, make sure to wear a respirator to prevent inhaling any paint particles.

In addition, keep in mind that some paints and solvents can be flammable, so avoid smoking or using any open flames near the paint. Store all paint and solvents in a cool, dry place away from any heat sources.

By taking these safety precautions, you can ensure that you and your loved ones stay safe while painting your porch.

How to Make a Wooden Rocking Chair: A Beginner's Guide

Making a wooden rocking chair can be a fun and rewarding project for any woodworking enthusiast. Not only does it provide a comfortable and relaxing place to sit, but it also adds a touch of classic charm to any room or outdoor space. Whether you’re a beginner or an experienced woodworker, building a rocking chair is a great way to improve your skills and create something beautiful.

Before you begin, it’s important to have a plan and gather all the necessary materials and tools. There are many different designs and styles of rocking chairs to choose from, so take some time to research and find one that suits your preferences and skill level. Some basic tools you’ll need include a saw, drill, chisels, sandpaper, and clamps. You’ll also need wood, such as oak or maple, and hardware like screws and bolts. Once you have everything you need, it’s time to get started on your rocking chair project.

Understanding Wood Types

When it comes to making a wooden rocking chair, choosing the right type of wood is crucial. In this section, we’ll explore the differences between hardwood and softwood and discuss the best wood options for rocking chairs.

Hardwood vs Softwood

Hardwood and softwood are two distinct categories of wood. The terms “hardwood” and “softwood” do not refer to the actual hardness or softness of the wood. Instead, they refer to the type of tree the wood comes from.

Hardwood comes from trees that have broad leaves, such as oak, maple, and cherry. Hardwood is generally denser and more durable than softwood, making it an excellent choice for furniture-making.

Softwood comes from trees that have needles or scales, such as pine, spruce, and cedar. Despite the name, softwood is not necessarily softer than hardwood. Softwood is generally less dense and less durable than hardwood, but it can still be used for furniture-making.

Best Wood for Rocking Chairs

When it comes to making a rocking chair, you want a wood that is both durable and attractive. Here are some of the best wood options for rocking chairs:

  • Cherry: Cherry is a popular choice for rocking chairs due to its rich color and durability.
  • Oak: Oak is a strong and durable wood that can withstand heavy use.
  • Maple: Maple is a hard and dense wood that is resistant to wear and tear.
  • Walnut: Walnut is a beautiful wood with a rich, dark color. It is also strong and durable.
  • Birch: Birch is an affordable and stable wood that is often used in furniture-making.

When selecting wood for your rocking chair, it’s important to consider the grain pattern and color of the wood. You want a wood that is visually appealing and complements the design of your chair.

In conclusion, choosing the right type of wood is essential for making a beautiful and long-lasting rocking chair. Whether you opt for a hardwood or softwood, be sure to choose a wood that is both durable and visually appealing.

Basic Tools and Materials Needed

If you want to build a wooden rocking chair, you’ll need a few basic tools and materials. Here’s a list of what you’ll need to get started:

Woodworking Tools

To build a wooden rocking chair, you’ll need some basic woodworking tools. Here are some of the tools you’ll need:

  • Saw: You’ll need a saw to cut the wood to size. A handsaw or a circular saw will work.

  • Drill: You’ll need a drill to make holes for screws and dowels.

  • Chisels: You’ll need chisels to shape the wood and remove any excess material.

  • Rasp: You’ll need a rasp to smooth out any rough edges or surfaces.

  • Clamps: You’ll need clamps to hold the wood in place while you work on it.

  • Screwdriver: You’ll need a screwdriver to tighten screws and attach the parts together.

Safety Equipment

When working with woodworking tools, it’s important to take safety precautions. Here are some safety equipment you’ll need:

  • Safety glasses: You’ll need safety glasses to protect your eyes from sawdust and wood chips.

  • Dust mask: You’ll need a dust mask to protect your lungs from sawdust.

  • Ear protection: You’ll need ear protection to protect your ears from the noise of power tools.

  • Work gloves: You’ll need work gloves to protect your hands from sharp edges and splinters.

  • Respirator: You’ll need a respirator to protect yourself from sawdust and other airborne particles.

Make sure you have all the necessary tools and safety equipment before you start building your rocking chair. With the right tools and materials, you’ll be able to build a beautiful and functional wooden rocking chair that you can enjoy for years to come.

Designing Your Rocking Chair

When it comes to making a wooden rocking chair, the design is an essential factor to consider. A well-designed rocking chair should be both stylish and comfortable. In this section, we will discuss the two crucial steps in designing your rocking chair: choosing a design and creating a blueprint.

Choosing a Design

Before you start building your rocking chair, you need to decide on the design you want to create. There are many different styles of rocking chairs, ranging from traditional to modern. You can find inspiration from various sources, such as furniture stores, online catalogs, and woodworking books.

When choosing a design, consider the following factors:

  • Your skill level: Choose a design that matches your skill level. If you are a beginner, start with a simple design that is easy to build.
  • Your budget: Some designs require more materials than others, so consider your budget when choosing a design.
  • Your personal taste: Choose a design that fits your personal style and taste.

Creating a Blueprint

Once you have chosen a design, it’s time to create a blueprint. A blueprint is a detailed plan that shows the dimensions and layout of your rocking chair. It should include all the necessary measurements, angles, and materials needed to build your chair.

Creating a blueprint will help you visualize the final product and ensure that you have all the necessary materials before you start building. You can create a blueprint using software or by hand. If you are not familiar with woodworking software, you can use graph paper to sketch out your design.

When creating your blueprint, consider the following factors:

  • The dimensions of your chair: Make sure your blueprint includes accurate measurements of your chair’s height, width, and depth.
  • The materials you will use: Include a list of all the materials you will need, such as wood, screws, and glue.
  • The tools you will need: Make a list of all the tools you will need to build your chair, such as saws, drills, and sanders.

By following these steps, you can design a rocking chair that is both comfortable and stylish. Remember to take your time and pay attention to the details to create a chair that you will be proud to show off.

Cutting and Shaping the Wood

When it comes to making a wooden rocking chair, cutting and shaping the wood is a crucial step. This section will guide you through the process of cutting and shaping the wood for your rocking chair.

Cutting Techniques

Before you start cutting the wood, it’s important to have a clear idea of the measurements you need. You can use a measuring tape and a square to ensure that your cuts are accurate. Once you have your measurements, you can use a saw to cut the wood.

There are different types of saws you can use for cutting wood, including a circular saw, jigsaw, or handsaw. A circular saw is ideal for making long straight cuts, while a jigsaw is great for cutting curves and intricate shapes. A handsaw is a good option if you don’t have access to power tools.

When using a saw, it’s important to follow safety precautions. Wear eye and ear protection, and keep your hands away from the blade. Make sure the wood is securely clamped or held in place before you start cutting.

Shaping the Rockers

The rockers are the curved pieces of wood that give the rocking chair its signature motion. To shape the rockers, you can use a technique called steam bending. This involves heating the wood with steam to make it pliable, and then bending it into shape.

To steam bend the wood, you’ll need a steam box and a bending form. The steam box is a long, narrow box that you fill with steam. The bending form is a template that you use to shape the wood.

First, place the wood in the steam box and heat it for the recommended amount of time. Then, remove the wood from the steam box and place it on the bending form. Use clamps to hold the wood in place while it cools and sets into the desired shape.

Once the rockers are shaped, you can sand them smooth and attach them to the rest of the chair. With these cutting and shaping techniques, you’ll be well on your way to creating a beautiful and functional wooden rocking chair.

Assembling the Chair

Now that you have all the pieces of your rocking chair, it’s time to put them together. This section will cover the two main steps of assembling the chair: joining the pieces and securing the rockers.

Joining the Pieces

To join the pieces of your rocking chair, you will need to use wood glue and clamps. Follow these steps:

  1. Apply a small amount of wood glue to the joints where the pieces will be joined.
  2. Align the pieces and clamp them together.
  3. Wipe off any excess glue that squeezes out of the joints.
  4. Allow the glue to dry according to the manufacturer’s instructions.

Securing the Rockers

Once the chair is assembled, it’s time to secure the rockers. This is an important step, as it will ensure that the chair is stable and safe to use.

To secure the rockers, you will need to use screws or dowels. Follow these steps:

  1. Drill pilot holes into the bottom of the chair legs where the rockers will be attached.
  2. Align the rockers with the pilot holes and attach them using screws or dowels.
  3. Check that the rockers are level and adjust as necessary.
  4. Repeat for the other side of the chair.

Congratulations! Your wooden rocking chair is now assembled and ready to use.

Finishing Touches

Once you have completed your wooden rocking chair, you’ll want to add some finishing touches to give it a unique and polished look. This section will cover two important steps to finish your chair: sanding and applying a finish.

Sanding the Chair

Before applying any finish, you should sand your chair to ensure a smooth surface. Start with a coarse sandpaper (around 80 grit) and work your way up to a finer grit (around 220 grit). Sand in the direction of the grain, and be sure to sand all surfaces, including the legs, arms, and seat.

Once you have finished sanding with the finer grit, wipe the chair down with a tack cloth to remove any dust or debris.

Applying a Finish

Applying a finish to your rocking chair will protect the wood and enhance its natural beauty. There are many types of finishes available, including varnish, lacquer, and oil-based finishes.

Before applying any finish, be sure to read the manufacturer’s instructions carefully. Some finishes require multiple coats, while others may require specific drying times or application methods.

Here are some tips for applying a finish to your rocking chair:

  • Use a brush or cloth to apply the finish in thin, even coats.
  • Allow each coat to dry completely before applying the next coat.
  • Sand lightly between coats with a fine-grit sandpaper.
  • Be sure to apply the finish to all surfaces, including the underside of the chair.
  • Consider using a protective sealant to prevent scratches or damage to the finish.

By following these steps, you can give your wooden rocking chair a beautiful and long-lasting finish.

How to Repaint a Wooden Porch: A Friendly Guide

Repainting your wooden porch is a great way to give it a fresh new look and protect it from the elements. Whether you’re looking to update your porch’s style or simply maintain its structural integrity, repainting is an easy and affordable solution. In this article, we’ll take you through the step-by-step process of repainting a wooden porch, from preparing the surface to choosing the right paint and tools.

The first step in repainting your wooden porch is to prepare the surface. This involves cleaning the porch thoroughly, removing any old paint or stain, sanding down rough spots, and filling in any cracks or holes. Once the surface is clean and smooth, you’ll need to choose the right paint or stain for your porch. Consider factors like the climate in your area, the amount of foot traffic your porch gets, and the overall style of your home when selecting a paint or stain color.

Once you have your supplies and have prepared the surface, it’s time to get started. Repainting a wooden porch can be a time-consuming process, but the end result is well worth it. With the right tools and techniques, you can transform your porch into a beautiful and functional space that you’ll enjoy for years to come. So grab your paintbrush and let’s get started!

Understanding the Basics of Repainting

When it comes to repainting a wooden porch, there are a few basics you should understand before getting started. In this section, we’ll cover why repainting your porch is important and how to choose the right paint.

Why Repaint a Wooden Porch?

Over time, wooden porches can become weathered and worn, which can lead to damage and deterioration. Repainting your porch can help protect it from the elements and extend its lifespan. Additionally, a fresh coat of paint can give your porch a new look and improve its curb appeal.

Choosing the Right Paint

Choosing the right paint is an important step in repainting your porch. You’ll want to select a paint that is specifically designed for exterior use and can withstand the elements. Look for a paint that is water-resistant and has UV protection to prevent fading.

When it comes to color, consider the style of your home and the surrounding landscape. A neutral color can complement a variety of styles, while a bold color can make a statement. Keep in mind that darker colors may absorb more heat and can be more prone to fading.

In addition to selecting the right paint, you’ll also need to choose the right tools. A high-quality brush and roller can help ensure a smooth, even application. You may also want to consider using a primer to help the paint adhere to the surface and improve its durability.

Overall, repainting your wooden porch is a simple and effective way to protect and enhance your home’s exterior. With the right paint and tools, you can achieve a beautiful and long-lasting finish.

Preparation for Repainting

Before repainting your wooden porch, it is important to properly prepare the surface to ensure a smooth and long-lasting finish. This section will cover the two main steps of porch preparation: inspecting the porch and cleaning and sanding the surface.

Inspecting the Porch

The first step in preparing your porch for repainting is to inspect it thoroughly. Look for any signs of damage, such as cracks, rot, or loose boards. If you find any of these issues, they will need to be repaired before you can begin painting.

Inspect the porch for any nails or screws that are sticking up or are loose. These can be dangerous and should be hammered back in or replaced. Check the porch for any signs of mold or mildew. If you find any, use a mold and mildew cleaner to remove it before painting.

Cleaning and Sanding the Surface

Once you have inspected the porch and made any necessary repairs, it is time to clean and sand the surface. This step is crucial to ensure that the paint adheres properly and lasts a long time.

Start by sweeping the porch to remove any loose debris. Then, use a power washer or a hose with a high-pressure nozzle to thoroughly clean the surface. Allow the porch to dry completely before moving on to the next step.

Next, use a paint scraper to remove any loose or peeling paint. Sand the surface using a fine-grit sandpaper to smooth out any rough spots or imperfections. Be sure to wear a mask and safety goggles while sanding to protect yourself from dust and debris.

After sanding, wipe the porch down with a damp cloth to remove any dust or debris. Then, apply a wood primer to the surface. This will help the paint adhere better and last longer.

By properly inspecting, cleaning, and sanding your porch, you will ensure a smooth and long-lasting finish when repainting.

Painting Process

Once you have prepped your wooden porch, it’s time to start painting. Follow these steps to ensure a smooth and long-lasting finish.

Priming the Surface

Before painting, it’s important to prime the surface. This will help the paint adhere better and last longer. Choose a primer that is suitable for outdoor use and matches the type of paint you will be using.

To prime the surface, follow these steps:

  1. Apply the primer evenly using a brush or roller. Make sure to cover the entire surface.
  2. Let the primer dry completely according to the manufacturer’s instructions.
  3. Inspect the surface for any areas that may need additional priming and apply as necessary.

Applying the First Coat

Once the primer has dried, it’s time to apply the first coat of paint. Use a high-quality paint that is suitable for outdoor use and matches the color you desire.

To apply the first coat, follow these steps:

  1. Apply the paint evenly using a brush or roller. Make sure to cover the entire surface.
  2. Let the first coat dry completely according to the manufacturer’s instructions.
  3. Inspect the surface for any areas that may need additional painting and apply as necessary.

Adding Additional Coats

Depending on the type of paint you are using and the desired finish, you may need to apply additional coats. Follow the manufacturer’s instructions for the recommended number of coats.

To add additional coats, follow these steps:

  1. Apply the paint evenly using a brush or roller. Make sure to cover the entire surface.
  2. Let each coat dry completely according to the manufacturer’s instructions.
  3. Inspect the surface for any areas that may need additional painting and apply as necessary.

Remember to use caution when walking on a freshly painted surface and to allow ample time for drying between coats. With proper preparation and painting techniques, your wooden porch will look great for years to come.

Maintenance Tips

Keeping your wooden porch looking great requires some regular maintenance. Here are some tips to help you keep your porch in top condition.

Regular Cleaning

Cleaning your porch regularly is essential to keep it looking good and prevent damage. Dirt, dust, and debris can build up on your porch and cause it to look dull and dirty. To clean your porch, sweep away any loose debris with a broom or brush. Then, use a pressure washer or hose to wash away any remaining dirt and grime. You can also use a mild detergent to help remove stubborn stains.

Touch-up Painting

Over time, the paint on your porch may start to chip or fade. To keep your porch looking great, it’s important to touch up any areas that need it. Before you begin, make sure the surface is clean and dry. Then, lightly sand the area to remove any loose paint. Apply a coat of primer if necessary, and then paint over the area with a matching color. Be sure to use a high-quality paint that is designed for outdoor use.

Sealing for Protection

Sealing your porch can help protect it from the elements and prevent damage. A good sealant will help prevent water from penetrating the wood, which can cause rot and other damage. Before you seal your porch, make sure it is clean and dry. Apply the sealant with a brush or roller, making sure to cover all surfaces evenly. Be sure to follow the manufacturer’s instructions for best results.

By following these maintenance tips, you can keep your wooden porch looking great for years to come.

Ready Seal Wood Stain/Sealer: One Coat or Two?

Ready Seal Wood Stain/Sealer: One Coat or Two?

Are you wondering whether you need to use one or two coats of Ready Seal wood stain/sealer? While one coat may be sufficient in some cases, it is generally recommended to use two coats for the best results. Applying two coats will create a consistent, long-lasting finish that will protect your exterior wood surfaces.

Situs kami juga sangat mudah digunakan. Dengan antarmuka yang user-friendly, Anda dapat dengan cepat mengakses data Macau 4D kapan saja dan di mana saja. Kami memahami betapa pentingnya kecepatan dan efisiensi dalam dunia toto, sehingga kami berkomitmen untuk memberikan layanan yang cepat dan responsif. Selain itu, tim kami selalu siap sedia data macau 4d untuk membantu Anda dengan segala pertanyaan atau kebutuhan yang mungkin Anda miliki.

If the wood surface is rough or porous, or if you are applying the Ready Seal to a large area, it is especially important to use two coats. This will ensure that the wood is fully covered and protected from the elements. However, if the wood is brand new or smooth-milled, it may only require one coat initially, as it takes a few years for the pores of the wood to fully open up.

Ultimately, the number of coats you need to apply will depend on the condition of your wood surface and the size of the area you are covering. By following the recommended guidelines and using the appropriate number of coats, you can ensure that your wood surfaces are protected and look their best for years to come.

Understanding Ready Seal Wood Stain/Sealer

What Is Ready Seal Wood Stain/Sealer?

Ready Seal is a wood stain and sealer that is designed to protect and enhance the natural beauty of wood. It is a unique blend of oil-based stains and sealers that penetrate deep into the wood fibers, providing long-lasting protection against the elements. Ready Seal is easy to apply and dries quickly, making it an ideal choice for both professional contractors and do-it-yourselfers.

Benefits of Using Ready Seal Wood Stain/Sealer

Using Ready Seal wood stain/sealer has many benefits. Here are a few:

  • Two coats of Ready Seal are recommended for best results. This will create a consistent, long-lasting finish that will protect your wood from the elements.
  • Ready Seal is available in a wide range of colors, so you can choose the one that best complements your home’s exterior.
  • Ready Seal is easy to apply. You can use a brush, roller, or sprayer to apply it to your wood surface.
  • Ready Seal is designed to be used on all types of exterior wood surfaces, including decks, fences, siding, and more.
  • Ready Seal is formulated to stain and seal your projects, all in one step. This means you don’t have to apply a separate sealer after staining your wood.

In summary, using Ready Seal wood stain/sealer is a great way to protect and enhance the natural beauty of your wood surfaces. With its easy application and long-lasting protection, it’s no wonder that Ready Seal is a popular choice among homeowners and contractors alike.

The Recommendation of Two Coats

When it comes to applying Ready Seal wood stain/sealer, it is recommended to use two coats for the best results. In this section, we will explore why two coats are recommended and the impact of using two coats on wood protection.

Why Two Coats Are Recommended

Using two coats of Ready Seal wood stain/sealer ensures that the wood is fully covered and protected. The first coat penetrates the wood and prepares it for the second coat. The second coat provides a consistent finish and adds an extra layer of protection against weathering and UV rays.

Jangan lewatkan kesempatan untuk meningkatkan strategi permainan Anda dengan data SGP terpercaya dari situs toto slot resmi kami. Bergabunglah dengan komunitas kami sekarang dan rasakan perbedaan dalam cara Anda bermain dan menang. Dengan data yang akurat dan layanan yang prima, Anda dapat meraih kemenangan lebih sering di situs toto dan menikmati setiap momen permainan. Daftar sekarang dan nikmati keuntungan dari live draw SGP yang akurat dan cepat!

Another reason why two coats are recommended is that it allows you to achieve a more even finish. If you only apply one coat, you may end up with uneven areas that are more prone to wear and tear.

The Impact of Two Coats on Wood Protection

Using two coats of Ready Seal wood stain/sealer can significantly improve the protection of your wood. The first coat penetrates the wood and seals it from the inside out. The second coat provides an extra layer of protection that helps to prevent moisture from penetrating the wood.

By using two coats, you can also extend the life of your wood. The extra layer of protection helps to prevent damage from weathering, UV rays, and other environmental factors that can cause wood to deteriorate over time.

In summary, using two coats of Ready Seal wood stain/sealer is recommended for the best results. It provides a more even finish and improves the protection of your wood. By following this recommendation, you can ensure that your wood stays in great condition for years to come.

One Coat Application

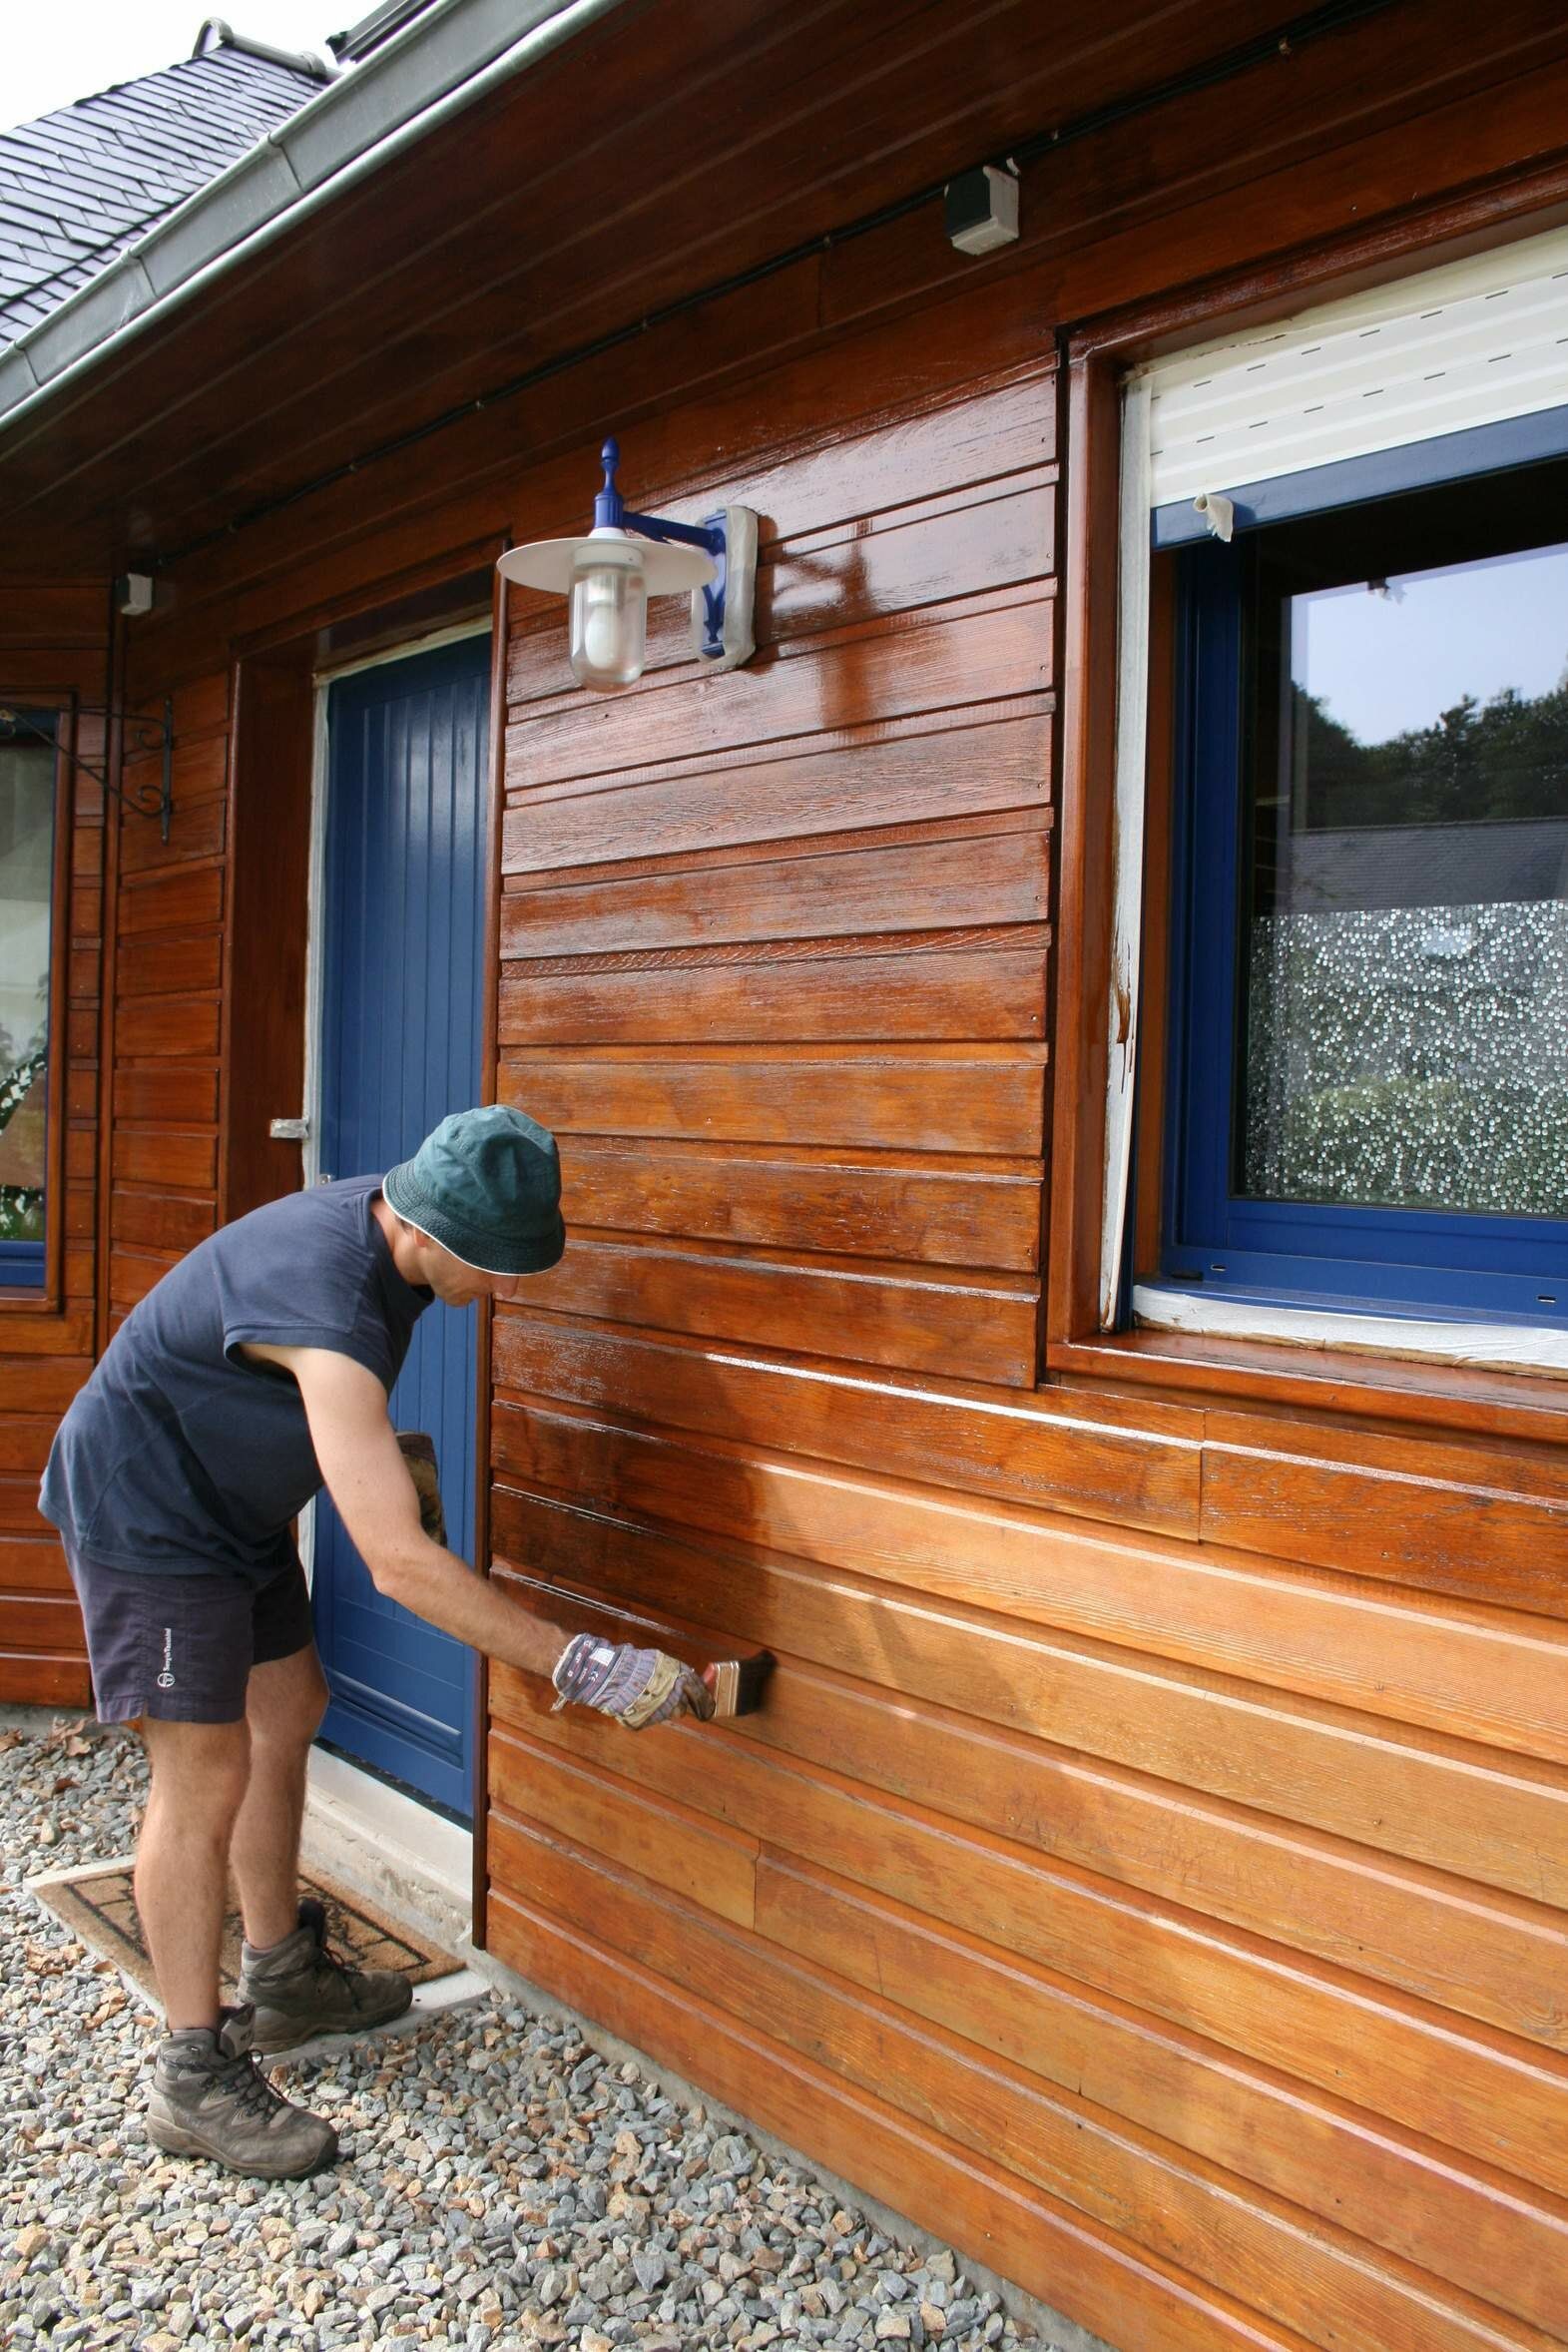
one-coat-application

If you’re wondering whether one coat of Ready Seal is enough for your wood staining project, the answer is: it depends. In some cases, one coat is sufficient, while in others, it may be necessary to apply two coats for optimal results.

When Is One Coat Sufficient?

If you’re staining a new, smooth wood surface, one coat of Ready Seal may be enough. This is because the wood is less porous and will absorb the stain more evenly. Additionally, if you’re looking for a lighter, more natural finish, one coat may be enough to achieve the desired look.

Pros and Cons of One Coat Application

There are both advantages and disadvantages to applying only one coat of Ready Seal. Here are a few to consider:

Pros

  • Saves time and money: Applying only one coat will save you time and money on materials.
  • Natural look: If you’re looking for a more natural, subtle finish, one coat may be sufficient.

Cons

  • Less protection: One coat of stain may not provide enough protection for your wood surface, leaving it vulnerable to damage from the elements.
  • Uneven coverage: Depending on the type of wood and the application method, one coat may result in uneven coverage and an inconsistent finish.

Ultimately, the decision to apply one or two coats of Ready Seal will depend on your specific project and preferences. Consider the type of wood you’re staining, the look you want to achieve, and the level of protection you need before making your decision.

Comparison Between One Coat and Two Coats

When it comes to applying Ready Seal wood stain/sealer, you may be wondering if you should use one coat or two. While one coat may seem like a quicker and more cost-effective option, there are benefits to using two coats as recommended. In this section, we will compare the durability, cost-effectiveness, and time consumption of using one coat versus two coats.

Durability

One of the main benefits of using two coats of Ready Seal is increased durability. The second coat helps to provide an extra layer of protection against weathering, UV rays, and other environmental factors. This means that your wood will be better protected and will last longer with two coats of Ready Seal rather than just one.

Cost Effectiveness

While using two coats of Ready Seal may seem more expensive upfront, it can actually be more cost-effective in the long run. With two coats, your wood will be better protected and will require less maintenance over time. This means that you may save money on repairs and replacements in the future.

Time Consumption

Using two coats of Ready Seal will take more time than using just one coat. However, the extra time spent applying the second coat can be worth it in the long run. With two coats, you will have better protection and a longer-lasting finish on your wood.

In summary, while using one coat of Ready Seal may seem like a quicker and more cost-effective option, using two coats can provide increased durability, cost-effectiveness, and a longer-lasting finish. Consider these factors when deciding whether to use one coat or two.

Application Tips for Ready Seal Wood Stain/Sealer

application-tips-for-ready-seal-wood-stainsealer

When applying Ready Seal Wood Stain/Sealer, it is essential to follow the manufacturer’s recommendations to achieve the desired results. Here are some tips to help you apply Ready Seal Wood Stain/Sealer effectively:

1. Prepare the Surface

Before applying Ready Seal, make sure the surface is clean, dry, and free of any dust, dirt, or other debris. If the surface is rough, sand it down to a smooth finish. If the wood is new, allow it to weather for at least six months before applying Ready Seal.

2. Apply the Stain/Sealer

When applying Ready Seal, it is recommended to use a brush, roller, or sprayer. Pour the stain/sealer into a paint tray or bucket and start applying it to the wood surface. Make sure to apply it evenly and avoid overlapping the strokes.

3. Use Two Coats

While Ready Seal can be applied in a single coat, it is recommended to use two coats for the best results. The second coat will provide better protection and coverage, especially on rough or weathered wood.

4. Pour Carefully

When pouring Ready Seal into a paint tray or bucket, make sure to pour it slowly and carefully. Pouring too fast can cause the stain/sealer to splash and spill, which can be difficult to clean up.

5. Avoid Over-Spraying

When using a sprayer to apply Ready Seal, make sure to use a cardboard or spray shield to control overspray. Overspraying can cause the stain/sealer to coat unintended areas, which can be difficult to remove.

By following these tips, you can ensure that your Ready Seal Wood Stain/Sealer application is effective and long-lasting.

Frequently Asked Questions

How many coats of wood sealer should I use?

The number of coats of wood sealer you should use depends on the type of wood and the condition of the surface. In general, it is recommended to apply two coats of sealer to achieve a consistent, long-lasting finish.

Is one coat of Ready Seal enough?

While one coat of Ready Seal may be sufficient for some projects, it is recommended to use two coats for best results. This will ensure that the surface is adequately protected and that the color is consistent.

Does Ready Seal require two coats?

Yes, it is recommended to use two coats of Ready Seal on exterior wood surfaces. This will create a consistent, long-lasting finish. If the wood surface is rough, or if you are applying the Ready Seal to a large area, it is especially important to use two coats.

How many coats of stain and sealer do I need?

To achieve the best results, it is recommended to use two coats of stain and sealer on exterior wood surfaces. This will create a consistent, long-lasting finish.

What is the coverage of Ready Seal?

The coverage of Ready Seal will vary depending on the type of wood and the condition of the surface. On average, one gallon of Ready Seal will cover approximately 150-200 square feet with one coat.

What are the available colors of Ready Seal?

Ready Seal is available in a variety of colors, including natural cedar, pecan, dark walnut, redwood, light oak, mahogany, burnt hickory, and mission brown.