Are you planning to attach tile to a wooden surface and wondering what the best way to do it is? If so, you’re not alone. Many people face this challenge, and it can be tricky to find the right solution. Fortunately, there are several methods you can use to attach tile to wood, each with its own advantages and disadvantages.
One of the most popular ways to attach tile to wood is by using construction adhesive. This strong, durable adhesive is ideal for wet areas like bathrooms and kitchens, as it is waterproof and can hold your tiles in place for years. Another option is to use mastic glue, which is cost-effective and can be used to fix tiles into plywood effortlessly. However, mastic glue is not suitable for outdoor tiling as it is susceptible to harsh weather conditions. Additionally, you can use a combination of thinset mortar and construction adhesive for a more secure attachment. Whatever method you choose, it’s essential to make sure that the wood surface is even, flat, and finished before beginning the tiling process.
Understanding Tile and Wood
When it comes to attaching tile to wood, it’s important to understand the properties of both materials. In this section, we’ll take a closer look at the characteristics of tile and wood.
Properties of Tile

Tile is a popular flooring material that comes in a variety of materials, including ceramic, porcelain, and natural stone. Here are some of the key properties of tile:
- Durability: Tile is a highly durable material that can withstand heavy foot traffic and is resistant to scratches, stains, and moisture.
- Variety: With so many different types of tile available, there’s a style to suit every taste and decor.
- Maintenance: Tile is relatively easy to clean and maintain, making it a popular choice for kitchens and bathrooms.
- Installation: Installing tile can be a complex process that requires specialized tools and expertise.
Characteristics of Wood
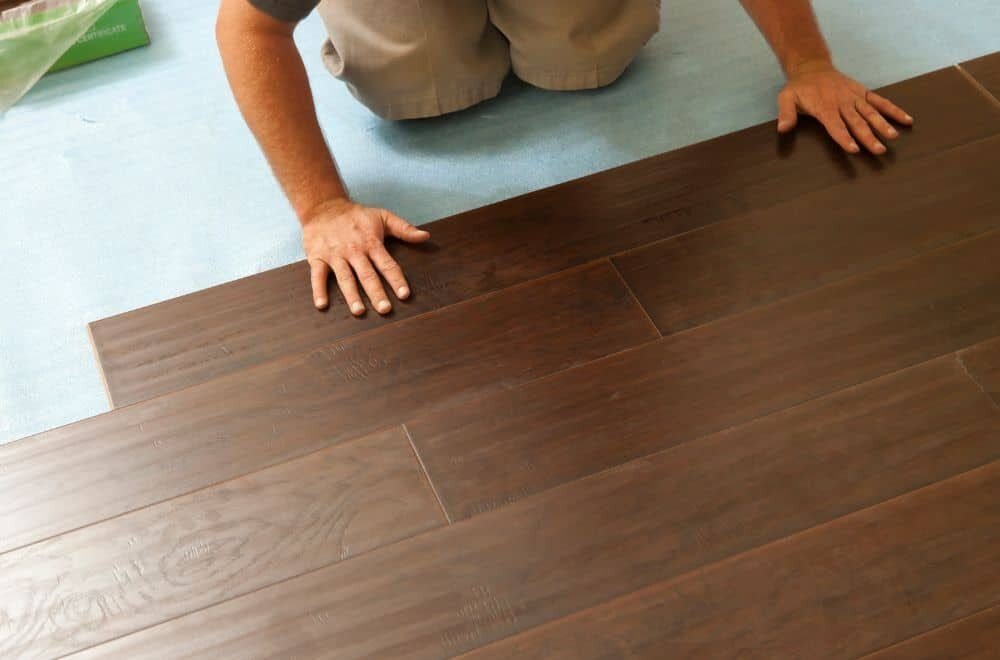
Wood is a classic flooring material that adds warmth and character to any space. Here are some of the key characteristics of wood:
- Natural beauty: Wood has a natural beauty that can’t be replicated by other materials.
- Versatility: Wood can be stained or painted to match any decor style.
- Comfort: Wood flooring is comfortable underfoot and provides insulation against cold temperatures.
- Maintenance: Wood requires regular maintenance, including refinishing and sealing, to keep it looking its best.
- Susceptibility to moisture: Wood is susceptible to moisture damage and should not be installed in areas with high humidity or moisture levels.
By understanding the properties of tile and wood, you can make an informed decision about which material is best for your flooring needs.
Necessary Tools and Materials
Tile Adhesives
When attaching tile to wood, you’ll need to use a tile adhesive that is specifically designed for this purpose. There are several types of adhesives available, including thinset mortar, mastic, and epoxy. Thinset mortar is the most commonly used adhesive for tile installation, as it provides a strong bond and is resistant to moisture. Mastic is a good choice for smaller tiles and for walls, but it is not recommended for high-moisture areas. Epoxy is the strongest adhesive available, but it is also the most expensive and difficult to work with.
To choose the right adhesive for your project, consider the size and type of tile you’ll be using, as well as the location and level of moisture in the area. Always follow the manufacturer’s instructions for mixing and applying the adhesive.
Equipment Needed
In addition to the tile adhesive, you’ll need a few other tools and materials to attach tile to wood. Here are the essentials:
- Backer board: This is a cement-based material that is installed over the wood subfloor to provide a stable surface for the tile. It comes in sheets and should be cut to fit the room using a circular saw or jigsaw.
- Trowel: This is used to spread the adhesive onto the backer board. Choose a trowel with the appropriate size notches for your tile size.
- Level: A level will help you ensure that the backer board is installed evenly.
- Tile spacers: These small plastic pieces are used to create even gaps between the tiles.
- Tile cutter or wet saw: Depending on the type of tile you’re using, you’ll need either a tile cutter or a wet saw to cut the tiles to size.
- Grout: This is used to fill in the gaps between the tiles. Choose a color that complements your tile and follow the manufacturer’s instructions for mixing and applying the grout.
- Rubber float: This tool is used to spread the grout over the tiles and into the gaps.
- Sponge: A damp sponge is used to wipe away excess grout and clean the tiles after grouting.
With these tools and materials on hand, you’ll be ready to tackle your tile installation project with confidence.
Preparation Steps
Before you start attaching tiles to wood, there are some essential preparation steps you need to follow. These steps will ensure that your tiles adhere properly to the surface, and you get the desired results. Here are the two critical preparation steps you should follow:
Preparing the Wood Surface
The first step is to prepare the wood surface where you will attach the tiles. The wood surface needs to be clean, smooth, and free from any dust, dirt, or debris. You can use a vacuum cleaner or a broom to remove any dirt or debris. After cleaning, you need to sand the wood surface to make it smooth. Sanding will also help the adhesive bond better with the wood surface.
Choosing the Right Tile
The second step is to choose the right tile for your project. When choosing tiles, you need to consider the size, shape, and type of tile. The size and shape of the tile should match the surface where you will attach them. The type of tile should also be suitable for the area where you will install it. For example, if you are installing tiles in a bathroom, you should choose tiles that are water-resistant and slip-resistant.
Once you have prepared the wood surface and chosen the right tile, you are ready to attach the tiles to the wood surface. Remember to follow the manufacturer’s instructions when applying the adhesive and grout. With proper preparation and installation, you can achieve a beautiful and long-lasting tile installation on wood.
Attachment Process
When it comes to attaching tile to wood, there are a few key steps you need to follow to ensure a successful installation. In this section, we’ll go over the two main steps of the attachment process: applying the adhesive and setting the tile.
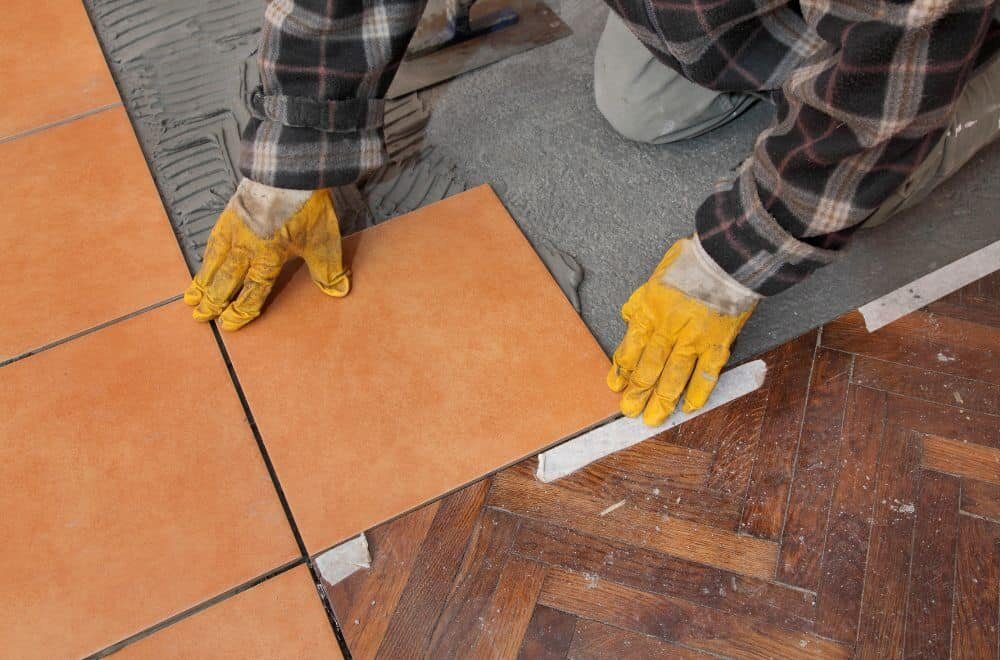
Applying the Adhesive
The first step in attaching tile to wood is to apply the adhesive. There are a few different types of adhesive you can use, but the most common is thinset mortar. Here’s how to apply it:
- Mix the mortar according to the manufacturer’s instructions. You’ll want to mix it to a consistency that’s similar to peanut butter.
- Using a notched trowel, spread the mortar onto the wood surface in an even layer.
- Make sure the mortar is spread evenly and covers the entire surface. You don’t want any areas to be missed.
- Once the mortar is applied, wait a few minutes for it to set up. This will help it bond better to the tile.
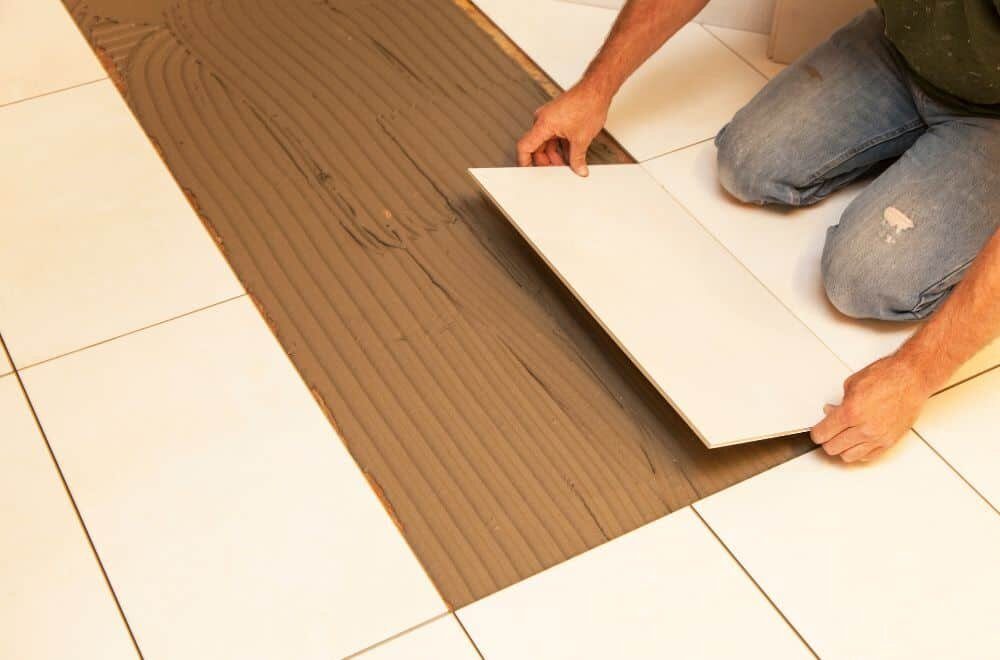
Setting the Tile
Once the adhesive is applied, it’s time to set the tile. Here’s how to do it:
- Start by placing the first tile in the corner of the room. Make sure it’s lined up with your layout lines.
- Press the tile down firmly into the adhesive. You’ll want to wiggle it back and forth a bit to ensure it’s fully embedded in the mortar.
- Continue placing tiles in a straight line along the first row. Use spacers to ensure even spacing between the tiles.
- Once the first row is complete, start on the second row. Stagger the tiles so that the joints don’t line up with the joints in the first row.
- Continue setting tiles row by row until the entire surface is covered.
Remember to work in small sections at a time to ensure the adhesive doesn’t dry out before you have a chance to set the tile. And always double-check your layout lines to make sure your tiles are going in straight. With these steps, you’ll be able to attach tile to wood with confidence and create a beautiful, long-lasting installation.
Post-Attachment Care
After attaching tile to wood, it’s important to take proper care of the surface to ensure it lasts as long as possible. Here are some tips for post-attachment care:
Cleaning the Tile
To keep your tile looking its best, it’s important to clean it regularly. Here are some tips for cleaning tile:
- Use a soft-bristled brush or sponge to avoid scratching the surface of the tile.
- Avoid using harsh chemicals or abrasive cleaners, as they can damage the surface of the tile.
- Use a mild detergent and warm water to clean the tile. Be sure to rinse thoroughly to avoid leaving any residue behind.
Maintaining the Wood
In addition to cleaning the tile, it’s important to take care of the wood surface as well. Here are some tips for maintaining the wood:
- Keep the wood surface dry to avoid warping or rotting. If the wood does get wet, be sure to dry it thoroughly.
- Avoid placing heavy objects on the wood surface, as this can cause it to warp or crack.
- Apply a sealant or protective coating to the wood surface to help protect it from moisture and other damage.
By following these tips for post-attachment care, you can help ensure that your tile and wood surface stay looking great for years to come.
Frequently Asked Questions
What is the recommended adhesive for attaching tile to wood?
The recommended adhesive for attaching tile to wood is a combination of thinset mortar and construction adhesive. This method is the most secure and will ensure that the tile stays in place for a long time. Make sure the wood surface is relatively even, flat, and finished before beginning.
Can ceramic tiles be safely installed on a wooden floor?
Yes, ceramic tiles can be safely installed on a wooden floor. However, it is important to ensure that the wooden floor is stable and free from any movement before installing the tiles. It is also recommended to use a cement backer board to help stabilize the wooden floor and provide a good surface for the tiles to adhere to.
How can I attach wood trim to tile without damaging either surface?
To attach wood trim to tile without damaging either surface, use a construction adhesive that is specifically designed for use with both wood and tile. Apply the adhesive to the back of the wood trim and press it firmly onto the tile surface. Hold it in place until the adhesive dries completely.
Is it possible to put tiles directly onto a wooden surface?
It is possible to put tiles directly onto a wooden surface, but it is not recommended. Wood is a porous material that can expand and contract with changes in temperature and humidity. This movement can cause the tiles to crack or come loose. It is recommended to use a cement backer board to provide a stable surface for the tiles to adhere to.
What is the best way to attach tile to a wooden countertop?
The best way to attach tile to a wooden countertop is to use a combination of thinset mortar and construction adhesive. Apply a layer of thinset mortar to the wooden countertop and then press the tiles firmly into place. Allow the mortar to dry completely before applying a layer of construction adhesive to the back of the tiles. Press the tiles firmly onto the countertop and hold them in place until the adhesive dries completely.
What are some tips for using mastic glue to attach tile to wood?
When using mastic glue to attach tile to wood, it is important to make sure that the wood surface is clean and free from any debris. Apply a thin layer of mastic glue to the back of the tiles and press them firmly into place. Make sure to work quickly, as mastic glue tends to dry quickly. Avoid using mastic glue in areas that are exposed to moisture, as it is not waterproof.