Are you looking for a fun and creative project to do in your spare time? Why not try making your own wooden turntable? Not only is it a great way to showcase your DIY skills, but it also allows you to customize your turntable to your own personal taste and style.
Making a wooden turntable may seem like a daunting task, but with the right tools and a little bit of patience, it can be a fun and rewarding experience. Whether you’re a seasoned woodworker or a beginner, there are plenty of resources available to help guide you through the process. From cutting your scrap wood boards to the desired size and shape, to assembling the hardware and base, each step is crucial in creating a functional and beautiful turntable. So why not give it a try and see what you can create?
Understanding the Basics of Turntables
If you’re interested in making a wooden turntable, it’s important to understand the basics of how turntables work. Here are a few key things to keep in mind:
Components of a Turntable
A turntable is made up of several key components, including:
- Plinth: This is the base of the turntable, and it’s typically made of wood or plastic.
- Platter: This is the circular disc that spins and holds the record.
- Tonearm: This is the long, thin arm that holds the cartridge and stylus.
- Cartridge: This is the component that holds the stylus (needle) and converts the vibrations from the stylus into an electrical signal.
- Stylus: This is the needle that actually touches the record and reads the grooves.
How Turntables Work
When you place a record on a turntable and start it spinning, the stylus on the tonearm is lowered onto the record. As the record spins, the stylus follows the grooves, which vibrate the stylus. The cartridge converts these vibrations into an electrical signal, which is then sent to an amplifier and eventually to your speakers.
Types of Turntables
There are several types of turntables available, including:
- Belt-drive: These turntables use a belt to connect the motor to the platter, which reduces vibrations and noise.
- Direct-drive: These turntables have the motor directly connected to the platter, which provides more torque and faster start-up times.
- Idler-wheel: These turntables use a wheel to connect the motor to the platter, which provides good speed stability but can be noisy.
Turntable Maintenance
To keep your turntable in good working order, it’s important to perform regular maintenance. This includes:
- Cleaning the stylus regularly to remove dust and debris.
- Keeping the platter and tonearm clean and free of dust.
- Checking and adjusting the tracking force (the pressure of the stylus on the record).
- Replacing the stylus and cartridge as needed.
By understanding the basics of turntables, you’ll be better equipped to make a wooden turntable that sounds great and is easy to maintain.
Choosing the Right Type of Wood
When it comes to making a wooden turntable, the type of wood you choose can make a significant impact on the final product’s quality and durability. Here are some things to consider when choosing the right type of wood for your turntable project:
Hardwoods vs. Softwoods
Hardwoods are denser and more durable than softwoods, making them an excellent choice for turntable construction. Some popular hardwood options include oak, maple, and walnut. Softwoods, such as pine or cedar, are less dense and more prone to warping or distortion, which can negatively affect the turntable’s sound quality.
Plywood vs. Solid Wood
Plywood is a popular choice for turntable construction due to its stability and strength. It consists of thin layers of wood glued together, making it less prone to warping or distortion. Solid wood, on the other hand, can be more challenging to work with, as it is more prone to warping and cracking. However, solid wood can provide a more natural and organic look to your turntable.
Grain Orientation
The direction of the wood grain can also affect the sound quality of your turntable. Generally, it is best to choose wood with a straight, consistent grain pattern. Avoid wood with knots or irregularities that can cause distortion or vibration.
Other Considerations
In addition to the factors mentioned above, you should also consider the wood’s color and texture and how it will match your overall design aesthetic. Some woods, such as cherry or mahogany, have a rich, warm tone that can add to the turntable’s overall sound quality. Others, such as ash or birch, have a lighter, more natural look that can complement modern or minimalist designs.
Ultimately, the choice of wood for your turntable project will depend on your personal preferences and the specific qualities you are looking for in your final product. Take the time to research and compare different wood types to find the one that best suits your needs and budget.
Gathering Necessary Tools
To make a wooden turntable, you will need to gather a few essential tools. In this section, we will go over the necessary measuring tools, cutting tools, and sanding tools you will need for the project.
Measuring Tools
Accuracy is key when building a turntable, so you will need a few measuring tools to ensure everything is cut to the correct size. Here are the measuring tools you will need:
- Tape measure: A tape measure is essential for measuring the length and width of your wood boards accurately.
- Combination square: This tool will help you make precise 90-degree cuts and measure angles.
- Carpenter’s square: A carpenter’s square is useful for checking the accuracy of your cuts and ensuring your turntable is square.
Cutting Tools
To cut your wooden boards to size, you will need a few cutting tools. Here are the cutting tools you will need:
- Circular saw: A circular saw is a power tool that will make quick work of cutting your wooden boards to size.
- Jigsaw: A jigsaw is useful for cutting curves and intricate shapes.
- Hand saw: A hand saw is a good backup option if you don’t have access to a circular saw or jigsaw.
Sanding Tools
After cutting your wooden boards, you will need to sand them to ensure they are smooth and free of splinters. Here are the sanding tools you will need:
- Sandpaper: You will need sandpaper in various grits, from coarse to fine, to sand your wooden boards.
- Sanding block: A sanding block will help you sand your wooden boards evenly and prevent over-sanding in certain areas.
- Orbital sander: An orbital sander is a power tool that will make sanding your wooden boards much quicker and easier.
With these measuring tools, cutting tools, and sanding tools, you will be well-equipped to start building your wooden turntable.
Creating the Base of the Turntable
The base of the turntable is the foundation of your wooden turntable. It’s important to make sure that it is sturdy and level to ensure that your turntable functions properly. Here are the steps to create the base of your turntable:
- Cut a piece of scrap wood to the desired size and shape of your turntable base. A circular or square shape is common for turntables.
- Sand the edges and surface of the wood to ensure it is smooth and free of any rough spots or splinters.
- Apply a wood finish to the base to protect it from moisture and give it a polished look. You can use a clear coat or stain depending on your preference.
- Attach the turntable bearing to the center of the base. The bearing is what allows the turntable to rotate smoothly. You can use screws or wood glue to secure the bearing in place.
- Install the motor to the base. The motor is what drives the rotation of the turntable. Make sure it is securely attached and level to prevent any wobbling or uneven rotation.
- Finally, attach the platter to the top of the bearing. The platter is what holds your vinyl record and rotates as the motor spins. Make sure it is centered and level to prevent any warping or skipping of your records.
By following these steps, you can create a sturdy and functional base for your wooden turntable. With a little bit of patience and attention to detail, you’ll be able to enjoy your favorite vinyl records with a handmade turntable that you can be proud of.
Making the Platter
The platter is one of the most important parts of a turntable because it holds the record and spins it. It’s crucial to have a flat and stable platter to get the best sound quality. Here’s how you can make your own platter:
Step 1: Choose the Material
The platter can be made of various materials such as wood, acrylic, aluminum, or glass. Each material has its own advantages and disadvantages, so choose the one that suits your needs and budget. For example, wood can provide a warm sound but may require more maintenance, while aluminum is durable and easy to clean but can be expensive.
Step 2: Cut and Shape the Material
Once you have chosen the material, cut it to the desired size and shape. A circular shape is the most common, but you can also make a square or rectangular platter. Use a saw or a CNC machine to cut the material and a router to shape the edges.
Step 3: Add Weight and Stability
To improve stability and reduce vibrations, you can add weight to the platter. You can do this by attaching a metal weight to the bottom or by filling the platter with sand or lead shot. Make sure the weight is evenly distributed to avoid imbalances.
Step 4: Finish the Platter
Sand the surface of the platter to make it smooth and flat. You can also apply a finish to protect the material and enhance its appearance. For example, you can use oil or wax for wood, or powder coat for metal.
By following these steps, you can make a platter that will provide a stable and flat surface for your records, resulting in a better sound quality.
Assembling the Parts
Now that you have all the necessary parts, it’s time to assemble your wooden turntable. Follow these steps to put everything together:
-
Begin by placing the platter onto the spindle. Make sure it fits snugly and is centered.
-
Attach the motor to the motor mount using screws or bolts. Then, attach the motor mount to the base of the turntable using screws or bolts.
-
Attach the belt to the motor pulley and the platter pulley. Make sure it is tight and properly aligned.
-
Place the tonearm onto the tonearm mount and secure it with screws or bolts. Attach the counterweight to the end of the tonearm.
-
Connect the tonearm wires to the phono preamp or amplifier. Make sure you connect the left and right channels correctly.
-
Attach any additional components, such as a dust cover or feet.
-
Finally, plug in the turntable and test it out. Make sure everything is working properly before using it to play your vinyl records.
Congratulations, you have successfully assembled your own wooden turntable!
Finishing Touches
Once you have constructed your wooden turntable, it is time to add the finishing touches. This will ensure that your turntable looks great and is protected from wear and tear. There are two main steps to finishing your turntable: sanding the surface and applying the finish.
Sanding the Surface
Before applying any finish, you should sand the surface of your turntable. This will remove any rough spots or imperfections and create a smooth surface for the finish to adhere to. Here are some tips for sanding your turntable:
- Start with a coarse sandpaper (around 80 grit) and work your way up to a finer grit (around 220 grit).
- Sand in the direction of the grain to avoid creating scratches.
- Use a sanding block to ensure even sanding.
- Wipe the surface with a damp cloth to remove any dust or debris.
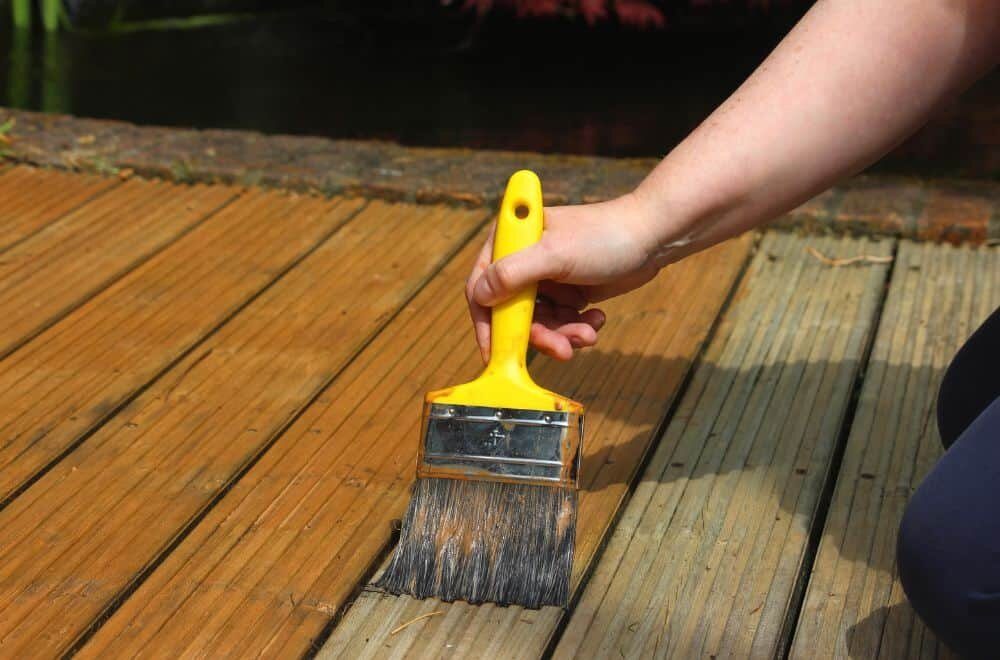
Applying the Finish
Once you have sanded your turntable, you can apply the finish. There are many different types of finishes you can use, including oils, varnishes, and stains. Here are some tips for applying the finish:
- Follow the manufacturer’s instructions for the specific finish you are using.
- Apply the finish in thin, even coats using a brush or cloth.
- Allow each coat to dry completely before applying the next coat.
- Sand lightly between coats to remove any imperfections.
- Apply at least 2-3 coats for a durable finish.
With these simple steps, you can add the finishing touches to your wooden turntable and ensure that it looks great and lasts for years to come.
Installing the Turntable Mechanism
Once you have finished constructing the wooden turntable, it’s time to install the turntable mechanism. Here’s a step-by-step guide to help you through the process:
-
Gather the necessary tools and materials. You will need a drill, screws, a screwdriver, and the turntable mechanism itself.
-
Determine the placement of the turntable mechanism. You want to make sure it is centered and level. Use a ruler or measuring tape to find the exact center of the turntable and mark it with a pencil.
-
Drill a pilot hole for the mechanism. Use a drill bit that is slightly smaller than the screws that came with the mechanism. This will help prevent the wood from splitting when you screw in the screws.
-
Screw in the mechanism. Place the mechanism over the pilot hole and screw it in place using the screws provided. Make sure it is level and centered.
-
Test the turntable. Give it a spin to make sure it rotates smoothly. If it doesn’t, adjust the placement of the mechanism until it does.
-
Attach the platter. The platter is the circular piece that sits on top of the turntable mechanism. It is usually held in place with a spindle or clamp. Follow the instructions that came with your turntable mechanism to attach the platter.
Congratulations! You have successfully installed the turntable mechanism on your wooden turntable. Now it’s time to enjoy your new creation and listen to some music!
Safety Tips While Working with Wood
Woodworking is a fun and rewarding hobby, but it can also be dangerous if proper safety precautions are not taken. Here are some safety tips to keep in mind while working with wood:
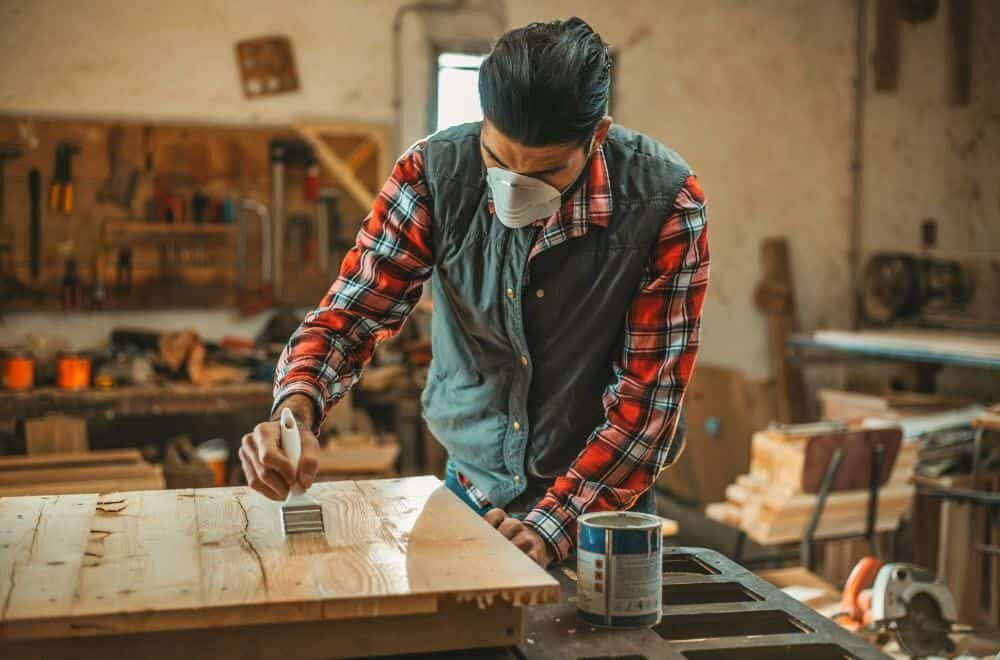
Wear Safety Gear
Always wear appropriate safety gear when woodworking. This includes safety glasses, hearing protection, and a dust mask. Gloves can also be worn to protect your hands, but make sure they fit properly and do not get caught in the machinery.
Keep Your Workspace Clean and Organized
A clean and organized workspace is essential for safe woodworking. Keep your tools and materials organized and within easy reach. Sweep up sawdust and wood chips regularly to prevent slips and falls.
Use Tools Properly
Make sure you know how to use each tool properly before using it. Follow the manufacturer’s instructions and use the appropriate blade or bit for the job. Never force a tool or use it in an unintended way.
Avoid Loose Clothing and Jewelry
Loose clothing and jewelry can get caught in machinery and cause serious injury. Wear close-fitting clothing and remove all jewelry before working with wood.
Keep Children and Pets Away
Children and pets should never be allowed in a woodworking area. They can distract you or accidentally get in harm’s way. Always work in a secure area away from children and pets.
Take Breaks
Working with wood can be tiring and lead to fatigue, which can increase the risk of accidents. Take frequent breaks to rest and stretch your muscles. This will help you stay focused and alert while working.
Remember to always prioritize safety when working with wood. By following these tips, you can enjoy your woodworking hobby while minimizing the risk of injury.