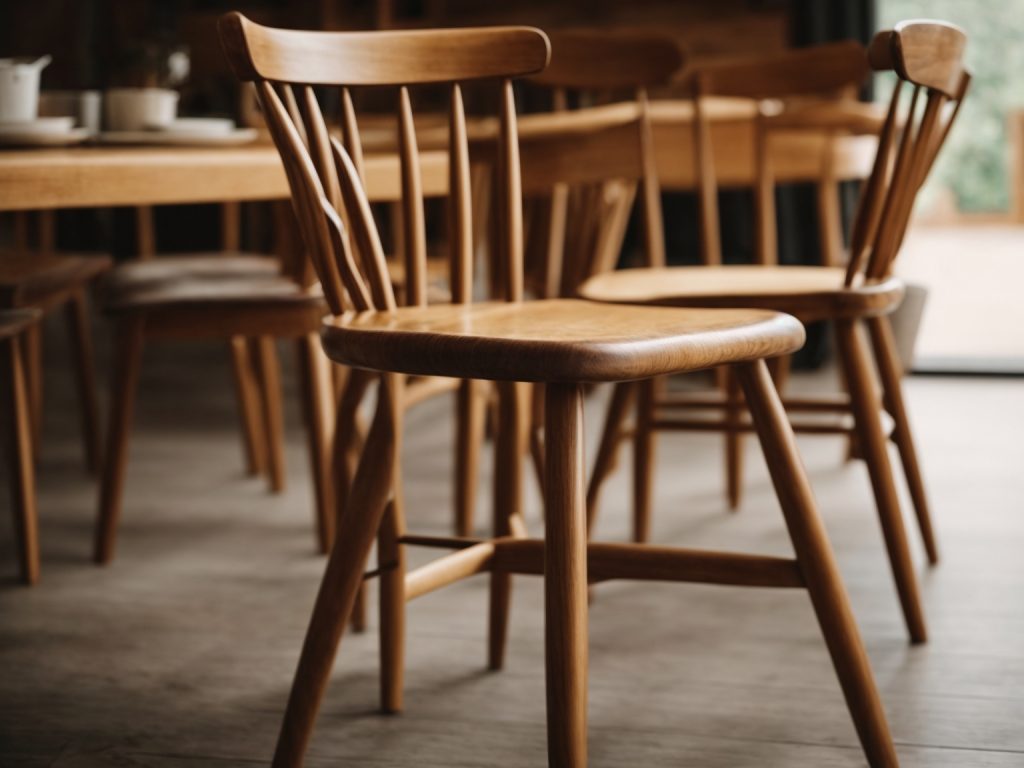
If you have wooden chairs in your home, you know that they can accumulate dirt, dust, and grime over time. Cleaning them may seem like a daunting task, but with the right tools and techniques, it can be a breeze. In this article, we will provide you with tips and tricks on how to clean your wooden chairs effectively and efficiently.
One of the most important things to keep in mind when cleaning wooden chairs is to avoid using harsh chemicals that can damage the wood. Instead, opt for gentle cleaners that are specifically designed for wood. You can use an oil-based cleaner or a mixture of dish soap and water to remove dirt and grime from the surface of the wood. It is also important to avoid using too much water, as this can cause the wood to warp or become discolored.
Another important aspect of cleaning wooden chairs is to pay attention to the details. Make sure to clean not only the surface of the wood but also the crevices and corners where dirt can accumulate. Use a soft-bristled brush or a toothbrush to get into hard-to-reach areas. By following these tips, you can keep your wooden chairs looking clean and beautiful for years to come.
Understanding the Type of Wood
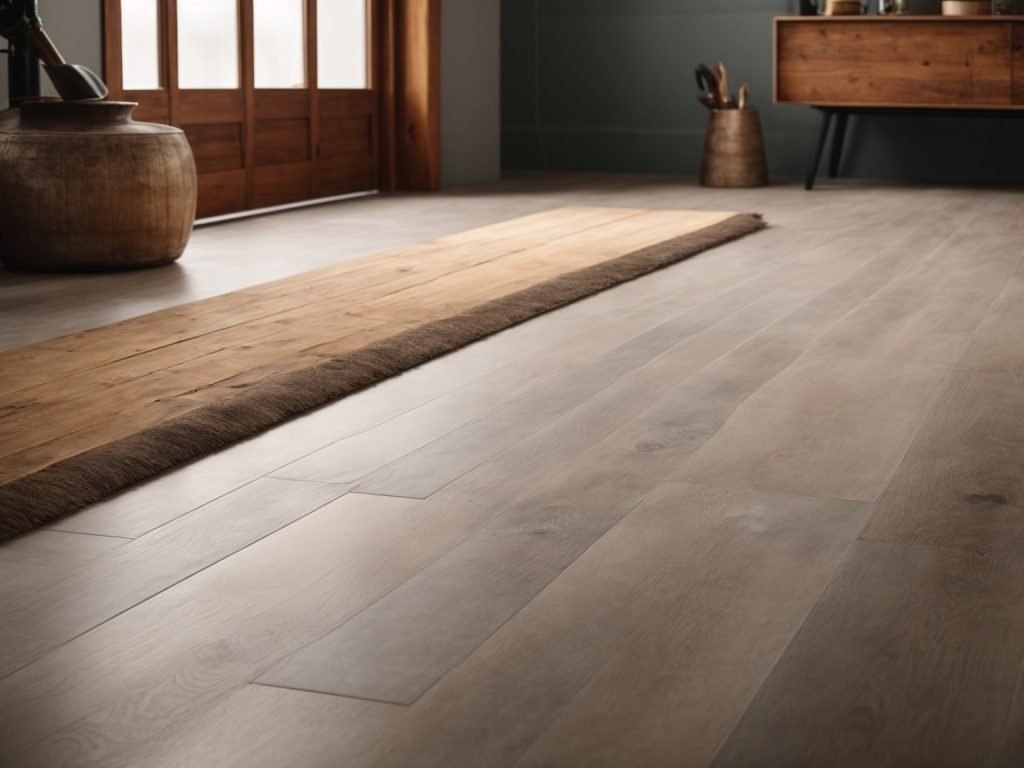
When it comes to cleaning wooden chairs, it is essential to understand the type of wood and finish you are dealing with. Different types of wood and finishes require different cleaning methods to avoid damaging the wood. In this section, we will discuss how to identify your wood and determine the finish.
Identify Your Wood
The first step in cleaning your wooden chair is to identify the type of wood it is made of. Different types of wood have different characteristics, and some are more delicate than others. Here are some common types of wood used in furniture:
- Oak: A hardwood that is durable and has a coarse texture.
- Pine: A softwood that is lightweight and has a fine texture.
- Mahogany: A hardwood that is durable and has a reddish-brown color.
- Maple: A hardwood that is durable and has a fine texture.
- Walnut: A hardwood that is durable and has a dark brown color.
To identify your wood, you can look for clues such as the color, grain pattern, and texture. You can also consult a furniture expert or use a wood identification guide.
Determine the Finish
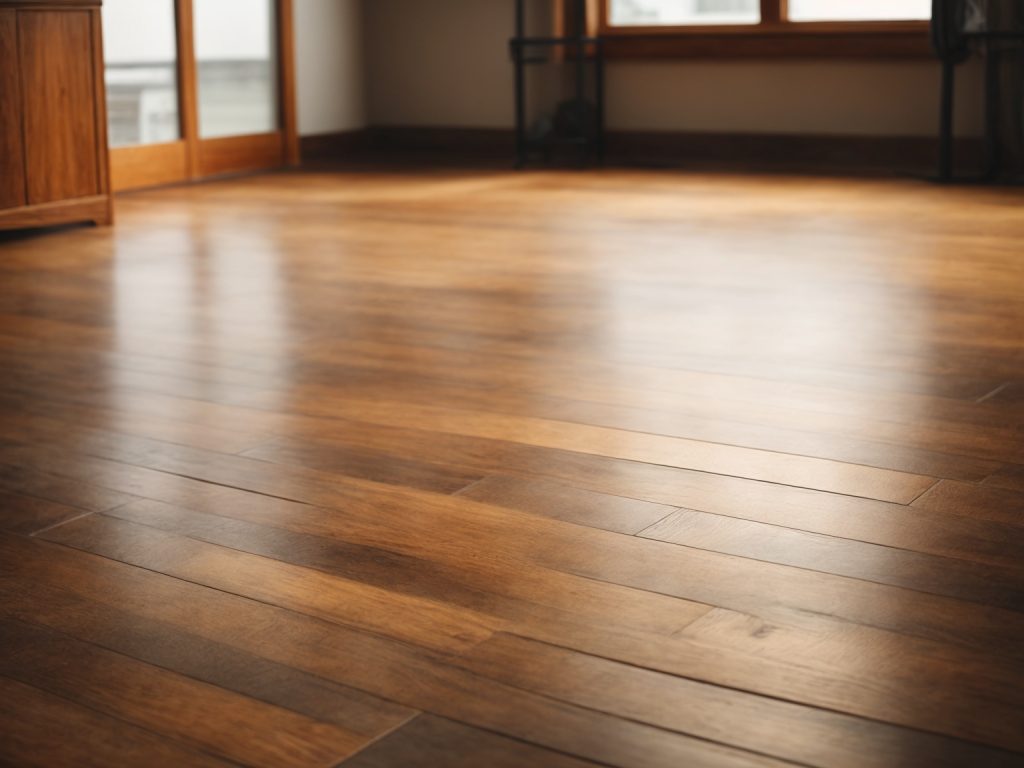
Once you have identified your wood, the next step is to determine the finish. The finish is the protective layer applied to the wood to enhance its appearance and protect it from damage. Here are some common types of finishes:
- Varnish: A clear or tinted finish that provides a hard, durable surface.
- Lacquer: A clear or tinted finish that dries quickly and provides a hard, durable surface.
- Wax: A natural finish that provides a soft, lustrous surface.
- Oil: A natural finish that penetrates the wood to enhance its natural beauty.
To determine the finish, you can look for clues such as the color, texture, and sheen. You can also consult a furniture expert or use a finish identification guide.
In conclusion, understanding the type of wood and finish is crucial in cleaning wooden chairs. By identifying your wood and determining the finish, you can choose the appropriate cleaning method and avoid damaging the wood.
Gathering Cleaning Supplies
Before you start cleaning your wooden chairs, it’s important to gather all the necessary cleaning supplies. Here are some things you’ll need:
Choosing Wood Cleaners
When it comes to cleaning wooden chairs, you want to make sure you’re using the right cleaner. Here are a few options:
- Oil-based cleaners: These are great for cleaning wood because they simultaneously cleanse the wood while infusing it with a conditioning treatment. Mineral oil is the most common oil used, but you can also use a vegetable oil-based treatment.
- Dish soap: Start with liquid dish soap and add a drop to a water-moistened cotton ball. This is a simple and effective way to clean your wooden chairs.
- Mineral spirits: This is an optional cleaner that can be used for tougher stains and grime. It’s important to use this cleaner with caution and follow the manufacturer’s instructions.
Selecting Cleaning Tools
In addition to choosing the right cleaner, you’ll also need the right tools to clean your wooden chairs. Here are a few options:
- Soft-bristled brush: Use a soft-bristled brush to gently scrub away dirt and grime from your wooden chairs.
- Microfiber cloth: This is a great tool for wiping down your wooden chairs after cleaning them.
- Vacuum: Use a vacuum with a soft-brush attachment to remove any loose dirt or debris from your wooden chairs.
By gathering the right cleaning supplies and tools, you’ll be well on your way to cleaning your wooden chairs like a pro.
Pre-Cleaning Steps
Before diving in and cleaning your wooden chairs, there are a few pre-cleaning steps you should take to ensure that the process goes smoothly. These steps include removing dust and checking for scratches.
Removing Dust
The first step in cleaning your wooden chairs is to remove any dust that may have accumulated on them. Dust can scratch the surface of the wood, so it’s important to remove it before you start cleaning. Here are a few methods you can use to remove dust from your wooden chairs:
- Use a soft-bristled brush or a microfiber cloth to gently brush away any dust.
- Use a vacuum cleaner with a soft brush attachment to remove dust from hard-to-reach areas.
- Use a can of compressed air to blow away dust from crevices and corners.
Checking for Scratches
Before you start cleaning your wooden chairs, it’s important to check for any scratches or other damage to the surface. Scratches can be caused by everyday wear and tear, pets, or furniture moving. Here’s how to check for scratches:
- Run your hand over the surface of the chair to feel for any rough spots or scratches.
- Use a flashlight to inspect the surface of the chair for any scratches or other damage.
- If you find any scratches, take note of their location and severity. This will help you determine the best cleaning method to use.
By taking these pre-cleaning steps, you’ll ensure that your wooden chairs are ready for a deep clean. Removing dust and checking for scratches will help you avoid causing further damage to the surface of the wood.
Deep Cleaning Process
When your wooden chair needs a thorough cleaning, follow these steps to get it looking like new again.
Applying Wood Cleaner
- Choose a wood cleaner that is appropriate for the type of wood your chair is made of. Read the label carefully to ensure it is safe to use on your chair.
- Apply the cleaner to a soft cloth or sponge, rather than directly onto the chair, to avoid saturating the wood.
- Rub the cleaner onto the chair, working in the direction of the grain. Be sure to cover all surfaces, including the underside of the seat and any crevices.
- Let the cleaner sit on the chair for the recommended amount of time, usually 5-10 minutes.
Scrubbing the Chair
- After the cleaner has had time to work, use a soft-bristled brush to scrub the chair, again working in the direction of the grain.
- Pay extra attention to any areas with stubborn stains or grime buildup.
- Wipe away the cleaner and any dirt or grime with a clean, damp cloth.
- Rinse the cloth frequently to avoid spreading dirt around.
- Once you have removed all the cleaner and dirt, use a dry cloth to wipe the chair down and remove any remaining moisture.
By following these steps, you can deep clean your wooden chair and restore its natural beauty. Remember to always test any new cleaner on a small, inconspicuous area of the chair before using it on the entire surface.
Drying and Polishing
After cleaning your wooden chair, it is important to dry it properly to prevent any water damage and to give it a shiny finish. Here are some tips on how to properly dry and polish your wooden chair.
Proper Drying Techniques
To dry your wooden chair, use a clean and dry cloth to wipe off any excess water. Make sure to dry all the nooks and crannies of the chair, including the corners and edges. If there are any hard-to-reach areas, use a soft-bristled brush to gently remove any remaining water.
After drying, leave the chair in a well-ventilated area to air dry completely. Avoid exposing the chair to direct sunlight or heat as this can cause the wood to warp or crack.
Polishing for Shine
To give your wooden chair a shiny finish, you can use a polish or wax. Apply a small amount of polish or wax onto a clean and dry cloth and rub it onto the chair in a circular motion. Make sure to cover all areas of the chair, including the legs and backrest.
Once you have applied the polish or wax, use a clean cloth to buff the chair in a circular motion. This will help to remove any excess polish or wax and give the chair a shiny finish.
Remember to always read the instructions on the polish or wax before using it on your wooden chair. Some polishes or waxes may not be suitable for certain types of wood or finishes.
By following these proper drying techniques and polishing tips, you can keep your wooden chair looking clean and shiny for years to come.
Maintaining Your Wooden Chairs
Wooden chairs are an elegant addition to any home. However, they require maintenance to keep them looking their best. Here are some tips on how to maintain your wooden chairs.
Routine Cleaning
Routine cleaning is essential to maintain the beauty and longevity of your wooden chairs. Dust and dirt can accumulate on the surface of the chairs, which can lead to scratches and damage. Follow these steps to clean your wooden chairs:
- Start by dusting the chairs with a soft cloth or feather duster. This will remove any loose dirt or dust from the surface of the chairs.
- Next, dampen a microfiber cloth with clean water and wipe the chairs down. Avoid using too much water, as it can damage the wood.
- For stubborn stains, mix a few drops of dish soap with warm water and use a soft cloth to clean the chairs. Rinse the cloth with clean water and wipe the chairs down again to remove any soap residue.
- Dry the chairs with a clean, dry cloth to prevent water damage.
Preventing Damage
Preventing damage is key to maintaining the beauty and longevity of your wooden chairs. Here are some tips on how to prevent damage to your wooden chairs:
- Avoid placing your wooden chairs in direct sunlight or near sources of heat, such as radiators or fireplaces. This can cause the wood to dry out and crack.
- Use coasters and placemats to protect the surface of the chairs from spills and scratches.
- Avoid using harsh chemicals or abrasive cleaners on your wooden chairs, as they can damage the finish.
- Apply a furniture polish or wax to your wooden chairs every few months to protect the finish and keep them looking their best.
By following these tips, you can maintain the beauty and longevity of your wooden chairs for years to come.