Tag Archives: routine cleaning routine cleaning

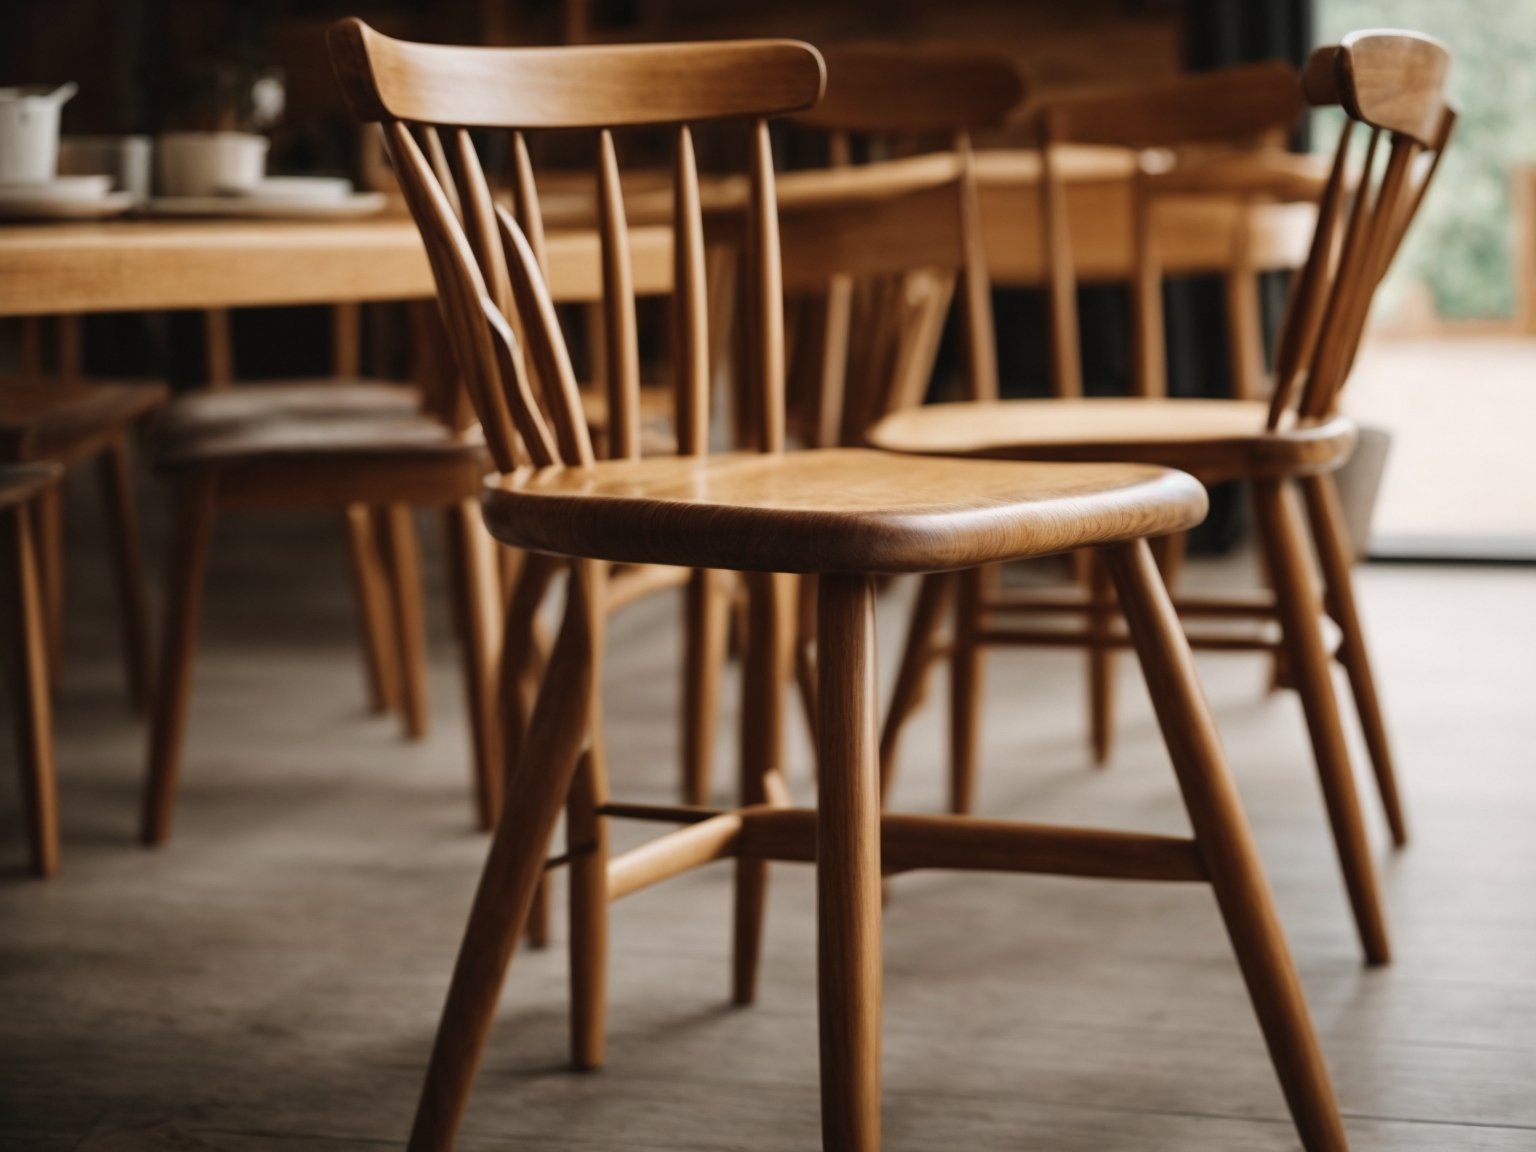
How to Clean Wooden Chairs: Quick and Easy Tips

How to Clean Wooden Chairs: Quick and Easy Tips

If you have wooden chairs in your home, you know that they can accumulate dirt, dust, and grime over time. Cleaning them may seem like a daunting task, but with the right tools and techniques, it can be a breeze. In this article, we will provide you with tips and tricks on how to clean your wooden chairs effectively and efficiently.

One of the most important things to keep in mind when cleaning wooden chairs is to avoid using harsh chemicals that can damage the wood. Instead, opt for gentle cleaners that are specifically designed for wood. You can use an oil-based cleaner or a mixture of dish soap and water to remove dirt and grime from the surface of the wood. It is also important to avoid using too much water, as this can cause the wood to warp or become discolored.

Another important aspect of cleaning wooden chairs is to pay attention to the details. Make sure to clean not only the surface of the wood but also the crevices and corners where dirt can accumulate. Use a soft-bristled brush or a toothbrush to get into hard-to-reach areas. By following these tips, you can keep your wooden chairs looking clean and beautiful for years to come.

Understanding the Type of Wood
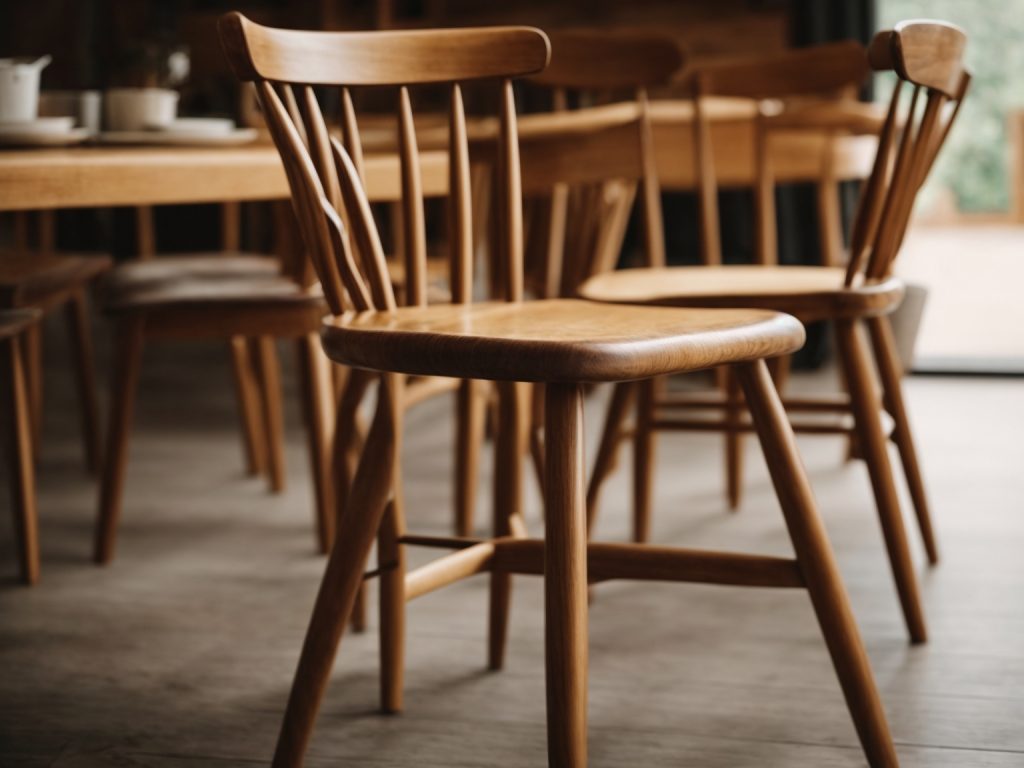
How to Clean Wooden Chairs Quick and Easy Tips

When it comes to cleaning wooden chairs, it is essential to understand the type of wood and finish you are dealing with. Different types of wood and finishes require different cleaning methods to avoid damaging the wood. In this section, we will discuss how to identify your wood and determine the finish.

Identify Your Wood

The first step in cleaning your wooden chair is to identify the type of wood it is made of. Different types of wood have different characteristics, and some are more delicate than others. Here are some common types of wood used in furniture:

  • Oak: A hardwood that is durable and has a coarse texture.
  • Pine: A softwood that is lightweight and has a fine texture.
  • Mahogany: A hardwood that is durable and has a reddish-brown color.
  • Maple: A hardwood that is durable and has a fine texture.
  • Walnut: A hardwood that is durable and has a dark brown color.

To identify your wood, you can look for clues such as the color, grain pattern, and texture. You can also consult a furniture expert or use a wood identification guide.

Determine the Finish

Once you have identified your wood, the next step is to determine the finish. The finish is the protective layer applied to the wood to enhance its appearance and protect it from damage. Here are some common types of finishes:

  • Varnish: A clear or tinted finish that provides a hard, durable surface.
  • Lacquer: A clear or tinted finish that dries quickly and provides a hard, durable surface.
  • Wax: A natural finish that provides a soft, lustrous surface.
  • Oil: A natural finish that penetrates the wood to enhance its natural beauty.

To determine the finish, you can look for clues such as the color, texture, and sheen. You can also consult a furniture expert or use a finish identification guide.

In conclusion, understanding the type of wood and finish is crucial in cleaning wooden chairs. By identifying your wood and determining the finish, you can choose the appropriate cleaning method and avoid damaging the wood.

Gathering Cleaning Supplies

Before you start cleaning your wooden chairs, it’s important to gather all the necessary cleaning supplies. Here are some things you’ll need:

Choosing Wood Cleaners

When it comes to cleaning wooden chairs, you want to make sure you’re using the right cleaner. Here are a few options:

  • Oil-based cleaners: These are great for cleaning wood because they simultaneously cleanse the wood while infusing it with a conditioning treatment. Mineral oil is the most common oil used, but you can also use a vegetable oil-based treatment.
  • Dish soap: Start with liquid dish soap and add a drop to a water-moistened cotton ball. This is a simple and effective way to clean your wooden chairs.
  • Mineral spirits: This is an optional cleaner that can be used for tougher stains and grime. It’s important to use this cleaner with caution and follow the manufacturer’s instructions.

Selecting Cleaning Tools

In addition to choosing the right cleaner, you’ll also need the right tools to clean your wooden chairs. Here are a few options:

  • Soft-bristled brush: Use a soft-bristled brush to gently scrub away dirt and grime from your wooden chairs.
  • Microfiber cloth: This is a great tool for wiping down your wooden chairs after cleaning them.
  • Vacuum: Use a vacuum with a soft-brush attachment to remove any loose dirt or debris from your wooden chairs.

By gathering the right cleaning supplies and tools, you’ll be well on your way to cleaning your wooden chairs like a pro.

Pre-Cleaning Steps

Before diving in and cleaning your wooden chairs, there are a few pre-cleaning steps you should take to ensure that the process goes smoothly. These steps include removing dust and checking for scratches.

Removing Dust

The first step in cleaning your wooden chairs is to remove any dust that may have accumulated on them. Dust can scratch the surface of the wood, so it’s important to remove it before you start cleaning. Here are a few methods you can use to remove dust from your wooden chairs:

  • Use a soft-bristled brush or a microfiber cloth to gently brush away any dust.
  • Use a vacuum cleaner with a soft brush attachment to remove dust from hard-to-reach areas.
  • Use a can of compressed air to blow away dust from crevices and corners.

Checking for Scratches

Before you start cleaning your wooden chairs, it’s important to check for any scratches or other damage to the surface. Scratches can be caused by everyday wear and tear, pets, or furniture moving. Here’s how to check for scratches:

  • Run your hand over the surface of the chair to feel for any rough spots or scratches.
  • Use a flashlight to inspect the surface of the chair for any scratches or other damage.
  • If you find any scratches, take note of their location and severity. This will help you determine the best cleaning method to use.

By taking these pre-cleaning steps, you’ll ensure that your wooden chairs are ready for a deep clean. Removing dust and checking for scratches will help you avoid causing further damage to the surface of the wood.

Deep Cleaning Process

When your wooden chair needs a thorough cleaning, follow these steps to get it looking like new again.

Applying Wood Cleaner

  1. Choose a wood cleaner that is appropriate for the type of wood your chair is made of. Read the label carefully to ensure it is safe to use on your chair.
  2. Apply the cleaner to a soft cloth or sponge, rather than directly onto the chair, to avoid saturating the wood.
  3. Rub the cleaner onto the chair, working in the direction of the grain. Be sure to cover all surfaces, including the underside of the seat and any crevices.
  4. Let the cleaner sit on the chair for the recommended amount of time, usually 5-10 minutes.

Scrubbing the Chair

  1. After the cleaner has had time to work, use a soft-bristled brush to scrub the chair, again working in the direction of the grain.
  2. Pay extra attention to any areas with stubborn stains or grime buildup.
  3. Wipe away the cleaner and any dirt or grime with a clean, damp cloth.
  4. Rinse the cloth frequently to avoid spreading dirt around.
  5. Once you have removed all the cleaner and dirt, use a dry cloth to wipe the chair down and remove any remaining moisture.

By following these steps, you can deep clean your wooden chair and restore its natural beauty. Remember to always test any new cleaner on a small, inconspicuous area of the chair before using it on the entire surface.

Drying and Polishing

After cleaning your wooden chair, it is important to dry it properly to prevent any water damage and to give it a shiny finish. Here are some tips on how to properly dry and polish your wooden chair.

Proper Drying Techniques

To dry your wooden chair, use a clean and dry cloth to wipe off any excess water. Make sure to dry all the nooks and crannies of the chair, including the corners and edges. If there are any hard-to-reach areas, use a soft-bristled brush to gently remove any remaining water.

After drying, leave the chair in a well-ventilated area to air dry completely. Avoid exposing the chair to direct sunlight or heat as this can cause the wood to warp or crack.

Polishing for Shine

To give your wooden chair a shiny finish, you can use a polish or wax. Apply a small amount of polish or wax onto a clean and dry cloth and rub it onto the chair in a circular motion. Make sure to cover all areas of the chair, including the legs and backrest.

Once you have applied the polish or wax, use a clean cloth to buff the chair in a circular motion. This will help to remove any excess polish or wax and give the chair a shiny finish.

Remember to always read the instructions on the polish or wax before using it on your wooden chair. Some polishes or waxes may not be suitable for certain types of wood or finishes.

By following these proper drying techniques and polishing tips, you can keep your wooden chair looking clean and shiny for years to come.

Maintaining Your Wooden Chairs

Wooden chairs are an elegant addition to any home. However, they require maintenance to keep them looking their best. Here are some tips on how to maintain your wooden chairs.

Routine Cleaning

Routine cleaning is essential to maintain the beauty and longevity of your wooden chairs. Dust and dirt can accumulate on the surface of the chairs, which can lead to scratches and damage. Follow these steps to clean your wooden chairs:

  1. Start by dusting the chairs with a soft cloth or feather duster. This will remove any loose dirt or dust from the surface of the chairs.
  2. Next, dampen a microfiber cloth with clean water and wipe the chairs down. Avoid using too much water, as it can damage the wood.
  3. For stubborn stains, mix a few drops of dish soap with warm water and use a soft cloth to clean the chairs. Rinse the cloth with clean water and wipe the chairs down again to remove any soap residue.
  4. Dry the chairs with a clean, dry cloth to prevent water damage.

Preventing Damage

Preventing damage is key to maintaining the beauty and longevity of your wooden chairs. Here are some tips on how to prevent damage to your wooden chairs:

  1. Avoid placing your wooden chairs in direct sunlight or near sources of heat, such as radiators or fireplaces. This can cause the wood to dry out and crack.
  2. Use coasters and placemats to protect the surface of the chairs from spills and scratches.
  3. Avoid using harsh chemicals or abrasive cleaners on your wooden chairs, as they can damage the finish.
  4. Apply a furniture polish or wax to your wooden chairs every few months to protect the finish and keep them looking their best.

By following these tips, you can maintain the beauty and longevity of your wooden chairs for years to come.
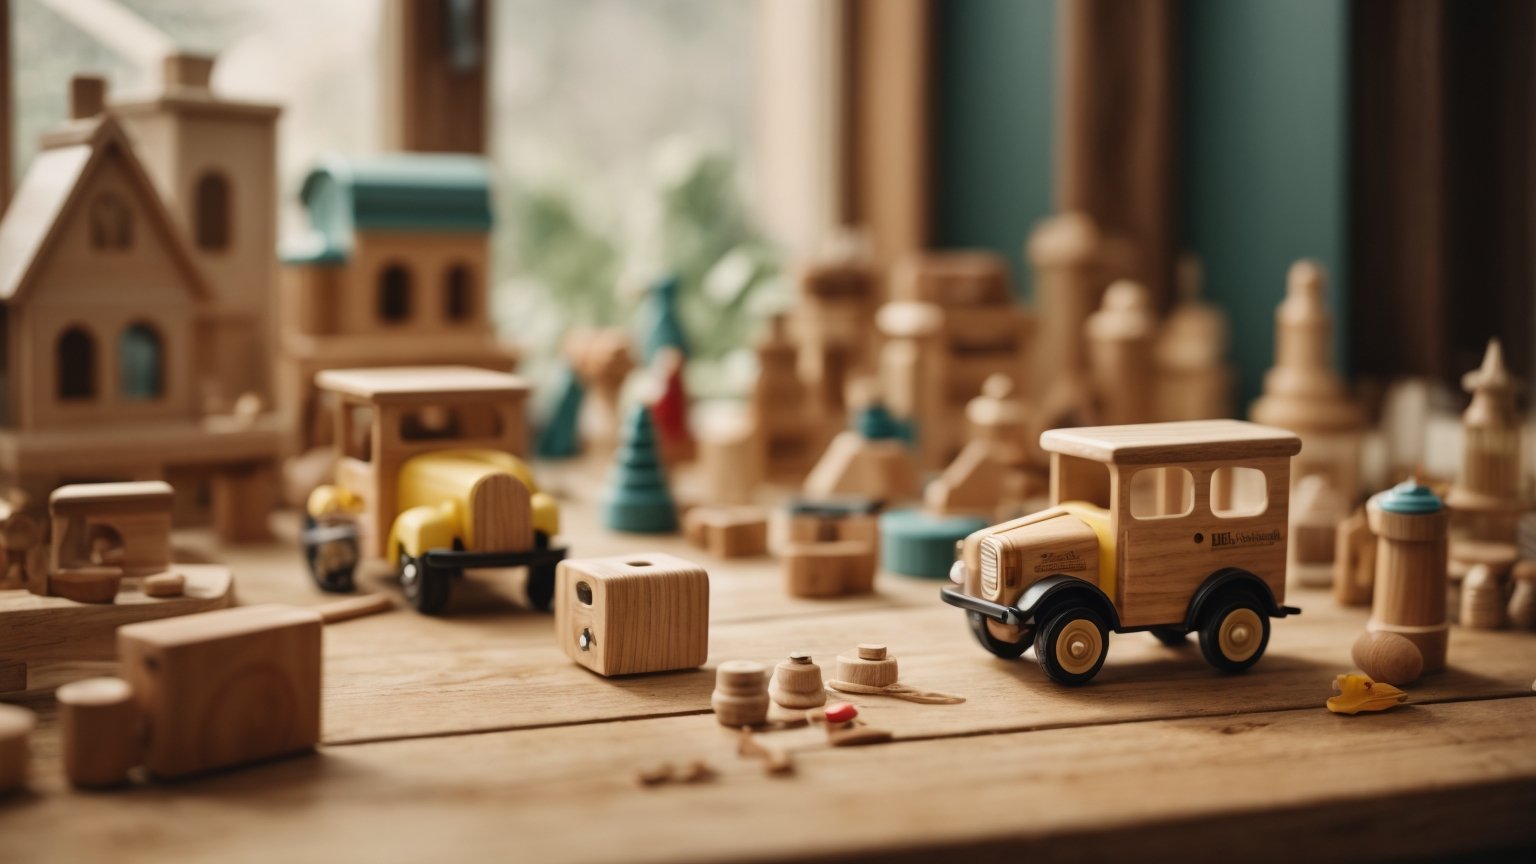
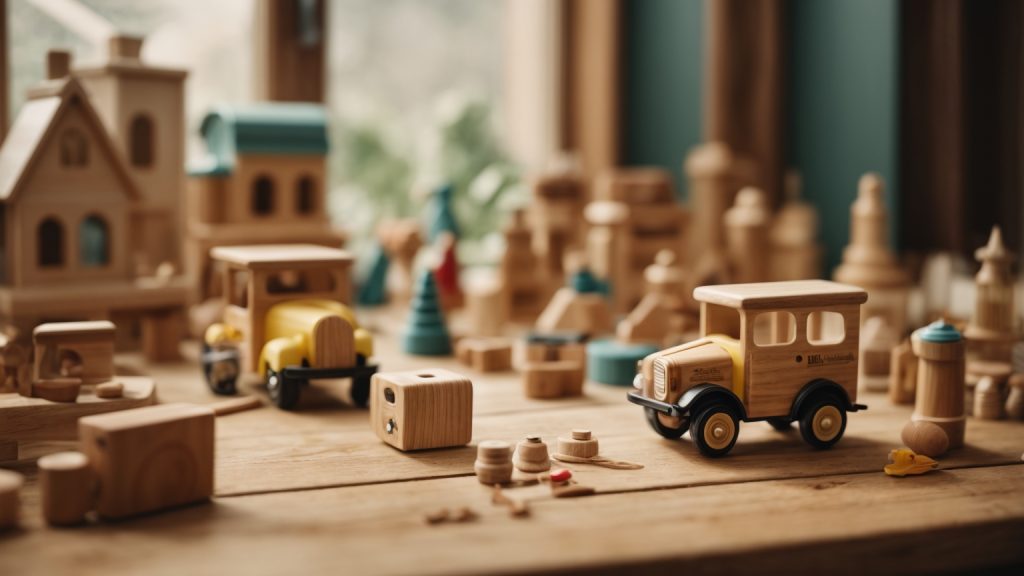
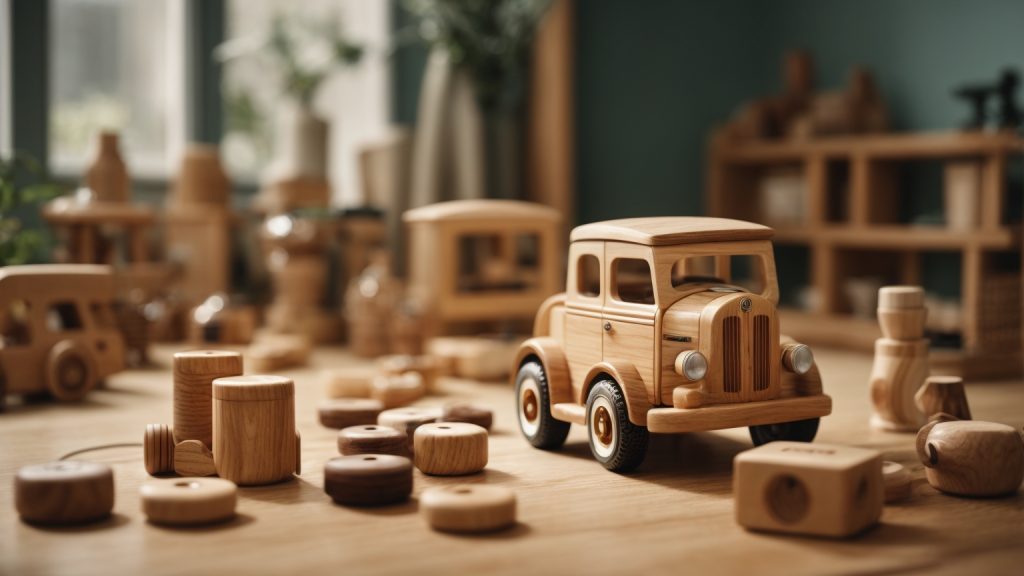
How to Sanitize Wooden Toys: A Friendly Guide for Parents

How to Sanitize Wooden Toys: A Friendly Guide for Parents

If you have wooden toys at home, it’s important to keep them clean and sanitized to protect your child’s health. Wooden toys are great because they are durable and can last for years, but they can also harbor germs and bacteria if not properly cleaned. In this article, we’ll give you some tips on how to sanitize wooden toys safely and effectively.

To start, it’s important to note that not all wooden toys are created equal. Some may have a protective finish, while others may be raw wood. The type of finish and the age of the toy can affect how you clean and sanitize it. Additionally, some cleaning products may be too harsh for wooden toys, so it’s important to choose the right products to avoid damaging them. In the next section, we’ll go over some general guidelines for cleaning and sanitizing wooden toys.

Understanding the Need to Sanitize Wooden Toys

how-to-sanitize-wooden-toys

As a parent or caregiver, you want to ensure that your child’s toys are clean and safe to play with. Wooden toys are a popular choice for many families due to their durability and natural materials. However, like any other toy, wooden toys can harbor germs and bacteria that can pose a health risk to your child. This is why it is important to sanitize wooden toys regularly.

Wooden toys can come into contact with various germs and bacteria, especially when they are shared among children or played with outside. These germs can cause illnesses such as colds, flu, and stomach bugs. Sanitizing wooden toys can help prevent the spread of these germs and keep your child healthy.

It is also important to note that wooden toys can accumulate dirt and grime over time, which can make them look unappealing and even affect their functionality. Sanitizing wooden toys not only helps keep them clean and safe, but also helps prolong their lifespan.

When it comes to sanitizing wooden toys, there are various methods that you can use, as outlined in the search results. It is important to choose a method that is safe for the type of wooden toy you have and to follow the instructions carefully to ensure effective sanitization.

Overall, understanding the need to sanitize wooden toys is crucial for maintaining a safe and healthy play environment for your child. By regularly sanitizing wooden toys, you can help prevent the spread of germs and bacteria, keep the toys clean and functional, and provide your child with a safe and enjoyable play experience.

Types of Wooden Toys and Their Cleaning Requirements

When it comes to cleaning wooden toys, it’s important to consider the type of toy you’re dealing with. Different types of wooden toys may have different cleaning requirements to keep them in good condition. Here are some common types of wooden toys and how to clean them:

Wooden Blocks

Wooden blocks are a classic toy that can provide hours of imaginative play. To clean them, simply wipe them down with a damp cloth and mild soap if necessary. Avoid soaking them in water, as this can cause the wood to warp or crack.

Wooden Puzzles

Wooden puzzles are a great way to help children develop their problem-solving skills. To clean them, wipe them down with a damp cloth and mild soap if necessary. Avoid using harsh chemicals or soaking them in water, as this can damage the puzzle pieces.

Wooden Vehicles

Wooden vehicles, such as cars, trucks, and trains, can be a fun addition to any child’s toy collection. To clean them, wipe them down with a damp cloth and mild soap if necessary. Pay special attention to any small crevices or moving parts to ensure they are thoroughly cleaned.

Wooden Dolls

Wooden dolls can be a great alternative to plastic dolls, as they are more eco-friendly and durable. To clean them, wipe them down with a damp cloth and mild soap if necessary. Avoid soaking them in water, as this can cause the wood to warp or crack.

Musical Instruments

Wooden musical instruments, such as xylophones and drums, can be a fun way for children to explore music. To clean them, wipe them down with a damp cloth and mild soap if necessary. Avoid using harsh chemicals or soaking them in water, as this can damage the instrument.

In general, it’s important to avoid using harsh chemicals or soaking wooden toys in water. Instead, use a damp cloth and mild soap if necessary to clean them. By following these simple cleaning tips, you can help ensure that your child’s wooden toys stay in good condition and provide years of fun and imaginative play.

Gathering Necessary Cleaning Supplies

When it comes to sanitizing wooden toys, you want to make sure you have the right cleaning supplies on hand. Here are some essential items you’ll need to get started:

Choosing Eco-Friendly Cleaning Products

When selecting a cleaning product, it’s important to choose one that is safe for both your child and the environment. Look for products that are labeled as non-toxic and biodegradable. Here are some options to consider:

  • White vinegar: A natural disinfectant that can be diluted with water to create a cleaning solution.
  • Apple cider vinegar: Similar to white vinegar, but with a milder scent.
  • Mild soap solution: A gentle soap that is safe for children.
  • Non-toxic cleaning products: Look for products that are specifically marketed as safe for children.

Essential Tools for Cleaning

In addition to cleaning products, you’ll need some tools to help you clean your wooden toys effectively. Here are some essential items to have on hand:

  • Spray bottle: This will allow you to easily apply your cleaning solution to your toys.
  • Cloth: Use a soft cloth to wipe down your toys after they’ve been cleaned.
  • Toothbrush or toothpick: Use these tools to scrub any hard-to-reach areas or crevices.
  • Olive oil or mineral oil: Applying a small amount of oil to your wooden toys can help to restore their natural shine.

By gathering these necessary cleaning supplies, you’ll be ready to sanitize your wooden toys and keep them clean and safe for your child to play with.

Step by Step Guide to Sanitizing Wooden Toys

step-by-step-guide-to-sanitizing-wooden-toys

If you have wooden toys that need sanitizing, it’s important to do it properly to ensure that they are clean and safe for your child to play with. Here is a step-by-step guide to help you sanitize your wooden toys effectively.

Preparation Phase

Before you begin, gather all the materials you’ll need. You will need a bucket of warm water, mild dish soap or baby-safe detergent, a clean cloth, and a soft-bristled brush. You may also want to use a natural cleaning solution like vinegar or baking soda.

Cleaning Phase

Start by cleaning the wooden toys thoroughly. Use a damp cloth and mild soap or detergent to wipe down the surfaces of each toy. If the toys have any stubborn dirt or grime, use a soft-bristled brush to gently scrub the surface. Be sure to clean all the nooks and crannies of the toys.

Once you’ve cleaned the toys, rinse them thoroughly with warm water to remove any soap residue. If you’re using a natural cleaning solution, mix it with warm water and wipe down the toys with a damp cloth.

Drying and Finishing Phase

After cleaning, it’s important to dry the wooden toys thoroughly. Use a clean, dry cloth to wipe down the toys and remove any excess water. If possible, place the toys in a well-ventilated area and let them air dry completely.

Once the toys are dry, you can apply a natural finish to protect the wood and keep it looking its best. You can use olive oil or mineral oil to condition the wood and give it a nice shine. Apply a small amount of oil to a clean cloth and rub it into the surface of the toy. Be sure to wipe off any excess oil with a clean cloth.

By following these simple steps, you can sanitize your wooden toys and keep them safe for your child to play with. Remember to clean and sanitize your toys regularly to keep them in good condition and avoid the spread of germs.

Maintaining Cleanliness of Wooden Toys

Wooden toys are a great choice for children’s playthings. But, like any other toy, they can get dirty and need to be cleaned regularly. Here are some tips for maintaining the cleanliness of wooden toys.

Routine Cleaning

Routine cleaning of wooden toys is important to keep them free of dirt and germs. Here are some easy steps to follow:

  • Start by wiping the toy with a damp cloth to remove any loose dirt or dust.
  • Mix a solution of warm water and a mild soap or vinegar.
  • Dip a clean cloth in the solution and wring it out well.
  • Wipe the toy with the damp cloth, making sure to get into all the nooks and crannies.
  • Rinse the toy with a clean, damp cloth to remove any soap residue.
  • Wipe the toy dry with a clean towel.

Dealing with Tough Stains

Sometimes, wooden toys can get tough stains that are hard to remove. Here are some tips for dealing with tough stains:

  • For crayon or marker stains, use a soft cloth dipped in rubbing alcohol to gently rub the stain until it comes off.
  • For stubborn stains, make a paste of baking soda and water and apply it to the stain. Let it sit for a few minutes and then wipe it off with a damp cloth.
  • For mold or mildew, mix equal parts of white vinegar and water in a spray bottle. Spray the affected area and let it sit for a few minutes before wiping it off with a clean, damp cloth.

Remember, wooden toys should never be soaked in water as it can cause the wood to swell and crack. Always dry the toys thoroughly after cleaning to prevent any moisture from getting trapped inside the wood.

By following these simple steps, you can keep your child’s wooden toys clean and safe for playtime.

Safety Precautions While Sanitizing Wooden Toys

When it comes to sanitizing wooden toys, safety should always be your top priority. Here are some precautions you should take to ensure that the process is safe and effective:

  • Always wear gloves when handling cleaning products, especially if they contain harsh chemicals. This will protect your skin from irritation or burns.
  • Make sure the area where you are cleaning is well-ventilated. Open windows or turn on a fan to help circulate the air and prevent the buildup of fumes.
  • Read the label of any cleaning product you plan to use and follow the instructions carefully. Some products may require you to dilute them with water or use them in a specific way.
  • Avoid using abrasive cleaning tools like steel wool or scouring pads, as these can scratch the surface of the wood and damage the toy.
  • Never soak wooden toys in water or cleaning solutions, as this can cause the wood to warp or crack. Instead, use a damp cloth to wipe down the surface of the toy.
  • After cleaning and sanitizing the toy, make sure to rinse it thoroughly with clean water and dry it completely before giving it back to your child.

By following these simple safety precautions, you can ensure that your wooden toys are properly sanitized without putting yourself or your child at risk.

How to Paint a Wooden Bench: Tips and Tricks for a Perfect Finish

Are you looking to add a pop of color to your outdoor space? Painting a wooden bench is a simple and cost-effective way to give your patio or garden a fresh new look. Whether you have an old, weathered bench or a brand new one, painting it can protect the wood from the elements and add some personality to your outdoor decor.

Before you start, it’s important to prepare the bench properly. This includes sanding down the wood to create a smooth surface for the paint to adhere to, and removing any loose paint or debris. You’ll also want to choose the right type of paint for your bench, depending on whether it will be exposed to the elements or not. With a few simple steps and some patience, you can transform your wooden bench into a beautiful and functional piece of outdoor furniture.

Understanding the Importance of Surface Preparation

Before you start painting your wooden bench, it is crucial to prepare the surface properly. Proper surface preparation ensures that the paint adheres well to the surface, resulting in a smooth and long-lasting finish. In this section, we will discuss the importance of surface preparation and the steps involved.

Choosing the Right Sandpaper

The first step in preparing the surface is to sand the bench. Sanding helps to remove any bumps or uneven surfaces, making the surface smoother and easier to paint. It also helps to remove any old paint or varnish, which can interfere with the new paint’s adhesion.

When sanding, it is essential to choose the right sandpaper grit. The grit determines how coarse or fine the sandpaper is. A coarser grit, such as 60 or 80, is suitable for removing old paint or varnish. A finer grit, such as 120 or 150, is suitable for smoothing out the surface.

Cleaning the Bench

After sanding, it is crucial to clean the bench thoroughly. Any dust or debris left on the surface can interfere with the paint’s adhesion. Start by wiping the surface with a dry cloth or brush to remove any loose debris. Then, use a damp cloth to wipe the surface clean. If there are any stubborn stains or dirt, use a mild detergent or cleaner to clean the surface.

Once the surface is clean, allow it to dry completely before painting. It is essential to ensure that the surface is completely dry, as any moisture left on the surface can cause the paint to bubble or peel.

In summary, surface preparation is a crucial step in painting a wooden bench. It ensures that the paint adheres well to the surface, resulting in a smooth and long-lasting finish. Choose the right sandpaper grit and clean the bench thoroughly before painting. With proper surface preparation, your wooden bench will look beautiful and last for years to come.

Selecting the Right Paint

When it comes to painting a wooden bench, selecting the right paint is crucial for a long-lasting finish. In this section, we will discuss the two main types of paint – water-based and oil-based – and how to choose the right color for your bench.

Water vs. Oil Based

Water-based paint is a popular choice for painting wooden benches, as it dries quickly and emits fewer fumes than oil-based paint. It is also easier to clean up with just soap and water. However, it may not be as durable as oil-based paint and may not hold up well against harsh weather conditions.

On the other hand, oil-based paint is more durable and can withstand harsh weather conditions. It also provides a smoother finish than water-based paint. However, it emits strong fumes and takes longer to dry. Cleanup requires solvents such as mineral spirits.

When deciding between water-based and oil-based paint, consider your project’s needs and your personal preferences.

Choosing the Right Color

Choosing the right color for your bench is just as important as selecting the right type of paint. Here are some tips to help you choose the perfect color:

  • Consider the bench’s location. If it will be placed in a sunny area, choose a lighter color to prevent it from fading quickly.
  • Think about the surrounding decor. Choose a color that complements the colors of your outdoor space.
  • Consider the bench’s purpose. If it will be used for a children’s play area, choose a bright and playful color.

Remember to always test the color on a small, inconspicuous area before painting the entire bench to ensure you are happy with the color.

Protecting Your Surroundings

Painting a wooden bench can be a messy job, but it doesn’t have to leave your surroundings covered in paint. Taking a few precautions can help protect your floors, walls, and other items from accidental paint splatters and spills.

Here are some tips to help protect your surroundings while painting a wooden bench:

Cover the Floor

Before you start painting, lay down a drop cloth or old sheet to protect your floor from paint drips and spills. If you don’t have a drop cloth, you can also use old newspapers or cardboard boxes.

Tape Off Surrounding Areas

If your bench is located near walls or other items that you don’t want to get paint on, use painter’s tape to tape off the surrounding areas. This will help prevent accidental paint splatters and make cleanup easier.

Wear Protective Clothing

Wearing old clothes or a painting smock can help protect your clothing from paint splatters. You may also want to wear gloves to protect your hands.

Use a Paint Shield

A paint shield is a tool that can help prevent paint from getting on surrounding areas. It’s a flat piece of metal or plastic that you hold against the surface you’re painting, creating a barrier between the paint and the surrounding area.

Clean Up Spills Immediately

If you do accidentally spill paint, clean it up immediately with a damp cloth or paper towel. The longer you wait, the harder it will be to remove the paint.

By taking these simple precautions, you can protect your surroundings while painting a wooden bench and avoid any unnecessary cleanup.

Applying the Primer

Choosing the Right Primer

Before you start painting your wooden bench, it is important to choose the right primer. The primer is essential for creating a smooth, even surface that the paint can adhere to. Here are some tips for choosing the right primer:

  • Choose a primer that is specifically designed for wood surfaces.
  • If you are painting an outdoor bench, choose a primer that is weather-resistant and can withstand the elements.
  • If you are painting a bench that has been previously painted, choose a primer that is compatible with the type of paint that was previously used.

Applying the Primer Correctly

Once you have chosen the right primer, it is time to apply it to your wooden bench. Here are some tips for applying the primer correctly:

  1. Start by cleaning the bench thoroughly to remove any dirt, dust, or debris. Use a damp cloth or sponge and allow the bench to dry completely before proceeding.

  2. If the bench has any rough spots or imperfections, use sandpaper to smooth them out before applying the primer.

  3. Apply the primer in thin, even coats using a paintbrush or roller. Be sure to follow the manufacturer’s instructions for drying time between coats.

  4. Allow the primer to dry completely before sanding it lightly with fine-grit sandpaper. This will help to create a smooth surface for the paint to adhere to.

  5. If necessary, apply a second coat of primer and repeat the sanding process.

By following these tips for choosing and applying the primer, you can ensure that your wooden bench is properly prepared for painting.

Painting the Bench

Painting a wooden bench can give it a fresh new look and protect it from the elements. Here are some steps to follow when painting your wooden bench.

Applying the First Coat

  1. Start by preparing the bench surface. Sand the bench with a medium grit sandpaper to remove any rough spots and create a smooth surface. Wipe the bench clean with a damp cloth to remove any dust or debris.

  2. Apply a coat of primer to the bench. The primer will help the paint adhere to the wood and provide a smooth surface for the paint to go on. Use a brush or roller to apply the primer evenly across the bench. Let the primer dry completely before moving on to the next step.

  3. Apply the first coat of paint to the bench. Use a brush or roller to apply the paint evenly across the bench. Be sure to work in the direction of the wood grain for a smooth finish. Let the paint dry completely before adding additional coats.

Adding Additional Coats

  1. Once the first coat of paint is completely dry, lightly sand the bench with a fine grit sandpaper. This will help the next coat of paint adhere to the surface and create a smooth finish.

  2. Apply a second coat of paint to the bench. Use the same technique as before, working in the direction of the wood grain for a smooth finish. Let the paint dry completely before adding additional coats.

  3. Depending on the color and quality of the paint, you may need to add additional coats to achieve the desired finish. Be sure to sand the bench lightly between each coat to create a smooth surface.

  4. Once you have achieved the desired finish, let the bench dry completely before using it. This will ensure that the paint has fully cured and will be durable enough to withstand regular use.

Painting a wooden bench can be a fun and rewarding project. By following these steps, you can give your bench a fresh new look and protect it from the elements.

Maintaining Your Painted Bench

After you have successfully painted your wooden bench, it is important to maintain it properly to keep it looking great for years to come. Here are some tips for maintaining your painted bench:

Routine Cleaning

Routine cleaning is essential to keep your painted bench looking fresh and clean. Here are some steps to follow:

  • Start by removing any loose dirt or debris with a soft-bristled brush or a damp cloth.
  • Mix a mild detergent with warm water and use a soft cloth to clean the bench. Avoid using abrasive cleaners or harsh chemicals as they can damage the paint.
  • Rinse the bench thoroughly with clean water and dry it with a soft cloth.

Touching Up Damages

Despite your best efforts, your painted bench may get scratched or damaged over time. Here are some steps to follow to touch up any damages:

  • Start by cleaning the damaged area with a mild detergent and warm water. Dry the area with a soft cloth.
  • Sand the damaged area lightly with fine-grit sandpaper. Be careful not to sand away too much of the paint.
  • Apply a small amount of touch-up paint to the damaged area using a small brush. Allow the paint to dry completely.
  • Sand the area lightly with fine-grit sandpaper to blend the touch-up paint with the surrounding area.
  • Apply a clear coat of polyurethane to protect the touch-up paint and the surrounding area.

By following these simple steps, you can keep your painted bench looking great for years to come.