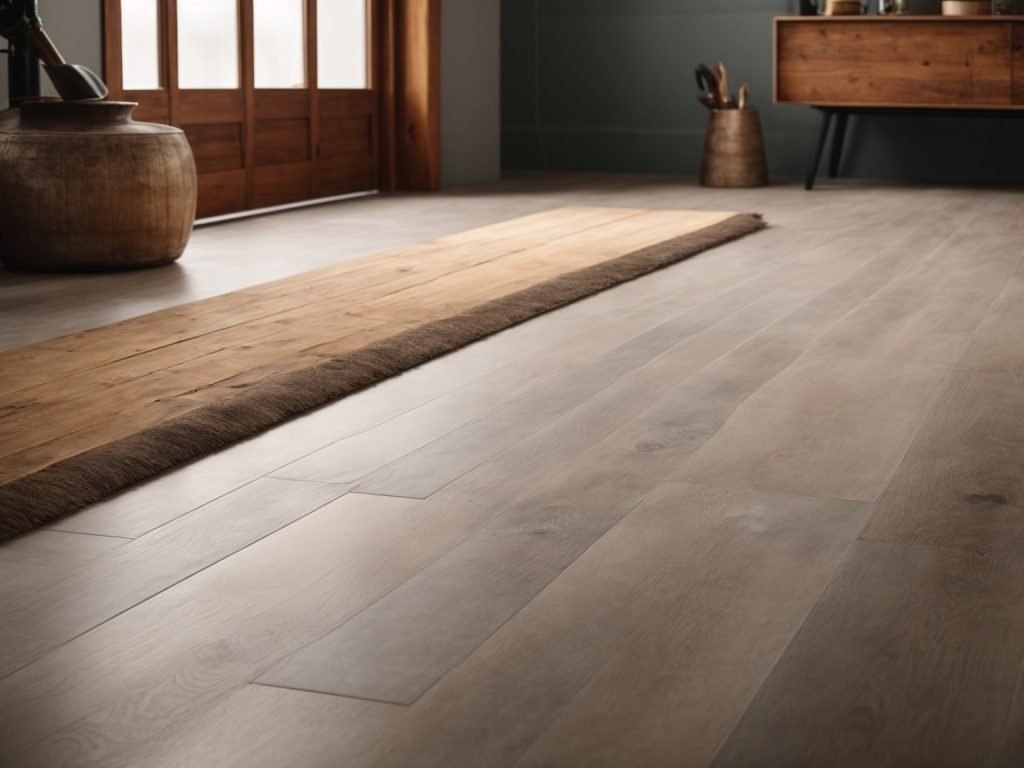
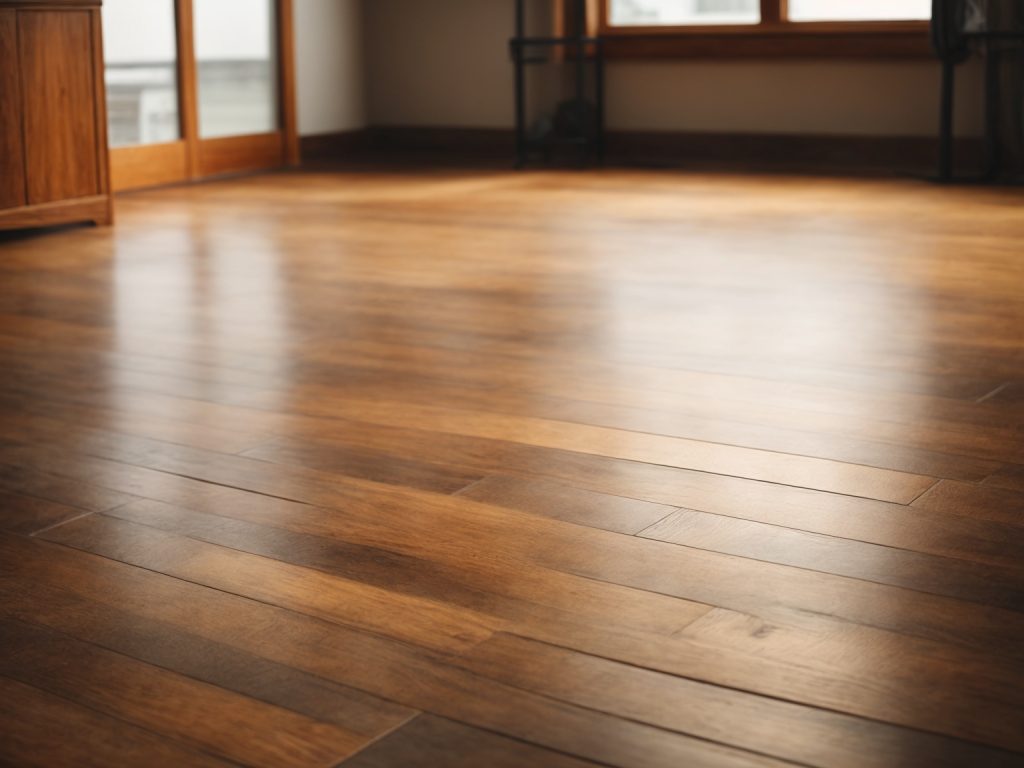
If you’re looking to install wooden flooring on a concrete surface, you may be wondering where to start. While it can be a bit more challenging than installing on a wood subfloor, it’s definitely possible. With the right tools, materials, and some patience, you can have beautiful wooden floors in your home in no time.
One of the first things you’ll need to do is prepare the concrete surface. This involves checking for moisture, ensuring the surface is level, and filling any cracks or holes. Once the surface is ready, you’ll need to install a moisture barrier to protect your wooden flooring from any moisture that may seep through the concrete. From there, you can lay down underlayment and start installing your wooden planks. It’s important to plan out your layout beforehand to ensure a seamless and professional-looking finish.
Overall, installing wooden flooring on concrete may require a bit more work than other surfaces, but it’s definitely worth it in the end. With the right preparation and installation techniques, you can transform your space and add value to your home.
Understanding the Basics of Wooden Flooring

Wooden flooring is an excellent way to add warmth, beauty, and value to your home. If you’re looking to install wooden flooring on concrete, there are a few things you need to know. In this section, we’ll cover the basics of wooden flooring, including the types of wooden flooring and the benefits of installing wooden flooring on concrete.
Types of Wooden Flooring
There are three basic types of wooden flooring: solid hardwood, engineered hardwood, and laminate. Each type has its own unique characteristics and advantages.
- Solid hardwood flooring is made from a single piece of wood and is the most traditional type of wooden flooring. It is durable, long-lasting, and can be sanded and refinished multiple times. However, it is susceptible to moisture damage and can be expensive.
- Engineered hardwood flooring is made from multiple layers of wood and is more stable than solid hardwood flooring. It is also less expensive and can be installed over concrete. However, it cannot be sanded and refinished as many times as solid hardwood flooring.
- Laminate flooring is made from a high-density fiberboard core with a photographic layer that mimics the look of wood. It is less expensive than both solid and engineered hardwood flooring and is easy to install. However, it cannot be sanded or refinished and is not as durable as hardwood flooring.
Benefits of Wooden Flooring on Concrete

Installing wooden flooring on concrete has several benefits, including:
- Improved aesthetics: Wooden flooring adds warmth and beauty to any space.
- Increased home value: Wooden flooring is a desirable feature that can increase the value of your home.
- Durability: Wooden flooring is durable and long-lasting, especially if you choose solid hardwood flooring.
- Easy maintenance: Wooden flooring is easy to clean and maintain, making it a practical choice for busy households.
- Improved indoor air quality: Wooden flooring does not trap dust and allergens like carpet, improving indoor air quality.
In summary, wooden flooring is an excellent choice for adding beauty, value, and durability to your home. When installed on concrete, it can provide a stable and long-lasting flooring solution.
Preparation Before Installation
Before you start installing wooden flooring on concrete, you need to prepare the surface properly. This will ensure that the flooring is installed correctly and will last for a long time. In this section, we will discuss the tools and materials you need and how to prepare the concrete surface.
Tools and Materials Needed
To prepare the concrete surface, you will need the following tools and materials:
- Vacuum cleaner
- Broom
- Dustpan
- Damp mop
- Moisture barrier
- Underlayment
- Tape measure
- Chalk line
- Circular saw
- Jigsaw
- Hammer
- Pry bar
- Long level
- Carpenter’s square
- Trowel
- Wood flooring adhesive
- Wood flooring nails
- Wood flooring screws
- Wood flooring planks
Make sure you have all these tools and materials before you start the installation.
Preparing the Concrete Surface
The first step in preparing the concrete surface is to clean it thoroughly. Use a vacuum cleaner, broom, and dustpan to remove any dirt, debris, and dust. Then, damp mop the surface to remove any remaining dirt and dust.
Next, you need to check the moisture level of the concrete. If the moisture level is high, you need to install a moisture barrier. This will prevent moisture from seeping into the wood and causing damage.
After installing the moisture barrier, you need to install the underlayment. This will provide a smooth surface for the wood flooring to be installed on. Use a tape measure and chalk line to mark the layout of the underlayment.
Once the underlayment is installed, you need to check the level of the concrete surface. Use a long level and carpenter’s square to ensure that the surface is level. If it is not, you need to use a self-leveling compound to even it out.
Finally, you need to let the surface dry completely before installing the wood flooring. Follow the manufacturer’s instructions for drying time. Once the surface is dry, you can start installing the wood flooring.
By properly preparing the concrete surface, you can ensure that your wooden flooring will be installed correctly and will last for a long time.
Installing the Wooden Flooring
Installing wooden flooring over concrete can be challenging, but with the right tools and techniques, you can achieve a beautiful and durable result. In this section, we will guide you through the process step-by-step, from laying the moisture barrier to laying the wooden planks.
Laying the Moisture Barrier
Before you start laying the wooden planks, it is essential to lay a moisture barrier to prevent moisture from penetrating the wood. Here are the steps to follow:
- Clean the concrete surface thoroughly to remove any dirt or debris.
- Roll out the moisture barrier over the entire surface of the concrete, making sure to overlap the seams by at least 6 inches.
- Cut the moisture barrier to fit the room’s dimensions, leaving a 2-inch gap around the perimeter of the room.
- Tape the seams of the moisture barrier with waterproof tape to ensure a tight seal.
Spreading the Adhesive
Once the moisture barrier is in place, it’s time to spread the adhesive. Here’s how to do it:
- Apply a layer of adhesive to a small section of the concrete surface using a trowel.
- Use a notched trowel to spread the adhesive evenly over the surface, making sure to cover the entire area.
- Lay the wooden planks onto the adhesive, making sure to leave a 1/2 inch gap around the perimeter of the room.
- Repeat the process, working in small sections until the entire floor is covered.
Laying the Wooden Planks
Now that the adhesive is in place, it’s time to lay the wooden planks. Here’s how to do it:
- Start laying the wooden planks along the longest wall, making sure to leave a 1/2 inch gap around the perimeter of the room.
- Use a rubber mallet to tap the wooden planks into place, making sure they are snug against each other.
- Continue laying the wooden planks row by row, making sure to stagger the joints to create a random pattern.
- Use a saw to cut the wooden planks to fit the edges of the room.
By following these steps, you can install wooden flooring over concrete and enjoy a beautiful and durable result.
Post-Installation Care
Congratulations! You have successfully installed your wooden flooring on concrete. Now, it’s time to take care of your new investment to ensure it lasts for years to come. Here are some tips for post-installation care:
Cleaning and Maintenance
Regular cleaning and maintenance will keep your wooden flooring looking its best. Here are some tips:
- Sweep or vacuum your floors regularly to remove dirt and debris.
- Use a damp mop and a mild cleaner to clean your floors. Avoid using harsh chemicals or abrasive cleaners that can damage the finish.
- Wipe up spills immediately to prevent staining.
- Use furniture pads to prevent scratches and dents from furniture.
Preventing Damage
Preventing damage is key to maintaining the durability and longevity of your wooden flooring. Here are some tips:
- Place doormats at entryways to prevent dirt and debris from being tracked onto your floors.
- Avoid wearing high heels or shoes with cleats on your wooden flooring, as they can cause scratches and dents.
- Keep your floors dry and avoid exposing them to excessive moisture, as this can cause warping and damage.
- Use area rugs in high traffic areas to protect your floors from wear and tear.
By following these simple tips, you can keep your wooden flooring looking beautiful for years to come.
