Tag Archives: adding hardware adding hardware

How to Build a Wooden Cabinet: A Beginner's Guide

How to Build a Wooden Cabinet: A Beginner's Guide

Are you looking to build a wooden cabinet but don’t know where to start? Building a cabinet can seem like a daunting task, but with the right tools and guidance, it can be a rewarding and satisfying project. In this article, we will guide you through the process of building a wooden cabinet, step by step.

Before you begin building your cabinet, you will need to gather the necessary materials and tools. This will include wood boards, screws, nails, wood glue, a saw, a drill, and sandpaper. You will also need to measure the space where you plan to install the cabinet to ensure that it fits properly. Once you have everything you need, you can begin building your cabinet.

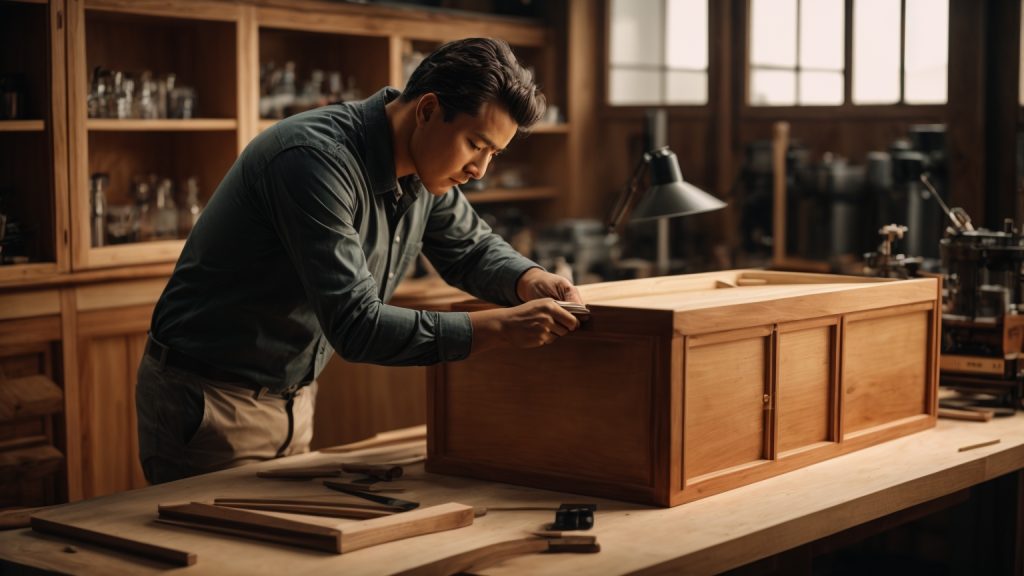
The first step in building a wooden cabinet is to create a plan or blueprint. This will help you visualize the design of your cabinet and ensure that you have all the necessary materials. Next, you will need to cut the wood boards to the appropriate size and shape. You can then assemble the cabinet using screws, nails, and wood glue. Once the cabinet is assembled, you can sand and finish it to give it a polished look.

Understanding the Basics
build-a-wooden-cabinet

If you’re new to woodworking, building a cabinet can seem like a daunting task. However, with the right tools and materials, it can be a rewarding project that adds both functionality and aesthetic appeal to your living space. In this section, we’ll cover the basics of building a wooden cabinet.

Types of Wood

When it comes to choosing the right wood for your cabinet, there are several options available. Here are some of the most common types of wood used in cabinet-making:

  • Plywood: A popular choice for its affordability and durability, plywood is made by layering thin sheets of wood together. It comes in various grades and thicknesses, so be sure to choose the right one for your project.
  • Solid Wood: This type of wood is more expensive than plywood but is known for its natural beauty and durability. Popular types of solid wood for cabinets include oak, maple, and cherry.
  • MDF: Medium-density fiberboard is a man-made material that is made by breaking down wood fibers and combining them with resin. It’s a popular choice for painted cabinets due to its smooth surface.

Required Tools

Before you start building your cabinet, you’ll need to gather the necessary tools. Here are some of the most important tools you’ll need:

  • Table Saw: This tool is essential for cutting large sheets of plywood or solid wood into the right size and shape.
  • Circular Saw: A circular saw is useful for making straight cuts on smaller pieces of wood.
  • Jigsaw: A jigsaw is a handheld saw that can be used for cutting curves and intricate shapes.
  • Drill: You’ll need a drill to make holes for screws and other fasteners.
  • Sander: A sander is used to smooth out rough edges and surfaces before applying finish.
  • Clamps: Clamps are used to hold pieces of wood together while glue dries or while you’re making cuts.

By understanding the basics of wood selection and required tools, you’ll be well on your way to building a wooden cabinet that you can be proud of.

Planning Your Cabinet

Before you start building your wooden cabinet, it’s essential to plan it out properly. This will ensure that you have all the necessary materials and tools, and that your cabinet will fit perfectly in the space you have designated for it. Here are some steps to follow when planning your cabinet.

Determining the Size

The first step in planning your cabinet is to determine its size. Measure the space where you want to install the cabinet, and write down the height, width, and depth of the area. Consider what you will be storing in the cabinet and how much space you will need. Keep in mind that it’s better to have a cabinet that’s slightly too big than one that’s too small.

Once you have the measurements, you can decide on the size of your cabinet. You can use a table saw to cut the wood to the exact size you need. Alternatively, you can purchase pre-cut wood pieces from a hardware store.

Choosing the Design

The next step is to choose the design of your cabinet. There are many different styles and designs to choose from, so take some time to research and find one that suits your needs and preferences. Some popular options include:

  • Wall-mounted cabinets
  • Base cabinets
  • Corner cabinets
  • Pantry cabinets
  • Open shelving cabinets

Consider the style of your room and the overall aesthetic you want to achieve. You can also choose to add decorative elements such as trim or molding to your cabinet to give it a more finished look.

Once you have determined the size and design of your cabinet, you can start gathering the necessary materials and tools. With proper planning, you can build a beautiful and functional wooden cabinet that will last for years to come.

Preparing the Materials

Before you start building your wooden cabinet, it’s important to prepare all of the necessary materials. This includes measuring and cutting the wood, as well as sanding it down to a smooth finish.

Cutting the Wood

The first step in preparing your materials is to measure and cut the wood. This will ensure that all of your pieces fit together properly and that your cabinet is the correct size. You will need a tape measure, a saw, and the wood that you will be using for your cabinet.

To begin, measure the height, width, and depth of the space where you will be placing your cabinet. Then, use these measurements to determine the size of each piece of wood that you will need. Mark the measurements on the wood and use the saw to cut each piece to the correct size.

Make sure to double-check your measurements before cutting to avoid any mistakes. It’s also a good idea to label each piece of wood as you cut it to keep track of which piece goes where.

Sanding the Wood

Once you have cut all of your pieces of wood, it’s time to sand them down to a smooth finish. Sanding will help to remove any rough edges or splinters and will ensure that your cabinet looks clean and professional.

You will need sandpaper and a sanding block or an electric sander. Start with a coarse grit sandpaper and work your way up to a finer grit for a smoother finish.

Hold the sandpaper or sander firmly and move it in a back-and-forth motion along the surface of the wood. Be sure to sand evenly and not to apply too much pressure, as this can damage the wood.

Once you have sanded all of your pieces, wipe them down with a damp cloth to remove any dust or debris. Your wood is now ready to be assembled into your cabinet.

By taking the time to properly prepare your materials, you will ensure that your cabinet is sturdy, well-fitted, and looks great.

Assembling the Cabinet
assembling-the-cabinet

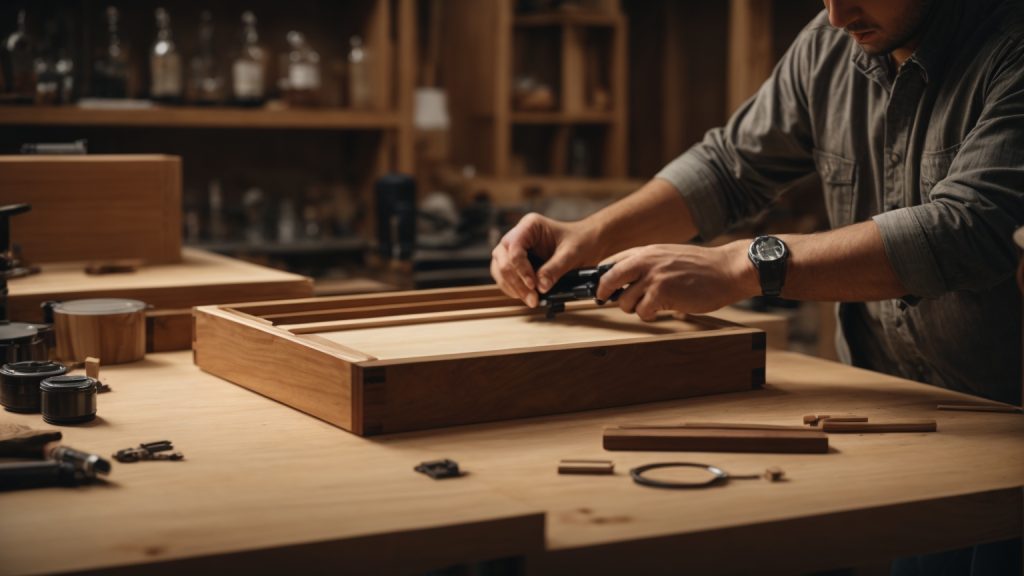
Now that you have all the necessary components ready, it’s time to assemble your wooden cabinet. This section will guide you through the process of building the frame, adding shelves, and attaching the doors.

Building the Frame

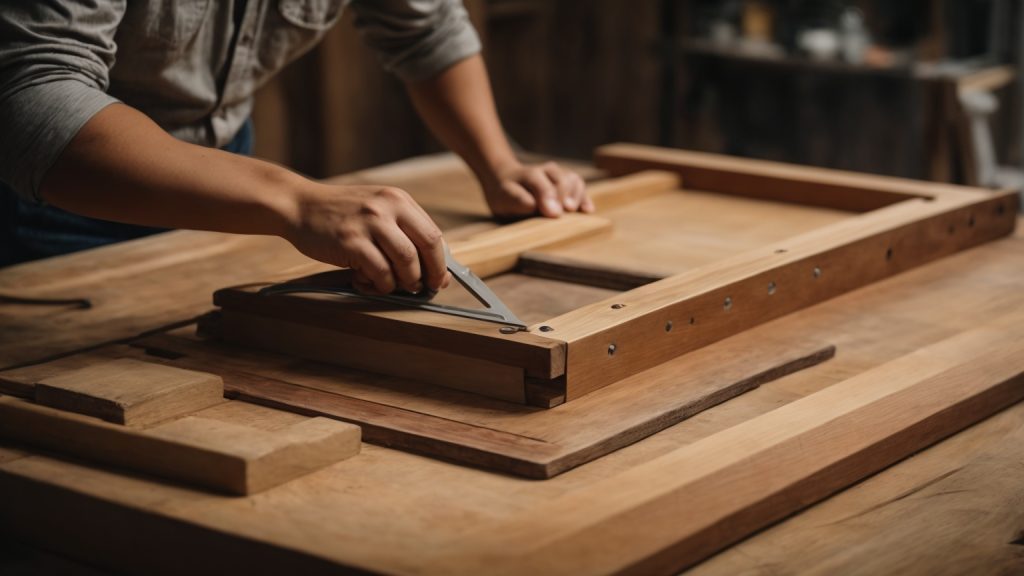
Start by laying out the cabinet’s sides, top, bottom, and back on a flat surface. Use clamps to hold the pieces together while you drill pilot holes and then use screws to attach them. Make sure the corners are square by using a carpenter’s square.

Next, attach the face frame to the cabinet’s front. The face frame is the part of the cabinet that the doors will attach to. Use glue and clamps to hold the face frame in place while you drill pilot holes and then use screws to attach it to the cabinet.

Adding the Shelves

Measure and cut the shelves to fit inside the cabinet. Use a table saw or circular saw to make straight cuts. Drill pilot holes into the sides of the cabinet and then attach the shelves using screws. Make sure the shelves are level by using a level.

Attaching the Doors

Measure and cut the doors to fit the face frame. Use a router to create a groove on the inside of the door where the hinges will be attached. Install the hinges on the door and then attach the door to the face frame. Adjust the hinges so that the door hangs straight and opens and closes smoothly.

Finally, install any knobs or pulls on the doors. Make sure they are level and centered.

Congratulations! You have successfully assembled your wooden cabinet.

Finishing Touches

Once you have built your wooden cabinet, it’s time to add the finishing touches to make it look great. Here are some tips on how to finish your cabinet:

Painting or Staining

Painting or staining your cabinet is an important step in the finishing process. You can choose to paint or stain your cabinet depending on the look you want to achieve. If you want a more natural look, staining is the way to go. If you want a more colorful look, painting is the way to go.

Before you start painting or staining, you need to prepare the wood. Sand the wood with a fine-grit sandpaper to remove any rough spots. Then, wipe the wood with a damp cloth to remove any dust. Apply a wood conditioner to the wood to help the stain or paint adhere better.

When painting, apply a primer first to help the paint adhere better. Then, apply the paint in thin, even coats. Let each coat dry before applying the next coat. When staining, apply the stain with a brush or cloth, following the grain of the wood. Let the stain dry for at least 24 hours before applying a clear coat.

Adding Hardware

Adding hardware to your cabinet is another important step in the finishing process. Hardware includes knobs, handles, hinges, and locks. Choose hardware that complements the style of your cabinet.

When installing hardware, mark the location of the hardware on the cabinet with a pencil. Then, drill pilot holes for the screws. Install the hardware with screws, making sure they are tight.

Adding hardware can be a simple way to update the look of your cabinet. You can choose from a variety of styles and finishes to find the perfect hardware for your cabinet.

By following these tips, you can give your wooden cabinet a professional-looking finish that will make it stand out in your home.

Safety Precautions

When building a wooden cabinet, safety should be your top priority. Woodworking can be dangerous, and it is important to take the necessary precautions to prevent accidents. Here are some safety tips to keep in mind:

Wear Protective Gear

Always wear protective gear when working with power tools or sharp objects. This includes safety glasses, earplugs, gloves, and a dust mask. Safety glasses will protect your eyes from flying debris, earplugs will protect your hearing from loud noises, gloves will protect your hands from cuts and scrapes, and a dust mask will protect your lungs from sawdust and other airborne particles.

Keep Your Workspace Clean and Organized

A cluttered workspace can lead to accidents. Keep your workspace clean and organized to prevent tripping hazards and to ensure that you have enough space to work safely. Make sure that all tools are stored in their proper place when not in use.

Use Tools Safely

Always use tools according to their intended purpose and manufacturer’s instructions. Make sure that blades are sharp and in good condition, and that all guards and safety features are in place and working properly. Never remove guards or safety features from tools.

Take Breaks

Working for long periods of time without a break can lead to fatigue and increased risk of accidents. Take frequent breaks to rest and stretch your muscles. This will help you stay alert and focused while working.

Have a First Aid Kit on Hand

Accidents can happen even when you take all the necessary precautions. Keep a first aid kit on hand in case of minor injuries. The kit should include items such as bandages, antiseptic, and tweezers.

By following these safety precautions, you can help ensure that your woodworking project is completed safely and without incident.

Maintaining Your Wooden Cabinet

Now that you have built your wooden cabinet, it is important to maintain it properly to ensure its longevity and keep it looking its best. Here are some tips to help you maintain your wooden cabinet:

Regular Cleaning

Regular cleaning is essential to keep your wooden cabinet looking its best. Use a soft, damp cloth to wipe down the cabinet and remove any dust or dirt. Avoid using harsh chemicals or abrasive cleaners, as these can damage the wood.

Avoid Excessive Moisture

Excessive moisture can cause the wood to warp or crack, so it is important to avoid getting your wooden cabinet too wet. If you need to clean a spill or stain, use a damp cloth and dry the area immediately afterward.

Polish the Wood

Polishing your wooden cabinet can help protect the wood and keep it looking shiny and new. Choose a high-quality polish that does not contain silicone or wax, and follow the manufacturer’s directions for application.

Check for Damage

Regularly inspect your wooden cabinet for any signs of damage, such as cracks or scratches. If you notice any damage, address it promptly to prevent it from getting worse.

Avoid Direct Sunlight

Direct sunlight can cause the wood to fade or discolor, so it is important to avoid placing your wooden cabinet in direct sunlight. If you cannot avoid placing it in a sunny location, consider using curtains or blinds to block the sunlight.

By following these tips, you can keep your wooden cabinet looking beautiful for years to come.
How to Build a Wooden Gate Door: A Beginner's Guide

How to Build a Wooden Gate Door: A Beginner's Guide

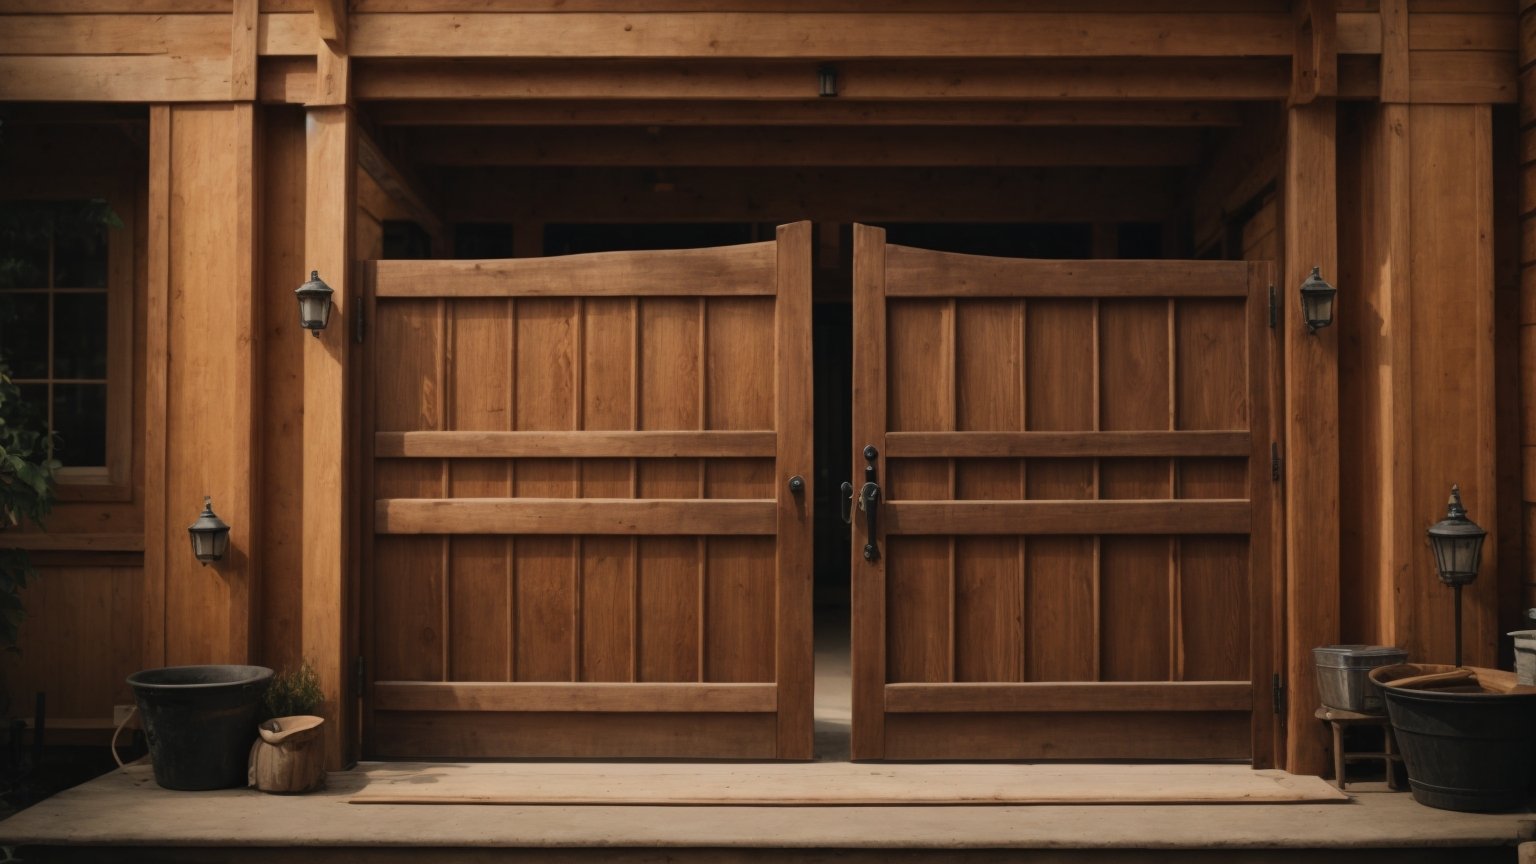
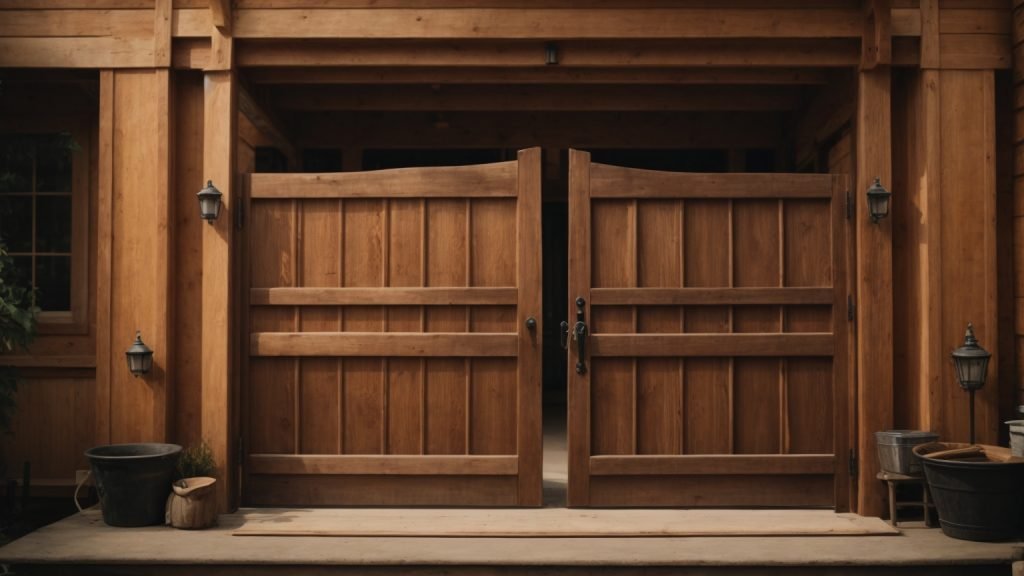
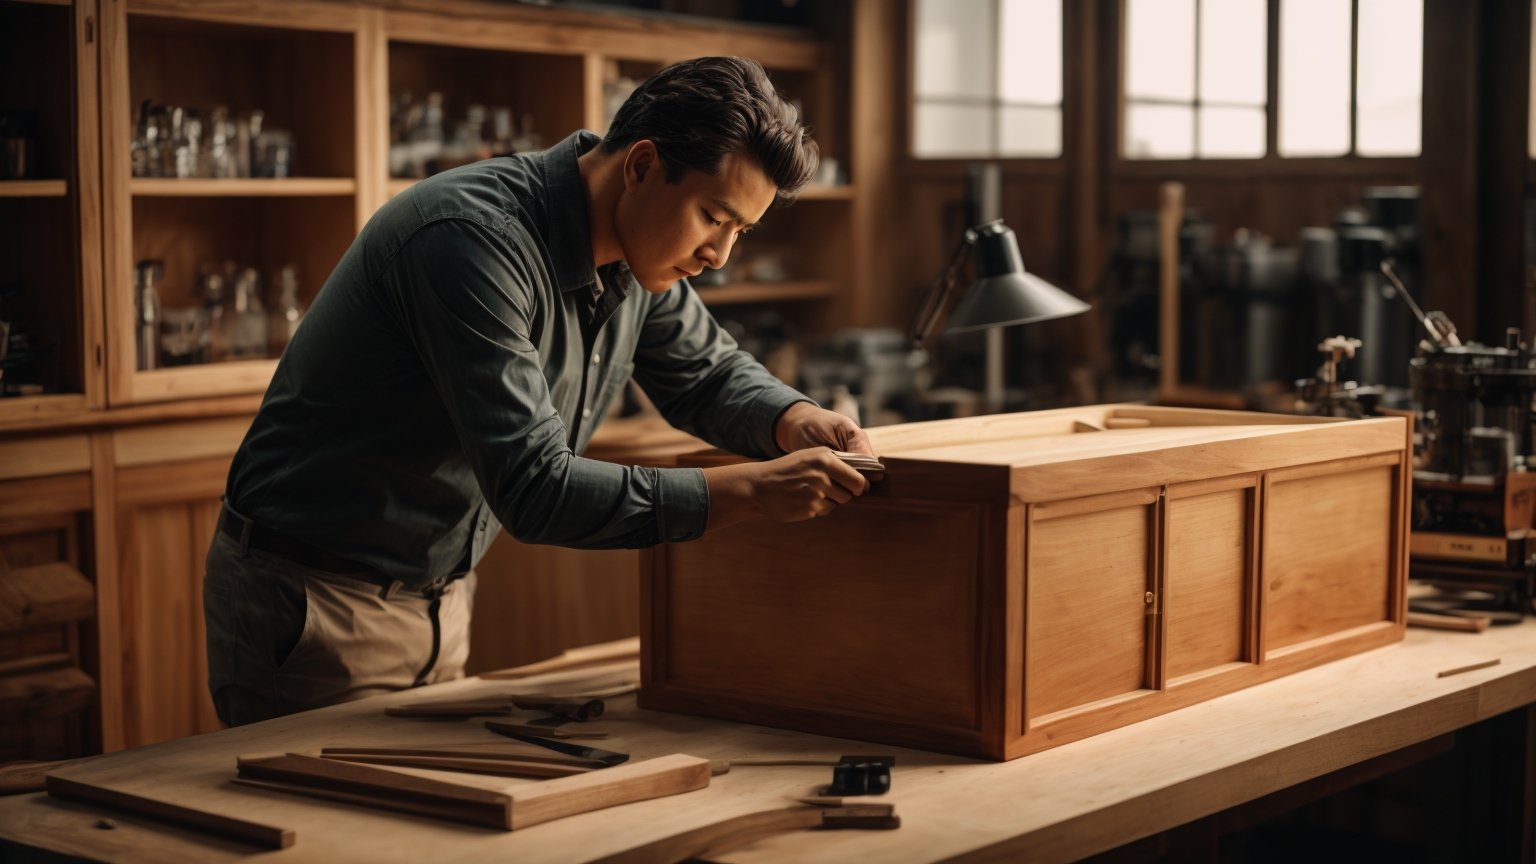
Building a wooden gate door is a great way to add both functionality and aesthetic appeal to your fence. Whether you’re looking to keep your pets and children safe, or simply want to enhance the look of your property, a wooden gate door can be a great addition to your home. With the right tools and materials, building a wooden gate door can be a fun and rewarding DIY project.

Before you get started, it’s important to determine the size and style of gate that you want to build. You’ll also need to gather the necessary tools and materials, which may include a screwdriver, power drill, compound miter saw, carpenter’s level, jigsaw, gate brackets, hinges, and screws. Once you have everything you need, you can begin measuring and cutting the wood to fit your desired dimensions. With a little patience and attention to detail, you can create a beautiful and functional wooden gate door that will last for years to come.

Understanding the Basics of a Wooden Gate Door

build-a-wooden-gate-door

If you’re looking to add some privacy or security to your property, building a wooden gate door is a great option. Not only is it functional, but it can also add a touch of style to your property. However, before you get started, it’s important to understand the basics of building a wooden gate door.

Materials Needed

Here are the materials you’ll need to build a wooden gate door:

Materials Quantity
Wood Depends on the size of your gate
Gate hardware Hinges, latch, screws, etc.
Wood glue 1 bottle
Wood filler 1 can
Sandpaper 1 pack
Paint or stain 1 can

Tools Required

Here are the tools you’ll need to build a wooden gate door:

  • Tape measure
  • Circular saw or handsaw
  • Drill
  • Screwdriver
  • Level
  • Clamps
  • Chisel
  • Hammer
  • Paintbrush or roller

Once you have all the necessary materials and tools, you can move on to building your wooden gate door.

Remember, safety is important when working with power tools. Wear safety glasses, gloves, and ear protection when necessary and follow all safety instructions.

In the next section, we’ll go over the steps you need to follow to build a wooden gate door.

Planning Your Wooden Gate Door

Before starting to build your wooden gate door, it is important to plan and prepare. This will ensure that you have the right materials and tools, and that your gate will function properly and look great. In this section, we will go over some important considerations when planning your wooden gate door.

Determining the Size

The first step in planning your wooden gate door is to determine the size you need. Measure the width of the opening where the gate will be installed, and add a few extra inches to allow for clearance and hardware. You should also consider the height of the gate, depending on your needs for privacy and security.

Choosing the Right Design

There are many different designs to choose from when it comes to wooden gate doors. You can opt for a traditional, simple design, or get creative with a more ornate style. Consider the overall look of your property and choose a design that complements it. You should also think about the function of the gate – will it be used for security, privacy, or simply as a decorative element?

Selecting the Wood Type

Choosing the right type of wood is crucial for the durability and longevity of your wooden gate door. Some common options include cedar, redwood, and pressure-treated pine. Each type of wood has its own unique characteristics and benefits, so it’s important to do your research and choose the one that best fits your needs and budget.

In summary, planning your wooden gate door is an important step in the building process. Determine the size you need, choose a design that complements your property, and select the right type of wood for durability and longevity. With these considerations in mind, you’ll be well on your way to building a beautiful and functional wooden gate door.

Preparing the Wood

Before you start building your wooden gate, you need to prepare the wood. This involves cutting and sanding the wood to the right size and shape. Here are the steps you need to follow:

Cutting the Wood

The first step in preparing the wood for your gate is to cut it to the right size. You will need a compound miter saw to make precise cuts. Make sure you measure the wood carefully before cutting it. Here are some tips to keep in mind:

  • Cut the wood slightly larger than the final size you need. This will give you some extra room to sand the wood down to the exact size you need.
  • Make sure the corners are square. You can use a carpenter’s level to check this.
  • Cut the wood slowly and steadily. Rushing can lead to mistakes and uneven cuts.

Sanding the Wood

Once you have cut the wood to the right size, it’s time to sand it down. Sanding is important because it removes any rough edges or splinters that could cause injury. Here are some tips to keep in mind:

  • Use a coarse sandpaper to start with and then move to a finer sandpaper. This will help you achieve a smooth finish.
  • Sand the edges of the wood to remove any sharp corners or edges.
  • Sand the wood in the direction of the grain. This will help you achieve a smooth finish without damaging the wood.
  • Use a dust mask to avoid inhaling sawdust.

By following these steps, you can prepare the wood for your wooden gate. Once you have completed these steps, you can move on to the next stage of building your gate.

Assembling the Wooden Gate Door

assembling-the-wooden-gate-door

When it comes to assembling a wooden gate door, there are a few key steps you need to follow to ensure a sturdy and reliable end result. In this section, we’ll walk you through the process of building the frame, attaching the panels, and installing the cross braces.

Building the Frame

The first step in assembling your wooden gate door is to build the frame. To do this, you’ll need to measure and cut your wooden boards to the correct length and width. Once you have your boards cut, you can begin assembling the frame.

To assemble the frame, you’ll need to attach the boards together using wood screws or nails. Make sure to use a level to ensure that your frame is square and even. You may also want to add diagonal braces to the corners of your frame for added stability.

Attaching the Panels

Once your frame is assembled, you can begin attaching the panels. To do this, measure and cut your wooden panels to the correct size and shape. Then, attach them to the frame using wood screws or nails.

Make sure to leave a small gap between each panel to allow for expansion and contraction due to changes in temperature and humidity. You may also want to add a diagonal brace across the panels for added stability.

Installing the Cross Braces

The final step in assembling your wooden gate door is to install the cross braces. Cross braces are wooden boards that run diagonally across the back of the gate to provide added support and prevent sagging.

To install the cross braces, measure and cut your boards to the correct length and angle. Then, attach them to the back of the gate using wood screws or nails. Make sure that the cross braces are securely attached and evenly spaced for maximum stability.

By following these steps, you can assemble a sturdy and reliable wooden gate door that will provide years of use and enjoyment.

Finishing Touches

Once you have constructed your wooden gate, it’s time to add the finishing touches to make it look great and function properly. This section will cover two essential finishing touches: painting or staining and adding hardware.

Painting or Staining

Painting or staining your wooden gate can help protect it from the elements and give it a polished look. Before you start, make sure the wood is clean and dry. Here are some tips to help you paint or stain your wooden gate:

  • Choose a paint or stain that is specifically designed for outdoor use.
  • Apply a primer before painting to help the paint adhere better to the wood.
  • Use a brush or roller to apply the paint or stain evenly.
  • Apply two coats of paint or stain for maximum protection.

Adding Hardware

Adding hardware to your wooden gate is essential for functionality and security. Here are some hardware options to consider:

  • Hinges: Choose heavy-duty hinges that can support the weight of your gate.
  • Latch: A latch will keep your gate securely closed. There are several types of latches to choose from, including thumb latches, ring latches, and slide bolts.
  • Handles: Handles make it easier to open and close your gate. Choose a handle that is sturdy and matches the style of your gate.

When installing hardware, make sure to follow the manufacturer’s instructions carefully. It’s also important to choose hardware that is rust-resistant and can withstand outdoor conditions.

By following these tips, you can add the finishing touches to your wooden gate and enjoy a beautiful and functional addition to your property.

Installing the Wooden Gate Door

Once you have built your wooden gate door, it’s time to install it. Follow these steps to ensure a secure and functional installation.

Positioning the Gate

Before you install the gate, make sure you have the correct measurements for your opening. The gate should fit snugly within the opening with a small gap for clearance.

Once you have the correct measurements, position the gate in the opening. Use shims to hold the gate in place and ensure it is level.

Securing the Hinges

Attach the hinges to the gate first, then to the post or fence. Make sure the hinges are secured with screws that are long enough to hold the weight of the gate.

Once the hinges are attached, remove the shims and test the gate to ensure it swings freely and smoothly. Adjust the hinges as necessary to ensure the gate is level and swings properly.

Attaching the Latch

Attach the latch to the gate and the post or fence. Make sure the latch is aligned properly and securely fastened. Test the latch to ensure it opens and closes smoothly and securely.

If necessary, add a drop rod to the gate to keep it from sagging. A drop rod is a metal rod that attaches to the bottom of the gate and goes into the ground to keep the gate from sagging over time.

With these steps, you should have a secure and functional wooden gate door. Remember to maintain and inspect your gate regularly to ensure it stays in good condition.

Maintaining Your Wooden Gate Door

To ensure the longevity and functionality of your wooden gate door, it’s essential to perform regular maintenance. Here are some tips to help you maintain your wooden gate door:

Regular Cleaning

Cleaning your wooden gate door regularly is crucial to prevent dirt and debris from accumulating, which can lead to rot and other damage. Here’s how to clean your wooden gate door:

  • Use a soft-bristled brush or cloth to remove any loose dirt and debris from the surface of the gate.
  • Mix a solution of mild soap and water and apply it to the gate using a cloth or sponge.
  • Rinse the gate thoroughly with clean water and allow it to dry completely before applying any finish or sealer.

Yearly Inspections

Performing a yearly inspection of your wooden gate door can help you identify any potential issues early on and prevent costly repairs down the line. Here’s what to look for during your yearly inspection:

  • Check for any signs of rot, warping, or cracking in the wood.
  • Inspect the gate’s hardware, including hinges and latches, to ensure they are functioning correctly.
  • Look for any signs of insect damage, such as holes or sawdust.

Repairing Damage

If you notice any damage or issues during your inspection, it’s essential to address them promptly to prevent further damage. Here are some tips for repairing damage to your wooden gate door:

  • For small cracks or splits, use wood filler to fill in the damaged area.
  • For larger cracks or splits, you may need to replace the damaged section of the gate.
  • If you notice signs of rot, you may need to replace the entire gate or the affected section.

By following these tips for maintaining your wooden gate door, you can ensure that it remains functional and beautiful for years to come.

How to Decorate a Wooden Box: Easy DIY Ideas and Tips

Are you looking for a fun and creative way to decorate a wooden box? Whether you want to personalize a gift or add a unique touch to your home decor, decorating a wooden box is a great way to showcase your creativity. With a little bit of inspiration and some basic materials, you can transform an unfinished wooden box into a beautiful work of art.

One of the easiest ways to decorate a wooden box is by painting it. You can use acrylic paint, spray paint, or even chalk paint to create a variety of designs and patterns. If you’re not comfortable with free-hand painting, you can use stencils or masking tape to create crisp lines and shapes. You can also add texture and dimension to your box by using sponges, brushes, or even your fingers to create different effects.

Another popular way to decorate a wooden box is by decoupaging it. This technique involves gluing paper or fabric onto the surface of the box and then sealing it with a protective coating. You can use patterned paper, magazine clippings, or even family photos to create a unique and personalized design. Decoupaging is a great way to add color and texture to your box, and it’s a fun project to do with kids or friends.

Choosing the Right Wooden Box

When it comes to decorating a wooden box, the first step is to choose the right one. There are many different types of wooden boxes available, each with its own unique characteristics and benefits. Here are some things to consider when choosing the right wooden box for your project:

Size and Shape

The size and shape of the wooden box will have a big impact on how it looks and what you can do with it. Think about the purpose of the box and what you want to use it for. Do you want a small box for storing jewelry or a larger one for holding blankets? Do you want a square box or a round one? Consider the dimensions carefully and make sure the box is the right size and shape for your needs.

Type of Wood

Different types of wood have different colors, textures, and properties. Some woods, like pine, are soft and easy to work with, while others, like oak, are harder and more durable. Consider the type of wood carefully and choose one that will work well for your project. Some common types of wood used for boxes include:

  • Pine
  • Cedar
  • Oak
  • Maple
  • Birch

Style and Design

The style and design of the wooden box will also play a big role in how it looks and what you can do with it. Some boxes have simple, clean lines, while others are more ornate and decorative. Think about the overall look and feel you want to achieve and choose a box that fits that style. You can also consider adding your own decorations, such as paint, stain, or decoupage, to customize the box even further.

By considering these factors when choosing the right wooden box, you can ensure that your project turns out just the way you want it to. Take your time and choose a box that is both functional and beautiful, and you’ll be well on your way to creating a stunning piece of decor.

Materials Needed for Decoration

When it comes to decorating a wooden box, you will need a few materials to get started. Here are some of the essential items you will need to decorate your wooden box:

Paint and Brushes

One of the most popular ways to decorate a wooden box is to use paint and brushes. You can use acrylic paint, which is easy to work with and dries quickly. You will also need brushes in different sizes to create different effects. For example, a small brush is great for adding details, while a large brush is perfect for covering large areas.

Stencils and Decals

If you want to create a more intricate design, you can use stencils and decals. Stencils are pre-cut designs that you can use to paint on your wooden box. You can find stencils in a variety of shapes and sizes. Decals are pre-made designs that you can stick onto your wooden box. They come in a variety of designs, including flowers, animals, and patterns.

Adhesive and Glitter

If you want to add some sparkle to your wooden box, you can use adhesive and glitter. You can use a glue gun to apply adhesive to your wooden box. Then, you can sprinkle glitter over the adhesive to create a glittery effect. You can use different colors of glitter to create a unique design.

In addition to these materials, you may also need sandpaper to smooth out any rough spots on your wooden box. You may also need a sealant to protect your design and make it last longer. With these materials, you will be able to create a beautiful and unique wooden box that you can use to store your treasures or give as a gift.

Preparation of the Wooden Box

Before you start decorating your wooden box, it’s important to properly prepare it to ensure a smooth and successful project. Here are some steps to follow:

1. Sanding

First, you need to sand the wooden box to remove any rough spots or splinters. Use a fine-grit sandpaper to gently sand the surface of the box, making sure to sand in the direction of the grain. Sanding also helps to create a surface that will better absorb paint or stain.

2. Cleaning

After sanding, it’s important to clean the box to remove any dust or debris. You can use a damp cloth or a tack cloth to wipe down the surface of the box. Make sure the box is completely dry before moving on to the next step.

3. Priming (Optional)

If you plan to paint the box, it’s a good idea to use a primer first. Primer helps to create a smooth surface and also helps the paint adhere better. Apply the primer with a brush or a spray can, and let it dry completely before moving on to the next step.

4. Painting or Staining

Now it’s time to add some color to your wooden box! You can use paint or stain to achieve the desired look. Apply the paint or stain with a brush or a cloth, making sure to follow the manufacturer’s instructions. You may need to apply multiple coats to achieve the desired color and finish.

5. Finishing (Optional)

If you want to protect the surface of your wooden box, you can apply a clear coat or a wax finish. This will help to prevent scratches and other damage. Apply the finish with a brush or a cloth, and let it dry completely before using your newly decorated wooden box.

By following these simple steps, you can prepare your wooden box for decoration and ensure a successful project.

Basic Painting Techniques

When it comes to decorating a wooden box, painting is one of the easiest and most versatile techniques you can use. Here are some basic painting techniques you can use to transform your wooden box into a work of art.

Sponge Painting

Sponge painting is a great technique for adding texture and depth to your wooden box. To sponge paint, you will need a sponge, paint, and a palette. Dip the sponge into the paint and dab it onto the palette to remove any excess. Then, gently dab the sponge onto the wooden box. You can use one color or multiple colors to create a unique pattern.

Dry Brushing

Dry brushing is a technique that involves using a dry brush to apply paint to the wooden box. This technique is great for creating a distressed or vintage look. To dry brush, dip the brush into the paint and then wipe off most of the paint onto a paper towel. Then, lightly brush the wooden box with the dry brush. This will create a subtle, textured effect.

Stenciling

Stenciling is a technique that involves using a stencil to apply paint to the wooden box. This technique is great for creating intricate designs or patterns. To stencil, you will need a stencil, paint, and a stencil brush. Place the stencil onto the wooden box and hold it in place with tape. Then, dip the stencil brush into the paint and dab it onto the stencil. Be sure to use a light touch and work slowly to avoid smudging the paint.

By using these basic painting techniques, you can create a unique and personalized wooden box that will make a great addition to any room in your home.

Adding Details and Embellishments

When it comes to decorating wooden boxes, the possibilities are endless. Adding details and embellishments can take your box from plain and simple to eye-catching and unique. Here are a few ideas to get you started:

Glittering

If you want to add some sparkle to your wooden box, glitter is a great option. You can use glitter glue or loose glitter to create a variety of effects. Here’s how:

  1. Apply a layer of glue to the surface of your box using a paintbrush.
  2. Sprinkle loose glitter over the glue, making sure to cover the entire surface.
  3. Shake off any excess glitter and let the glue dry completely.

You can also use stencils to create glitter designs on your box. Simply place the stencil on the box and apply the glitter glue over the stencil. Once the glue dries, carefully remove the stencil to reveal your design.

Decoupage

Decoupage is a technique that involves gluing paper or fabric to a surface and then coating it with a clear sealant. It’s a great way to add a pattern or design to your wooden box. Here’s how:

  1. Cut your paper or fabric into the desired shape and size.
  2. Apply a layer of decoupage glue to the surface of your box using a paintbrush.
  3. Place the paper or fabric onto the glue and smooth out any wrinkles or bubbles.
  4. Apply another layer of glue over the paper or fabric, making sure to cover the entire surface.
  5. Let the glue dry completely, then apply additional layers of glue as needed to create a smooth finish.

Adding Hardware

Adding hardware to your wooden box can give it a more polished and professional look. Here are a few options to consider:

  • Handles: Attach handles to the sides of your box to make it easier to carry.
  • Hinges: Install hinges on the lid of your box to make it easier to open and close.
  • Latches: Add a latch to the front of your box to keep it securely closed.

When choosing hardware, make sure to select pieces that are the right size and style for your box. You can find a variety of hardware options at your local hardware store or online.

Sealing and Finishing the Box

Once you have decorated your wooden box to your liking, it’s time to seal and finish it. This will not only protect your artwork but also enhance the overall look of your box. Here are some tips on how to seal and finish your wooden box:

1. Sanding the Box

Before applying any sealant or finish, make sure to sand the box thoroughly. This will help remove any rough spots or imperfections on the surface. Start with a coarse-grit sandpaper and gradually move to a finer grit until the surface is smooth to the touch.

2. Applying a Sealant

A sealant will help protect the wood from moisture and other environmental factors. There are many types of sealants available, such as polyurethane, shellac, and lacquer. Choose the one that best suits your needs and apply it evenly using a brush or cloth. Allow the sealant to dry completely before moving on to the next step.

3. Adding a Finish

A finish will give your wooden box a polished look and enhance the natural beauty of the wood. There are many types of finishes available, such as wax, oil, and varnish. Choose the one that best suits your needs and apply it evenly using a brush or cloth. Allow the finish to dry completely before using the box.

4. Buffing the Box

Once the finish has dried, you can buff the box to give it a smooth and shiny surface. Use a soft cloth or buffing wheel and gently rub the surface in a circular motion. This will help remove any excess finish or sealant and give your box a professional look.

By following these simple steps, you can seal and finish your wooden box like a pro. With a little bit of patience and care, your box will look beautiful and last for years to come.

Maintenance and Care of Decorated Box

Once you have decorated your wooden box, it is important to take good care of it to ensure that it lasts for a long time. Here are some tips on how to maintain and care for your decorated wooden box:

Keep the Box Clean

Dust and dirt can accumulate on the surface of your decorated box, which can dull its appearance. To keep the box looking its best, wipe it down regularly with a soft, dry cloth. If the box is particularly dirty, you can use a damp cloth to clean it, but make sure to dry it thoroughly afterward.

Avoid Exposure to Direct Sunlight

Direct sunlight can cause the colors on your decorated box to fade over time. To prevent this from happening, avoid placing the box in direct sunlight for extended periods of time. Instead, store it in a cool, dry place away from windows or other sources of direct sunlight.

Handle the Box Carefully

When handling your decorated box, be careful not to scratch or damage the surface. Avoid placing heavy objects on top of the box, and be gentle when opening and closing the lid. If you need to move the box, pick it up from the bottom and support it with your other hand to prevent it from bending or warping.

Apply a Protective Coating

To protect the surface of your decorated box from scratches and other damage, you can apply a protective coating. There are many different types of coatings available, including varnish, lacquer, and wax. Choose the one that is best suited for the type of decoration on your box, and follow the manufacturer’s instructions for application.

By following these simple tips, you can maintain the beauty and integrity of your decorated wooden box for years to come.

How to Make a Wooden Chest: A Beginner's Guide

To make a wooden chest, you will need some basic woodworking skills and tools. Whether you want to create a storage chest for blankets, toys, or other items, building your own wooden chest can be a fun and rewarding project. In this article, we will provide you with step-by-step instructions on how to make a wooden chest DIY style.

First, you will need to gather all the necessary materials and tools. This includes wood, screws, hinges, a saw, a drill, sandpaper, and wood glue. You can choose the type of wood you want to use based on your personal preference and budget. Once you have all the materials, you can start measuring and cutting the wood according to the dimensions of your desired chest.

Next, you will need to assemble the chest by attaching the sides, bottom, and lid together. You can use wood glue and screws to secure the pieces in place. After the chest is assembled, you can sand it down to make it smooth and apply a finish or paint if desired. With a little bit of patience and effort, you can create a beautiful and functional wooden chest that will last for years to come.

Understanding the Basics of Woodworking

Woodworking is a fun and rewarding hobby that allows you to create beautiful and functional objects out of wood. However, it is important to understand the basics of woodworking before you start any project. In this section, we will cover two important aspects of woodworking: choosing the right wood and safety measures.

Choosing the Right Wood

Choosing the right wood is crucial for any woodworking project. Here are some factors to consider when selecting wood:

  • Type of Wood: There are many types of wood available, each with its own unique characteristics. Some common types of wood used in woodworking include oak, maple, cherry, and pine. Consider the color, grain pattern, and hardness of the wood when making your selection.

  • Moisture Content: The moisture content of the wood is important because it affects how the wood will behave during the woodworking process. Wood that is too wet or too dry can be difficult to work with. It is best to use wood with a moisture content between 6% and 8%.

  • Grade: Wood is graded based on its quality and appearance. Select the grade that is appropriate for your project. For example, if you are making a rustic piece of furniture, you may want to use lower-grade wood with knots and other imperfections.

Safety Measures in Woodworking

Woodworking can be dangerous if proper safety measures are not taken. Here are some important safety tips to keep in mind:

  • Wear Safety Gear: Always wear safety goggles, ear protection, and a dust mask when working with wood. Wear gloves to protect your hands and avoid loose clothing that can get caught in machinery.

  • Use Sharp Tools: Dull tools are more dangerous than sharp tools because they require more force to use. Keep your tools sharp and in good condition.

  • Use Machinery Safely: Follow the manufacturer’s instructions when using machinery. Keep your hands and fingers away from moving parts, and never reach over or under a machine while it is running.

By following these basic guidelines, you can ensure that your woodworking projects are safe and successful.

Required Tools for Making a Wooden Chest

When making a wooden chest, you will need several tools to help you complete the project. Here are the basic tools you will need to make a wooden chest.

Measuring Tools

Before you begin making a wooden chest, you need to make sure that you have the right measurements. Here are some measuring tools you will need:

  • Tape measure
  • Combination square
  • Carpenter’s square
  • Marking gauge
  • Pencil

Cutting Tools

Once you have the right measurements, you will need to cut the wood to size. Here are some cutting tools you will need:

  • Circular saw
  • Table saw
  • Hand saw
  • Jigsaw
  • Miter saw

Joinery Tools

Joinery tools help you to join the pieces of wood together. Here are some joinery tools you will need:

  • Hammer
  • Chisels
  • Screwdrivers
  • Nails
  • Screws

Having the right tools is essential to making a wooden chest. Make sure that you have all the necessary tools before starting your project.

Designing Your Wooden Chest

When it comes to designing your wooden chest, there are a few key things to consider. In this section, we will go over how to determine the size of your chest and how to sketch out your design.

Determining the Size

The size of your wooden chest will largely depend on what you plan to use it for. If you are using it as a toy box or for storing blankets, you may want to make it larger. If you are using it for smaller items like jewelry or keepsakes, you may want to make it smaller.

One way to determine the size of your chest is to measure the items you plan to store in it. This will give you a good idea of how much space you will need. You can also consider the space where you plan to keep the chest and make sure it fits comfortably in that area.

Sketching the Design

Once you have determined the size of your chest, it’s time to sketch out your design. You can use graph paper to help you create a to-scale drawing of your chest. This will help you visualize what the finished product will look like and make it easier to make any necessary adjustments.

When sketching your design, consider the following:

  • The overall shape of the chest
  • The placement of any handles or hinges
  • The type of wood you plan to use
  • Any decorative elements you want to include

Keep in mind that the design of your chest should be both functional and aesthetically pleasing. You want to create a piece that is not only useful but also looks great in your home.

By taking the time to carefully consider the size and design of your wooden chest, you can create a beautiful and functional piece that will last for years to come.

Preparing the Wood

Before you start building your wooden chest, it’s important to prepare the wood properly. This will ensure that your final product looks great and is sturdy enough to last for years to come. In this section, we’ll go over the two main steps in preparing the wood: cutting and sanding.

Cutting the Wood

The first step in preparing the wood is cutting it to the right size. You’ll need to measure and mark the wood according to your plans, and then use a saw to make the cuts. Here are a few tips to keep in mind:

  • Use a sharp saw: A dull saw will make rough cuts and may damage the wood. Make sure your saw is sharp before you start cutting.
  • Measure twice, cut once: Double-check your measurements before you start cutting to avoid mistakes.
  • Cut slowly and carefully: Take your time when cutting to ensure that your cuts are straight and accurate.

Sanding the Wood

Once you’ve cut the wood to size, it’s time to sand it. Sanding will smooth out any rough edges and prepare the wood for staining or painting. Here’s what you need to know:

  • Start with coarse sandpaper: Use a coarse sandpaper (around 80-100 grit) to remove any rough spots or splinters.
  • Move to finer sandpaper: Once the rough spots are gone, switch to a finer sandpaper (around 150-200 grit) to smooth out the wood.
  • Sand with the grain: Always sand with the grain of the wood to avoid scratches and to ensure a smooth finish.
  • Use a sanding block: A sanding block will help you apply even pressure and ensure that your sanding is consistent.

By following these steps, you’ll be able to prepare your wood for building a beautiful and sturdy wooden chest.

Assembling the Wooden Chest

Now that you have all the pieces cut, sanded, and stained, it’s time to put the wooden chest together. This section will guide you through the process of assembling the chest.

Joining the Pieces

First, you need to join the sides of the chest to the front and back panels. Apply wood glue to the edges of the front and back panels and attach them to the sides. Use clamps to hold the pieces together while the glue dries.

Next, you can attach the base of the chest. Apply glue to the bottom edges of the chest sides and attach the base. You can also use screws to secure the base to the sides.

Installing the Lid

Now it’s time to install the lid of the chest. Attach the hinges to the back of the lid and the back of the chest. Make sure the hinges are evenly spaced and level. Once the hinges are attached, you can attach the lid to the chest.

If you want to add a handle to the lid, now is the time to do so. You can use a metal handle or make your own out of wood. To attach the handle, drill holes in the lid and attach the handle with screws.

Congratulations! Your wooden chest is now assembled and ready to use.

Finishing Touches

Once you have completed building your wooden chest, it’s time to apply the finishing touches. This will not only enhance the appearance of your chest but also protect it from wear and tear. In this section, we will discuss the two essential finishing touches: Applying the Finish and Adding Hardware.

Applying the Finish

Before applying the finish, make sure that the surface of your chest is smooth and free of any dust or debris. You can use a sandpaper to sand the surface of your chest until it’s smooth. Once you have done that, you can apply the finish of your choice. There are several types of finishes available, including paint, stain, and varnish.

If you want to paint your chest, make sure that you use a paint that is suitable for wood. You can also use a primer to ensure that the paint adheres to the surface of your chest. If you want to stain your chest, choose a stain that is suitable for the type of wood you have used. Apply the stain with a brush and wipe off any excess stain with a cloth. If you want to use varnish, apply it in thin coats with a brush and let it dry completely before applying another coat.

Adding Hardware

Adding hardware to your wooden chest can enhance its appearance and make it more functional. You can use handles, hinges, locks, and other hardware to add character and functionality to your chest. When choosing hardware, make sure that it is suitable for the size and weight of your chest.

To attach handles, mark the position where you want to attach them and drill holes in the marked position. Insert the screws through the holes and attach the handles. For hinges, mark the position where you want to attach them and drill pilot holes. Attach the hinges with screws and make sure that they are aligned properly. For locks, mark the position where you want to attach them and drill holes for the lock mechanism. Attach the lock mechanism and the keyhole plate with screws.

In conclusion, applying the finish and adding hardware are essential finishing touches that can enhance the appearance and functionality of your wooden chest. By following these simple steps, you can create a beautiful and functional wooden chest that will last for years to come.