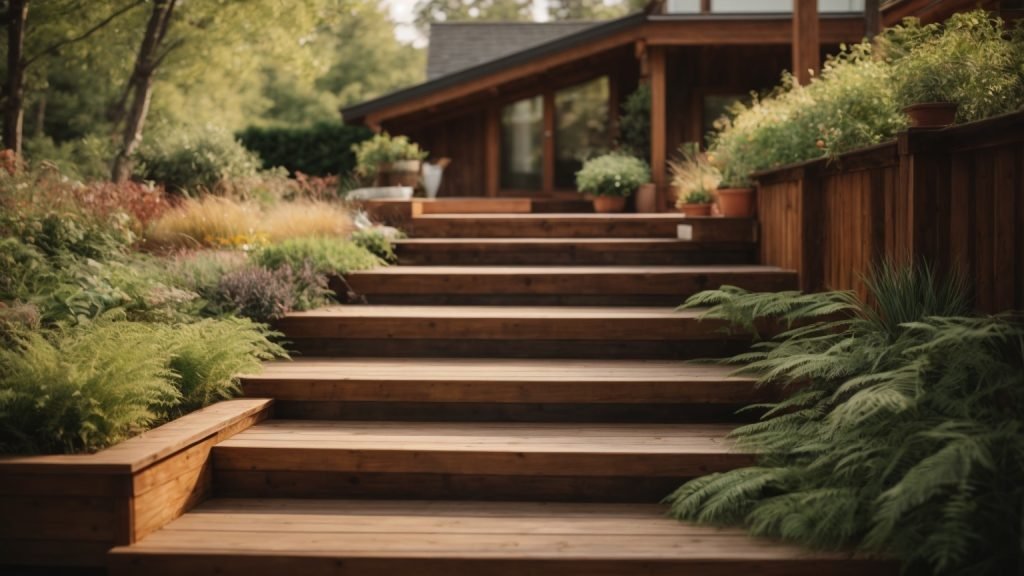
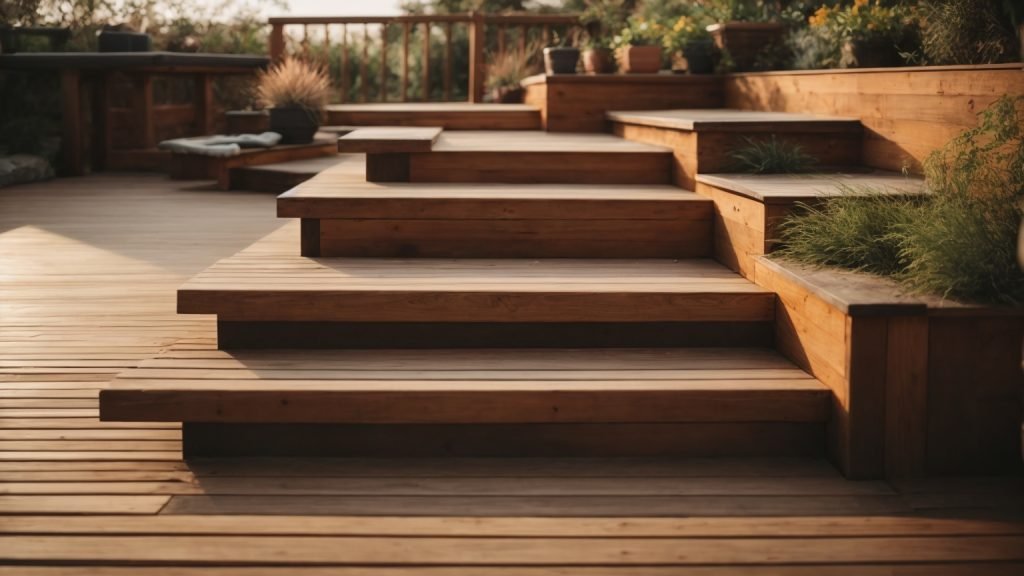
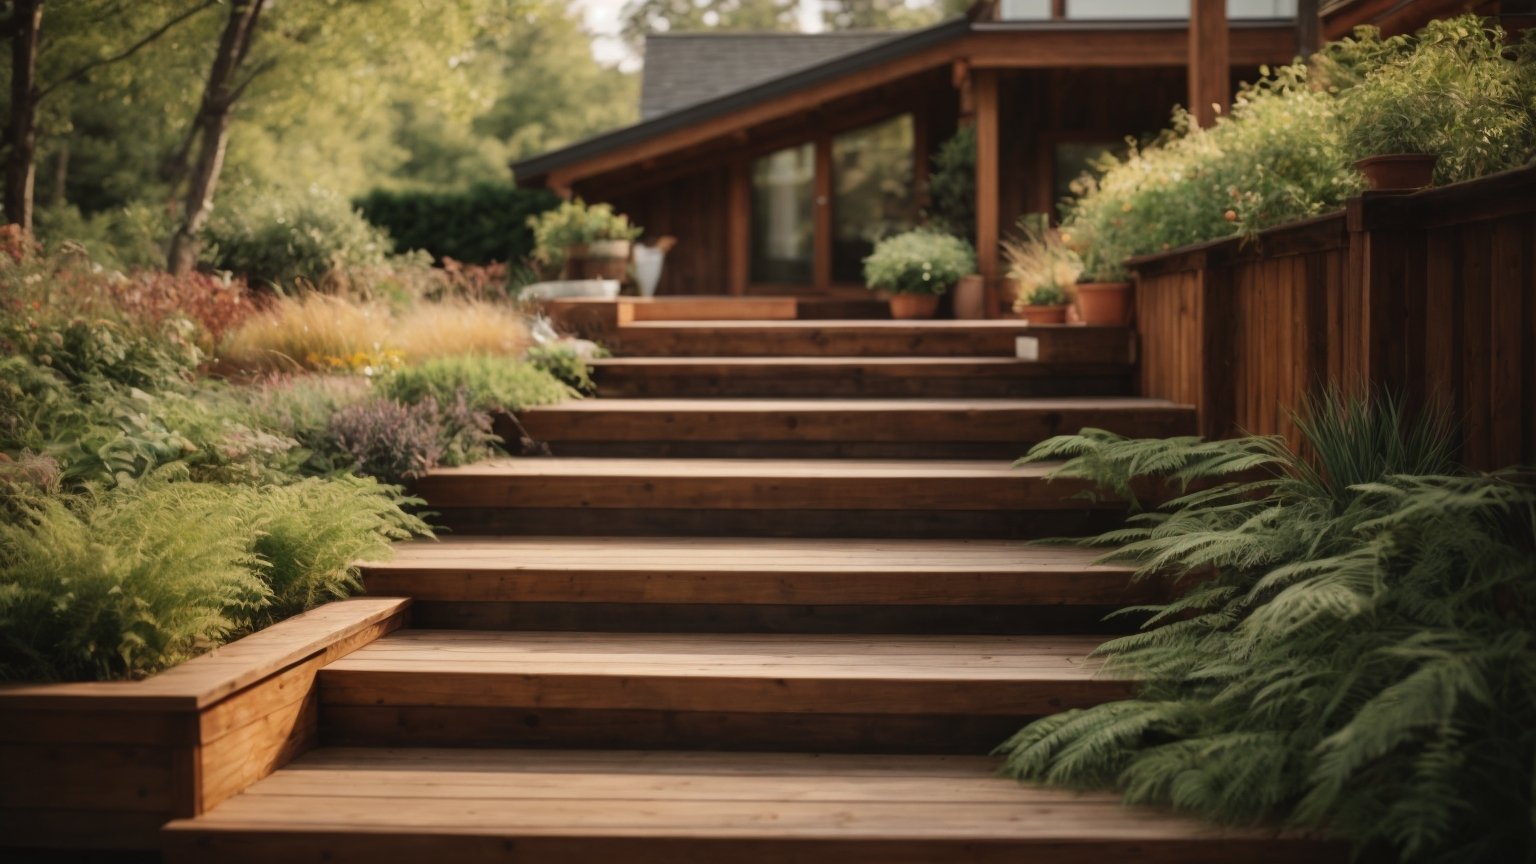
If you’re looking to spruce up your entryway, building outdoor wooden steps is a great way to do it. Not only do they add visual appeal, but they also provide a safe and sturdy way to access your home. However, building outdoor wooden steps can seem like a daunting task, especially if you’re not a seasoned DIYer. But fear not, with the right tools and a little know-how, you can build beautiful and functional outdoor wooden steps in no time.
Before you get started, it’s important to prepare the area where the steps will be located. This involves removing any shrubs or plants from the spot and leveling the ground. You’ll also need to build up low spots with fill dirt so that the area slopes away from the house. Once the area is prepped, it’s time to start building the steps. There are a few different methods you can use, depending on your skill level and the design you’re going for. In this article, we’ll cover the basics of building outdoor wooden steps, so you can tackle this project with confidence.
Understanding the Basics

If you’re looking to add some charm to your outdoor space, building wooden steps is a great way to do so. Not only do they provide functionality, but they can also enhance the look of your home. In this section, we’ll cover the basics of building outdoor wooden steps.
Materials Needed
Before you start building, make sure you have all the necessary materials. Here’s a list of what you’ll need:
| Materials |
|---|
| Pressure-treated lumber |
| Gravel |
| Concrete |
| Wood screws |
| Wood glue |
| Stain or paint |
Pressure-treated lumber is the best type of wood to use for outdoor steps because it’s resistant to rot and decay. Gravel and concrete will be used to create a stable foundation for the steps. Wood screws and glue will be used to secure the steps together. Finally, you’ll need stain or paint to protect the wood from the elements.
Tools Required
In addition to the materials, you’ll need a few tools to complete the project. Here’s a list of what you’ll need:
- Circular saw
- Jigsaw
- Hammer
- Drill
- Level
- Tape measure
- Square
- Shovel
- Wheelbarrow
- Safety glasses
- Work gloves
The circular saw and jigsaw will be used to cut the lumber to the appropriate size and shape. The hammer and drill will be used to attach the steps together. The level, tape measure, and square will be used to ensure the steps are level and square. The shovel and wheelbarrow will be used to move the gravel and concrete. Finally, safety glasses and work gloves are essential for protecting your eyes and hands during the construction process.
Now that you have an idea of what materials and tools you’ll need, let’s move on to the next section to learn how to prepare the area for building the steps.
Site Preparation
Before starting to build outdoor wooden steps, you need to prepare the site properly. Here are the steps you should follow:
Step 1: Choose the Location
The first thing you need to do is choose the location where you want to build your outdoor wooden steps. It could be alongside the house, a porch, or a deck. Make sure to choose a location that is safe and easy to access.
Step 2: Clear the Area
Once you have chosen the location, you need to clear the area of any shrubs, plants, or debris. This will ensure that you have a clear and level area to work with. Use a shovel or a rake to remove any debris and level the ground.
Step 3: Build up Low Spots
If the area where you want to build your outdoor wooden steps is not level, you need to build up the low spots with fill dirt. This will ensure that the area slopes away from the house and prevent water from accumulating around the steps.
Step 4: Mark the Location
Use a measuring tape and stakes to mark the location where you want to build your outdoor wooden steps. This will help you to ensure that the steps are level and evenly spaced.
Step 5: Check for Utility Lines
Before you start digging, make sure to check for any utility lines such as gas, water, or electricity. You can call your local utility company to request a free utility locate service.
By following these steps, you can prepare the site properly for building your outdoor wooden steps.
Designing Your Steps

Before you start building your outdoor wooden steps, it’s important to consider the design of your steps. Here are a few things to keep in mind when designing your steps:
Step Size and Height
The size and height of your steps are essential for both safety and comfort. The general rule of thumb is that each step should be no higher than 7.5 inches and no deeper than 11 inches. If your steps are too steep or too shallow, it can make it difficult to climb up or down the stairs.
Number of Steps
The number of steps you need will depend on the height of your deck or porch. To determine the number of steps you need, divide the height of your deck or porch by the height of each step. For example, if your deck is 30 inches high and each step is 7.5 inches high, you will need four steps.
Materials
When it comes to building your outdoor wooden steps, you have several options for materials. Pressure-treated lumber is a popular choice because it is durable and weather-resistant. Cedar and redwood are also good choices because they are naturally resistant to decay and insects. If you want a more modern look, you can use metal or concrete for your steps.
Style
The style of your outdoor wooden steps should match the style of your home and landscape. You can choose from a variety of styles, including straight, curved, or spiral. You can also add decorative elements, such as railings, to enhance the look of your steps.
By considering these factors, you can design outdoor wooden steps that are safe, comfortable, and aesthetically pleasing.
Cutting the Wood
Once you have measured and marked the wooden pieces for your outdoor steps, it’s time to cut them. Here are some tips to make the cutting process easier and more efficient:
Use the Right Tools
To cut wooden pieces for your steps, you will need a circular saw, a handsaw, or a jigsaw. A circular saw is the most efficient tool for cutting long pieces of wood, while a handsaw or a jigsaw is better for cutting shorter pieces or making angled cuts.
Make sure the saw blade is sharp and in good condition before you start cutting. A dull blade can cause the wood to splinter or burn, which will ruin the cut and may damage the saw.
Measure Twice, Cut Once
Before you start cutting, double-check your measurements to make sure they are accurate. Measure twice, cut once is a good rule of thumb to follow to avoid wasting wood and time.
Cut Straight
To make straight cuts, use a straightedge or a guide to keep the saw blade on track. You can use a piece of scrap wood as a guide or purchase a commercial saw guide.
Cut at the Right Angle
If your steps require angled cuts, use a protractor or a bevel gauge to measure the angle accurately. Set the saw blade to the correct angle and make a test cut on a scrap piece of wood before cutting the actual piece.
Sand the Cut Edges
After you have cut the wooden pieces, sand the cut edges to remove any rough spots or splinters. This will make the steps safer to use and give them a more finished look.
By following these tips, you can cut the wooden pieces for your outdoor steps accurately and efficiently.
Assembling the Steps
Once you have completed the previous steps of preparing the area and cutting the stringers and treads, it’s time to assemble the steps. This is where you will put all the pieces together to create a sturdy and safe set of outdoor wooden steps. Here’s how to do it:
Joining the Stringers
The first step in assembling your wooden steps is to join the stringers. Stringers are the diagonal pieces that support the treads and risers. To join the stringers, you will need to use a metal angle bracket. Here’s how to do it:
- Position the stringers so that they are parallel and even with each other.
- Place the metal angle bracket over the stringers where they meet at the bottom.
- Use a drill to screw the bracket into place, using wood screws that are at least 2 inches long.
- Repeat this process for each step.
Attaching the Treads
Once the stringers are joined, it’s time to attach the treads. Treads are the horizontal pieces that you step on when walking up or down the stairs. Here’s how to attach them:
- Place a tread on top of the stringers, making sure that it is even and centered.
- Use a drill to screw the tread into place, using wood screws that are at least 2 inches long.
- Repeat this process for each step.
It’s important to note that you should leave a gap of about 1/4 inch between each tread to allow for water drainage. You can use a piece of scrap wood as a spacer to ensure that the gap is consistent.
Once you have attached all of the treads, your outdoor wooden steps are complete! You can add a coat of sealant or paint to protect the wood and enhance its appearance. With proper maintenance, your wooden steps will provide safe and reliable access to your home for years to come.
Installing the Steps
Now that you have built your outdoor wooden steps, it is time to install them. Here are the steps to follow:
- Start by measuring the distance between the top of the stairs and the bottom of the landing. This will give you the length of the stringers needed to support the steps.
- Cut the stringers to the appropriate length and attach them to the landing using metal brackets. Make sure the stringers are level and secure.
- Next, attach the treads to the stringers using screws or nails. Be sure to space them evenly and make sure they are level.
- Finally, attach the risers to the back of each tread using screws or nails. This will give your steps a finished look and prevent debris from getting trapped between the treads.
- If desired, you can add a railing to your steps for safety. This can be done using metal brackets or by attaching the railing directly to the stringers.
Congratulations! You have successfully built and installed your outdoor wooden steps. Enjoy your new entryway and the added curb appeal it brings to your home.
Safety Measures
When building outdoor wooden steps, it’s important to prioritize safety to avoid accidents and injuries. Here are some safety measures you should keep in mind:
Use Protective Gear
Before you start building, it’s important to wear the right protective gear. This includes safety glasses, gloves, and a dust mask. Safety glasses will protect your eyes from flying debris, while gloves will protect your hands from splinters and cuts. A dust mask will prevent you from inhaling sawdust and other particles that can cause respiratory problems.
Check the Weather
Make sure to check the weather forecast before you start building. Avoid working on rainy or windy days, as this can make it difficult to handle tools and materials. Wet surfaces can also be slippery and hazardous, so make sure the ground is dry and stable before you start building.
Use the Right Tools
Using the right tools is essential for safety and efficiency. Make sure to use sharp blades and bits, and keep your tools in good condition. Dull or damaged tools can cause accidents and injuries. Also, make sure to use the right tool for the job. Using the wrong tool can cause damage to your materials and increase the risk of accidents.
Follow Building Codes
Make sure to follow building codes and regulations in your area. This will ensure that your steps are safe and up to code. Building codes may vary depending on your location, so make sure to check with your local authorities before you start building.
Take Breaks
Building outdoor wooden steps can be a physically demanding task. Make sure to take breaks and stay hydrated to avoid exhaustion and fatigue. Stretching before and after working can also help prevent muscle strains and injuries.
By following these safety measures, you can ensure that your outdoor wooden steps are built safely and efficiently.
Maintaining Your Wooden Steps
Once you’ve built your outdoor wooden steps, it’s important to maintain them to ensure they last as long as possible. Here are some tips for maintaining your wooden steps:
Regular Cleaning
Regular cleaning is essential to keep your wooden steps looking good and to prevent the buildup of dirt and debris. You can use a broom to sweep away loose dirt and debris, and a stiff-bristled brush to scrub away any stubborn dirt or stains. You can also use a pressure washer on a low setting to clean your steps, but be careful not to use too much pressure as this can damage the wood.
Staining and Sealing
Staining and sealing your wooden steps can help to protect them from the elements and prevent them from rotting. You should stain and seal your steps every 2-3 years, or as needed. Before applying stain or sealer, make sure your steps are clean and dry. You can use a brush or sprayer to apply the stain or sealer, and make sure to follow the manufacturer’s instructions.
Repairing Damage
If your wooden steps become damaged, it’s important to repair them as soon as possible. Small cracks or splits can be filled with wood filler, while larger damage may require replacing the affected boards. You should also check your steps regularly for signs of rot, and replace any rotting boards as needed.
Preventative Measures
There are also some preventative measures you can take to help maintain your wooden steps. For example, you can place mats or rugs on your steps to prevent dirt and debris from accumulating. You can also install a roof or awning over your steps to protect them from the elements.
By following these tips, you can help to ensure that your outdoor wooden steps remain safe, sturdy, and attractive for years to come.
