
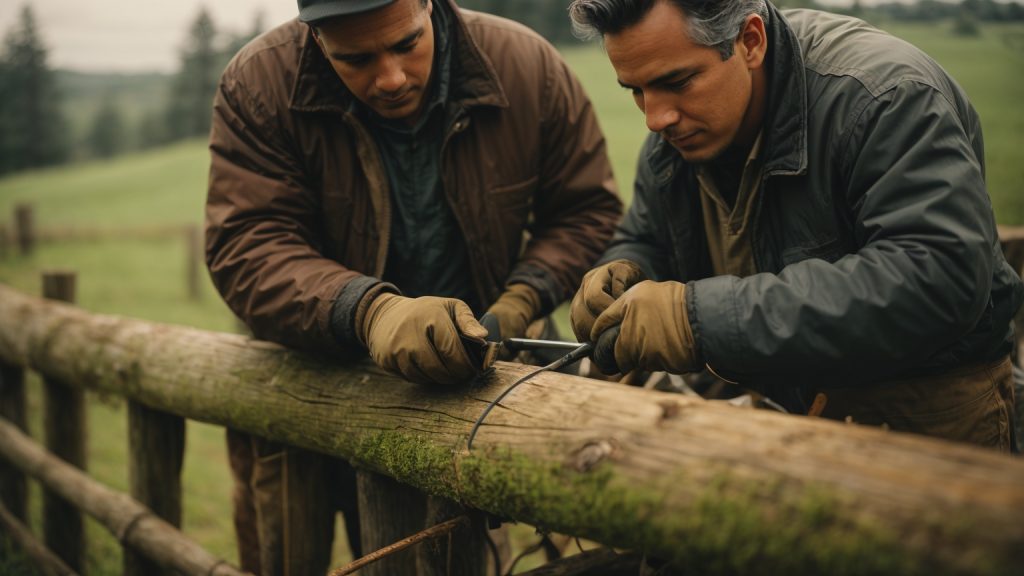
If you have a wooden fence that’s seen better days, don’t worry. There are ways to repair it and bring it back to life. With a little bit of effort and some basic tools, you can fix most issues that commonly occur with wooden fences. In this article, we’ll walk you through the steps to repair a wooden fence and provide some helpful tips along the way.
One of the most common issues with wooden fences is rotting. This can happen to the fence posts, rails, or pickets. If you notice any signs of rot, such as soft or spongy wood, it’s important to address the issue as soon as possible. Another common problem is sagging or leaning fence sections. This can be caused by a number of factors, including loose or damaged hardware, soil erosion, or improper installation. Whatever the issue, we’ll show you how to fix it and get your fence looking great again.
Before you begin any repairs, it’s important to assess the damage and determine the best course of action. Depending on the severity of the issue, you may need to replace a section of the fence or simply make some minor repairs. With the right tools and techniques, you can tackle most fence repairs on your own and save money in the process. So, let’s get started and learn how to repair a wooden fence.
Understanding the Damage
When it comes to repairing a wooden fence, the first step is to understand the damage. This will help you determine whether you need to repair or replace the fence, as well as what materials and tools you’ll need. In this section, we’ll go over how to identify the types of damage and assess the severity of the damage.
Identifying Types of Damage
There are several types of damage that can occur to a wooden fence, including:
- Rot: This is caused by exposure to moisture and can weaken the wood, making it more prone to breaking.
- Warping: This is caused by changes in temperature and humidity and can cause the fence to become misshapen.
- Splitting: This is caused by age and exposure to the elements and can cause the wood to crack and break.
- Pests: Termites and other pests can damage the wood, leaving it weak and vulnerable.
By identifying the type of damage, you’ll be better equipped to determine the best course of action.
Assessing Severity of Damage
Once you’ve identified the type of damage, the next step is to assess the severity of the damage. This will help you determine whether you can repair the fence or if you need to replace it. Here are some things to look for when assessing the severity of the damage:
- How extensive is the damage? Is it limited to a small area or does it cover a large portion of the fence?
- How deep is the damage? Is it surface-level or does it go all the way through the wood?
- How old is the fence? Older fences may be more prone to damage and may need to be replaced rather than repaired.
By assessing the severity of the damage, you’ll be able to make an informed decision about how to proceed with the repair or replacement of your wooden fence.
Gathering Necessary Tools and Materials
Before you begin repairing your wooden fence, it’s important to gather all the necessary tools and materials. This will save you time and frustration later on. Here are some things you’ll need:
Choosing the Right Tools
Having the right tools can make all the difference when it comes to repairing your fence. Here are some tools you should consider having on hand:
- Electric drill: An electric drill is essential for drilling holes and screwing things together.
- Post hole digger or auger: You’ll need a post hole digger or auger to dig new post holes or widen existing ones.
- Screwdriver: A screwdriver will come in handy for removing screws and attaching new ones.
- Saw: You may need a saw to cut new fence boards to size.
- Hammer: A hammer will be useful for pounding in nails and removing old ones.
- Level: A level will help ensure that your fence is straight and level.
- Measuring tape: You’ll need a measuring tape to measure the length of your fence and the distance between posts.
Selecting Quality Materials
When it comes to repairing your fence, it’s important to use quality materials that will last. Here are some materials you should consider using:
- Fence boards: Choose fence boards that are thick and sturdy. Look for boards that are free of knots and other defects.
- Posts: Use pressure-treated posts that are resistant to rot and decay.
- Concrete: Use concrete to anchor your fence posts in the ground. This will help prevent them from shifting or leaning over time.
- Screws: Use screws instead of nails to attach your fence boards to the posts. Screws are stronger and less likely to come loose over time.
- Paint or stain: Use paint or stain to protect your fence from the elements and give it a finished look.
By gathering the right tools and materials, you’ll be well on your way to repairing your wooden fence.
Preparation Steps
Before you start repairing your wooden fence, there are some preparation steps you need to take to ensure a successful repair. These steps include clearing the area and taking safety precautions.
Clearing the Area
The first step in repairing your wooden fence is to clear the area around it. This means removing any debris, such as leaves, branches, or rocks, that may be in the way. You should also clear any plants or grass that are growing too close to the fence, as they may interfere with the repair process.
If your fence is located near any structures, such as a house or garage, make sure to move any items away from the fence to avoid damaging them during the repair process.
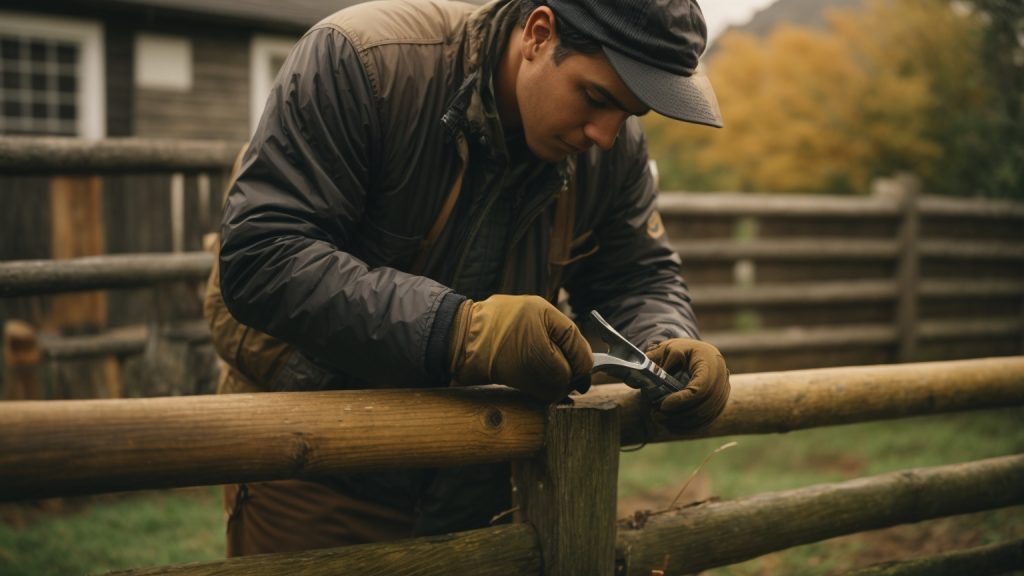
Safety Precautions
When repairing a wooden fence, it is important to take safety precautions to avoid injury. Here are some safety tips to keep in mind:
- Wear protective clothing, such as gloves and safety glasses, to protect yourself from splinters and debris.
- Use caution when handling tools, such as saws and hammers, to avoid injury.
- Make sure your tools are in good working condition and are appropriate for the job.
- If you are working with power tools, make sure to follow the manufacturer’s instructions and use them only as intended.
- If you are working on a ladder, make sure it is secure and on level ground.
By taking these preparation steps, you can ensure a safe and successful repair of your wooden fence.
Repairing Minor Damages
If your wooden fence has minor damages, you can easily fix them yourself. Here are some simple steps to help you repair your fence.
Fixing Loose Boards
If you have loose boards on your fence, you can fix them by following these steps:
- Remove the loose board from the fence.
- Clean the area where the board was removed.
- Apply wood glue to the area where the board was removed.
- Place the board back in its original position and secure it with screws.
- Wipe off any excess glue with a damp cloth.
Repairing Small Cracks
Small cracks in your wooden fence can be repaired using wood filler. Here’s how:
- Clean the area around the crack.
- Apply the wood filler to the crack with a putty knife.
- Smooth out the wood filler with the putty knife.
- Allow the wood filler to dry according to the manufacturer’s instructions.
- Sand the area with a fine-grit sandpaper until it is smooth.
- Paint or stain the area to match the rest of the fence.
Remember, if the damage to your fence is more severe, it’s best to call a professional to repair it.
Repairing Major Damages
If your wooden fence has suffered major damages, such as broken boards or rot, it’s important to take care of them as soon as possible to prevent further damage. Here are some tips on how to repair major damages to your wooden fence.
Replacing Broken Boards
If you have a broken board on your fence, it’s important to replace it as soon as possible to prevent further damage. Here’s how to do it:
- Remove the damaged board: Using a pry bar, remove the damaged board from the fence. Be careful not to damage any of the surrounding boards.
- Measure and cut the new board: Measure the length of the opening left by the removed board and cut a new board to fit.
- Install the new board: Place the new board into the opening and secure it in place with screws or nails.
Dealing with Rot
If you have rot on your fence, it’s important to remove it before it spreads. Here’s how to do it:
- Remove the affected area: Use a saw to cut away the affected area of the fence. Be sure to cut back to healthy wood.
- Treat the area: Apply a wood preservative to the affected area to prevent further rot.
- Replace the damaged area: Cut a new piece of wood to fit the opening left by the removed area and secure it in place with screws or nails.
Remember, prevention is key when it comes to wooden fence maintenance. Regularly inspect your fence for damages and take care of them as soon as possible to prevent further damage.
Maintaining Your Wooden Fence
Regular maintenance is essential to keep your wooden fence looking good and functioning properly. With proper care, you can extend the life of your fence and prevent costly repairs. Here are some tips on how to maintain your wooden fence.
Regular Inspections
Regular inspections are key to identifying problems early and preventing them from getting worse. Inspect your fence at least once a year, and after any major weather events. Look for signs of damage, such as rotting, cracking, or warping. Check the fence posts for stability and make sure they are not leaning or wobbling. If you notice any damage, address it immediately to prevent it from spreading.
Preventive Measures
Preventive measures can help protect your fence from damage and extend its life. Here are some tips on how to prevent damage to your wooden fence:
- Keep the fence clean: Regularly clean your fence to remove dirt, debris, and mildew. Use a mild detergent and a soft-bristled brush to scrub the fence. Rinse thoroughly with a hose.
- Seal the fence: Apply a sealant to your fence to protect it from moisture and UV rays. Choose a sealant that is specifically designed for wooden fences. Apply the sealant according to the manufacturer’s instructions.
- Trim vegetation: Keep vegetation trimmed back from your fence to prevent it from growing into the fence and causing damage. This will also help improve air circulation around the fence, which can help prevent moisture buildup.
- Avoid contact with soil: Make sure your fence does not come into contact with soil, as this can cause the wood to rot. Use concrete or metal posts to elevate the fence off the ground.
By following these tips, you can keep your wooden fence looking great and functioning properly for years to come. Regular inspections and preventive measures can help you avoid costly repairs and keep your fence in top condition.