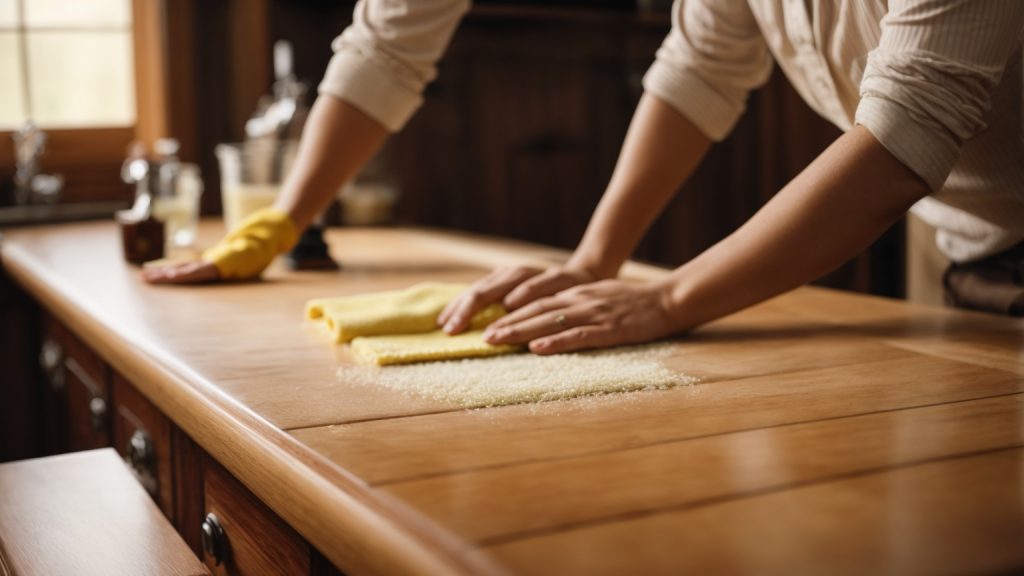
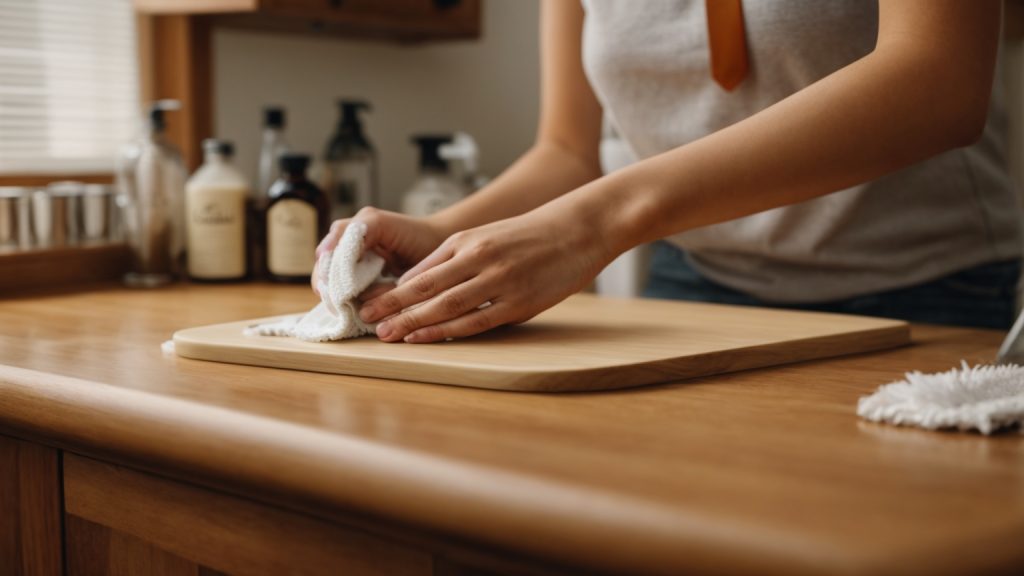
Keeping your wooden cabinet doors clean and well-maintained not only adds to the aesthetic appeal of your home but also ensures their longevity. However, with daily use, cabinet doors can accumulate grease, grime, and dirt, making them look dull and dirty. Cleaning wooden cabinet doors might seem like a daunting task, but with the right tools and techniques, it can be a breeze.
One of the most important things to keep in mind when cleaning wooden cabinet doors is to avoid using harsh chemicals or abrasive materials that can damage the surface of the wood. Instead, opt for gentle cleaning solutions that are safe for wood and effective in removing dirt and grime. In this article, we will explore some simple yet effective ways to clean your wooden cabinet doors using natural and safe cleaning solutions that won’t harm your cabinets. So, let’s get started and give your cabinet doors the TLC they deserve!
Understanding the Material

When it comes to cleaning wooden cabinet doors, it’s important to understand the material you’re working with. Different types of wood and finishes require different cleaning methods to avoid damage. In this section, you’ll learn about the types of wood commonly used for cabinets and the finishes that protect them.
Types of Wood
Wooden cabinets can be made from a variety of wood types, each with its own unique characteristics. Here are some of the most common types of wood used for cabinet doors:
| Wood Type | Characteristics |
|---|---|
| Oak | Durable, heavy, and strong with prominent grain patterns |
| Maple | Hard and heavy with a fine, uniform grain pattern |
| Cherry | Moderately hard with a smooth, even grain pattern and reddish-brown color |
| Pine | Soft and lightweight with a prominent grain pattern and pale color |
| Birch | Hard and heavy with a fine, uniform grain pattern and light color |
Finish of the Wood
Wooden cabinet doors are typically finished with a protective coating that helps preserve the wood and enhance its appearance. Here are some of the most common finishes used for cabinet doors:
- Varnish: A clear, hard finish that provides excellent protection against moisture and wear.
- Lacquer: A clear, hard finish that dries quickly and provides a high-gloss appearance.
- Wax: A natural finish that provides a soft, low-luster appearance and some protection against moisture.
- Oil: A penetrating finish that enhances the natural beauty of the wood and provides some protection against moisture.
It’s important to be aware of the finish on your cabinets when choosing a cleaning method. Some finishes are more sensitive to moisture and harsh chemicals than others, and using the wrong cleaning method can cause damage to the wood or finish.
Gathering Cleaning Supplies
Before you start cleaning your wooden cabinet doors, it’s important to gather all the necessary cleaning supplies. Here are the essential cleaning products and additional cleaning tools you’ll need:
Essential Cleaning Products
- Gentle soap solution: Mix a few drops of mild dish soap with warm water in a bucket or spray bottle. This solution will help remove dirt and grime without damaging the wood finish.
- Microfiber cloths or sponge: These are gentle on the wood surface and won’t scratch or leave lint behind. Use them to wipe down the cabinet doors and remove any soap residue.
- Water: You’ll need plenty of clean water to rinse the soap solution off the cabinet doors.
- Wood polish or conditioner (optional): If you want to give your wooden cabinet doors an extra shine, apply a small amount of wood polish or conditioner after cleaning. This will also help protect the wood from future damage.
Additional Cleaning Tools
- Vacuum cleaner with crevice tool: Use a vacuum cleaner with a crevice tool attachment to remove any dust or debris from the corners and edges of the cabinet doors.
- Oil soap solution: If your wooden cabinet doors have a glossy finish, you can use an oil soap solution like Murphy’s Oil to clean them. This will help remove any grease or grime buildup.
- Soft-bristled brush: Use a soft-bristled brush to gently scrub away any tough stains or grime on the cabinet doors.
By gathering these essential cleaning products and additional cleaning tools, you’ll be ready to clean your wooden cabinet doors with ease.
Pre-Cleaning Steps
Before you start cleaning your wooden cabinet doors, there are a few pre-cleaning steps that you should follow to ensure that you don’t damage the wood or the finish.
Dusting the Cabinet Doors
The first step is to dust the cabinet doors. Dust and dirt can accumulate on the surface of the doors, making it difficult to clean them properly. Use a soft cloth or a feather duster to remove the dust from the doors. Make sure that you dust the entire surface of the doors, including the corners and the edges.
Removing Surface Stains
If there are any surface stains on the cabinet doors, you should remove them before you start cleaning. You can use a mild detergent or a cleaner specifically designed for wooden surfaces to remove the stains. Apply the cleaner to a soft cloth and gently rub the stained area. Be careful not to use too much pressure, as this can damage the wood or the finish.
If the stains are particularly stubborn, you can use a mixture of baking soda and water to create a paste. Apply the paste to the stained area and let it sit for a few minutes. Then, use a soft cloth to wipe away the paste. Rinse the area with water and dry it thoroughly.
By following these pre-cleaning steps, you can ensure that your wooden cabinet doors are ready for a deep clean.
Deep Cleaning Process
When it comes to deep cleaning your wooden cabinet doors, you want to make sure you’re using the right cleaning solution and technique. Here’s a step-by-step guide on how to deep clean your wooden cabinet doors.
Applying the Cleaning Solution
First, you’ll want to apply the cleaning solution to the wooden cabinet doors. You can make your own solution by mixing equal parts of warm water and vinegar or use a commercial wood cleaner. Apply the solution onto a microfiber cloth or sponge and wipe down the doors, making sure to get into all the crevices and corners.
Scrubbing the Doors
After applying the cleaning solution, you’ll want to scrub the doors to remove any built-up grime and dirt. Use a soft-bristled brush or sponge to scrub the doors in a circular motion. Be sure not to scrub too hard, as this can damage the wood’s finish.
If you have any stubborn stains or marks, you can use baking soda mixed with water to create a paste. Apply the paste to the stain and let it sit for a few minutes before scrubbing it away.
Rinsing and Drying
Once you’ve finished scrubbing the doors, it’s time to rinse them off. Use a clean, damp cloth to wipe away any remaining cleaning solution or baking soda paste. Make sure to rinse thoroughly to avoid leaving any residue behind.
Finally, dry the doors with a clean, dry cloth. Make sure to remove all moisture to prevent any water damage to the wood. You may also want to apply a wood conditioner or polish to restore the wood’s shine and protect it from future damage.
By following these simple steps, you can deep clean your wooden cabinet doors and keep them looking their best for years to come.
To keep your wooden cabinet doors looking their best, it’s important to establish a regular cleaning schedule and use protective products. Follow these simple steps to maintain your wooden cabinet doors.
Regular Cleaning Schedule
Regular cleaning is essential to keep wooden cabinet doors looking their best. Here are some tips to help you establish a regular cleaning schedule:
- Dust your cabinet doors regularly with a soft, lint-free cloth to prevent the buildup of dust and dirt.
- Clean your cabinet doors with a gentle soap solution and a damp cloth once a week. Mix a 50/50 solution of vinegar and warm water and pour it into a spray bottle. Mist on cabinets, let sit for a minute or two and then wipe clean with a soft cloth. Add a few drops of liquid dishwashing detergent to the vinegar and water solution to clean extremely grimy cabinets.
- Dry your cabinet doors thoroughly after cleaning to prevent water damage.
- Avoid using abrasive cleaners or scrubbers, as they can scratch the surface of the wood.
Using Protective Products
Using protective products can help to keep your wooden cabinet doors looking their best for longer. Here are some tips to help you choose the right protective products:
- Apply a wood polish or conditioner to your cabinet doors every few months to help protect the wood and keep it looking its best. Use a soft cloth to apply the polish or conditioner, and follow the manufacturer’s instructions carefully.
- Consider using a furniture wax to protect your cabinet doors from scratches and other damage. Furniture wax can also help to restore the natural shine of the wood.
- Avoid using silicone-based products on your wooden cabinet doors, as they can cause buildup and discoloration over time.
By following these simple tips, you can keep your wooden cabinet doors looking their best for years to come.
Common Mistakes to Avoid
When it comes to cleaning your wooden cabinet doors, there are a few common mistakes that you should avoid to ensure that your cabinets stay in great condition for years to come. Here are some of the most important things to keep in mind:
Using Harsh Chemicals
One of the biggest mistakes that people make when cleaning their wooden cabinets is using harsh chemicals. While these chemicals may be effective at removing dirt and grime, they can also damage the finish of your cabinets over time. Instead, opt for a gentle cleaning solution that won’t harm the wood. You can make your own solution by mixing warm water with a mild dish soap or vinegar.
Neglecting Regular Dusting
Another mistake that people often make is neglecting to dust their cabinets regularly. Dust can accumulate quickly on wooden surfaces, and if left unchecked, it can scratch the finish and make your cabinets look dull. To avoid this, make sure to dust your cabinets at least once a week with a soft, dry cloth. You can also use a microfiber cloth or a feather duster to remove dust and cobwebs from hard-to-reach areas.
Over-saturating the Wood
Finally, it’s important to avoid over-saturating the wood when cleaning your cabinets. Too much moisture can cause the wood to warp or swell, which can damage the finish and make your cabinets look uneven. To avoid this, make sure to wring out your cleaning cloth or sponge thoroughly before wiping down your cabinets. You can also use a dry cloth to buff the wood after cleaning to remove any excess moisture.
By avoiding these common mistakes, you can keep your wooden cabinet doors looking great for years to come. Remember to use gentle cleaning solutions, dust your cabinets regularly, and avoid over-saturating the wood to ensure that your cabinets stay in top condition.

