
Are you looking to spruce up your outdoor wooden bench with a fresh coat of paint? Choosing the right type of paint for your project is crucial to ensure it lasts through various weather conditions. With so many options available, it can be overwhelming to determine the best paint to use on your outdoor wooden bench.
One of the most efficient and visually appealing ways to paint your outdoor wooden bench is by using spray paint. This type of paint provides even coverage and a glossy finish, making your bench look brand new. Additionally, spray paint is less time-consuming compared to brush painting, making it a great option for those who want to complete their project quickly. Oil-based spray paints are also a great choice as they provide a stronger finish than latex paint, making it more durable for outdoor use.
Understanding Outdoor Paints
When it comes to painting an outdoor wooden bench, it is crucial to choose the right type of paint that will provide protection against the elements. There are several types of outdoor paints available in the market, each with its unique features and benefits. In this section, we’ll take a closer look at some of the most commonly used outdoor paints and what makes them suitable for use on wooden benches.
Latex Paint
Latex paint is a popular choice for outdoor wooden benches because it is easy to apply, dries quickly, and is resistant to cracking and peeling. This type of paint is water-based, making it easy to clean up with soap and water. Latex paint also comes in a variety of finishes, from flat to high gloss, allowing you to choose the perfect look for your bench.
Oil-based Paint
Oil-based paint is another popular choice for outdoor wooden benches because it offers excellent durability and protection against the elements. This type of paint is resistant to moisture, UV rays, and mildew, making it an excellent choice for areas with high humidity or frequent rain. However, oil-based paint takes longer to dry than latex paint and requires mineral spirits or paint thinner for cleanup.
Acrylic Paint
Acrylic paint is a versatile type of paint that can be used on a variety of surfaces, including wood, metal, and plastic. This type of paint is water-based, making it easy to clean up, and dries quickly. Acrylic paint is also resistant to fading, cracking, and peeling, making it an excellent choice for outdoor wooden benches.
Stain
Stain is another option for protecting your outdoor wooden bench. Stain allows the natural beauty of the wood to show through while providing protection against the elements. Stain comes in a variety of colors, from natural to deep brown, allowing you to choose the perfect look for your bench. However, stain does not provide as much protection as paint and may need to be reapplied more frequently.
In summary, when choosing a paint for your outdoor wooden bench, it is essential to consider the durability, protection, and ease of use of the paint. Each type of paint has its unique features and benefits, so it’s important to choose the one that best suits your needs and preferences.
Types of Paint for Outdoor Wooden Bench
When it comes to painting your outdoor wooden bench, there are a few types of paint to choose from. Each type has its own advantages and disadvantages, so it’s important to choose the right one for your specific needs. Here are some of the most common types of paint for outdoor wooden benches:
Latex Paint
Latex paint is a popular choice for outdoor wooden benches because it is easy to use and dries quickly. It is also water-resistant and can withstand harsh weather conditions. Latex paint is available in a variety of colors and finishes, so you can choose the one that best suits your style.
One of the best latex paints for outdoor wooden benches is Behr Premium Plus Exterior Paint & Primer. It offers excellent adhesion, coverage, and durability, and is available in a variety of finishes. It is also low VOC, which means it has fewer harmful chemicals than other types of paint.
Oil-Based Paint
Oil-based paint is another option for outdoor wooden benches. It is more durable than latex paint and can withstand harsh weather conditions. It also provides a smooth, glossy finish that looks great on wooden benches. However, oil-based paint takes longer to dry and requires more cleanup than latex paint.
One of the best oil-based paints for outdoor wooden benches is Rust-Oleum Marine Coatings Topside Paint. It is specifically designed for use on boats, so it can withstand even the harshest weather conditions. It provides a high-gloss finish and is available in a variety of colors.
Chalk Paint
Chalk paint is a popular choice for those who want a more rustic or shabby-chic look for their outdoor wooden bench. It is easy to use and dries quickly, and it provides a matte finish that looks great on wooden benches. However, chalk paint is not as durable as other types of paint, so it may need to be reapplied more frequently.
One of the best chalk paints for outdoor wooden benches is Annie Sloan Chalk Paint. It is water-based and non-toxic, so it is safe to use around children and pets. It is also available in a variety of colors and can be used on a variety of surfaces, including wood, metal, and concrete.
In conclusion, when choosing the right type of paint for your outdoor wooden bench, it’s important to consider your specific needs and preferences. Latex paint is a great all-around option, oil-based paint is more durable, and chalk paint is perfect for those who want a more rustic look. Whatever type of paint you choose, be sure to follow the manufacturer’s instructions for best results.
Factors to Consider When Choosing Paint
When it comes to painting an outdoor wooden bench, there are several factors you should consider to ensure that the paint you choose is durable and long-lasting. Here are some of the most important factors to keep in mind.
Weather Conditions
One of the most important factors to consider when choosing paint for your outdoor wooden bench is the weather conditions it will be exposed to. If your bench will be exposed to harsh sunlight, rain, or other weather elements, you will need to choose a paint that is specifically designed to withstand these conditions. Look for paint that is labeled as “weather-resistant” or “outdoor use.”
Durability
Another important factor to consider is the durability of the paint. You want a paint that will last for years without chipping, cracking, or fading. Look for paint that is labeled as “durable” or “long-lasting.” You may also want to consider using a paint that is specifically designed for outdoor use, as these paints tend to be more durable than indoor paints.
Color and Aesthetic Appeal
While durability and weather resistance are important factors, you also want to choose a paint that looks good and complements the overall aesthetic of your outdoor space. Consider the color of your bench and the surrounding environment when choosing a paint color. You may also want to consider using a paint that has a matte or satin finish, as these finishes tend to look more natural and blend in better with the outdoor environment.
In summary, when choosing paint for your outdoor wooden bench, it is important to consider factors such as weather conditions, durability, and color and aesthetic appeal. By taking these factors into account, you can choose a paint that will protect your bench and look great for years to come.
Preparation of Wooden Bench for Painting
Before you start painting your outdoor wooden bench, it is important to prepare the surface properly to ensure the paint adheres well and lasts longer. Here are the steps you should follow to prepare your wooden bench for painting.
Cleaning
The first step in preparing your wooden bench for painting is to clean it thoroughly. Use a stiff-bristled brush to remove any dirt, debris, or loose paint from the surface of the bench. You can also use a pressure washer to clean the bench, but be careful not to damage the wood.
Once you have removed all the dirt and debris, wash the bench with a mixture of warm water and mild soap. Rinse the bench with clean water and let it dry completely before moving on to the next step.
Sanding
After the bench is dry, sand the surface with medium-grit sandpaper to remove any remaining loose paint or rough spots. Sand in the direction of the wood grain to avoid damaging the surface. Once you have finished sanding, wipe the bench with a clean cloth to remove any dust or debris.
For a smoother finish, you can also sand the bench with fine-grit sandpaper. This will help to create a smooth surface and ensure the paint adheres well.
Priming
Before you start painting, it is important to prime the surface of the bench. Priming will help the paint adhere better and last longer. Apply a coat of primer to the bench using a brush or roller, making sure to cover the entire surface evenly.
Allow the primer to dry completely before applying the paint. The drying time will depend on the type of primer you use, so be sure to read the manufacturer’s instructions carefully.
By following these simple steps, you can prepare your wooden bench for painting and ensure a smooth, long-lasting finish.
Painting Techniques for Outdoor Wooden Bench
When it comes to painting an outdoor wooden bench, there are several techniques to choose from. The most common methods are brushing, spraying, and rolling. Each technique has its own advantages and disadvantages, so it’s important to choose the one that works best for you.
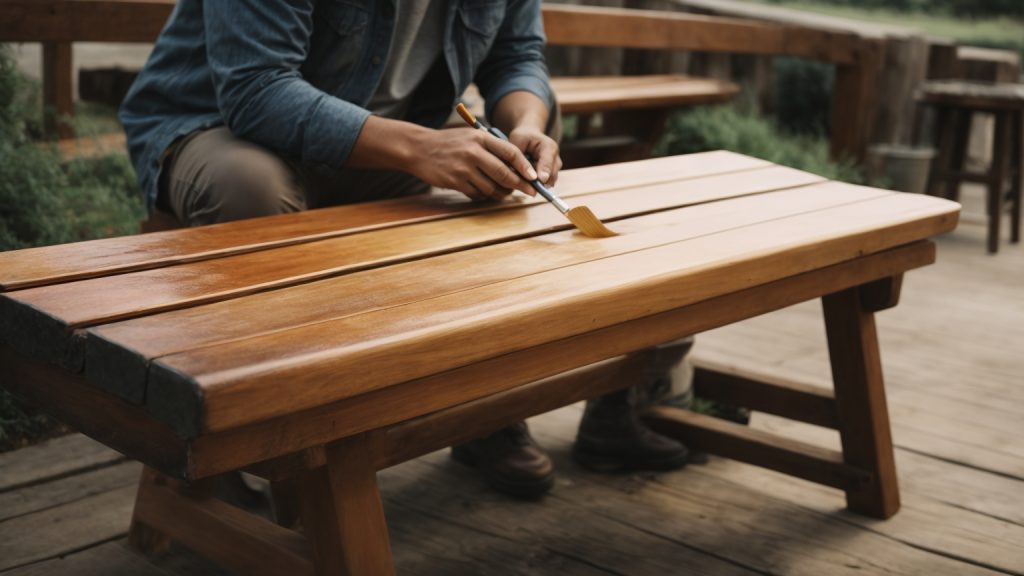
Brushing
Brushing is the most traditional method of painting and is great for small projects. It’s a good option if you want to achieve a more textured finish. However, it can be time-consuming and may require multiple coats to achieve the desired coverage. If you choose to use a brush, make sure to choose one that is appropriate for the type of paint you are using.
Spraying
Spraying is a popular technique for painting outdoor wooden benches because it is quick and easy. It is also great for achieving a smooth finish. However, it can be messy and requires more preparation than other methods. You will need to cover the surrounding area to prevent overspray. Additionally, you will need to use a respirator mask to protect yourself from inhaling the fumes.
Rolling
Rolling is a good option if you want to achieve a smooth finish without the mess of spraying. It is also less time-consuming than brushing. However, it can be difficult to get into tight spaces with a roller. Additionally, you will need to choose the right type of roller for the type of paint you are using.
No matter which technique you choose, make sure to properly prepare the surface before painting. This includes cleaning and sanding the bench to ensure that the paint adheres properly. Additionally, make sure to choose a high-quality outdoor paint that is specifically designed for wooden surfaces. This will ensure that your bench looks great and lasts for years to come.
Maintenance Tips for Painted Outdoor Wooden Bench
If you want your painted outdoor wooden bench to last longer and look good, you need to take good care of it. Here are some maintenance tips to help you keep your bench in good condition.
Routine Cleaning
Cleaning your painted outdoor wooden bench regularly is essential to keep it looking good. You can use a soft-bristled brush or a sponge to remove dirt, dust, and debris from the surface of your bench. You can also use a mild detergent and warm water to clean your bench.
Avoid using harsh chemicals or abrasive cleaners as they can damage the paint or the wood. After cleaning, rinse your bench thoroughly with clean water and let it dry completely before using it.
Touch-Ups
Over time, the paint on your outdoor wooden bench may start to fade or chip. To keep your bench looking good, you may need to do some touch-ups. You can use a small brush and some touch-up paint to fix any chips or scratches on your bench.
Before you start touching up your bench, make sure it is clean and dry. Apply the touch-up paint carefully and let it dry completely before using your bench.
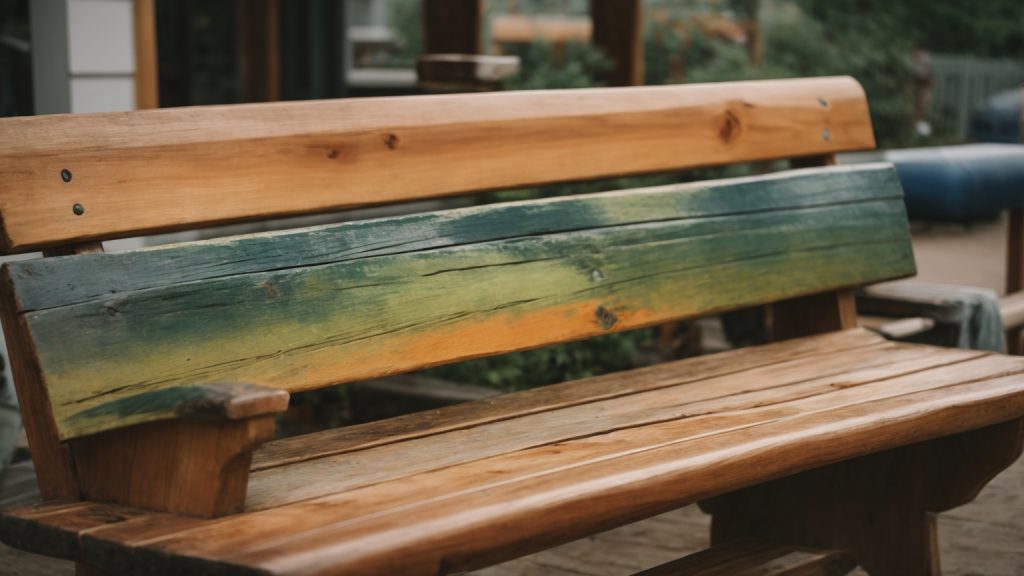
Re-Painting
If the paint on your outdoor wooden bench is severely faded or damaged, you may need to repaint it. Repainting your bench can give it a fresh new look and protect it from the elements.
Before you start repainting your bench, you need to remove the old paint. You can use a paint stripper or sandpaper to remove the old paint. Once you have removed the old paint, clean your bench thoroughly and let it dry completely.
Apply a primer to your bench before painting it. The primer will help the paint adhere better and last longer. Once the primer is dry, you can paint your bench with a high-quality outdoor paint.
In conclusion, taking good care of your painted outdoor wooden bench is essential to keep it looking good and lasting longer. Regular cleaning, touch-ups, and repainting can help you maintain your bench and protect it from the elements.