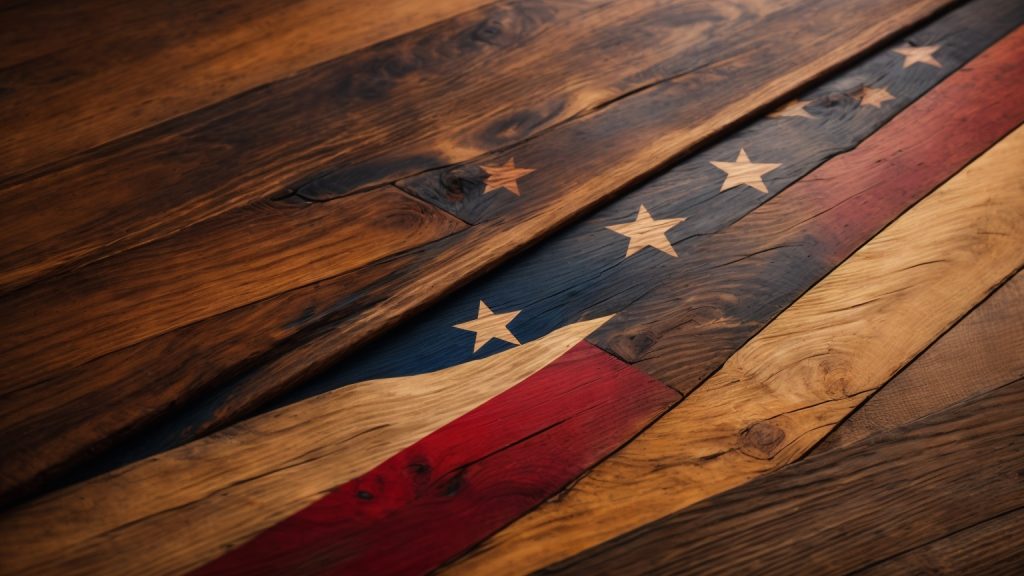
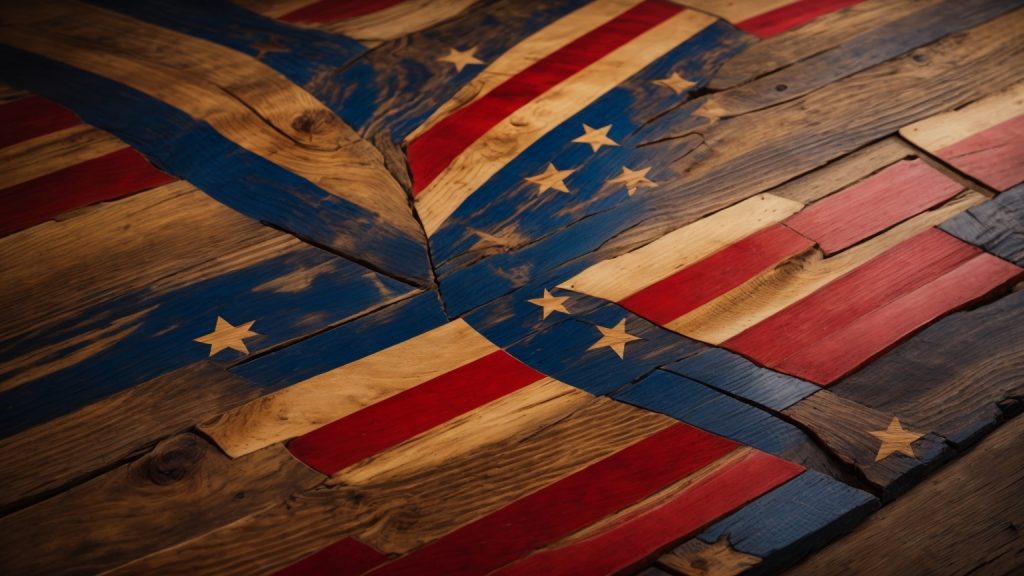
Do you want to show your love for your country and your woodworking skills at the same time? Making a wooden flag is a great way to do both. With just a few tools and materials, you can create a beautiful wooden flag that you can display in your home or office.
There are many different ways to make a wooden flag, from simple designs to more complex ones. You can use a variety of woods, stains, and finishes to create a unique look that reflects your personal style. Whether you are a beginner or an experienced woodworker, making a wooden flag is a fun and rewarding project that you can enjoy for years to come.
In this article, we will show you how to make a wooden flag step-by-step. We will cover everything from choosing the right wood to cutting and assembling the pieces. Whether you want to make a rustic American flag or a sleek modern design, we have the tips and techniques you need to create a beautiful wooden flag that you can be proud of.
Understanding the Basics of Woodworking

Woodworking is a rewarding and enjoyable hobby that can produce beautiful and functional pieces. If you’re interested in making a wooden flag, it’s important to understand the basics of woodworking before you start. This section will cover the basics of choosing the right wood, the required tools and accessories, and safety measures to keep in mind.
Choosing the Right Wood
When making a wooden flag, it’s important to choose the right type of wood. Cedar is a popular choice because it’s durable, lightweight, and has a natural resistance to decay. Pine and reclaimed wood are other options to consider. Make sure the wood you choose is about 3/4″ thick and has a smooth surface.
Required Tools and Accessories
To make a wooden flag, you’ll need a few basic tools and accessories. These include:
- Saw (hand saw, jig saw, circular saw, or miter saw)
- Palm sander (or sandpaper and sanding block)
- Hammer or drill
- Wood glue (optional)
Having the right tools and accessories can make the woodworking process much easier and more enjoyable.
Safety Measures
Woodworking can be dangerous if proper safety measures aren’t taken. Here are a few safety tips to keep in mind:
- Wear safety goggles to protect your eyes from sawdust and debris.
- Use a dust mask to avoid inhaling sawdust.
- Always use sharp tools to prevent accidents.
- Keep your work area clean and organized to avoid tripping hazards.
- Use clamps to hold your workpiece in place while you’re cutting or sanding.
By following these safety measures, you can enjoy woodworking safely and without incident.
Designing Your Wooden Flag

When making a wooden flag, designing the flag is an essential step that determines the final look of your project. Here are some sub-sections that will guide you on how to design your wooden flag.
Sketching the Design
Before starting the project, you need to sketch the design of your flag on paper. This step helps you to visualize how the final product will look like and make necessary adjustments before starting. You can sketch the flag using a pencil and paper or use a computer program to design it.
When sketching, consider the number of stripes you want, the size of the union, and the placement of the stars. You can also decide to add other features such as text or symbols. Remember, the design should be simple and easy to replicate.
Determining the Size
The size of your wooden flag depends on the location where you plan to hang it. If you plan to hang it indoors, you can make it smaller than an outdoor flag. If you plan to hang it outdoors, you need to consider the distance from which it will be viewed.
A standard size for an outdoor flag is 3 feet by 5 feet. However, you can make it larger or smaller depending on your preference. When determining the size, consider the size of the wooden boards you plan to use and the number of stripes you want.
In conclusion, designing your wooden flag is an important step in creating a beautiful and unique flag. By sketching the design and determining the size, you can create a flag that meets your specific needs and preferences.
Cutting and Shaping the Wood
Before you can assemble your wooden American flag, you’ll need to cut and shape the wood. Here’s what you need to know:
Making the Stripes
To make the stripes, you’ll need seven 1 1/2″ x 3/4″ pine boards, each 8 feet long. You can find these at Menards, Lowes, or other home improvement stores. Cut each board down to 37 inches in length. Sand the edges of each board to smooth out any rough spots.
Creating the Union
For the union, you’ll need a piece of pine cut to size. You can use the same type of pine as the stripes, or you can use a different type of wood for contrast. Cut the union to 19 1/2 inches wide by 13 inches tall. Sand the edges to smooth them out.
Once you have all of your pieces cut, it’s time to shape them. You can use a jigsaw or a circular saw to create the shape of the flag. Here’s how:
- Lay out your stripes in the correct order, with the union in the top left corner.
- Use a pencil to sketch out the shape of the flag on the top board.
- Use a jigsaw or circular saw to carefully cut along the pencil lines.
- Sand the edges of the flag to smooth out any rough spots.
Congratulations! You’ve now cut and shaped the wood for your wooden American flag. It’s time to move on to the next step: painting.
Assembling the Wooden Flag
Once you have completed the cutting and sanding of the wooden pieces, it is time to assemble the flag. This section will guide you through the process of attaching the stripes and fixing the union.
Attaching the Stripes
To attach the stripes, you will need wood glue and clamps. Apply a thin layer of wood glue to the back of each stripe and carefully place it onto the backing board. Use clamps to hold the stripe in place while the glue dries. Repeat this process for all the stripes, making sure to leave space between each stripe for the union.
Fixing the Union
The union is the blue field with the stars on the flag. To fix the union, you will need to cut a piece of wood to size and sand it smooth. Once you have the wood ready, you can start marking out the position of the stars. Use a stencil or a star-shaped cookie cutter to trace the stars onto the wood.
Once you have marked out the stars, you can start drilling holes for them. Use a drill bit that is slightly larger than the diameter of the dowels you will use for the stars. Drill the holes to a depth that is slightly shorter than the length of the dowels.
Next, apply a thin layer of wood glue to the back of the union and carefully place it onto the backing board, making sure to align it with the stripes. Insert the dowels into the holes you drilled earlier and tap them in gently with a mallet. Allow the glue to dry completely before moving on to the next step.
Congratulations, you have now assembled your wooden American flag!
Finishing Touches
Once you have constructed your wooden flag, it is time to add the finishing touches. This section will guide you through the process of sanding, painting, and applying a sealant to your flag.
Sanding the Wood
Before you start painting, you need to sand your flag to ensure that the surface is smooth and free of any rough spots or splinters. Start with a coarse grit sandpaper and work your way up to a finer grit until the wood is smooth to the touch. Be sure to wipe away any dust or debris before moving on to the next step.
Painting Your Flag
Now it’s time to add some color to your flag. You can use any combination of colors you like, but for a traditional American flag, you will need red, white, and blue paint. You can use spray paint or brush-on paint, but be sure to use a paint that is suitable for wood surfaces.
Start by painting the blue rectangle in the top left corner of your flag. Once the blue paint has dried, use painter’s tape to mask off the areas of the flag that will be painted red. Apply the red paint and allow it to dry completely. Finally, remove the painter’s tape and mask off the areas that will be painted white. Apply the white paint and allow it to dry completely.
Applying the Sealant
The final step in finishing your wooden flag is to apply a sealant to protect it from the elements. There are many types of sealants available, but for this project, we recommend using a clear polyurethane spray. Apply the spray in a well-ventilated area and follow the manufacturer’s instructions for best results.
Once the sealant has dried, your wooden flag is complete. Hang it on a wall or display it proudly in your home. Congratulations on a job well done!
