Tag Archives: neglecting regular maintenance finally

how-to-season-wooden-spoons

How to Season Wooden Spoons: A Quick and Easy Guide

Are you tired of your wooden spoons cracking or warping after just a few uses? If so, it may be time to start seasoning them. Seasoning wooden spoons is a simple process that can help prolong their lifespan and keep them looking and functioning their best.

To start, you’ll want to clean and dry your wooden spoons thoroughly. Then, you can apply a coat of mineral oil or a mixture of beeswax and oil to the spoons. This will help to protect the wood from moisture and prevent it from drying out and cracking. Repeat the process at least once a month to keep your spoons in top condition.

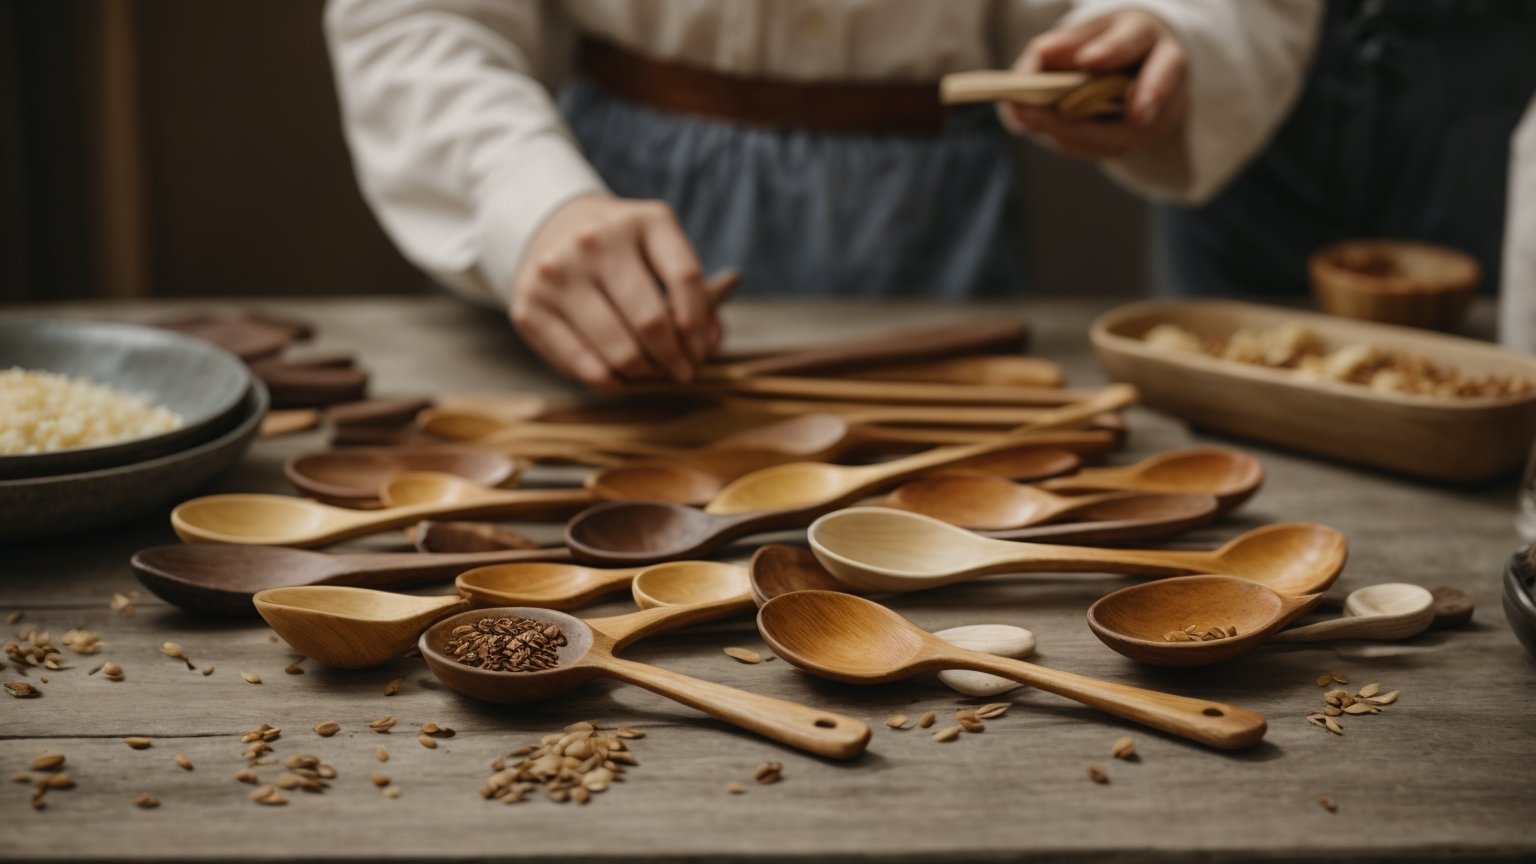
Understanding Wooden Spoons

how-to-season-wooden-spoons

Wooden spoons have been a staple in kitchens for centuries. They are versatile, durable, and can be used for a variety of tasks. Understanding the basics of wooden spoons can help you choose the right one for your needs and keep it in good condition for years to come.

Types of Wood

Not all wooden spoons are created equal. Different types of wood have different properties that affect their durability, resistance to heat and moisture, and overall performance. Here are some common types of wood used for making wooden spoons:

  • Maple: Hard and durable, maple is a popular choice for wooden spoons. It is resistant to scratches and stains, and can withstand high temperatures without warping or cracking.
  • Cherry: Cherry wood is known for its beautiful color and grain patterns. It is also durable and resistant to moisture, making it a good choice for spoons that will be used for cooking and serving.
  • Beech: Beech wood is strong and dense, making it ideal for heavy-duty tasks like stirring thick sauces and batters. It is also resistant to moisture and won’t absorb flavors or odors.
  • Walnut: Walnut wood is prized for its rich color and grain patterns. It is also strong and durable, but can be more expensive than other types of wood.

Care and Maintenance

Proper care and maintenance can help extend the life of your wooden spoons. Here are some tips to keep in mind:

  • Seasoning: Seasoning your wooden spoons with oil or wax can help protect them from moisture and prevent them from drying out and cracking. See the previous search results for specific instructions on how to season your wooden spoons.
  • Cleaning: Wooden spoons should be washed by hand with warm, soapy water. Avoid soaking them in water or putting them in the dishwasher, as this can cause the wood to warp or crack. If your spoon has a stubborn stain or odor, try rubbing it with a mixture of baking soda and water.
  • Storage: Store your wooden spoons in a dry, well-ventilated area away from heat sources. Avoid stacking them on top of each other, as this can cause them to warp or crack.

By understanding the basics of wooden spoons and taking good care of them, you can enjoy their usefulness and beauty for years to come.

Why Season Wooden Spoons?

Wooden spoons are a staple in most kitchens. They are versatile, durable, and easy to use. However, if not properly cared for, they can quickly become damaged, stained, and even start to smell. This is where seasoning comes in.

Seasoning your wooden spoons involves treating them with oil or wax to help protect the wood from drying out, cracking, and absorbing unwanted odors and flavors. It also helps to maintain their natural beauty and extend their lifespan.

Here are a few reasons why you should consider seasoning your wooden spoons:

1. Prevents cracking and splitting

Wooden spoons are susceptible to cracking and splitting, especially if they are exposed to water or extreme temperatures. Seasoning your spoons with oil or wax helps to keep the wood moisturized and prevent it from drying out, which can lead to cracks and splits.

2. Repels odors and flavors

Wooden spoons can absorb odors and flavors from the food they come into contact with. This can be a problem if you’re using the same spoon to stir different dishes. Seasoning your spoons helps to create a protective barrier that repels unwanted odors and flavors.

3. Improves performance

Seasoning your spoons can also improve their performance. A well-seasoned spoon will glide smoothly through food, making it easier to stir and mix ingredients. It also helps to prevent the wood from sticking to food, which can be frustrating and messy.

In summary, seasoning your wooden spoons is an easy and effective way to protect and prolong their lifespan. It prevents cracking and splitting, repels odors and flavors, and improves their overall performance. With just a little bit of care, your wooden spoons can last for years to come.

Selecting the Right Oil

When it comes to seasoning your wooden spoons, selecting the right oil is crucial. You want to choose an oil that is food-safe, won’t turn rancid over time, and has a high smoke point. Here are three options to consider:

Food Grade Mineral Oil

Food-grade mineral oil is a popular choice for seasoning wooden spoons because it is odorless, tasteless, and won’t go rancid. It is also inexpensive and widely available. Mineral oil is a petroleum by-product, so it is not a natural product, but it is considered safe for use with food.

To use mineral oil to season your wooden spoons, apply a generous amount to the wood and let it soak in for several hours or overnight. Wipe off any excess oil with a clean cloth.

Beeswax

Beeswax is another option for seasoning wooden spoons. It is a natural product and has antimicrobial properties. Beeswax also creates a protective barrier on the wood, which can help prevent staining and moisture damage.

To use beeswax to season your wooden spoons, melt the wax in a double boiler and apply it to the wood with a clean cloth. Let it cool and then buff the wood with a clean cloth.

Coconut Oil

Coconut oil is a natural and food-safe oil that has a high smoke point. It is also relatively inexpensive and widely available. Coconut oil can penetrate the wood and help prevent cracking and warping.

To use coconut oil to season your wooden spoons, warm the oil in a double boiler and apply it to the wood with a clean cloth. Let it soak in for several hours or overnight, then wipe off any excess oil.

When selecting the oil to use for seasoning your wooden spoons, consider your personal preferences and the type of wood you are working with. Remember to always choose a food-safe oil and follow the manufacturer’s instructions for use.

Preparation Before Seasoning

preparation-before-seasoning

Before you start seasoning your wooden spoons, you need to prepare them properly. This will ensure that your spoons are clean and ready to absorb the oil or wax that you will use to season them. Here are the steps you need to follow:

Cleaning the Spoon

The first step is to clean your wooden spoon thoroughly. Use warm water and mild dish soap to remove any dirt, residue, or food particles. If your spoon has any stubborn stains, you can use a mixture of baking soda and water to scrub them away. Be sure to rinse the spoon well with warm water to remove all soap residue.

If your spoon has any buildup, you can soak it overnight in a 1:1 ratio of white vinegar and water. Note: you typically don’t want to submerge wooden spoons in water, but a once-off is fine. This will help remove any bacteria and odors that may have accumulated on the spoon.

Drying the Spoon

After cleaning your wooden spoon, you need to dry it thoroughly. Use a clean towel to pat the spoon dry. Be sure to remove all moisture from the spoon, as excess water can cause the wood to warp or crack.

Once you have dried the spoon, you should leave it to air dry completely. This will ensure that all moisture has evaporated from the wood. Avoid using a hairdryer or any other heat source to dry the spoon, as this can damage the wood.

By following these simple steps, you can prepare your wooden spoons for seasoning. Once your spoon is clean and dry, you can move on to the next step of seasoning.

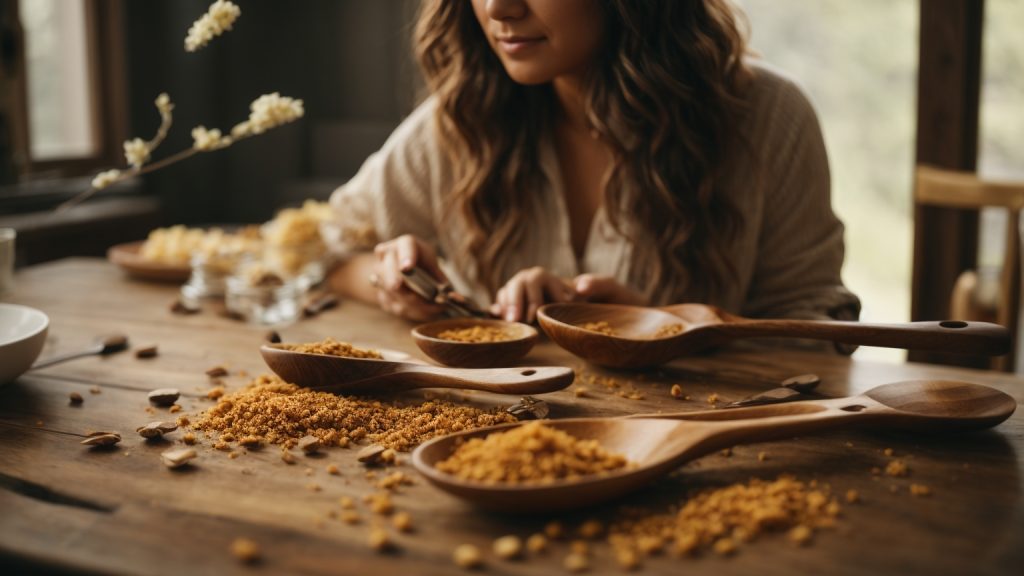
Step-by-Step Guide to Seasoning

If you’ve just purchased a new wooden spoon or cutting board, it’s important to season it before use. Here’s a step-by-step guide to seasoning your wooden spoons:

Applying the Oil

  1. Clean the wooden spoon thoroughly with warm water and mild dish soap to remove any dirt, residue, or food particles. Rinse the spoon well and pat it dry with a clean towel.
  2. Use a rag to apply a thick coat of mineral oil to your spoons. Be sure to work with the grain.
  3. Rub the oil into the wood, making sure to cover the entire surface of the spoon.
  4. Repeat the process until the spoon is completely coated in oil.

Letting the Oil Penetrate

  1. Give the oil several hours to soak into the wood. This will allow the oil to penetrate the pores of the wood, helping to prevent it from drying out and cracking.
  2. For best results, let the oil penetrate for at least 24 hours before using the spoon.

Wiping Off Excess Oil

  1. After the oil has had time to penetrate the wood, come back and wipe off any excess oil with a clean rag.
  2. Repeat the process at least once a month to keep your wooden spoons in good condition.

Remember, seasoning your wooden spoons is an important step in maintaining their longevity and preventing them from cracking or warping over time. By following these simple steps, you can ensure that your wooden spoons will last for years to come.

Maintaining Your Seasoned Spoons

Once you have seasoned your wooden spoons, it’s important to maintain them properly to ensure that they last a long time. Here are some tips on how to keep your seasoned spoons in top condition:

Regular Re-seasoning

Even though you have already seasoned your wooden spoons, they will still need to be re-seasoned periodically. This is especially true if you use your spoons frequently or if you wash them with soap and water.

To re-season your spoons, simply apply a thin layer of mineral oil or beeswax to the surface of the spoon and let it soak in for a few hours. Then, wipe off any excess oil or wax with a clean cloth. Repeat this process once a month to keep your spoons in good condition.

Safe Cleaning Methods

When it comes to cleaning your wooden spoons, it’s important to avoid using harsh chemicals or soaking them in water for extended periods of time. Here are some safe cleaning methods to use:

  • Use a mild soap and warm water to clean your spoons. Be sure to rinse them thoroughly and dry them completely before storing them.
  • If your spoons have any stubborn stains, you can use a paste made from baking soda and water to gently scrub them clean.
  • To sanitize your spoons, you can wipe them down with a solution of white vinegar and water. Just be sure to dry them thoroughly afterwards.
  • Avoid putting your spoons in the dishwasher or soaking them in water for extended periods of time, as this can cause the wood to warp or crack.

By following these simple tips, you can keep your wooden spoons in great condition for years to come.

Common Mistakes to Avoid

When it comes to seasoning wooden spoons, there are a few common mistakes that people make that can cause damage to the wood or prevent the seasoning from being effective. Here are some things to keep in mind to avoid these mistakes.

Using the Wrong Oil

One of the biggest mistakes people make when seasoning wooden spoons is using the wrong type of oil. Some oils, such as vegetable oil or olive oil, can go rancid over time and cause the wood to smell bad. Other oils, such as linseed oil or tung oil, can take a long time to dry and may leave a tacky residue on the wood.

Instead, use a food-safe mineral oil or beeswax to season your wooden spoons. These oils are odorless, won’t go rancid, and will absorb into the wood quickly.

Not Allowing Enough Time for Oil to Absorb

Another mistake people make is not allowing enough time for the oil to absorb into the wood. It’s important to give the oil several hours to soak in before wiping off any excess. If you don’t allow enough time for the oil to absorb, it won’t be as effective at protecting the wood.

Neglecting Regular Maintenance

Finally, one of the biggest mistakes people make is neglecting regular maintenance of their wooden spoons. Even if you’ve seasoned your spoons properly, they still need to be maintained to keep them in good condition.

This means wiping them down after each use, washing them by hand with warm, soapy water, and allowing them to air dry completely before putting them away. It also means reapplying a thin coat of mineral oil or beeswax at least once a month to keep the wood hydrated and protected.

By avoiding these common mistakes, you can ensure that your wooden spoons will last for years to come and continue to be a valuable tool in your kitchen.

How to Clean Wooden Floors Before Sealing: A Quick Guide

Cleaning wooden floors before sealing is an essential step in maintaining their quality and longevity. Proper cleaning ensures that the floors are free of dirt, debris, and other contaminants that can affect the quality of the sealant. With the right tools and techniques, you can clean your wooden floors effectively and prepare them for sealing.

The first step in cleaning wooden floors is to remove all dirt and debris from the surface. This can be done by sweeping, vacuuming, or using a dust mop. It is important to get rid of all dirt and debris, including the smallest specks, to ensure that the sealant adheres properly to the surface of the wood. Once you have removed all the dirt, you can proceed to clean the floors thoroughly using a damp mop and a cleaning solution that is safe for wood surfaces.

Understanding the Importance of Cleaning Wooden Floors Before Sealing

Before you start sealing your wooden floors, it is crucial to clean them thoroughly. Cleaning your floors before sealing them ensures that the sealant adheres correctly to the wood surface, providing a long-lasting finish. Here are some reasons why cleaning your wooden floors before sealing is essential:

Removes Dirt and Grime

Cleaning your wooden floors before sealing removes dirt and grime that has accumulated over time. Dirt and grime can cause the sealant to adhere unevenly to the wood surface, leading to an uneven finish. Cleaning your floors ensures that the sealant adheres evenly, providing a smooth and uniform finish.

Removes Stains

Stains on wooden floors can be challenging to remove, especially if they have been there for a long time. Cleaning your floors before sealing removes any stains, ensuring that the sealant adheres correctly to the wood surface. This prevents the stains from showing through the sealant, providing a clean and polished finish.

Removes Residues

Cleaning your wooden floors before sealing removes any residues that may be present on the surface. Residues can cause the sealant to adhere unevenly to the wood surface, leading to an uneven finish. Cleaning your floors ensures that the sealant adheres evenly, providing a smooth and uniform finish.

Improves Durability

Cleaning your wooden floors before sealing improves the durability of the sealant. A clean surface ensures that the sealant adheres correctly to the wood surface, providing a long-lasting finish. This prevents the sealant from peeling or flaking off, ensuring that your floors look beautiful for years to come.

In conclusion, cleaning your wooden floors before sealing is crucial to ensure a long-lasting and beautiful finish. It removes dirt, stains, and residues and improves the durability of the sealant. Make sure to clean your floors thoroughly before sealing them to achieve the best results.

Identifying the Type of Wood

Before you start cleaning your wooden floors, it’s important to determine the type of wood you have. Different types of wood require different cleaning methods, and using the wrong method can damage your floors.

Here are some ways to identify the type of wood you have:

Look for a Label

If you have recently installed your wooden floors, there may be a label on the packaging or the back of the boards that indicates the type of wood.

Check the Grain

The grain pattern can help you identify the type of wood. For example, oak has a distinctive grain pattern with prominent lines and knots, while maple has a more subtle grain pattern with fewer knots.

Check the Color

The color of the wood can also give you a clue about the type of wood. For example, cherry wood has a reddish-brown color, while walnut has a dark brown color.

Do a Scratch Test

If you’re still unsure about the type of wood, you can do a scratch test. Use a sharp object to make a small scratch on a hidden area of the floor. If the scratch is light-colored, the wood is likely to be a softwood like pine or fir. If the scratch is dark-colored, the wood is likely to be a hardwood like oak or maple.

Once you have identified the type of wood, you can choose the appropriate cleaning method to ensure that your floors stay in good condition.

Choosing the Right Cleaning Materials

Cleaning your wooden floors before sealing is an essential step to ensure a smooth and long-lasting finish. However, choosing the right cleaning materials is equally important to avoid damaging the wood surface. Here are some tips on selecting the right cleaning materials for your wooden floors:

1. Avoid Harsh Chemicals

When it comes to cleaning wooden floors, it’s crucial to avoid harsh chemicals that can cause damage to the wood surface. Avoid using acidic or alkaline cleaners, bleach, ammonia, or any other harsh chemicals that can strip the wood of its natural oils and cause discoloration.

2. Consider the Type of Wood

Different types of wood have different cleaning requirements. For instance, softwoods like pine and cedar are more susceptible to scratches and dents, so you need to be extra careful when cleaning them. Hardwoods like oak and maple, on the other hand, are more durable and can withstand more aggressive cleaning.

3. Use Microfiber Cloths

When cleaning your wooden floors, it’s best to use microfiber cloths instead of traditional mops or rags. Microfiber cloths are gentle on the wood surface and can trap dirt and dust without scratching the wood. They are also reusable and easy to clean.

4. Use a pH-Neutral Cleaner

A pH-neutral cleaner is the best option for cleaning wooden floors. pH-neutral cleaners are gentle on the wood surface and won’t strip the wood of its natural oils. They are also safe to use on all types of wood and won’t cause discoloration.

5. Test the Cleaner First

Before using any cleaner on your wooden floors, it’s essential to test it first on a small, inconspicuous area. This will help you determine whether the cleaner is safe to use on your wood surface and prevent any potential damage.

By following these tips, you can choose the right cleaning materials for your wooden floors and ensure a smooth and long-lasting finish.

Step-by-Step Guide to Cleaning Wooden Floors

Cleaning your wooden floors is an essential step before sealing them. Here’s a step-by-step guide to help you clean your wooden floors effectively:

  1. Start by removing any dirt and debris from your floor. Sweep or vacuum the floor using a soft-bristled broom or a vacuum cleaner recommended for hardwood floors. Avoid using a hard-bristled broom or a vacuum cleaner with a beater bar as it may scratch the surface of the floor.

  2. Use a damp mop to clean the floor. Make sure the mop is only slightly damp, as excess water can damage the wood. You can use a commercial wood floor cleaner or a homemade solution of water and vinegar. Mix one part vinegar with ten parts water and apply it to the floor using a mop.

  3. Wipe up any excess moisture with a clean, dry cloth. Make sure the floor is completely dry before moving on to the next step.

  4. If there are any stubborn stains or marks on the floor, you can use a mild abrasive cleaner. Mix baking soda and water to form a paste and apply it to the stain. Leave it for a few minutes before scrubbing gently with a soft-bristled brush. Rinse the area with water and wipe it dry with a clean cloth.

  5. Finally, inspect the floor for any remaining dirt or debris. Use a microfiber cloth to wipe down the floor and remove any remaining dust or debris.

By following these simple steps, you can effectively clean your wooden floors before sealing them. This will ensure that your floors are prepped and ready for the sealing process, and will help to protect them from damage and wear over time.

Proper Drying Techniques Before Sealing

Before you start sealing your wooden floors, it is crucial to ensure that they are completely dry. Proper drying techniques are essential to avoid trapping moisture in the wood, which can lead to warping, cracking, or even mold growth. Here are some tips to help you dry your wooden floors effectively:

1. Allow Sufficient Drying Time

The amount of time required for your wooden floors to dry depends on various factors, such as the type of wood, the humidity level, and the temperature. As a general rule, you should allow at least 24 to 48 hours for the floors to dry completely after cleaning or sanding. However, it is best to follow the manufacturer’s instructions for the specific product you are using.

2. Use Air Circulation

Air circulation can help speed up the drying process by promoting evaporation. Open windows and doors to increase ventilation, or use fans to circulate the air. You can also use a dehumidifier to reduce the humidity level in the room.

3. Check the Moisture Content

To ensure that your wooden floors are dry enough for sealing, you can use a moisture meter to measure the moisture content. The ideal moisture content for most wooden floors is between 6% and 8%. If the moisture content is higher than that, you should wait for the floors to dry further.

4. Test for Dryness

Before you start sealing your wooden floors, you should perform a simple test to check if they are dry enough. Place a small piece of plastic wrap on the floor and tape down the edges. Leave it for 24 hours. If there is condensation on the underside of the plastic wrap, the floors are not dry enough. If the plastic wrap is dry, you can proceed with sealing.

By following these proper drying techniques, you can ensure that your wooden floors are ready for sealing, and you can avoid potential problems down the line.

Pre-Sealing Preparations

Before you start sealing your wooden floors, it is essential to prepare them properly to ensure that the sealant adheres properly and lasts longer. Proper preparation will also help to remove any dirt or debris that may affect the quality of the sealant. Here are some steps you can follow to prepare your wooden floors for sealing:

Step 1: Clean the floors thoroughly

The first step in preparing your wooden floors for sealing is to clean them thoroughly. Sweep away any dirt or debris with a broom and then mop the floor with warm water and detergent. You can also use a vacuum cleaner to remove any dust or debris that may be difficult to reach with a broom.

Step 2: Fill any holes or gaps

After cleaning the floors, inspect them for any holes or gaps that need to be filled. You can use a wood filler to fill any gaps or holes in the floor. Apply the filler to the gaps or holes and then use a putty knife to smooth it out. Allow the filler to dry completely before proceeding to the next step.

Step 3: Sand the floors

Once the filler has dried, sand the floors to remove any old coatings or finishes. It’s best to hire a proper floor sander for this task. Sand the floors until they are smooth and even. After sanding, clear up the dust with a vacuum. Wipe your floor with white spirit, and leave it to dry.

Step 4: Apply the sealant

After the floors have been sanded and cleaned, you can now apply the sealant. Follow the manufacturer’s instructions carefully when applying the sealant. Use a brush or roller to apply the sealant evenly to the floor. Allow the sealant to dry completely before proceeding to the next step.

By following these steps, you can prepare your wooden floors properly before sealing, ensuring that the sealant adheres properly and lasts longer. Proper preparation will also help to remove any dirt or debris that may affect the quality of the sealant.

Common Mistakes to Avoid

When it comes to cleaning and sealing your hardwood floors, there are a few common mistakes you should avoid to ensure that your floors stay in top condition. Here are some of the most common mistakes and how to avoid them:

Using the Wrong Cleaning Products

One of the biggest mistakes people make when cleaning their hardwood floors is using the wrong cleaning products. Harsh chemicals and abrasive cleaners can damage your floors and strip away the protective finish, leaving them vulnerable to scratches and other damage. Instead, use a gentle cleaner specifically designed for hardwood floors, and always follow the manufacturer’s instructions.

Over-Wetting the Floors

Another common mistake is over-wetting the floors during the cleaning process. Excess moisture can seep into the wood and cause it to warp or buckle, which can be difficult and expensive to repair. To avoid this, use a damp mop or cloth to clean your floors, and be sure to wring out excess water before you start.

Using Rough or Abrasive Tools

Using rough or abrasive tools to clean your floors can also cause damage. Scrubbing with steel wool or using a stiff-bristled brush can scratch the surface of your floors and leave them looking dull and worn. Instead, use a soft-bristled brush or a microfiber mop to gently clean your floors.

Neglecting Regular Maintenance

Finally, neglecting regular maintenance is a common mistake that can lead to costly repairs down the line. Sweeping or vacuuming your floors regularly can prevent dirt and debris from building up and scratching the surface. Additionally, be sure to wipe up spills and stains as soon as they occur to prevent them from setting in and causing permanent damage.

By avoiding these common mistakes and taking the time to properly clean and maintain your hardwood floors, you can keep them looking beautiful and extend their lifespan for years to come.

Maintenance Tips for Sealed Wooden Floors

Once you have sealed your wooden floors, it’s important to maintain them properly to keep them looking beautiful for years to come. Here are some tips to help you maintain your sealed wooden floors:

  • Sweep or vacuum your floors regularly to remove any dirt or debris. Use a soft-bristled broom or a vacuum cleaner with a hardwood floor attachment to avoid scratching the surface of your floors.
  • Use a damp mop to clean your floors as needed. Avoid using too much water, as excess moisture can damage your floors over time. Instead, wring out your mop thoroughly before using it on your floors.
  • Use a pH-neutral cleaner specifically designed for sealed wooden floors. Avoid using harsh chemicals or abrasive cleaners, as they can strip away the protective sealant on your floors.
  • Wipe up any spills or stains immediately to prevent them from setting into your floors. Use a soft, damp cloth to clean up spills, and avoid using any abrasive materials that could scratch your floors.
  • Place rugs or mats in high-traffic areas to protect your floors from wear and tear. Be sure to use rugs or mats with a non-slip backing to prevent them from slipping on your floors.
  • Avoid dragging heavy furniture or appliances across your floors. Instead, use furniture pads or sliders to protect your floors from scratches and dents.
  • Consider refinishing your floors every few years to keep them looking their best. Refinishing can help to restore the protective sealant on your floors and remove any scratches or stains that have accumulated over time.

By following these simple maintenance tips, you can keep your sealed wooden floors looking beautiful and protect them from damage over time.