Tag Archives: leaves year-round

How to Make a Wooden Crate: A Beginner's Guide

If you’re looking for a simple and versatile storage solution, wooden crates are a great option. Not only are they functional, but they can also add a rustic and charming touch to your home decor. In this article, we’ll show you how to make your own wooden crate with just a few basic tools and materials.

Before we get started, it’s important to note that safety should always be your top priority when working with power tools. Be sure to wear appropriate safety gear and follow all manufacturer’s instructions. With that in mind, let’s begin by selecting the wood for your crate. You can use new or reclaimed wood, but keep in mind that reclaimed wood may require extra preparation before use. Once you have your wood, you’ll need to measure and cut it to size using a saw. From there, you can assemble your crate using nails or screws and finish it with paint or stain if desired.

Understanding Wood Types

When it comes to making wooden crates, choosing the right type of wood is important. Here, we’ll discuss the two main types of wood: hardwood and softwood.

Hardwood

Hardwood comes from deciduous trees, which means that they shed their leaves annually. Hardwood is generally denser and more durable than softwood, making it a good choice for crates that will be used for heavy items or that need to withstand wear and tear. Some common types of hardwood used for crates include oak, maple, and walnut.

Softwood

Softwood comes from evergreen trees, which means that they keep their leaves year-round. Softwood is generally less dense and less durable than hardwood, but it is often more affordable and easier to work with. Some common types of softwood used for crates include pine, cedar, and spruce.

When choosing the type of wood for your crate, consider the weight and fragility of the items you will be storing or shipping. If you’re unsure which type of wood to use, consult with a professional or do some research to ensure you make the best choice for your specific needs.

Remember to also consider the environmental impact of your wood choice. Some types of wood are more sustainable than others, so do your research to ensure you’re making an eco-friendly choice.

Tools Required

To make a wooden crate, you will need a few essential tools. Here are the tools you will need:

Saw

The saw is the most important tool you will need to make a wooden crate. You can use a circular saw, a hand saw, or a miter saw. A circular saw is the most versatile and efficient option. It can make straight cuts and angled cuts, making it ideal for cutting the slats and end pieces of the crate. A hand saw is a good option if you don’t have access to a power saw, but it will take longer to make the cuts. A miter saw is great for making precise cuts, but it’s not necessary for making a simple wooden crate.

Hammer

A hammer is another essential tool that you will need to make a wooden crate. You will use it to drive nails into the wood. A claw hammer is the most common type of hammer and is suitable for most woodworking projects. If you plan on making a lot of wooden crates, you might want to invest in a framing hammer, which is larger and heavier and can drive nails more efficiently.

Nails

You will need nails to hold the wooden crate together. The size of the nails you use will depend on the thickness of the wood you are using. For a standard wooden crate made from 1×3 boards, you can use 1-inch brad nails or 2-inch brad nails. Brad nails are thin and small, making them ideal for woodworking projects. You can also use screws instead of nails, but nails are easier to work with and will give your crate a more traditional look.

That’s it! With these tools, you’ll be able to make a classic wooden crate in no time.

Choosing the Right Size

When it comes to making a wooden crate, choosing the right size is crucial. You want to make sure that the crate is big enough to hold whatever you plan on putting inside, but not so big that it becomes cumbersome to handle.

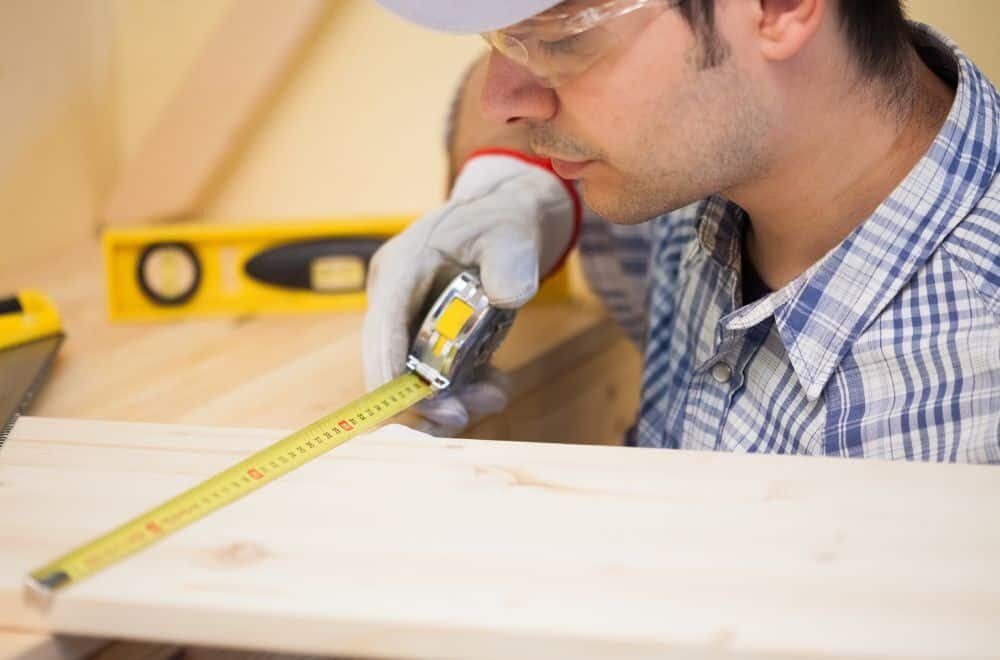
One way to determine the right size is to measure the items you plan on putting in the crate. Make sure to measure the length, width, and height of each item, and then add a few extra inches to each measurement to give yourself some wiggle room.

Another way to determine the right size is to consider the purpose of the crate. If you plan on using it for storage, you may want to make it larger so that it can hold more items. If you plan on using it for shipping, you may want to make it smaller so that it can fit in the back of a truck or on a pallet.

It’s also important to consider the size of the materials you plan on using to build the crate. If you have limited amounts of wood, you may need to adjust the size of the crate accordingly.

Here are some tips to keep in mind when choosing the right size for your wooden crate:

  • Make sure to measure the items you plan on putting in the crate and add a few extra inches to each measurement.
  • Consider the purpose of the crate and adjust the size accordingly.
  • Take into account the size of the materials you plan on using to build the crate.
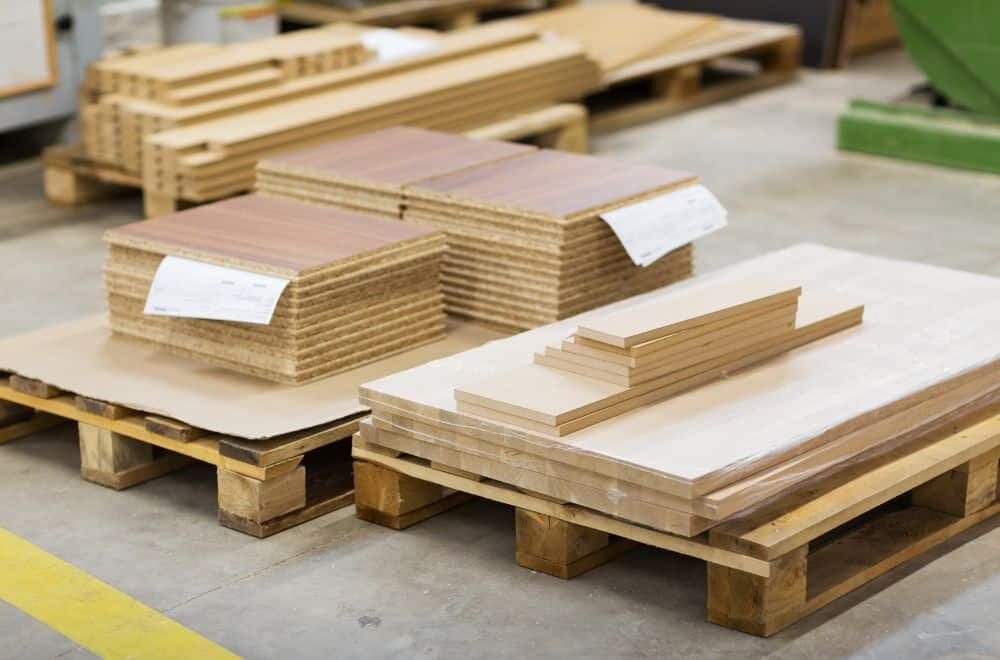
Cutting the Wood

When it comes to making a wooden crate, cutting the wood is an important step. It is essential to ensure that the wood is cut to the right length and width, so the crate is the right size and shape.

To begin, gather all the necessary tools and materials, including a saw, measuring tape, and the wood you need for the crate. Measure and mark the wood according to the dimensions you want for your crate.

When cutting the wood, make sure to use a saw that is appropriate for the type of wood you are using. A handsaw or circular saw is ideal for cutting softwood, while a jigsaw is better for cutting hardwood.

Take your time when cutting the wood and make sure to follow your measurements precisely. It’s better to cut the wood a little longer than needed so that you can trim it down to the exact size later.

If you are making multiple crates, it’s a good idea to cut all the wood at once to ensure consistency in size and shape. You can use a table saw or miter saw to make the process faster and more efficient.

Remember to wear protective gear, such as safety glasses and gloves, when cutting the wood to avoid any accidents or injuries. With careful planning and precision cutting, you can create a wooden crate that is the perfect size for your needs.

Assembling the Crate

Once you have all the materials cut to size, it’s time to assemble your wooden crate. This section will cover the two main steps of building the frame and attaching the panels.

Building the Frame

To start building the frame, lay out two of the longer slats parallel to each other on a flat surface. Then, place the shorter slats between them, perpendicular to the longer slats. Make sure the ends of the shorter slats are flush with the longer slats.

Next, use wood glue to attach the shorter slats to the longer slats. Apply a generous amount of glue to the ends of the shorter slats and press them firmly against the longer slats. Use clamps to hold the pieces together while the glue dries.

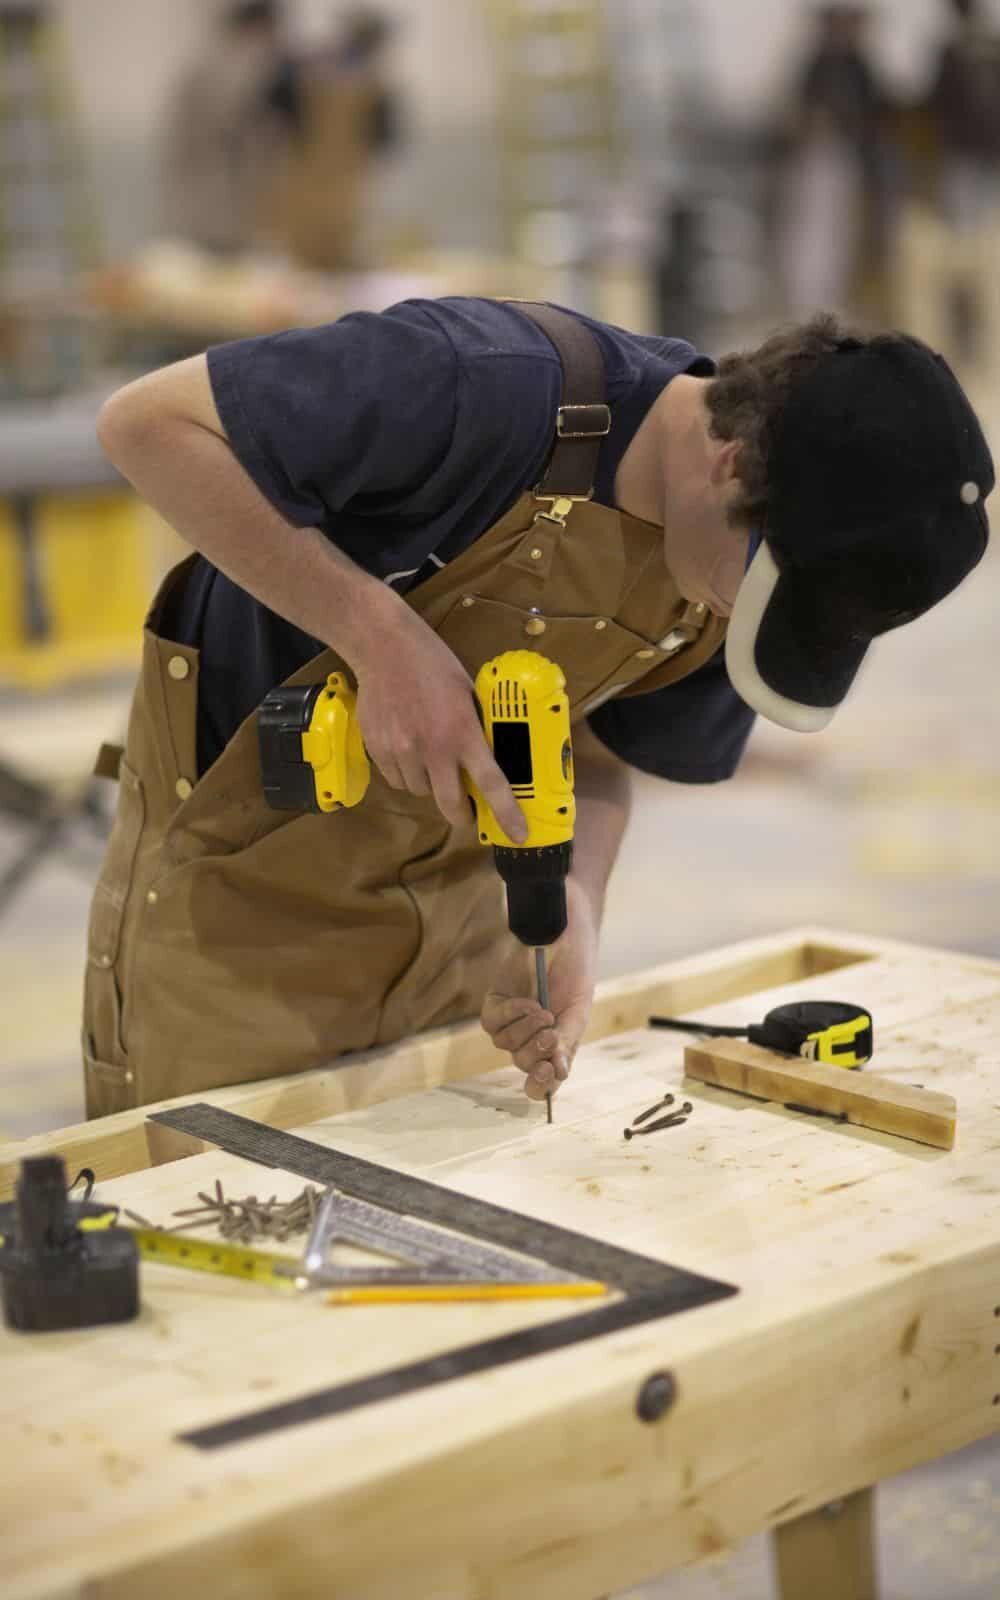
Once the glue is dry, reinforce the joints by drilling pilot holes and driving wood screws through the longer slats and into the ends of the shorter slats. Repeat this process for the other end of the crate.

Attaching the Panels

With the frame complete, it’s time to attach the panels. Start by placing one of the panels on one side of the frame. Make sure the edges of the panel are flush with the edges of the frame.

Use a nail gun or hammer and nails to attach the panel to the frame. Drive nails through the panel and into the frame every few inches. Repeat this process for the other three panels.

Once all the panels are attached, reinforce the joints by driving wood screws through the panels and into the frame. Make sure to countersink the screws so they don’t stick out and snag on anything.

And that’s it! Your wooden crate is now complete and ready to be used.

Sanding and Finishing

Sanding Process

Before applying any finish to your wooden crate, it’s essential to sand it properly to ensure a smooth surface. Here are the steps you need to follow to sand your crate:

  1. Start by sanding the rough spots and edges with a coarse-grit sandpaper (around 80 grit). Use a sanding block to keep the surface even and avoid creating dips or uneven spots.
  2. Once the rough spots are gone, switch to a medium-grit sandpaper (around 120 grit) to smooth out the surface. Sand in the direction of the wood grain to avoid creating scratches or marks on the surface.
  3. Finally, use a fine-grit sandpaper (around 220 grit) to give your crate a smooth finish. Sand lightly and evenly to avoid creating any scratches or marks.

After sanding, use a tack cloth to remove any dust or debris left on the surface.

Applying Finish

Now that your crate is sanded and clean, it’s time to apply the finish. Here are some popular options you can choose from:

  • Stain: Staining your crate can add color and depth to the wood, highlighting the natural grain. Apply the stain with a brush or cloth, following the manufacturer’s instructions. Let it dry completely before applying any sealer or topcoat.
  • Paint: Painting your crate can give it a uniform color and protect it from moisture and scratches. Use a primer first, then apply the paint with a brush or roller. Let it dry completely before using the crate.
  • Varnish: Varnishing your crate can give it a shiny and protective finish. Apply the varnish with a brush or cloth, following the manufacturer’s instructions. Let it dry completely before using the crate.

No matter what finish you choose, make sure to apply it evenly and let it dry completely before using the crate. You can also add some decorative touches like stencils or decals to personalize your crate.

Safety Precautions

When building a wooden crate, safety should be your top priority. Here are some important safety precautions to take:

Proper Handling

When handling wood, it’s important to be careful and use common sense. Here are some tips to keep in mind:

  • Wear gloves to protect your hands from splinters and cuts.
  • Lift with your legs, not your back, to avoid injury.
  • Use caution when using power tools and follow all manufacturer’s instructions.
  • Keep your work area clean and free of clutter to avoid tripping hazards.

Eye Protection

Woodworking can create a lot of dust and debris, which can be harmful to your eyes. Here are some tips to protect your eyes:

  • Wear safety glasses or goggles to protect your eyes from flying debris.
  • Use a dust mask or respirator to protect your lungs from dust and other particles.
  • Avoid wearing loose clothing or jewelry that could get caught in machinery.

By following these safety precautions, you can ensure that your woodworking project is not only successful, but also safe.

understanding-different-types-of-wood

What's the Best Wood for a Homemade Desk Desktop and Why?

Are you thinking about building a homemade desk? One of the most important decisions you’ll have to make is what type of wood to use for the desktop. With so many options available, it can be overwhelming to choose the best one for your needs. In this article, we’ll explore the different types of wood commonly used for desktops and discuss the pros and cons of each.

When it comes to selecting the best type of wood for a desktop, there are several factors to consider. You’ll want a wood that is sturdy, durable, and can withstand daily wear and tear. It should also be aesthetically pleasing and complement the overall design of your desk. Additionally, you’ll want to consider the cost and availability of the wood. By taking these factors into account, you can make an informed decision about which type of wood is right for your project. So, let’s dive in and explore your options!

Understanding Different Types of Wood

understanding-different-types-of-wood

When it comes to choosing the best type of wood for your homemade desk, it’s important to understand the different options available to you. Here are the three main categories of wood to consider:

Hardwoods

Hardwoods come from deciduous trees, which means they lose their leaves annually. They are generally more durable and dense than softwoods, making them an excellent choice for a desktop. Some popular hardwood options for a desk include:

  • Oak: A classic choice that is strong and durable, with a distinctive grain pattern.
  • Maple: Known for its light color and smooth grain, maple is a popular choice for modern desks.
  • Walnut: A beautiful dark wood with a rich, warm tone that makes for an elegant desk.

Softwoods

Softwoods come from evergreen trees, which means they keep their leaves year-round. They are generally less dense and less expensive than hardwoods, but can still make a great choice for a desktop. Some popular softwood options for a desk include:

  • Pine: A light-colored wood with a straight grain that is easy to work with.
  • Cedar: A softwood with a distinctive scent that repels insects, making it a good choice for outdoor desks.
  • Spruce: A light-colored wood with a fine grain that is strong and lightweight.

Engineered Woods

Engineered woods are made from a combination of wood fibers and adhesives, and are designed to be stronger and more durable than solid wood. They can be a good choice for a desktop if you want something that is resistant to warping and cracking. Some popular engineered wood options for a desk include:

  • Plywood: Made from thin layers of wood that are glued together, plywood is strong and stable.
  • MDF: Short for medium-density fiberboard, MDF is made from wood fibers and resin, and is known for its smooth surface and uniform density.
  • Particleboard: Made from wood chips and resin, particleboard is a cost-effective option that is less durable than other engineered woods.

By understanding the different types of wood available, you can make an informed decision about which one is right for your homemade desk. Consider factors such as durability, aesthetics, and cost when making your choice.

Key Factors to Consider

key-factors-to-consider

When it comes to choosing the best type of wood for a desktop on a homemade desk, there are several factors that you should consider. Here are the key factors to keep in mind:

Durability

One of the most important factors to consider when choosing the best type of wood for a desktop is durability. You want a wood that can withstand the wear and tear of daily use without showing signs of damage. Some of the most durable woods for desktops include oak, maple, and birch plywood. These woods are strong, sturdy, and can last for years with proper maintenance.

Aesthetic Appeal

Another important factor to consider when choosing the best type of wood for a desktop is aesthetic appeal. You want a wood that looks good and complements the overall design of your homemade desk. Some woods, like maple and oak, have attractive grain patterns that can add visual interest to your desktop. Other woods, like birch plywood, have a more uniform appearance that can create a clean, modern look.

Cost

Cost is also an important factor to consider when choosing the best type of wood for a desktop. Some woods, like oak and maple, can be more expensive than others. If you’re on a tight budget, you may want to consider using a less expensive wood, like birch plywood. However, keep in mind that cheaper woods may not be as durable or aesthetically pleasing as more expensive options.

In summary, when choosing the best type of wood for a desktop on a homemade desk, you should consider factors like durability, aesthetic appeal, and cost. By keeping these factors in mind, you can choose a wood that not only looks good but also stands up to daily use.

Top Wood Choices for Desktops

top-wood-choices-for-desktops

When it comes to building a homemade desk, choosing the right type of wood for your desktop is crucial. The type of wood you choose can affect the durability, appearance, and overall quality of your desk. Here are some of the top wood choices for desktops:

Oak

Oak is one of the most popular choices for desktops, and for good reason. It is a hardwood that is known for its strength and durability. Oak desks can last for several decades, making them a great investment. Oak also has a beautiful grain pattern that can add character to your desk.

Maple

Maple is another great choice for desktops. It is a hardwood that is known for its light color and smooth texture. Maple is also a very hard and durable wood, making it a great choice for a desk that will see a lot of use.

Walnut

Walnut is a beautiful hardwood that is known for its rich, dark color. It has a straight grain pattern that can add a touch of elegance to your desk. Walnut is also a very durable wood, making it a great choice for a desk that will see a lot of use.

Plywood

If you are on a budget, plywood can be a great choice for your desktop. Plywood is made from thin layers of wood that are glued together, making it strong and durable. It is also very affordable and easy to work with. Plywood can be stained or painted to match your decor, making it a versatile choice for a homemade desk.

In conclusion, choosing the right type of wood for your desktop is an important decision when building a homemade desk. Oak, maple, walnut, and plywood are all great choices depending on your budget and desired aesthetic. Consider the durability, appearance, and cost of each type of wood before making your final decision.

Benefits of Each Wood Type

benefits-of-each-wood-type

Benefits of Oak

Oak is a popular choice for desktops because of its durability and strength. It is a hardwood that is resistant to wear and tear, making it ideal for a desk that will be used frequently. Oak has a distinctive grain pattern that gives it a unique look, and it is available in a range of colors from light to dark.

Other benefits of oak include:

  • Resistant to moisture and humidity
  • Easy to work with
  • Long-lasting and durable
  • Can be stained or painted to match your desired aesthetic

Benefits of Maple

Maple is a light-colored hardwood that is affordable and easy to work with. It is a popular choice for desks because of its smooth surface and durability. Maple has a subtle grain pattern that makes it a versatile option for any style of desk.

Other benefits of maple include:

  • Resistant to scratches and dents
  • Lightweight and easy to move
  • Available in a range of finishes
  • Affordable compared to other hardwoods

Benefits of Walnut

Walnut is a high-end hardwood that is known for its rich, dark color and beautiful grain pattern. It is a popular choice for desks because of its durability and resistance to wear and tear. Walnut has a smooth surface that is easy to work with, and it is available in a range of finishes.

Other benefits of walnut include:

  • Resistant to moisture and humidity
  • Long-lasting and durable
  • Can be stained or oiled to enhance its natural beauty
  • Adds warmth and elegance to any room

Benefits of Plywood

Plywood is a composite wood material made from thin layers of wood veneer glued together. It is a popular choice for desktops because of its affordability and versatility. Plywood comes in a range of thicknesses and can be easily cut and shaped to fit any desk design.

Other benefits of plywood include:

  • Lightweight and easy to move
  • Available in a range of finishes
  • Affordable compared to solid wood options
  • Resistant to warping and cracking

Overall, the best type of wood for your desktop will depend on your budget, style preferences, and intended use. Consider the benefits of each wood type before making your final decision.

Potential Drawbacks

potential-drawbacks-1

When it comes to choosing the best type of wood for a desktop on a homemade desk, there are several factors to consider. While each type of wood has its own unique advantages, there are also some potential drawbacks to keep in mind.

Drawbacks of Oak

Although oak is a popular choice for a desktop due to its strength and durability, it does have some potential drawbacks. One of the main issues with oak is that it can be quite heavy, which may make it difficult to move around or adjust the desk height. Additionally, oak can be more expensive than some other types of wood, which may not fit within everyone’s budget.

Drawbacks of Maple

Maple is another popular choice for a desktop due to its light color and smooth, even grain. However, there are some potential drawbacks to consider. For one, maple can be quite soft, which may make it more prone to scratches and dents. Additionally, maple can be more difficult to stain than other types of wood, which may limit your options for customization.

Drawbacks of Walnut

While walnut is known for its rich, dark color and beautiful grain patterns, it also has some potential drawbacks. For one, walnut can be quite expensive compared to other types of wood, which may not be feasible for everyone’s budget. Additionally, walnut can be quite heavy, which may make it difficult to move around or adjust the desk height.

Drawbacks of Plywood

Plywood is a popular choice for a desktop due to its affordability and ease of use. However, there are some potential drawbacks to consider. For one, plywood may not be as durable as solid wood options, which may result in a shorter lifespan for your desk. Additionally, plywood may not have the same level of aesthetic appeal as other types of wood, which may not be ideal for those looking for a more visually appealing desk.

Frequently Asked Questions

What are some common types of wood used for desktops on homemade desks?

There are several types of wood that are commonly used for desktops on homemade desks. Some of the most popular ones include oak, maple, cherry, elm, cedar, and rosewood. Each of these woods has its own unique characteristics, such as color, grain pattern, and durability.

What are the advantages of using oak wood for a desk top?

Oak wood is one of the most popular choices for a desk top because of its strength and durability. It can withstand heavy use and can last for several decades with proper maintenance. Oak also has a beautiful grain pattern that can add character to your desk.

What is the difference between using maple wood and oak wood for a desk top?

While both maple and oak wood are great choices for a desk top, there are some differences between the two. Maple wood is lighter in color and has a more consistent grain pattern, while oak wood has a more pronounced grain pattern and is darker in color. Oak wood is also generally more durable than maple wood.

How thick should the wood be for a sturdy and durable desktop on a homemade desk?

The thickness of the wood for a desktop on a homemade desk depends on several factors, such as the size of the desk and the weight it will need to support. Generally, a thickness of at least 1 inch is recommended for a sturdy and durable desktop.

Are there any alternative materials that can be used for a desktop on a homemade desk?

Yes, there are several alternative materials that can be used for a desktop on a homemade desk. Some of these include plywood, MDF, MDO, and particleboard. While these materials may not be as durable as hardwood, they can still provide a sturdy and functional desktop at a lower cost.

What are some tips for building a DIY hardwood desk with a high-quality desktop?

When building a DIY hardwood desk with a high-quality desktop, it is important to choose the right type of wood for your needs and budget. You should also make sure to properly prepare and finish the wood to ensure its durability and longevity. Additionally, using high-quality hardware and taking your time during the construction process can help ensure a successful outcome.