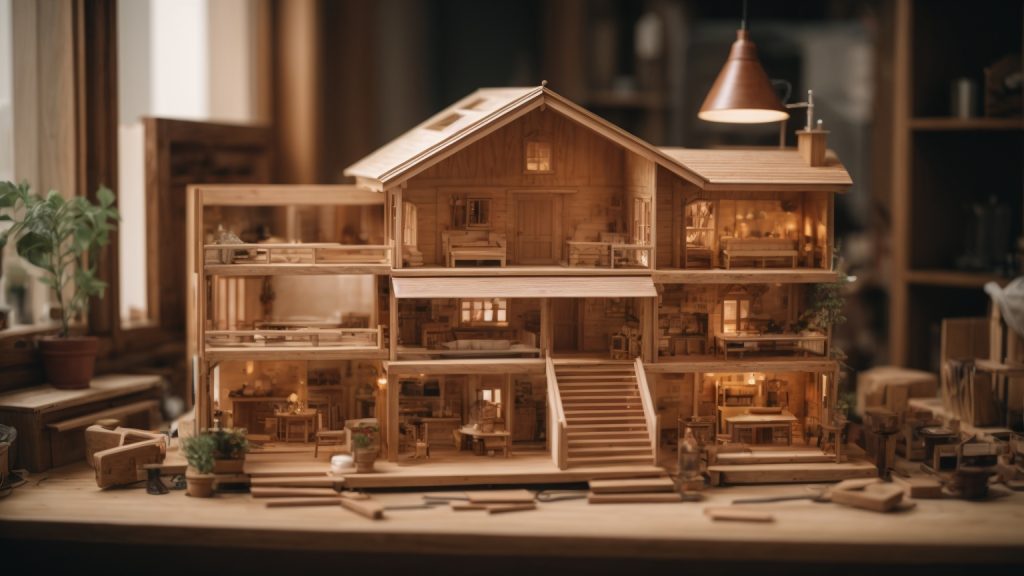
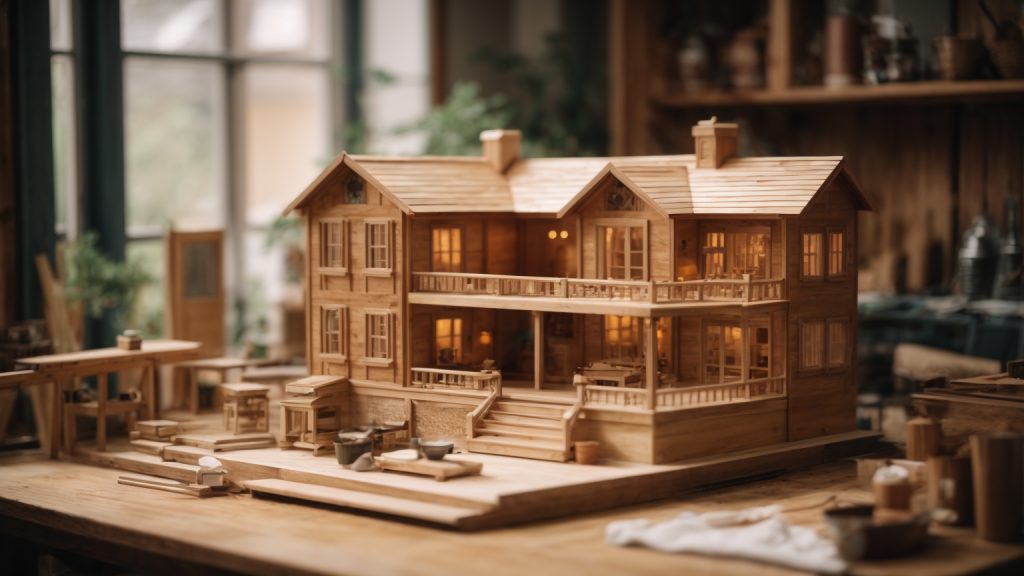
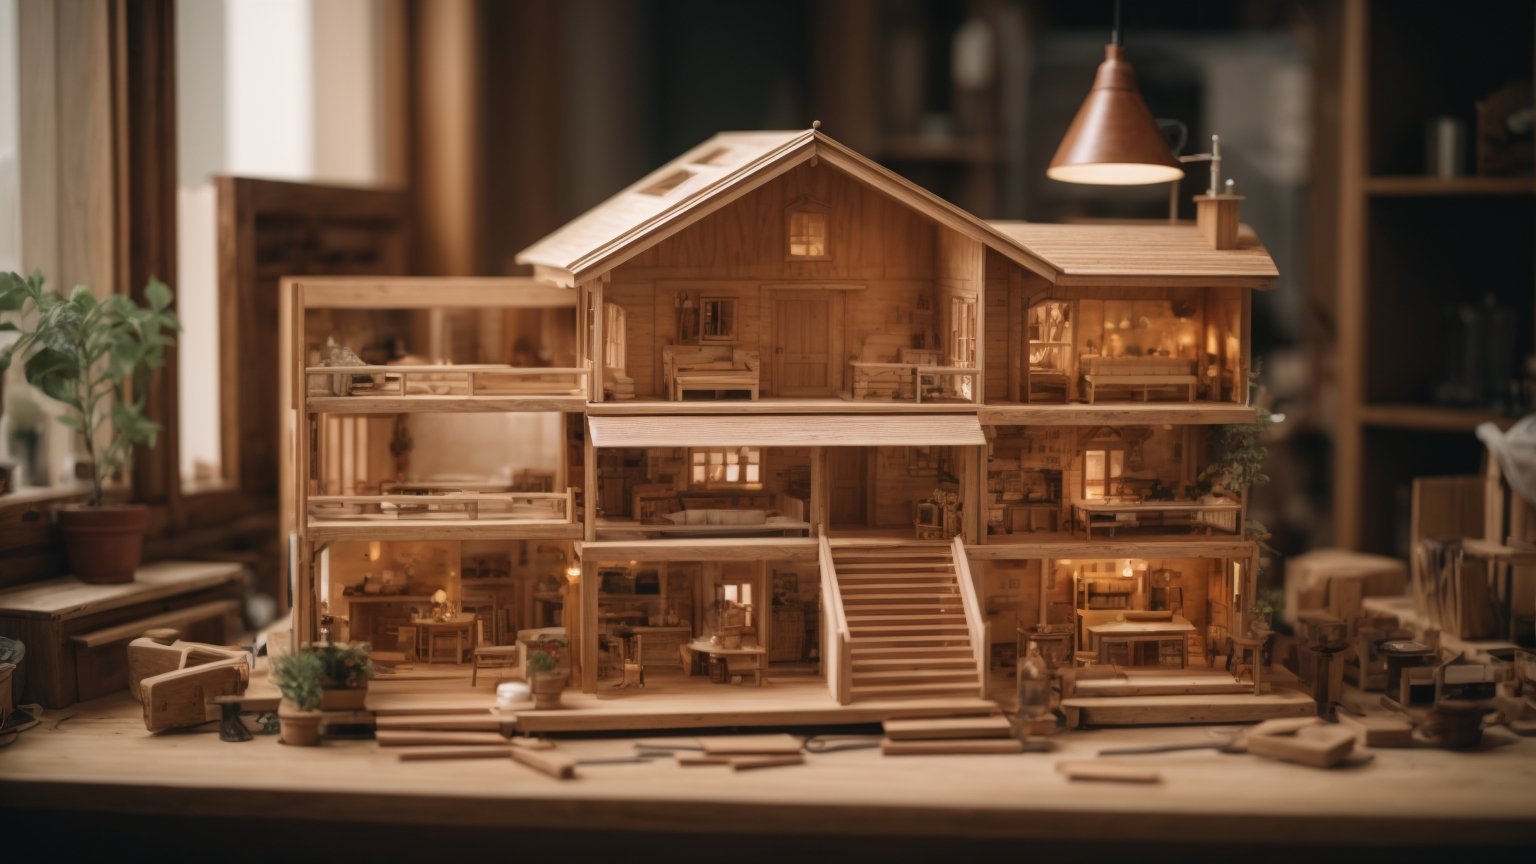
Are you looking for a fun and creative project to do with your kids or just for yourself? Making a wooden dollhouse from scratch is a great way to spend time together and create something beautiful that you can cherish for years to come. With a little bit of planning, patience, and some basic woodworking skills, you can build a dollhouse that is customized to your liking and fits perfectly in your home.
Before you start building your wooden dollhouse, there are a few things you need to consider. First, decide on the size and style of the dollhouse you want to build. You can choose from a variety of designs, such as a Victorian-style mansion or a modern minimalist house. You also need to determine what materials you will need and what tools you will use. Once you have all the necessary supplies, you can get started on your project. In the next section, we will go over some basic steps to help you build your very own wooden dollhouse.
Choosing the Right Wood
When building a wooden dollhouse, choosing the right type of wood is crucial. You want to select a wood that is sturdy, easy to work with, and will hold up over time. In this section, we will discuss how to identify different types of wood and how to select the best wood for dollhouses.
Identifying Different Types of Wood
Wood can be classified into two main categories: hardwood and softwood. Hardwood comes from deciduous trees such as oak, maple, and cherry, while softwood comes from coniferous trees such as pine, cedar, and spruce.
Hardwood is generally more expensive than softwood, but it is also stronger and more durable. Softwood is easier to work with and is often used in construction due to its affordability.
When selecting wood for your dollhouse, it’s important to consider the grain pattern. The grain pattern refers to the direction in which the wood fibers run. Some woods, such as oak, have a prominent grain pattern, while others, such as maple, have a more subtle grain pattern.
Selecting the Best Wood for Doll Houses
When selecting wood for your dollhouse, there are a few factors to consider. First, you want to choose a wood that is easy to work with. Softwoods such as pine and cedar are great options for beginners because they are easy to cut and shape.
Second, you want to choose a wood that is sturdy and will hold up over time. Hardwoods such as oak and maple are great options for dollhouses because they are strong and durable.
Finally, you want to choose a wood that will look great once it is finished. Woods such as cherry and mahogany have a beautiful finish and are perfect for dollhouses that will be on display.
In summary, when choosing wood for your dollhouse, consider the type of wood, the grain pattern, and the ease of use. Softwoods such as pine and cedar are great for beginners, while hardwoods such as oak and maple are strong and durable. Choose a wood that will look great once finished, and your dollhouse will be a beautiful addition to your collection.
Designing Your Doll House

When it comes to designing your wooden doll house, there are a few things to consider to make sure your final product is everything you want it to be. Here are some tips to get you started:
Sketching Your Design
Before you start building, it’s a good idea to sketch out your design. This will help you visualize the final product and make any necessary adjustments before you start cutting wood. You can use graph paper to create a scale drawing of your design, or simply sketch it out on a piece of paper.
Consider the number of rooms you want, the size of each room, and any special features you want to include, such as a balcony or porch. Think about the style of the house you want to create, whether it’s a cozy cottage or a grand mansion.
Size and Scale Considerations
When designing your doll house, it’s important to consider the size and scale of your dolls. Make sure the rooms are large enough to accommodate your dolls and any furniture you plan to include. You should also consider the overall size of the doll house, as this will affect the amount of materials you will need and the time it will take to build.
Another important consideration is the scale of your doll house. Most doll houses are built to a scale of 1:12, which means that one inch of doll house equals one foot of real life. However, you can choose a different scale if you prefer. Just make sure all the elements of your doll house are in proportion to each other.
By taking the time to carefully design your wooden doll house, you’ll end up with a beautiful and functional toy that your child will love to play with for years to come.
Cutting the Wood
Cutting the wood is an essential part of building a wooden dollhouse. In this section, we will discuss safety measures and how to use a saw when cutting the wood.
Safety Measures
Before you start cutting the wood, it is important to take some safety measures to avoid any accidents. Here are some tips to keep in mind:
- Wear safety goggles to protect your eyes from sawdust and wood chips.
- Use a dust mask to avoid inhaling sawdust.
- Wear earplugs or earmuffs to protect your ears from the noise of the saw.
- Use a clamp to secure the wood to the workbench to avoid any movement while cutting.
- Keep your fingers away from the saw blade and use a push stick to guide the wood through the saw.
Using a Saw
There are different types of saws you can use to cut the wood for your dollhouse, such as a jigsaw, miter saw, or circular saw. Here are some tips on how to use a saw:
- Read the instructions carefully before using the saw and make sure you know how to operate it.
- Adjust the blade depth according to the thickness of the wood you are cutting.
- Use a straight edge or a square to guide the saw for straight cuts.
- For curved cuts, use a jigsaw and follow the lines carefully.
- Use a miter saw to make angled cuts for corners and roof pieces.
- Always keep the saw blade clean and sharp for better results.
By following these safety measures and tips on how to use a saw, you can cut the wood for your dollhouse accurately and safely.
Assembling the Doll House

Before you begin assembling your wooden doll house, make sure you have all the necessary materials and tools. You will need wood glue, nails, a hammer, a saw, and sandpaper. Once you have everything you need, you can begin the assembly process.
Joining the Pieces
The first step in assembling your doll house is to join the pieces together. To do this, you will need to use wood glue and nails. Apply a small amount of glue to the edges of the pieces you are joining together, and then use nails to secure them in place. Make sure the pieces are aligned properly before nailing them together.
It’s important to work slowly and carefully when joining the pieces together. Take your time to ensure that each piece is properly aligned and secured before moving on to the next one.
Securing with Glue
Once you have joined all the pieces together, you can use wood glue to reinforce the joints. Apply a small amount of glue to each joint, and then use a brush or your finger to spread it evenly. Make sure you apply enough glue to fully cover the joint, but not so much that it drips or runs.
After applying the glue, use clamps or weights to hold the pieces in place while the glue dries. This will help ensure that the joints are strong and secure.
Once the glue has dried, use sandpaper to smooth out any rough edges or surfaces. This will give your doll house a polished and professional look.
In conclusion, assembling a wooden doll house requires patience and attention to detail. By following these steps and taking your time, you can create a beautiful and sturdy doll house that will provide hours of enjoyment.
Finishing Touches
Once you have completed building your wooden dollhouse, it’s time to add the finishing touches that will make it look complete and beautiful. This section will cover two important sub-sections: Sanding the Edges and Painting and Decorating.
Sanding the Edges
Before painting and decorating your dollhouse, it’s essential to sand the edges to ensure that they are smooth and free of splinters. You can use a sanding block or sandpaper to sand the edges. Be sure to sand in the direction of the grain to avoid creating scratches on the surface of the wood.
Once you have sanded the edges, you can use a damp cloth to wipe away any dust or debris. Then, let the dollhouse dry completely before moving on to the next step.
Painting and Decorating
Painting and decorating your dollhouse is where you can get creative and add your personal touch. You can use a variety of materials such as paint, wallpaper, fabric, and stickers to decorate your dollhouse.
Before painting, it’s important to prime the surface with a primer to ensure that the paint adheres properly. You can use acrylic or latex paint to paint the dollhouse. Be sure to use a paintbrush that is appropriate for the size of the surface you are painting.
When decorating the dollhouse, you can use wallpaper to add patterns and texture to the walls. You can also use fabric to create curtains and bedding for the dollhouse. Stickers can be used to add small details such as flowers or animals.
It’s important to let each layer of paint or glue dry completely before adding another layer. This will ensure that the final result looks neat and professional.
In conclusion, sanding the edges and painting and decorating the dollhouse are essential steps in completing your wooden dollhouse. With a little bit of creativity and patience, you can create a beautiful and unique dollhouse that you will be proud to display.
Maintenance Tips
Taking care of your wooden dollhouse is essential to ensure it lasts for years to come. Here are some maintenance tips to keep your dollhouse in top condition:
Cleaning Your Wooden Doll House
Cleaning your wooden dollhouse is a crucial part of maintenance. Here are some tips to help you keep your dollhouse clean:
- Use a soft cloth or brush to remove dust and dirt from the surface of your dollhouse.
- Avoid using water or any cleaning agents that contain harsh chemicals as they can damage the wood.
- If you need to clean the inside of your dollhouse, use a small vacuum cleaner or a soft brush to remove dust and dirt.
- If you notice any stains or marks on your dollhouse, try using a mild soap and water solution to clean them off.
Minor Repairs
Over time, your wooden dollhouse may require minor repairs. Here are some tips to help you fix any minor issues:
- If you notice any loose parts, use wood glue to reattach them.
- If any parts of your dollhouse become damaged, use wood filler to fill in any cracks or holes.
- If you need to repaint your dollhouse, use a primer before applying the paint to ensure it adheres properly to the wood.
By following these maintenance tips, you can ensure that your wooden dollhouse stays in great condition for years to come.
