
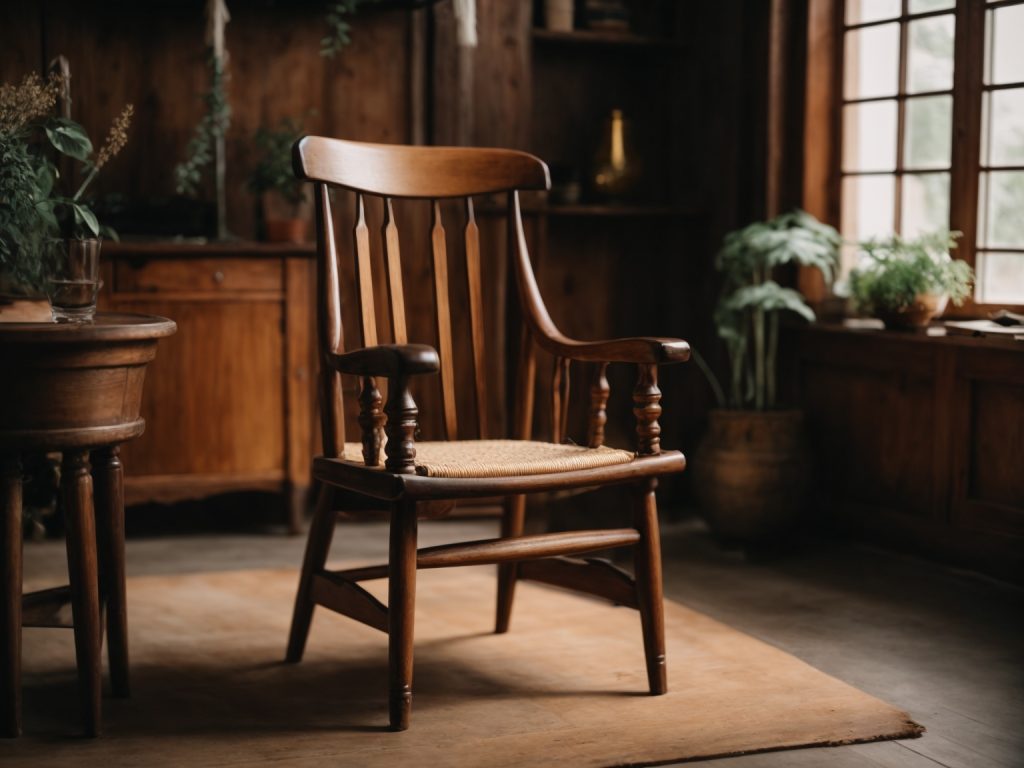
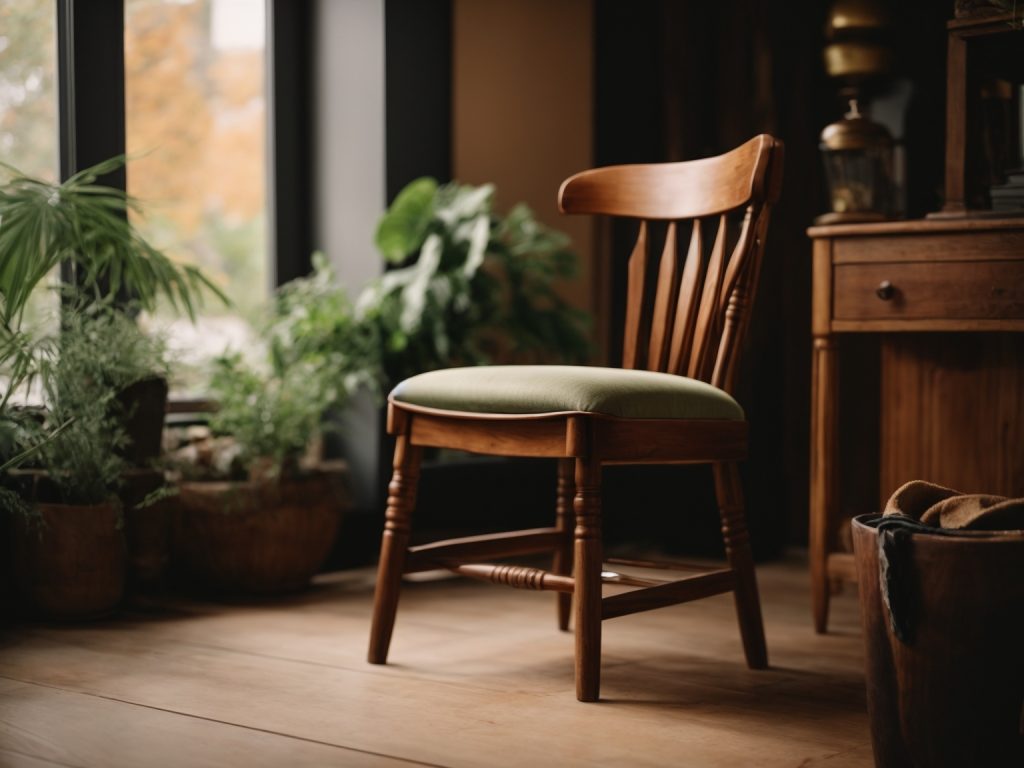
Making a wooden chair can be a fun and rewarding experience. Not only will you have a functional piece of furniture, but you will also have the satisfaction of knowing that you made it yourself. Whether you are an experienced woodworker or a beginner, building a wooden chair is a great project to take on.
Before you start building your chair, it’s important to have a plan. You can find plans online or in woodworking books and magazines. Make sure to choose a plan that matches your skill level and the tools you have available. Once you have your plan, gather all the necessary materials and tools. You will need wood, screws, glue, clamps, a saw, a drill, and sandpaper, among other things.
Building a wooden chair can be a time-consuming process, but it’s important to take your time and work carefully. Make sure to measure twice and cut once, and always follow the instructions in your plan. With a little patience and effort, you can create a beautiful and functional piece of furniture that you will be proud to use and display in your home.
Understanding the Basics of Woodworking
Woodworking is a rewarding hobby that allows you to create beautiful and functional pieces of furniture. If you’re interested in making a wooden chair, it’s important to understand the basics of woodworking before you get started.
Choosing the Right Wood
The first step in making a wooden chair is to choose the right wood. Hardwoods like maple, oak, and cherry are ideal for furniture-making because they are durable and can be finished to a high shine. Softwoods like pine and cedar can also be used, but they are more prone to dents and scratches.
When selecting wood, look for boards that are straight and free of knots or other defects. You should also consider the grain pattern and color of the wood, as these can affect the appearance of your finished chair.
Tools Required
To make a wooden chair, you will need a variety of tools. Some of the essential tools include:
- Table saw
- Band saw
- Jointer
- Planer
- Router
- Chisels
- Hand saws
- Clamps
You will also need sandpaper, wood glue, and finishing materials like stain or varnish.
Before you start using any of these tools, it’s important to read the manufacturer’s instructions and take appropriate safety measures.
Safety Measures
Working with woodworking tools can be dangerous if you’re not careful. To protect yourself, you should wear safety glasses, ear protection, and a dust mask. You should also avoid wearing loose clothing or jewelry that could get caught in the machinery.
When using power tools like saws and routers, make sure the blades are sharp and properly adjusted. Always keep your hands away from the blades and use push sticks or other tools to guide the wood through the machine.
By understanding the basics of woodworking and taking appropriate safety measures, you can create a beautiful and functional wooden chair that will last for years to come.
Designing Your Wooden Chair
When it comes to designing your wooden chair, there are a few things to consider to ensure that your final product is both functional and visually appealing. Here are two sub-sections to help you get started:
Sketching a Blueprint
Before you start building your wooden chair, it’s important to sketch out a blueprint of your design. This will help you visualize your final product and make any necessary adjustments before you start cutting your wood.
When sketching your blueprint, consider the overall style of your chair. Do you want a modern or traditional design? Will your chair have a backrest or armrests? These are all important factors to consider when designing your chair.
Deciding Dimensions
Once you have a rough sketch of your design, you’ll need to decide on the dimensions of your chair. This includes the height, width, and depth of your seat, as well as the height and angle of your backrest.
When deciding on your dimensions, consider the average size of the person who will be using the chair. You’ll want to make sure that your chair is comfortable and supportive for the user.
It’s also important to consider the type of wood you’ll be using when deciding on your dimensions. Different types of wood have different strengths and weaknesses, so you’ll need to choose a wood that can support the weight and size of your chair.
By sketching a blueprint and deciding on your dimensions, you’ll be well on your way to designing a wooden chair that is both functional and visually appealing.
Preparing the Wood
Before you start making a wooden chair, it is important to properly prepare the wood. This will ensure that your chair is strong, durable, and looks great. In this section, we will cover the two main steps for preparing the wood: cutting and sanding.
Cutting the Wood
The first step in preparing the wood is to cut it to the correct size and shape. You will need to use a saw to cut the wood into the appropriate pieces for your chair. Make sure to measure and mark the wood carefully before cutting it to avoid mistakes.
When cutting the wood, it is important to use the correct type of saw for the job. A hand saw or a circular saw can be used for most cuts, but a jigsaw may be necessary for more intricate cuts or curves.
Sanding the Wood
Once the wood is cut to the correct size and shape, the next step is to sand it. Sanding the wood will smooth out any rough edges and prepare it for finishing. Start with a coarse grit sandpaper and work your way up to a finer grit for a smooth finish.
When sanding the wood, it is important to sand with the grain of the wood. Sanding against the grain can cause scratches and damage to the wood. Use a sanding block or a power sander for larger pieces of wood to make the job easier.
In conclusion, preparing the wood is an important step in making a wooden chair. By cutting the wood to the correct size and shape and sanding it properly, you will ensure that your chair is strong, durable, and looks great.
Assembling the Chair
Joining the Pieces
Now that you have all the pieces cut and sanded, it’s time to start assembling the chair. Begin by laying out all the pieces and checking that you have everything you need. You will need wood glue, clamps, and screws.
Start by gluing the joints together. Apply a generous amount of wood glue to the joints and use clamps to hold them in place. Make sure to wipe off any excess glue with a damp cloth. Let the glue dry completely, which usually takes about 24 hours.
Once the glue has dried, you can start screwing the pieces together. Use a drill with a screwdriver bit to attach the pieces together. Make sure to pre-drill the holes to prevent the wood from splitting.
Securing the Structure
After you have screwed all the pieces together, it’s time to secure the structure. You want to make sure that the chair is sturdy and will not wobble.
To do this, you can add corner braces to the chair. These are small metal brackets that you can attach to the corners of the chair. They will help to reinforce the structure and prevent it from wobbling.
Another option is to add dowels to the joints. These are small wooden pegs that you can insert into the joints to add extra strength. To do this, you will need to drill holes into the joints and then insert the dowels.
Once you have secured the structure, you can sand the chair to remove any rough edges and apply a finish. You can use a stain or paint to give the chair the look you want.
Congratulations! You have successfully assembled your wooden chair.
Finishing Touches
Applying Wood Finish
Now that you have completed building your wooden chair, it’s time to give it a beautiful finish. Applying a wood finish will not only enhance the look of your chair but also protect it from moisture and wear. There are various types of wood finishes available, such as oil-based, water-based, and wax-based finishes. Choose the one that suits your chair and your preferences.
Before applying the finish, make sure the chair is clean and free of dust. Sand the chair lightly with fine-grit sandpaper to smooth out any rough spots. Apply the finish with a brush or a cloth, following the manufacturer’s instructions. Let the finish dry completely before applying a second coat. Repeat the process until you achieve the desired finish.
Polishing the Chair
Once the finish has dried, you can polish your chair to give it a shiny and smooth appearance. Polishing also helps to protect the finish and make it more durable. There are various polishing products available, such as paste wax, liquid wax, and oil-based polishes.
To polish your chair, apply a small amount of polish to a soft cloth and rub it onto the surface of the chair in a circular motion. Make sure to cover the entire surface evenly. Let the polish dry for a few minutes, then buff the chair with a clean cloth to remove any excess polish.
Remember to polish your chair regularly to maintain its shine and protect the finish. Avoid using abrasive cleaners or harsh chemicals that can damage the finish. With proper care and maintenance, your wooden chair will last for many years to come.