
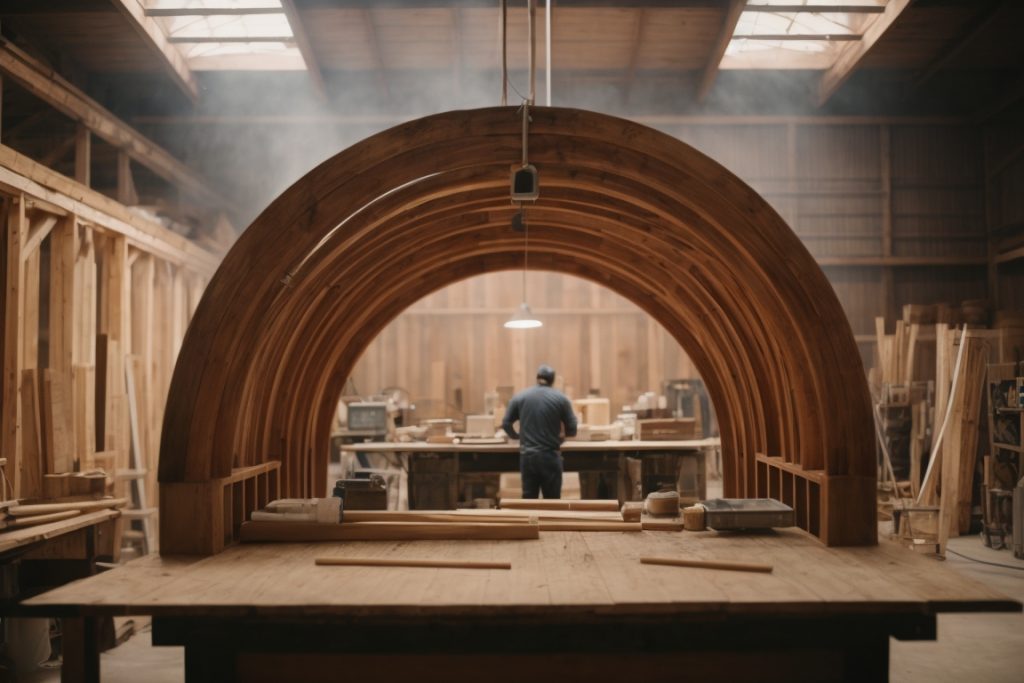
If you’re looking to add a touch of elegance to your garden or backyard, building a wooden arch is a great way to do it. Not only does it add a beautiful focal point to your outdoor space, but it can also serve as a support for climbing plants like roses, ivy, and wisteria. In this article, we’ll go over the steps involved in building a wooden arch so that you can create a stunning addition to your garden.
The first step in building a wooden arch is to gather the necessary tools and materials. You’ll need plywood sheets, a circular saw, a cordless drill, a posthole digger, safety glasses, and other tools depending on the design you choose. Once you have everything you need, you can start building the arch.
The process of building a wooden arch involves cutting and shaping the plywood sheets into the desired shape, assembling the arch, and securing it in place. Depending on the design you choose, you may also need to add additional support structures like posts or braces. With a little patience and some basic woodworking skills, you can create a beautiful wooden arch that will enhance the look of your garden or backyard.
Understanding the Basics of a Wooden Arch
If you’re looking to add a touch of elegance to your garden or outdoor space, a wooden arch is a great way to do it. Wooden arches are easy to build and can be customized to fit any style or design. In this section, we’ll cover the basics of building a wooden arch, including the importance of wood type and arch design principles.
Importance of Wood Type
When it comes to building a wooden arch, the type of wood you use is crucial. You want to choose a wood that is strong and durable enough to withstand the elements and support the weight of the arch. Some of the best types of wood for building a wooden arch include:
- Cedar: Cedar is a popular choice for building outdoor structures because it is naturally resistant to rot and insect damage. It is also lightweight and easy to work with.
- Redwood: Redwood is another popular choice for outdoor structures because it is naturally resistant to decay and insect damage. It is also strong and durable, making it a great choice for building a wooden arch.
- Pressure-treated pine: Pressure-treated pine is a cost-effective option for building a wooden arch. It is treated with chemicals to make it resistant to rot and insect damage, but it is important to note that these chemicals can be harmful to the environment.
Arch Design Principles
When it comes to designing your wooden arch, there are a few key principles to keep in mind:
- Height: The height of your arch will depend on its intended use. If you’re building an arch to frame a garden path, a height of 7 feet is usually sufficient. If you’re building an arch for a wedding or other special event, you may want to go taller.
- Width: The width of your arch will depend on the size of the space you’re working with. A width of 4-5 feet is usually sufficient for a garden path. If you’re building an arch for a wedding or other special event, you may want to go wider.
- Shape: The shape of your arch will depend on your personal preference. Some popular shapes include a classic gothic arch, a rounded arch, and a flat arch.
- Bracing: It’s important to include bracing in your design to ensure that your arch is stable and secure. Bracing can be added to the sides or the back of the arch, depending on the design.
By keeping these design principles in mind and choosing the right type of wood, you can build a beautiful and functional wooden arch that will add a touch of elegance to your outdoor space.
Materials and Tools Required
When it comes to building a wooden arch, having the right materials and tools is essential. Here are the things you’ll need to get started:
Choosing the Right Wood
The first step in building a wooden arch is to choose the right type of wood. You’ll want to select wood that is strong, durable, and able to withstand the elements. Some good options include:
- Cedar: This is a popular choice for outdoor projects because it is naturally resistant to rot and decay.
- Redwood: This is another durable option that is resistant to insects and decay.
- Pressure-treated lumber: This type of wood is treated with chemicals to resist rot, insects, and decay.
Before you start building, make sure to inspect your wood for any defects or damage. You’ll want to avoid using any wood that is warped, cracked, or has knots that could weaken the structure.
Essential Tools
To build a wooden arch, you’ll need a few essential tools:
- Circular saw: This will be used to cut your wood to size.
- Drill: You’ll need a drill to make holes for screws and bolts.
- Jigsaw: This tool is useful for cutting curved shapes in your wood.
- Screwdriver: You’ll need a screwdriver to tighten screws and bolts.
- Clamps: These will help hold your wood in place while you work.
- Measuring tape: You’ll need to measure your wood to ensure it is cut to the correct size.
- Pencil: This will be used to mark your wood before cutting.
- Safety gear: Make sure to wear safety glasses and gloves to protect yourself while working with power tools.
Having the right materials and tools is crucial to building a wooden arch that is strong and durable. With the right materials and a little bit of know-how, you’ll be able to create a beautiful arch that will last for years to come.
Creating Your Arch Design
Designing your wooden arch is an important step that will determine the final look and functionality of your arch. In this section, we will go over the steps to create your arch design.
Drawing the Arch Blueprint
Before you start building your arch, you need to create a blueprint. This will help you visualize the final product and make any necessary adjustments before you start building.
To create your blueprint, you can use a pencil and paper or a computer-aided design (CAD) program. Draw the arch shape you want and make sure to include the height, width, and depth of the arch. You can also add any decorative elements you want to include, such as carvings or cutouts.
Determining the Arch Dimensions
Once you have your blueprint, you need to determine the dimensions of your arch. This will depend on the size of the space where you want to install the arch and the purpose of the arch.
To determine the dimensions, measure the height and width of the space where you want to install the arch. Make sure to add a few extra inches to the measurements to ensure a proper fit. You also need to consider the purpose of the arch. If it is for decoration, you may want to make it smaller. If it is for a garden or walkway, you may want to make it larger to accommodate people walking underneath.
After you have determined the dimensions, you can start selecting the materials you will need to build your arch. Make sure to choose high-quality wood that is sturdy and durable. You can also choose to add a finish to your arch, such as paint or stain, to protect it from the elements and enhance its appearance.
By following these steps, you can create a beautiful and functional wooden arch that will enhance the look of your garden or walkway.
Preparing the Wood
Before building a wooden arch, it is important to properly prepare the wood to ensure a sturdy and long-lasting structure. This section will cover two key steps in preparing the wood: cutting and sanding.
Cutting the Wood
To begin, you will need to cut the wood to the appropriate length and shape. This will depend on the specific design of your arch. It is important to use a circular saw or jigsaw to make precise cuts. A framing square or combination square can be used to ensure that the cuts are straight and accurate.
To make curved cuts, a router can be used to create a smooth and consistent shape. Alternatively, a template can be used to guide the saw or jigsaw along the desired curve.
Sanding the Wood
Once the wood is cut to the appropriate size and shape, it is important to sand it to remove any rough edges or splinters. This will also help to create a smooth and even surface for painting or staining.
Start with a coarse sandpaper, such as 80-grit, and gradually work your way up to a finer grit, such as 220-grit. Sand in the direction of the grain to avoid damaging the wood.
After sanding, wipe the wood down with a damp cloth to remove any dust or debris. This will ensure that the surface is clean and ready for finishing.
By properly preparing the wood through cutting and sanding, you can ensure that your wooden arch will be strong, durable, and visually appealing.
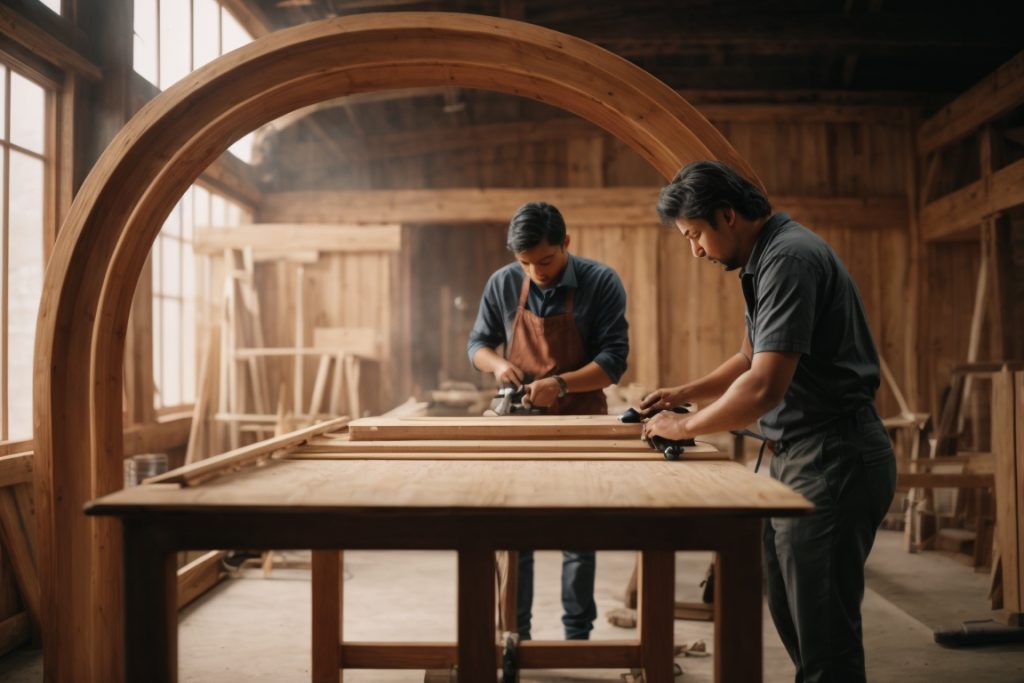
Assembling the Arch
After cutting the arch pieces, it’s time to assemble them. This section will guide you through the process of joining and securing the arch structure.
Joining the Arch Pieces
To join the arch pieces, you will need wood glue and clamps. Here are the steps to follow:
- Apply wood glue on the mating surfaces of the arch pieces.
- Join the arch pieces together to form the arch shape.
- Use clamps to hold the arch pieces together while the glue dries.
- Wipe off any excess glue with a damp cloth.
Securing the Arch Structure
Once the glue has dried, it’s time to secure the arch structure. You will need screws and a drill. Here are the steps to follow:
- Drill pilot holes through the arch pieces where you want to place the screws.
- Insert screws through the pilot holes and into the mating arch piece.
- Tighten the screws until the arch pieces are securely fastened together.
It’s important to note that you should not over-tighten the screws as it can cause the wood to split. Also, make sure the screws are evenly spaced and aligned to ensure a strong and stable arch structure.
Congratulations! You have successfully assembled your wooden arch. In the next section, we will cover how to finish and decorate your arch.
Finishing Touches
Now that you have built your wooden arch, it’s time to add the finishing touches to make it truly stand out. Here are a few suggestions on how to add some personality and style to your arch.
Applying Wood Stain
One way to enhance the natural beauty of your wooden arch is by applying wood stain. Not only does it add color, but it also helps protect the wood from weather damage. Before applying the stain, make sure the wood is clean and dry. You can use a brush, roller, or spray gun to apply the stain. Follow the manufacturer’s instructions for the best results. Once the stain is dry, you can add a clear coat of polyurethane to protect the wood further.
Adding Decorative Elements
Another way to make your wooden arch unique is by adding decorative elements. Here are a few ideas:
- Hang string lights or lanterns from the arch for a romantic ambiance.
- Add floral arrangements or garlands to the arch for a natural and whimsical look.
- Attach a sign or banner to the arch for a personalized touch.
Remember to choose elements that complement the overall style and purpose of your arch. With a little creativity, you can turn your wooden arch into a stunning focal point in your garden or outdoor space.
That’s it! Your wooden arch is now complete, and it’s ready to be enjoyed for years to come.
Maintenance Tips for Wooden Arch
Maintaining your wooden arch is essential to ensure it lasts for years to come. Here are some tips to help you keep your wooden arch in top condition:
1. Regular Cleaning
Regular cleaning is important to prevent dirt and debris from accumulating on the arch. Use a soft-bristled brush or a cloth to wipe away any dirt or dust. If there are any stubborn stains, use a mild soap solution and a soft brush to clean the arch. Rinse the arch with water and let it dry completely before applying any finish.
2. Apply a Protective Finish
Applying a protective finish to your wooden arch can help prevent moisture damage and protect it from the elements. You can use a clear coat or a stain that matches the color of your arch. Apply the finish according to the manufacturer’s instructions and allow it to dry completely before using the arch.
3. Inspect for Damage
Inspect your wooden arch regularly for any signs of damage such as cracks, splits, or warping. If you notice any damage, address it immediately to prevent further damage. Replace any damaged parts or contact a professional for repairs.
4. Store Properly
If you need to store your wooden arch for an extended period, make sure to store it in a dry and cool place. Cover the arch with a tarp or a sheet to protect it from dust and debris. Avoid storing the arch in direct sunlight or near sources of heat.
Taking care of your wooden arch can help prolong its life and keep it looking beautiful for years to come. By following these maintenance tips, you can ensure that your wooden arch remains a stunning addition to your garden or yard.