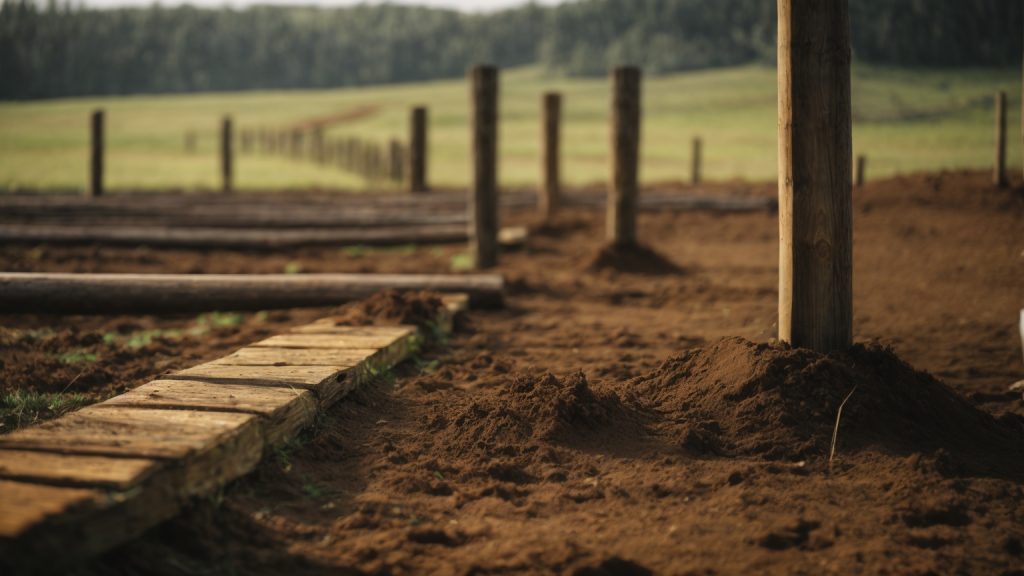
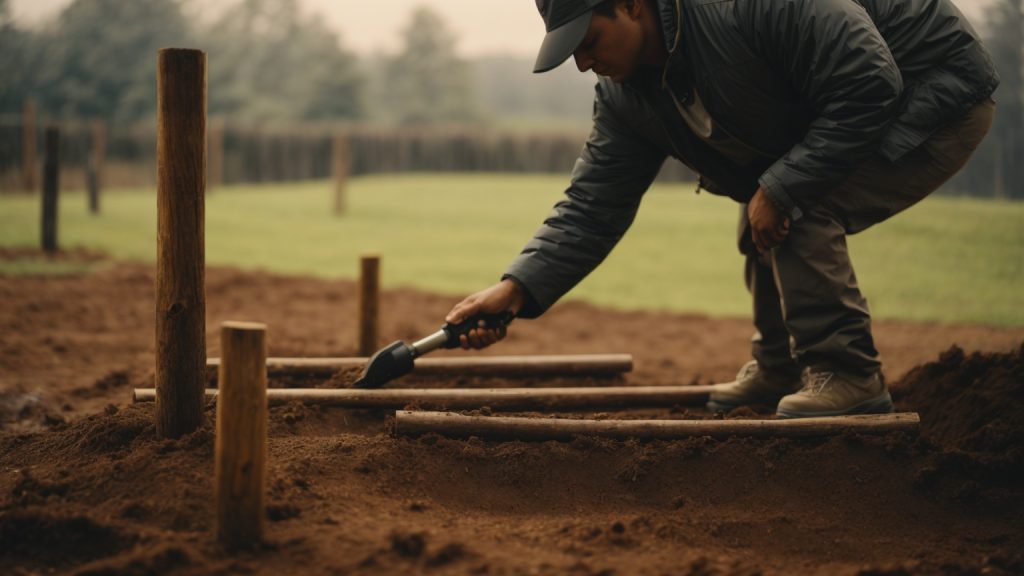
Putting wooden posts in the ground is an essential part of many outdoor DIY projects, such as building a fence, a deck, or a garden structure. However, getting it right can be tricky, especially if you’re dealing with soft or wet ground, or if you want to ensure that your posts will last for years without rotting or leaning. In this article, we’ll guide you through the steps you need to follow to put wooden posts in the ground, from choosing the right materials to digging the hole, setting the post, and securing it in place.
Before you start digging, it’s important to choose the right type of wood for your posts. Pressure-treated lumber is a popular choice for outdoor projects, as it is resistant to rot, insects, and moisture. However, if you prefer the natural look of untreated wood, you can use cedar or redwood, which are naturally resistant to decay. Keep in mind that the size and spacing of your posts will depend on the type of project you’re working on and the local building codes, so make sure to check the requirements before you start.
Once you’ve selected your wood, the next step is to dig the hole. The size and depth of the hole will depend on the size of your post and the type of soil you’re working with. As a general rule, the hole should be at least one-third as deep as the length of the post, and wider than the post by a few inches. If you’re dealing with soft or wet ground, you may need to add gravel or concrete to the bottom of the hole to provide a stable base for the post. In the next section, we’ll look at how to set the post and secure it in place.
Understanding the Importance of Wooden Posts

Wooden posts are an essential component in many outdoor projects, including landscaping and construction. They are sturdy, durable, and easy to work with, making them a popular choice for many DIY enthusiasts. In this section, we’ll discuss the role of wooden posts in landscaping and construction and why they are essential for your projects.
Role in Landscaping
Wooden posts play a vital role in landscaping, providing support for a wide range of structures. They are commonly used to build garden fences, trellises, and pergolas. Posts also help to define the boundaries of your property and add a decorative touch to your outdoor space.
When selecting wooden posts for your landscaping project, it’s essential to consider the type of wood you use. Some woods, like cedar or redwood, are naturally resistant to rot and decay, making them ideal for outdoor use. Others, like pine, require treatment to protect them from moisture and insects.
Use in Construction
Wooden posts are also commonly used in construction, providing support for decks, porches, and other outdoor structures. They are an affordable and versatile option, allowing you to create a range of designs to suit your needs.
When installing wooden posts for construction, it’s crucial to ensure they are securely anchored in the ground. This can be achieved by using a variety of methods, including concrete footings, post anchors, or deadman supports. By properly anchoring your posts, you can ensure the stability and longevity of your structure.
In conclusion, wooden posts are a versatile and essential component in many outdoor projects. Whether you’re building a fence, a deck, or a pergola, wooden posts provide the support and stability you need to create a durable and long-lasting structure. By selecting the right type of wood and properly anchoring your posts, you can ensure the success of your project for years to come.
Choosing the Right Wooden Post
When it comes to installing a fence or any other wooden structure, the type of wooden post you select is critical. Choosing the right wooden post can ensure that your fence or structure is strong, long-lasting, and withstands the test of time. Here are a few things to consider when selecting the right wooden post.
Types of Wood
Different types of wood have different characteristics that make them suitable for different applications. Some of the most common types of wood used for fence posts include:
- Cedar: It is naturally resistant to rot and decay and is known for its durability and strength. It is also lightweight, making it easy to work with.
- Redwood: It is also naturally resistant to rot and decay and is known for its beauty and durability. It is also lightweight and easy to work with.
- Pine: It is a popular choice for fence posts because it is affordable and readily available. However, it is not as durable as cedar or redwood and requires treatment to prevent rot and decay.
Size and Shape Considerations
The size and shape of your wooden post can also affect its durability and strength. Here are a few things to consider:
- Diameter: A larger diameter post will be stronger and more durable than a smaller diameter post.
- Length: The length of your post should be determined by the height of your fence or structure. A taller fence or structure will require a longer post for added stability.
- Shape: Square posts are stronger and more durable than round posts. They are also easier to install and work with.
Treatment Options
To ensure that your wooden post is protected from rot and decay, it is essential to treat it with a preservative. Here are a few treatment options to consider:
- Pressure-treated wood: This type of wood is treated with chemicals that protect it from rot and decay. It is a popular choice for fence posts because it is affordable and readily available.
- Creosote: This is a tar-like substance that is applied to the wood to protect it from rot and decay. It is a popular choice for fence posts because it is long-lasting and effective.
- Oil-based preservatives: These are natural oils that are applied to the wood to protect it from rot and decay. They are a popular choice for people who want to avoid chemicals.
By considering the type of wood, size and shape considerations, and treatment options, you can select the right wooden post for your fence or structure. Remember that selecting the right wooden post is critical to ensuring the longevity and durability of your fence or structure.
Preparation Steps
Before you start installing wooden posts in the ground, you need to prepare yourself and your tools. This section will cover the basic preparation steps that you need to take before beginning the installation process.
Gathering Tools
Before you start digging, you need to make sure you have all the necessary tools. Here are some of the tools you will need:
- Shovel
- Post hole digger
- Measuring tape
- Level
- Hammer
- Nails
- Wooden posts
- Concrete mix
- Water
Make sure you have all the tools before you start the installation process. This will save you time and ensure that you can complete the job without any interruptions.
Marking the Spot
Once you have all the tools, you need to mark the spot where you want to install the wooden post. Here are the steps to follow:
- Use a measuring tape to determine the location of the post.
- Mark the spot with a stake or spray paint.
- Use a level to ensure that the spot is level.
Marking the spot is important because it will help you dig the hole in the right place.
Ensuring Safety
Before you start digging, you need to ensure that you are safe. Here are some safety tips to follow:
- Wear safety glasses to protect your eyes from debris.
- Wear gloves to protect your hands.
- Make sure there are no utility lines or pipes in the area where you will be digging.
- Call 811 to have the utility lines marked before you start digging.
Ensuring safety is important because it will prevent accidents and injuries.
By following these preparation steps, you will be ready to start installing wooden posts in the ground. Remember to take your time and follow the instructions carefully to ensure that the job is done correctly.
Digging the Hole
Digging the hole is the first step in installing a wooden post in the ground. It is important to dig the hole to the correct depth and width to ensure that the post is stable and secure. Here are some tips to help you dig the perfect hole.
Determining Depth
The depth of the hole will depend on the height of the post and the type of soil you are working with. As a general rule, the hole should be at least one-third the length of the post. For example, if you are installing a 6-foot post, the hole should be at least 2 feet deep.
If you are working with sandy soil, you may need to dig the hole deeper to ensure that the post is stable. On the other hand, if you are working with clay soil, you may need to add gravel to the bottom of the hole to improve drainage.
Width Requirements
The width of the hole is also important. The hole should be wide enough to allow for concrete or gravel to be added around the post. As a general rule, the width of the hole should be at least three times the width of the post.
For example, if you are installing a 4-inch post, the hole should be at least 12 inches wide. This will allow for enough space to add concrete or gravel around the post to ensure that it is stable.
When digging the hole, it is important to keep the sides as straight as possible. This will help to ensure that the post is straight and level once it is installed. You can use a level to check the depth and alignment of the hole as you dig.
By following these tips, you can ensure that you dig a hole that is the correct depth and width for your wooden post. This will help to ensure that your post is stable and secure, and will last for years to come.
Setting the Post
When it comes to setting a wooden post in the ground, there are a few key steps you need to follow to ensure that your fence or deck is stable and secure. Here are the three main sub-sections to keep in mind: Positioning the Post, Using Concrete Mix, and Checking Alignment.
Positioning the Post
Before you start digging, it’s important to make sure that you’re positioning your post in the right place. Check your local building codes and permits to ensure that you’re following all the necessary guidelines. Then, use a measuring tape to mark the spot where you want your post to go.
Next, use a post hole digger or auger to create a hole that’s deep enough to accommodate your post. The hole should be at least one-third the length of your post, and wider than the post itself to allow for some wiggle room.
Using Concrete Mix
Once you’ve dug your hole, it’s time to mix your concrete. Follow the instructions on the bag carefully, and make sure you’re mixing enough to fill the entire hole.
To set your post, pour some of the concrete mix into the hole, then place your post in the center. Use a level to make sure that the post is straight, and adjust as needed.
Next, pour more concrete mix into the hole, making sure to fill it up to ground level. Use a trowel or shovel to smooth out the surface of the concrete and create a slight slope away from the post to help with drainage.
Checking Alignment
After you’ve filled the hole with concrete, it’s important to double-check that your post is still straight and aligned properly. Use a level to ensure that the post is vertical on all sides, and adjust as needed.
If you notice any issues with alignment or stability, you may need to add more concrete or adjust the position of the post. It’s better to take the time to get it right now, rather than having to deal with a wobbly or unstable fence or deck later on.
By following these steps for setting a wooden post in the ground, you can ensure that your fence or deck will be strong and secure for years to come.
Post-Installation Care

Once you have installed your wooden posts, it is important to take proper care of them to ensure they last as long as possible. Here are some tips for post-installation care:
Waterproofing
One of the most important things you can do to protect your wooden posts from rotting is to waterproof them. There are several ways to do this, including:
- Applying a waterproof sealant or paint to the post
- Wrapping the post in a waterproof membrane
- Installing a post cap to keep water from seeping into the top of the post
Whatever method you choose, make sure to apply the waterproofing material to the entire post, paying special attention to the bottom where it is in contact with the ground.
Regular Inspection
Regularly inspecting your wooden posts can help you catch any problems early on, before they become major issues. Here are some things to look for during your inspections:
- Cracks or splits in the wood
- Signs of insect damage
- Signs of rot or decay
- Loose or missing hardware (such as screws or nails)
If you notice any of these issues, take steps to address them as soon as possible to prevent further damage.
Maintenance Tips
In addition to waterproofing and regular inspections, there are a few other things you can do to keep your wooden posts in good condition:
- Keep the area around the posts clear of debris and vegetation
- Avoid hitting the posts with lawn mowers or other equipment
- Don’t lean heavy objects against the posts
- Trim back any nearby trees or bushes that could fall onto the posts during a storm
By following these tips, you can help ensure that your wooden posts stay strong and sturdy for years to come.
