
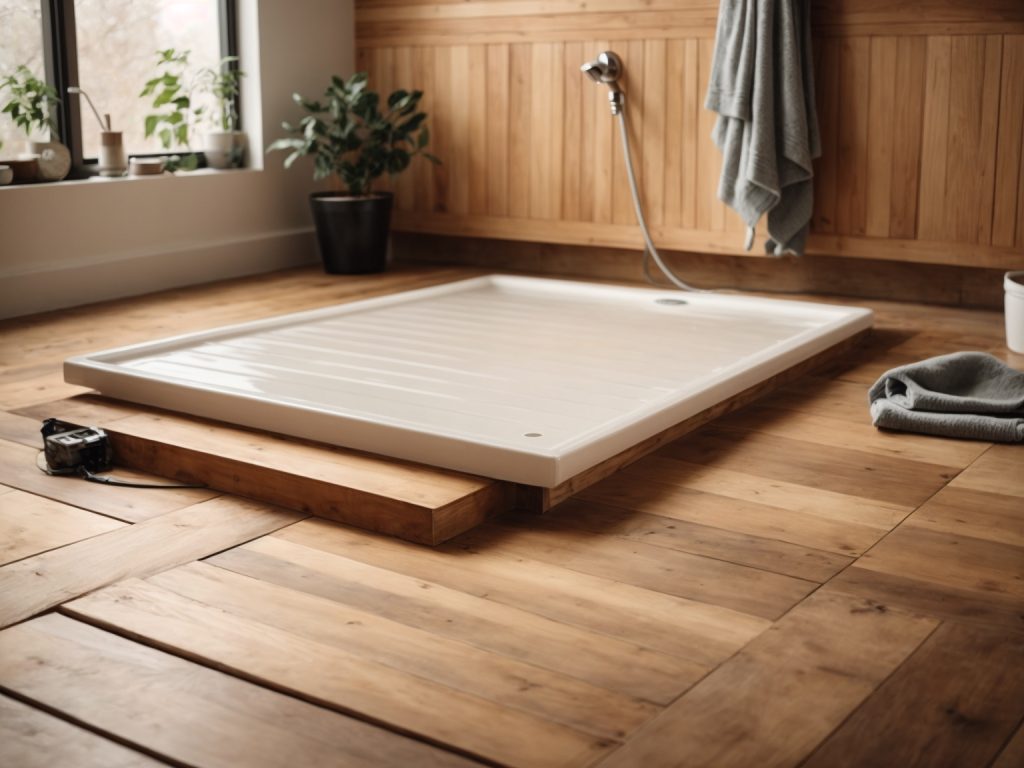
Installing a shower base on a wooden floor can be a challenging task, but with the right tools and guidance, it can be done with ease. The first step is to ensure that the wooden floor is strong enough to support the weight of the shower base and the person using it. If the floor is not strong enough, it may need to be reinforced before proceeding with the installation.
Once you have confirmed that the floor is sturdy enough, the next step is to prepare the floor for the shower base. This involves tracing and cutting the floorboards precisely where the shower base will be placed. It’s important to be careful not to cut into the floor joists below. After cutting the floorboards, you may need to make additional adjustments to ensure that the shower base fits snugly and securely on the floor.
Installing a shower base on a wooden floor can be a DIY project, but it’s important to follow the correct steps to ensure a safe and successful installation. In this article, we will provide a step-by-step guide on how to install a shower base on a wooden floor. We will cover everything from preparing the floor to installing the shower base and plumbing. With our guidance, you’ll be able to install a shower base on a wooden floor with confidence.
Understanding Shower Bases
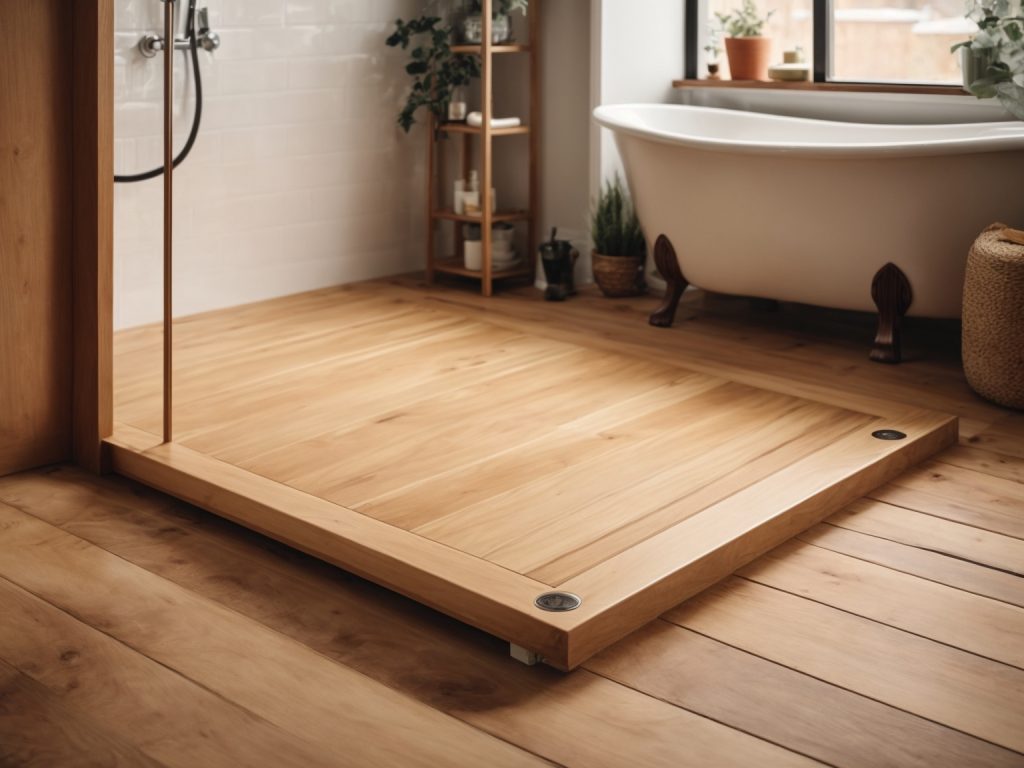
When it comes to installing a shower on a wooden floor, one of the most critical components is the shower base. A shower base is a waterproof barrier that sits on the floor and provides a solid foundation for the shower.
There are several types of shower bases available on the market, including fiberglass, acrylic, and cast iron. Each material has its own pros and cons, so it’s essential to choose the right one for your needs.
Here are some things to consider when selecting a shower base:
- Size: The size of the shower base should be appropriate for the size of your shower. A larger shower base will require more support, which can be challenging to achieve on a wooden floor.
- Shape: Shower bases come in various shapes, including rectangular, square, and round. Choose a shape that fits your bathroom layout and personal preference.
- Material: As mentioned earlier, there are different materials to choose from, each with its own advantages and disadvantages. Fiberglass is lightweight and easy to install, while cast iron is durable but heavy.
- Drain Location: The location of the drain is critical when installing a shower base. Make sure the shower base you select has a drain location that matches your plumbing setup.
Once you have selected the right shower base, it’s time to prepare the wooden floor for installation. The next section will discuss the necessary steps to take to ensure a sturdy and waterproof foundation for your shower base.
Choosing the Right Shower Base for Wooden Floor
When it comes to installing a shower base on a wooden floor, it is important to choose the right type of shower base to ensure that it is compatible with the wooden floor. There are several types of shower bases available in the market, and each one has its own advantages and disadvantages. Here are some factors to consider when choosing the right shower base for a wooden floor:
Material
The first factor to consider when choosing a shower base is the material it is made of. The most common materials used for shower bases are acrylic, fiberglass, and tile. Acrylic and fiberglass shower bases are lightweight and easy to install, making them a popular choice for wooden floors. Tile shower bases, on the other hand, are more durable and can be customized to match the bathroom decor.
Size
The size of the shower base is another important factor to consider. The size of the shower base should be based on the size of the bathroom and the number of people who will be using it. A larger shower base may be necessary for a family bathroom, while a smaller base may be suitable for a guest bathroom.
Drain Location
The drain location is another important factor to consider when choosing a shower base. The drain should be located in a position that is easy to access and does not interfere with the wooden floor. It is important to choose a shower base that has a drain location that is compatible with the wooden floor.
Installation Method
The installation method is another important factor to consider when choosing a shower base. Some shower bases are designed to be installed directly onto the wooden floor, while others require a mortar base. It is important to choose a shower base that is compatible with the installation method that is being used.
In conclusion, choosing the right shower base for a wooden floor is important to ensure that it is compatible with the wooden floor and provides a comfortable and safe showering experience. Consider the material, size, drain location, and installation method when choosing a shower base for a wooden floor.
Tools and Materials Needed
Before you start installing a shower base on a wooden floor, you need to make sure you have all the necessary tools and materials. Here is a list of the items you will need:
Tools
- Circular saw
- Corded drill
- Framing square
- Hammer
- Hole saw kit
- Jigsaw
- Knee pads
- Level
- Miter saw
- Nut driver
- Pipe wrench
- Reciprocating saw
- Safety glasses
- Slip joint pliers
- Soldering torch
- Tape measure
- Trowel
- Tube cutter
- Utility knife
- 4-in-1 screwdriver
- Adjustable wrench
Materials
- Shower base
- Wooden floor
- Drainage pipes
- Screws
- Adhesive
- Glue or sealant
- Silicone
Make sure you have all the necessary tools and materials before starting the installation process. It is important to have the right tools to ensure a smooth and efficient installation process. A circular saw and corded drill will be needed to cut and drill holes in the wooden floor. A framing square will help ensure that the shower base is installed at the correct angle. A level will be used to ensure that the shower base is level and stable.
You will also need various other tools such as a hammer, hole saw kit, jigsaw, knee pads, miter saw, nut driver, pipe wrench, reciprocating saw, safety glasses, slip joint pliers, soldering torch, tape measure, trowel, tube cutter, utility knife, 4-in-1 screwdriver, and adjustable wrench.
In addition to the tools, you will need several materials such as a shower base, wooden floor, drainage pipes, screws, adhesive, glue or sealant, and silicone. The shower base is the foundation of the shower and should be chosen based on your specific needs and preferences. The wooden floor should be sturdy, level, and free from any damage. Drainage pipes are required to connect the shower base to the plumbing system. Screws, adhesive, glue or sealant, and silicone are used to secure the shower base to the wooden floor and prevent any leaks.
Preparing the Wooden Floor
Before installing a shower base on a wooden floor, it is important to properly prepare the surface. This will ensure that the shower base is level and securely installed, preventing any potential leaks or damage to the floor.
Here are the steps to prepare the wooden floor for the shower base installation:
- Clear the area: Remove any furniture or fixtures from the bathroom to create a clear workspace. This will make it easier to move around and work on the floor.
- Check the floor: Inspect the wooden floor for any damage or rot. If you find any issues, repair or replace the damaged areas before proceeding with the installation.
- Level the floor: Use a level to check if the floor is even. If there are any high or low spots, use a sander or chisel to level the floor. This will ensure that the shower base sits evenly on the floor.
- Clean the floor: Thoroughly clean the floor to remove any dirt, debris, or dust. This will ensure that the shower base adheres properly to the floor.
- Install a vapor barrier: Install a vapor barrier over the wooden floor to prevent moisture from seeping into the wood. This will help protect the wood from damage and prevent mold growth.
By properly preparing the wooden floor before installing the shower base, you can ensure a secure and leak-free installation. Taking the time to properly prepare the surface will save you time and money in the long run by preventing any potential damage or repairs.
Installing the Shower Base
Before you start installing the shower base, make sure that the wooden floor is level and sturdy. Here are the steps to follow when installing a shower base on a wooden floor:
Positioning the Base
- Place the shower base on the wooden floor where you want it to be installed.
- Use a level to ensure that the base is level in all directions.
- Mark the location of the drain hole on the floor.
- Remove the shower base from the floor.
Securing the Base
- Apply a generous amount of adhesive to the bottom of the shower base.
- Place the shower base back onto the wooden floor in the same position as before.
- Press down on the base to ensure that it is firmly attached to the floor.
- Use screws to secure the base to the wooden floor. Make sure to screw in the corners and around the perimeter of the base.
- Check again with a level to ensure that the base is still level.
Sealing the Base
- Apply a layer of silicone caulk around the perimeter of the shower base where it meets the floor.
- Smooth out the caulk with a caulk smoothing tool or your finger.
- Apply a second layer of caulk around the drain hole.
- Install the drain assembly according to the manufacturer’s instructions.
- Allow the caulk to dry completely before using the shower.
By following these steps, you can install a shower base on a wooden floor with ease. Remember to always follow the manufacturer’s instructions and use the appropriate tools and materials for the job.
Final Checks
Before you start using your newly installed shower base, there are a few final checks that you should perform to ensure that everything is in good working order. Here are some things to keep in mind:
Check for Leaks
The first thing you should do is check for leaks. Turn on the water and let it run for a few minutes. Check around the base of the shower to see if there are any signs of water leaking out. If you do notice any leaks, you will need to take the necessary steps to fix them before you can start using your shower.
Check the Drain
Next, you should check the drain to make sure it is working properly. Pour some water down the drain and watch to see how quickly it drains away. If the water is slow to drain, you may need to clear out any debris that is blocking the drain.
Check the Level
Finally, you should check to make sure that the shower base is level. Use a spirit level to check the base in both directions. If it is not level, you may need to adjust the base to ensure that it is properly aligned.
By performing these final checks, you can ensure that your shower base is installed correctly and is ready for use. If you do notice any issues, be sure to address them promptly to avoid any further problems down the line.
Maintenance Tips
Congratulations! You have successfully installed a shower base on a wooden floor. Now, you need to take good care of it to ensure it lasts for a long time. Here are some maintenance tips to keep in mind:
- Clean the shower base regularly: You should clean your shower base regularly to prevent the buildup of soap scum, mold, and mildew. Use a non-abrasive cleaner and a soft cloth or sponge to clean the base.
- Keep the shower base dry: After taking a shower, make sure to wipe down the shower base with a towel. This will prevent water from pooling and causing damage to the wood underneath.
- Check for leaks: Check the shower base regularly for leaks. If you notice any water dripping or pooling around the base, you may have a leak. Fix it as soon as possible to prevent further damage.
- Avoid using abrasive cleaners: Avoid using abrasive cleaners, such as bleach or ammonia, on your shower base. These cleaners can damage the finish and cause discoloration.
- Use a shower mat: To prevent slips and falls, use a non-slip shower mat in your shower. This will also help protect your shower base from scratches and damage.
By following these maintenance tips, you can keep your shower base in great condition for years to come.