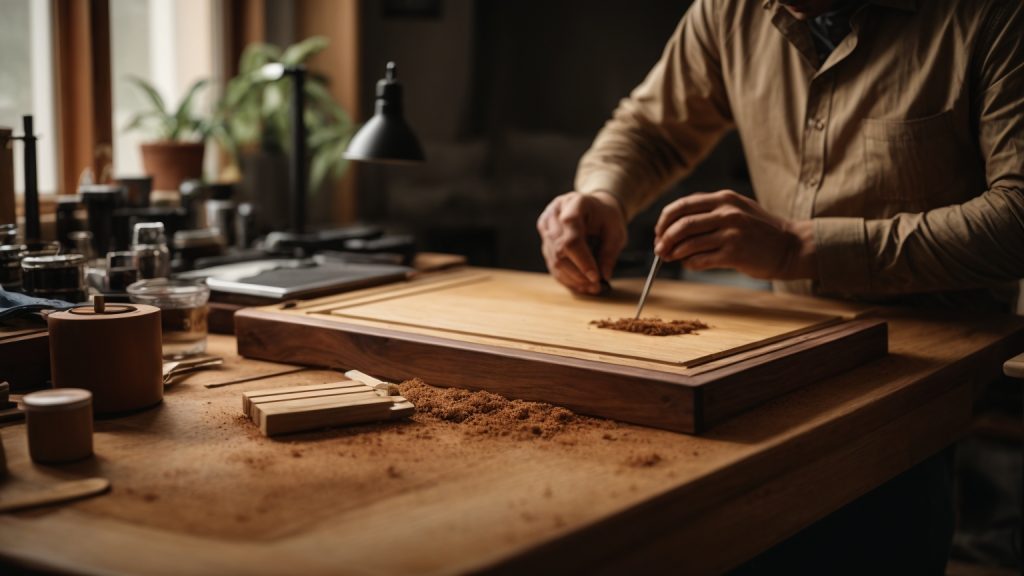
Looking to build your own wooden desk? Whether you’re a seasoned woodworker or a beginner, building your own desk can be a fun and rewarding project. Not only will you end up with a custom piece of furniture that perfectly fits your needs and style, but you’ll also have the satisfaction of knowing that you built it yourself.
Before you get started, you’ll need to decide on the type of desk you want to build. Do you want a simple, minimalist desk that can be built in a weekend, or are you looking for a more elaborate design that will require more time and skill? You’ll also need to consider the size and shape of your desk, as well as the type of wood you want to use. Once you’ve made these decisions, you’ll be ready to start gathering your materials and tools and getting to work on your new desk.
Understanding the Basics of Woodworking

Woodworking is a rewarding and fulfilling hobby that allows you to create beautiful and functional pieces of furniture. However, before you start building your own wooden desk, there are a few basics you need to understand.
Types of Wood
There are many different types of wood available, each with its own unique characteristics. Some popular types of wood used in woodworking include:
- Pine: A softwood that is easy to work with and relatively inexpensive.
- Oak: A hardwood that is strong and durable, but can be difficult to work with due to its density.
- Cherry: A hardwood that is known for its beautiful grain patterns and rich color.
- Maple: A hardwood that is strong and durable, but can be difficult to work with due to its hardness.
When choosing wood for your desk, consider factors such as strength, durability, and appearance.
Safety Measures
Woodworking can be dangerous if proper safety measures are not taken. Always wear protective gear, such as safety glasses and earplugs, when working with power tools. Additionally, make sure to follow all safety instructions for each tool you use. Never rush or take shortcuts when working with wood.
Essential Tools
To build a wooden desk, you will need a few essential tools, including:
- Saw: A saw is used to cut the wood to the desired size and shape.
- Drill: A drill is used to make holes in the wood for screws and other fasteners.
- Hammer: A hammer is used to drive nails and other fasteners into the wood.
- Sandpaper: Sandpaper is used to smooth the wood and remove any rough edges.
Other useful tools include a measuring tape, square, and clamps.
By understanding the basics of woodworking, you will be well on your way to building your own beautiful and functional wooden desk. Remember to always prioritize safety and take your time to ensure a high-quality finished product.
Designing Your Wooden Desk

When it comes to designing your own wooden desk, there are a few key things to consider. By taking the time to think through these factors, you can create a desk that is both functional and visually appealing. Here are some sub-sections to help guide you through the design process:
Deciding the Size
The first step in designing your wooden desk is to decide on the size. Consider the space where the desk will be placed and how much room you need to work. You’ll want to make sure that your desk is large enough to accommodate all of your tools and equipment, but not so large that it takes up too much space in the room.
To help you determine the right size for your desk, take measurements of the area where it will be placed. Consider the height of the desk as well, and make sure that it is comfortable for you to work at for extended periods of time.
Choosing the Style
The style of your wooden desk is another important factor to consider. Do you want a modern, minimalist desk, or something more traditional? Think about the overall aesthetic of the room where the desk will be placed, and try to choose a style that complements it.
You’ll also want to consider the type of wood you’ll use for your desk. Different woods have different grains and colors, so choose one that matches your personal style and the look you’re going for.
Creating the Blueprint
Once you have an idea of the size and style of your desk, it’s time to create a blueprint. This will help you visualize the final product and ensure that everything fits together properly.
You can create a blueprint using software like SketchUp, or you can draw it by hand. Make sure to include all of the necessary measurements and details, including the size of the desk, the placement of drawers and shelves, and any other features you want to include.
By taking the time to design your wooden desk properly, you can create a beautiful and functional piece of furniture that will last for years to come.
Preparing the Wood
Before you start building your wooden desk, you need to prepare the wood. This involves selecting the right type of wood, cutting it to size, and sanding it to create a smooth surface.
Selecting the Wood
When selecting wood for your desk, you want to choose a type of wood that is sturdy and durable. Some popular options include oak, maple, and pine. You should also consider the color and grain pattern of the wood to ensure it matches your desired aesthetic.
Once you have selected the wood, you need to measure and cut it to the appropriate size.
Cutting the Wood
To cut the wood, you will need a saw. A miter saw or handsaw will work for this task. Make sure to measure the wood carefully before cutting to ensure accuracy.
If you are not comfortable using a saw, you can have the wood cut to size at a hardware store or lumber yard.
Sanding the Wood
Once the wood is cut to size, you need to sand it to create a smooth surface. Start with a coarse-grit sandpaper, such as 120-grit, and work your way up to a finer grit, such as 180-grit.
Make sure to sand with the grain of the wood to avoid creating scratches or marks. You can use a sanding block or an orbital sander to make the process easier.
After sanding, wipe the wood with a clean cloth to remove any dust or debris. Your wood is now ready to be assembled into a desk.
Assembling the Desk
Once you have all the pieces of your wooden desk cut and sanded, it’s time to put them together. This section will guide you through the process of assembling your desk. We will cover two sub-sections: Joining the Pieces and Securing the Structure.
Joining the Pieces
The first step in assembling your desk is to join the pieces together. You will need to use wood glue and clamps to ensure a strong bond between the pieces. Follow these steps to join the pieces:
- Apply wood glue to the edges of the pieces that will be joined together.
- Press the pieces together and use clamps to hold them in place.
- Wipe away any excess glue with a damp cloth.
- Allow the glue to dry completely before removing the clamps.
Securing the Structure
Once the pieces are joined together, you will need to secure the structure of the desk. This will ensure that your desk is sturdy and can hold the weight of your computer, books, and other items. Follow these steps to secure the structure:
- Attach the legs to the underside of the desk using wood screws.
- Install the cross supports between the legs to add stability to the desk.
- Attach the top of the desk to the frame using wood screws.
- Sand any rough edges or surfaces to ensure a smooth finish.
Congratulations! You have successfully assembled your wooden desk.
Finishing Touches
Applying the Finish
Now that you have assembled your wooden desk, it’s time to apply the finish. This will not only protect the wood but also enhance its beauty. There are various finishes you can choose from, such as stains, oils, and varnishes. Here are some tips to help you apply the finish:
- Sand the surface of the desk with fine-grit sandpaper to remove any imperfections and ensure a smooth finish.
- Apply the finish in thin coats using a brush or a cloth. It’s important to follow the manufacturer’s instructions and allow each coat to dry completely before applying the next one.
- If you’re using a stain, make sure to wipe off any excess with a clean cloth after a few minutes. This will prevent the stain from becoming too dark or blotchy.
- For a glossy finish, you can use a varnish or a polyurethane. Apply several coats, sanding lightly between each coat to remove any bumps or bubbles.
Adding Accessories
To make your wooden desk more functional and comfortable, you can add some accessories. Here are some ideas:
- Desk lamp: A desk lamp will provide you with the right amount of light and reduce eye strain.
- Desk organizer: Keep your desk clutter-free with a desk organizer. You can store pens, papers, and other office supplies in it.
- Chair: Choose a comfortable chair that provides good support for your back. You’ll be spending a lot of time sitting at your desk, so it’s important to have a chair that is both comfortable and ergonomic.
- Monitor stand: If you use a computer, a monitor stand will elevate your screen to eye level, reducing neck and eye strain.
- Keyboard tray: A keyboard tray will help you maintain a good posture and prevent wrist strain.
With these finishing touches, your wooden desk will be ready for you to use and enjoy.
