
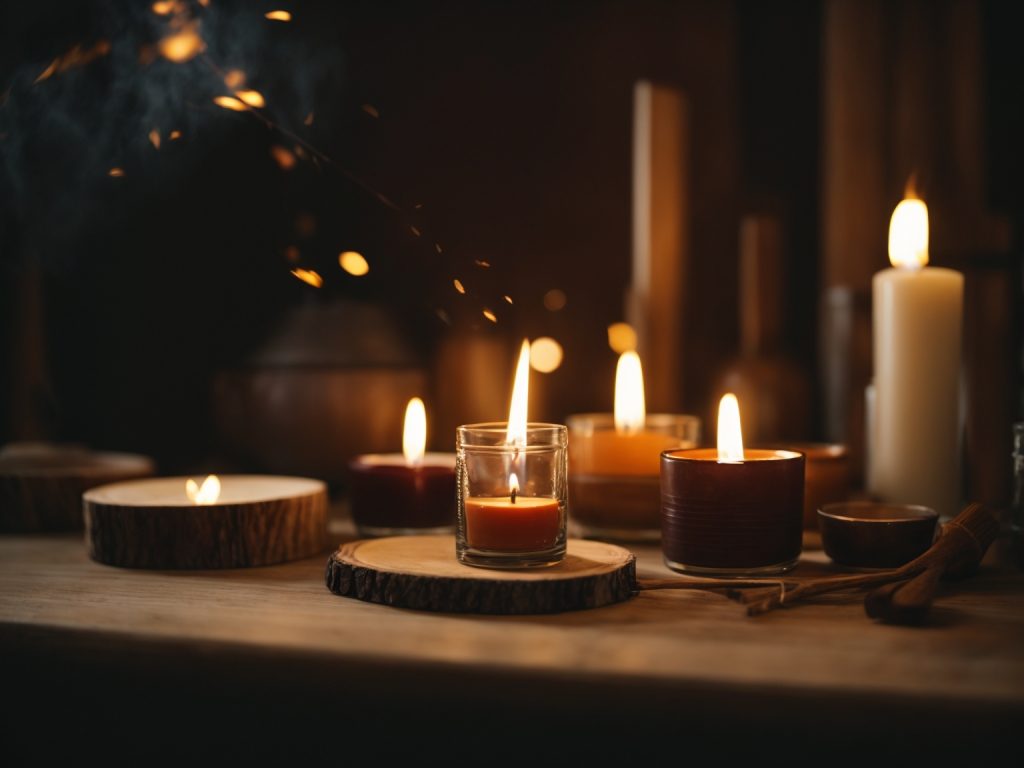
Making your own wooden candle wicks is a fun and easy way to add a unique touch to your homemade candles. Not only do wooden wicks provide a cozy crackling sound when burned, but they also have a longer burn time than traditional cotton wicks. In this article, we will guide you through the steps of making your own wooden candle wicks.
To start, you will need to gather your materials. You will need wooden dowels, scissors, a saw, sandpaper, and wick clips. You can purchase these materials at your local craft store or online. Once you have your materials, you can begin the process of making your wooden wicks.
The first step is to cut your wooden dowels to the desired length of your candle. Then, sand down the ends of the dowels to create a smooth surface. Next, attach the wick clip to the center of the wooden dowel. Finally, trim the wooden wick to the appropriate length for your candle. With these simple steps, you can create your own wooden candle wicks and elevate your candle-making game.
Understanding Wooden Candle Wicks
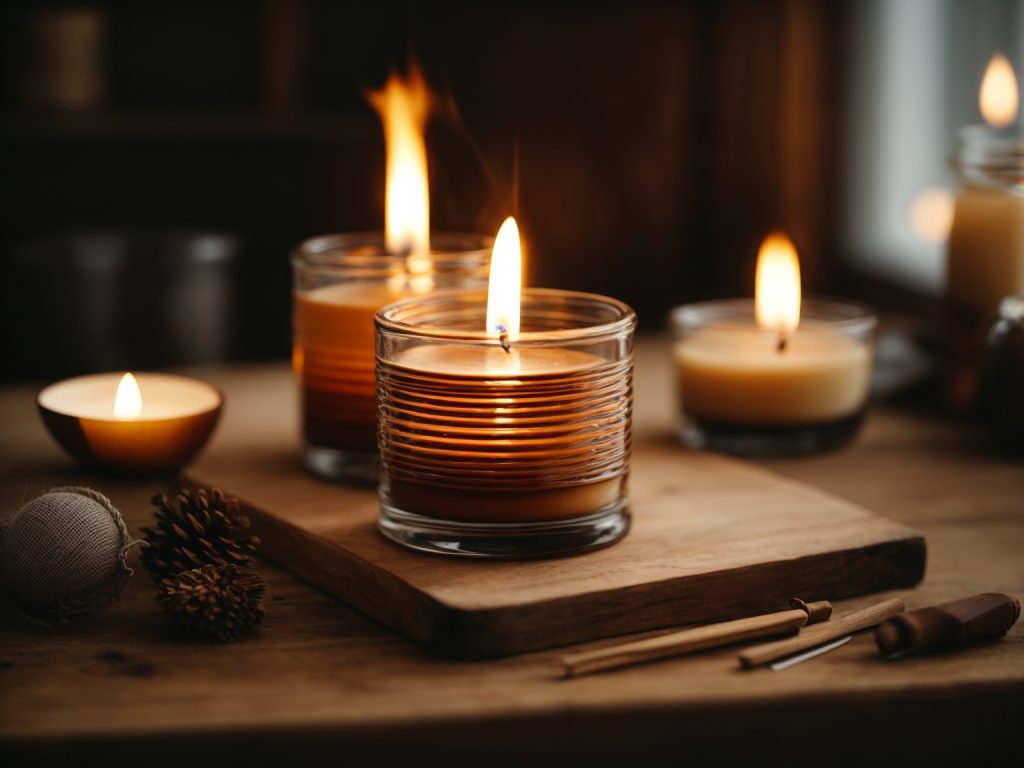
If you’re looking for a unique and natural alternative to cotton wicks, wooden wicks are a great option to consider. They are becoming increasingly popular among candle makers and enthusiasts alike. In this section, we will explore what wooden wicks are, their benefits, and how to use them in your candle making.
What are Wooden Candle Wicks?
Wooden wicks are made from natural wood, typically sourced from sustainable forests. They come in various shapes and sizes, including straight, curved, and spiral designs. Unlike traditional cotton wicks, wooden wicks are wider and flat, providing a larger surface area for the flame to burn. This produces a brighter and more vibrant flame, which can enhance the ambiance of your candle.
Benefits of Wooden Candle Wicks
There are several benefits to using wooden wicks in your candle making. Here are a few:
- Crackle: Wooden wicks produce a unique crackling sound when they burn, which can add to the sensory experience of your candle.
- Scent Throw: Wooden wicks can enhance the scent throw of your candle, allowing the fragrance to disperse more evenly and strongly.
- Longevity: Wooden wicks burn slower than cotton wicks, resulting in a longer burn time for your candle.
- Aesthetics: Wooden wicks can add a rustic and natural element to your candle, making it stand out from traditional cotton wick candles.
Using Wooden Candle Wicks
When using wooden wicks, it’s important to choose the right size and type for your candle. The size of the wick will depend on the diameter of your candle and the type of wax you’re using. You can refer to a wick size chart or consult with a supplier to determine the appropriate size.
It’s also recommended to pre-wick your wooden wicks before using them in your candle. This involves dipping the wick in melted wax to create a protective coating that will help it burn evenly and prevent it from curling or mushrooming.
In conclusion, wooden wicks are a unique and natural option for candle makers looking to enhance the aesthetics and sensory experience of their candles. By understanding the benefits and proper usage of wooden wicks, you can create beautiful and long-lasting candles that stand out from the rest.
Materials Needed
Making a wooden candle wick requires some specific materials. Here are the essential supplies you will need to make your own wooden wick candles.
Choosing the Wood
The first step in making a wooden candle wick is choosing the right wood. You want to choose a hardwood that will burn slowly and evenly. Some popular choices include cherry, maple, and birch. Avoid softwoods like pine or cedar, as they tend to burn too quickly and unevenly.
You will also need to choose the thickness of your wooden wick. Thicker wicks will burn longer and produce a larger flame, but they may also produce more smoke. Thinner wicks will burn more quickly and produce a smaller flame, but they may also be more prone to extinguishing.
Other Essential Supplies
In addition to the wood, you will need a few other supplies to make your wooden wick candles. Here is a list of the essential supplies:
- Candle wax: You can use any type of candle wax, but soy wax is a popular choice for wooden wick candles.
- Fragrance oil: If you want scented candles, you will need fragrance oil.
- Wick stickers or glue dots: These will hold your wooden wick in place while you pour the wax.
- Pouring pot: You will need a pot to melt the wax in.
- Thermometer: You will need a thermometer to monitor the temperature of the wax.
- Metal spoon or stir stick: You will need a spoon or stir stick to mix the wax and fragrance oil.
- Candle jars or containers: You will need jars or containers to pour the wax into.
- Butcher paper or newspaper: This will protect your work surface from wax spills.
- Paper towels: You will need paper towels to clean up any spills.
- Metal cookie cutter or trivet: This will hold your wooden wick in place while you pour the wax.
With these materials, you can make your own wooden wick candles at home.
Preparing the Wood
Before you can start making wooden candle wicks, you need to prepare the wood. Here are the steps to follow:
- Choose the right wood: The first step in preparing your wooden candle wick is to choose the right wood. The best wood for candle wicks is a softwood like cedar, pine, or spruce. These woods have natural oils that help to repel insects and provide a pleasant aroma when burned.
- Cut the wood: Once you have chosen your wood, you need to cut it into the right size for your candle. A good size for a wooden candle wick is around 1/4 inch in diameter and 6 inches long.
- Sand the wood: After cutting the wood, you need to sand it to remove any rough edges or splinters. Use a fine-grit sandpaper to sand the wood until it is smooth.
- Soak the wood: Once the wood is sanded, you need to soak it in water for at least 24 hours. Soaking the wood will help to prevent it from burning too quickly when you light the candle.
- Dry the wood: After soaking, remove the wood from the water and let it dry completely. You can speed up the drying process by placing the wood in a warm, dry area.
- Coat the wood: Once the wood is dry, you can coat it with wax to make it burn more slowly and evenly. Melt some wax in a pot or bowl and dip the wood into the wax. Let the wax cool and harden before using the wick in your candle.
By following these steps, you can prepare your wooden candle wick and ensure that it burns evenly and lasts a long time.
Creating the Wick
To create a wooden candle wick, you will need to gather a few materials. You will need wooden wicks, scissors, a double boiler, a wooden spoon, and a container to pour the wax into.
- First, cut the wooden wick to the desired length. It should be about 1/2 inch longer than the container you will be using for your candle.
- Next, place the wooden wick in the double boiler and melt the wax. You can use any type of wax that you prefer, but soy wax is a popular choice.
- Once the wax has melted, use the wooden spoon to coat the wooden wick with the wax. This will help the wick to burn evenly and prevent it from smoking.
- After the wick has been coated with wax, remove it from the double boiler and let it cool. You can place it in the refrigerator to speed up the cooling process.
- Once the wax has hardened, you can trim the excess wax from the wick. Be sure to leave about 1/4 inch of wax on the wick to help it stay in place in the candle.
- Finally, you can place the wooden wick in your container and pour the melted wax into the container. Be sure to center the wick in the container and hold it in place until the wax hardens.
Creating a wooden candle wick is a simple process that can add a unique touch to your homemade candles. With a little practice, you can create beautiful candles with crackling wooden wicks that will delight your senses.
Safety Precautions
When making wooden candle wicks, there are some safety precautions that you should follow to ensure that you are not putting yourself or others in danger. Here are some tips to keep in mind:
1. Use Proper Equipment
Using proper equipment is essential when making wooden candle wicks. You should use a double boiler to melt the wax, as this will prevent the wax from getting too hot. Additionally, use a thermometer to monitor the temperature of the wax to prevent it from overheating.
2. Handle Glass Jars with Care
When pouring the wax into the glass jars, make sure to handle them with care. Clean the glass jars with warm water before pouring the wax to prevent any residue from contaminating the wax. Preheat the glass jars in the oven to slow the cooling of the wax and prevent any cracks from forming.
3. Trim the Wick
Before lighting the candle, trim the wick to about 1/4 inch in length. This will prevent the wick from smoking and ensure that the candle burns evenly.
4. Never Leave a Burning Candle Unattended
It is important to never leave a burning candle unattended. Keep the candle away from any flammable materials and make sure that it is placed on a stable surface.
5. Discontinue Use if the Jar is Damaged
If the glass jar is broken, chipped, or cracked, discontinue use immediately. Burning a candle in a damaged jar can be dangerous and increase the risk of a fire.
By following these safety precautions, you can enjoy making wooden candle wicks without putting yourself or others in danger.
Troubleshooting Common Issues
Making wooden candle wicks can be a fun and rewarding experience, but it’s not without its challenges. Here are some common issues you might encounter when making wooden wicks and how to troubleshoot them:
1. Wick is Burning Too Fast
If your wooden wick is burning too fast, it’s likely because the wick is too thin for the size of the candle. To fix this, try using a thicker wick. You can also try using a different type of wood that burns slower, such as cherry or maple.
2. Wick is Burning Too Slow
If your wooden wick is burning too slow, it’s likely because the wick is too thick for the size of the candle. To fix this, try using a thinner wick. You can also try using a different type of wood that burns faster, such as cedar or pine.
3. Wick is Not Burning at All
If your wooden wick is not burning at all, it’s likely because the wick is not properly primed. To prime your wick, dip it in melted wax and let it dry completely before using it in your candle. You can also try trimming the wick to a shorter length.
4. Wick is Smoking
If your wooden wick is smoking, it’s likely because the wick is too long. To fix this, trim the wick to a shorter length. You can also try using a different type of wood that burns cleaner, such as birch or beech.
5. Wick is Mushrooming
If your wooden wick is mushrooming, it’s likely because the wick is too thick. To fix this, try using a thinner wick. You can also try trimming the wick to a shorter length. Additionally, make sure to keep the candle away from drafts, as this can cause the wick to mushroom.
By troubleshooting these common issues, you can ensure that your wooden candle wicks burn smoothly and evenly, creating a beautiful and relaxing ambiance in your home.
Maintaining Your Wooden Wick
After making your own wooden wick candle, you’ll want to ensure that the wick is properly maintained to ensure a consistent burn. Here are some tips for maintaining your wooden wick:
Trimming the Wick
To maintain your wooden wick, you should trim it before each use. The ideal length for your wooden wick is 1/8 to 1/4 inch. If the wick is too long, it may create a large flame and burn too hot. If the wick is too short, it may not create a large enough flame to melt the wax.
To trim your wooden wick, you can use a wick trimmer or scissors. Make sure to trim the wick when the wax is solid, and remove any debris or ash that may have accumulated on the wick.
Keeping the Wick Centered
Another important aspect of maintaining your wooden wick is keeping it centered in the candle. If the wick is off-center, it may create an uneven burn and cause the candle to tunnel.
To keep the wick centered, you can use a wick centering tool or a pencil. Simply place the tool or pencil across the top of the container and adjust the wick until it is centered.
Storing Your Candle
When storing your wooden wick candle, it’s important to keep it in a cool, dry place away from direct sunlight. Heat and moisture can affect the quality of the wax and the wooden wick.
Additionally, make sure to store your candle upright to prevent any wax from spilling or the wick from becoming misaligned.
By following these tips, you can maintain your wooden wick candle and enjoy a consistent burn every time you light it.