
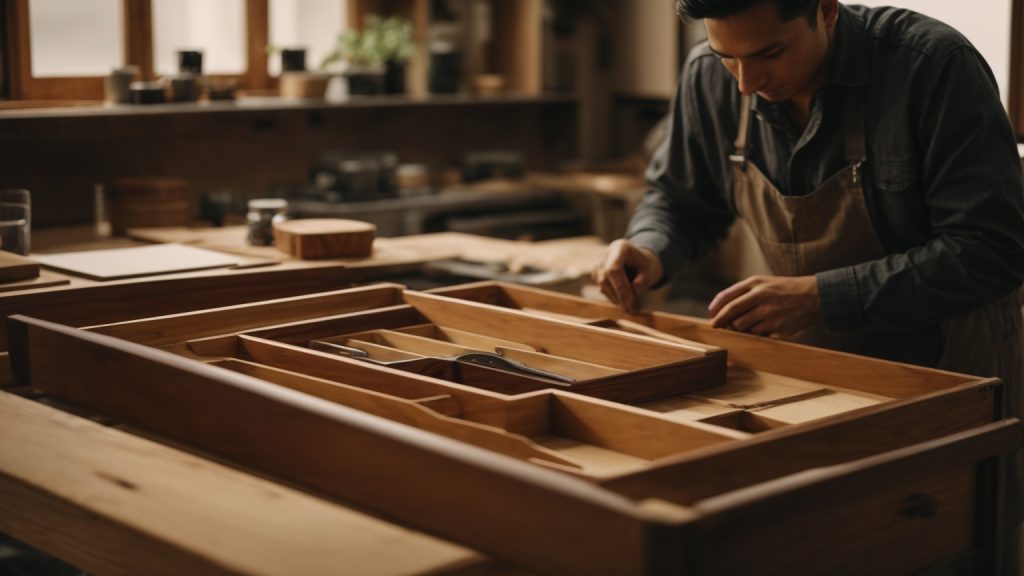
If you’re looking to add some storage space to your home, building wooden drawers can be a great option. Not only do they provide a functional solution for organizing your belongings, but they can also add a touch of warmth and beauty to your decor. Whether you’re a seasoned woodworker or a beginner, making wooden drawers can be a fun and rewarding project.
To get started, you’ll need to determine the size and type of drawers you want to make. There are many different styles and sizes to choose from, so it’s important to consider your specific needs and preferences. You’ll also need to select the right type of wood and hardware for your project. Once you have your materials, you can begin building your drawers by following a few simple steps. With a little patience and attention to detail, you’ll have beautiful, functional drawers in no time.
Understanding Wood Types
When it comes to making wooden drawers, choosing the right type of wood is crucial to ensure durability and longevity. Here are some common types of wood used for making drawers:
Hardwood
Hardwood is a popular choice for making drawers due to its strength and durability. Some common types of hardwood used for making drawers include oak, maple, cherry, and walnut. Hardwood is also resistant to wear and tear, making it an ideal choice for drawers that will be used frequently.
Plywood
Plywood is a type of engineered wood made by bonding several layers of wood veneers together. It is a cost-effective alternative to solid wood and is commonly used for making drawer bottoms and backs. Plywood is also strong and durable, making it a good choice for drawers that will be subjected to heavy use.
MDF
Medium-density fiberboard (MDF) is another type of engineered wood made by bonding wood fibers together with resin. It is a popular choice for making drawer fronts and sides due to its smooth surface and ability to hold paint well. MDF is also more affordable than solid wood and is less prone to warping and cracking.
When choosing the type of wood for your drawers, consider the intended use of the drawer and the overall aesthetic of your project. Each type of wood has its own unique characteristics and advantages, so it’s important to choose the one that best suits your needs.
Tools Required
When it comes to making wooden drawers, having the right tools is essential. Here are the basic tools you’ll need to get started:
Measuring Tape
The measuring tape is an essential tool for any woodworking project. You’ll need to measure the length, width, and height of the drawer, as well as the thickness of the wood you’ll be using. Make sure to get an accurate measurement to ensure that the drawer fits perfectly.
Saw
A saw is necessary for cutting the wood to the correct size. A table saw or a miter saw is ideal for making straight cuts, while a jigsaw is best for curved cuts. Choose the saw that is appropriate for the type of cut you need to make.
Sander
After cutting the wood, you’ll need to sand it to make it smooth and even. A belt sander or an orbital sander is ideal for this task. Make sure to sand the wood in the direction of the grain to avoid damaging it.
Screwdriver
A screwdriver is necessary for attaching the drawer slides and the drawer front. Make sure to choose the right size and type of screwdriver for the screws you’ll be using.
With these tools in hand, you’ll be ready to start building your wooden drawers. Make sure to use them safely and follow all the necessary precautions.
Safety Measures
When working with wood, safety should always be your top priority. Here are some safety measures you should take when making wooden drawers.
Protective Eyewear
Wearing protective eyewear is a must when working with wood. It will protect your eyes from flying wood chips, sawdust, and other debris. Make sure your eyewear is rated for impact resistance and fits snugly on your face. Safety glasses with side shields or goggles are recommended.
Gloves
Gloves can protect your hands from splinters and other injuries. However, you should avoid wearing gloves when operating power tools as they can get caught in the machinery and cause serious harm. When applying finishes, wear latex gloves to protect your skin from chemicals.
Ventilation
When working with wood, you should ensure proper ventilation in your workspace. Sawdust and other particles can be harmful to your respiratory system if inhaled. Use a dust collection system or wear a respirator to protect your lungs. Make sure your workspace is well-ventilated with fresh air to avoid inhaling toxic fumes from finishes or adhesives.
Remember to always prioritize safety when working with wood. By following these safety measures, you can prevent accidents and injuries and enjoy woodworking safely.
Preparing the Wood
Before you start making wooden drawers, you need to prepare the wood. This involves measuring, cutting, and sanding the wood to ensure that it is of the right size, shape, and smoothness. Here are the steps you need to follow:
Measuring
The first step in preparing the wood for your wooden drawers is measuring. You need to measure the length, width, and depth of the drawers you want to make. Make sure to measure twice to avoid any mistakes. You can use a measuring tape or a ruler to take accurate measurements. Write down your measurements so that you can refer to them later.
Cutting
Once you have measured your wood, it’s time to cut it to size. You can use a saw or a miter saw to cut the wood. Make sure to cut the wood precisely according to your measurements. You can use a table saw or a circular saw to make straight cuts. If you need to make angled cuts, use a miter saw or a compound miter saw. Be careful while cutting the wood and wear safety goggles to protect your eyes.
Sanding
After cutting the wood, you need to sand it to make it smooth and remove any rough edges. You can use sandpaper or a power sander to sand the wood. Start with a coarse grit sandpaper and gradually move to a finer grit sandpaper to get a smooth finish. Make sure to sand the edges and corners of the wood as well. If you are using a power sander, be careful not to sand too much or too fast as it can damage the wood.
By following these steps, you can prepare the wood for your wooden drawers and ensure that they are of the right size, shape, and smoothness.
Assembling the Drawers
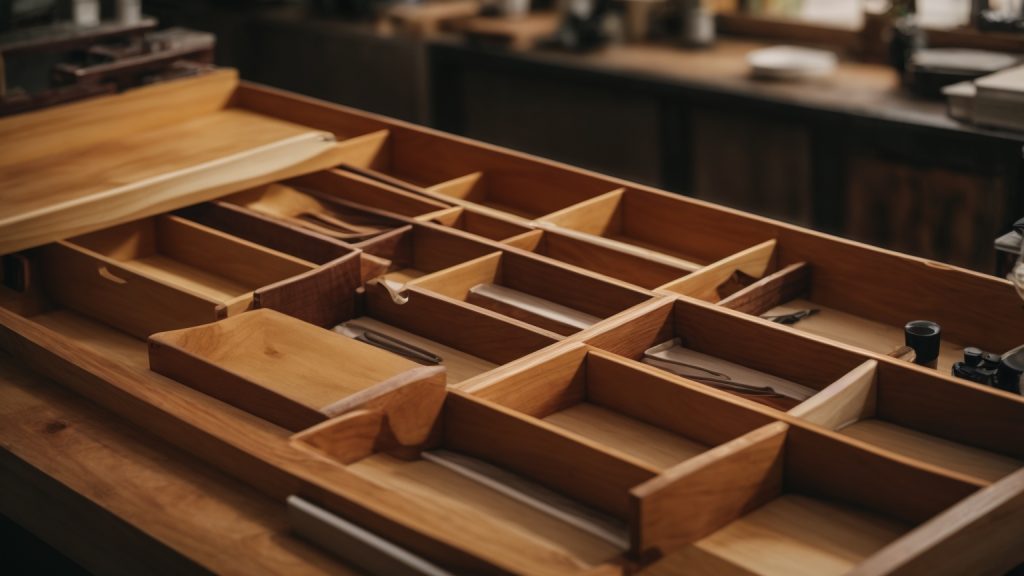
Assembling the drawers is the final step in making wooden drawers. It involves connecting the pieces, installing the bottom, and securing the joints. In this section, we’ll go over each step in detail to help you assemble your wooden drawers with ease.
Connecting the Pieces
To connect the pieces of your drawer, you can use wood glue, nails, or screws. Wood glue is a great option because it creates a strong bond and doesn’t leave any visible fasteners.
To use wood glue, apply a generous amount to the joints and then clamp the pieces together. Make sure the joints are flush and square before clamping. Leave the clamps on for at least an hour to allow the glue to dry.
If you prefer to use nails or screws, pre-drill the holes to prevent splitting and then attach the pieces together. Make sure the joints are flush and square before nailing or screwing.
Installing the Bottom
The bottom of the drawer is what holds everything inside, so it’s important to install it properly. You can use plywood or hardboard for the bottom.
To install the bottom, slide it into the groove on the bottom of the drawer. If your drawer doesn’t have a groove, you can attach the bottom using glue, nails, or screws. Make sure the bottom is flush with the bottom of the drawer.
Securing the Joints
To ensure that your drawer is sturdy and won’t fall apart, you need to secure the joints. You can use wood glue, nails, or screws to do this.
If you’re using wood glue, apply a generous amount to the joints and then clamp the pieces together. Make sure the joints are flush and square before clamping. Leave the clamps on for at least an hour to allow the glue to dry.
If you prefer to use nails or screws, pre-drill the holes to prevent splitting and then attach the pieces together. Make sure the joints are flush and square before nailing or screwing.
By following these steps, you can assemble your wooden drawers with ease. With a little patience and attention to detail, you’ll have a beautiful and functional set of drawers in no time.
Finishing Touches
Once you have built your wooden drawers, it’s time to add the finishing touches. This section will cover two important aspects of finishing touches: painting or staining and installing the handle.
Painting or Staining
Painting or staining your wooden drawers is an important step in protecting them from wear and tear. It also adds a decorative touch to your furniture. Here are some tips for painting or staining your wooden drawers:
- Sand the surface of the drawer with a fine-grit sandpaper to ensure a smooth finish.
- Apply a coat of wood conditioner to the surface of the drawer to help the wood absorb the stain or paint evenly.
- Apply the stain or paint with a brush or a spray gun, depending on your preference.
- Allow the first coat to dry completely before applying a second coat.
- Apply a clear coat of polyurethane to protect the surface of the drawer from scratches and stains.
Installing the Handle
Installing a handle on your wooden drawer is a simple process that can be done in a few steps. Here’s how to do it:
- Measure the distance between the two screw holes on the back of the handle.
- Mark the location of the screw holes on the front of the drawer.
- Drill pilot holes at the marked locations using a drill bit that is slightly smaller than the screws.
- Line up the screw holes on the back of the handle with the pilot holes on the front of the drawer.
- Insert the screws through the back of the handle and into the pilot holes on the front of the drawer.
- Tighten the screws with a screwdriver until the handle is securely attached to the drawer.
With these finishing touches, your wooden drawers are now complete and ready to be used.
Installing the Drawers
Once you have built your wooden drawers, it’s time to install them. This can be a bit tricky, but with the right tools and techniques, you can get it done easily. Here are the steps to follow:
Drawer Slides
Drawer slides are essential for smooth and easy drawer operation. There are many types of drawer slides available in the market, but the most common ones are side-mount and under-mount slides. Here’s how to install them:
- Measure the distance between the sides of your cabinet where the drawer will be installed. This will help you determine the length of the slides you need.
- Install the slides on the sides of the cabinet. Make sure they are level and aligned with each other.
- Attach the other part of the slides to the sides of the drawer. Make sure they are level and aligned with each other as well.
- Test the drawer by sliding it in and out of the cabinet. Adjust the slides if necessary.
Securing the Drawer
Once the slides are installed, it’s time to secure the drawer in place. Here’s how to do it:
- Place the drawer in the cabinet and make sure it’s level and aligned with the cabinet.
- Use screws to attach the slides to the cabinet. Make sure the screws are long enough to go through the slides and into the cabinet securely.
- Test the drawer by sliding it in and out of the cabinet. Make sure it’s smooth and easy to operate.
- If the drawer is not aligned or level, adjust the slides or the drawer until it is.
By following these simple steps, you can easily install wooden drawers in your cabinet. Just remember to take your time and be patient, and you’ll have a functional and beautiful piece of furniture in no time.