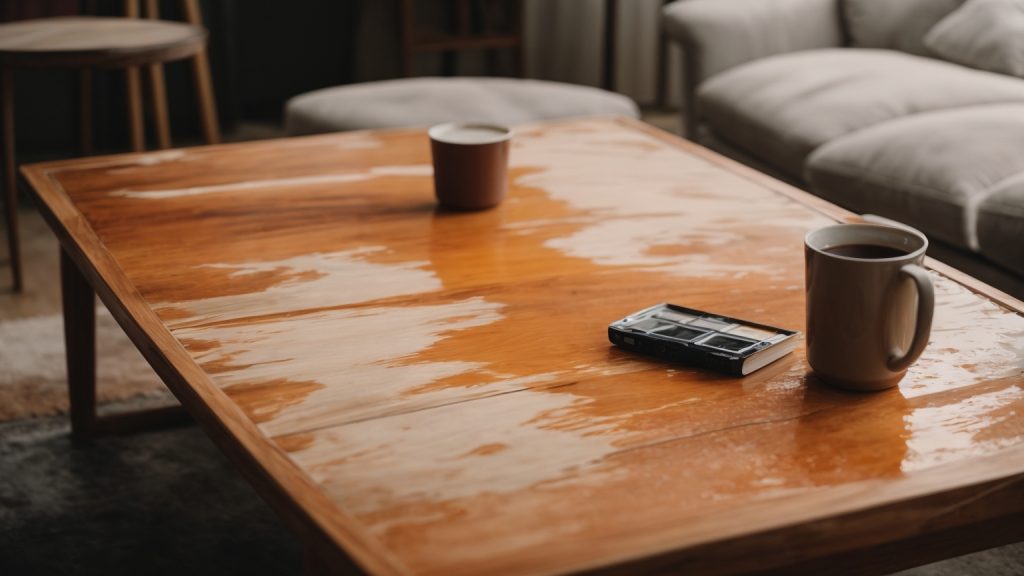
Tag Archives: high-gloss finish

how-to-paint-a-wooden-table

How to Paint a Wooden Table: A Beginner's Guide

If you’re looking to give your wooden table a fresh new look, painting it can be a great option. Not only is it an affordable way to update your furniture, but it can also be a fun DIY project. However, if you’ve never painted a table before, it can be a little intimidating. Don’t worry, we’re here to help! In this article, we’ll walk you through the steps on how to paint a wooden table.

Before you get started, it’s important to pick the right products. Long-lasting results go hand-in-hand with the right prep, products, and patience. In this article, we’ll cover different methods for painting a wooden table, including using a roller and paintbrush, spray painting, and spray cans. We’ll also discuss what type of paint you should use for furniture painting and how to prepare the surface of your wooden table for painting. With these tips, you’ll be able to give your wooden table a perfect finish.

Understanding the Basics of Painting
how-to-paint-a-wooden-table

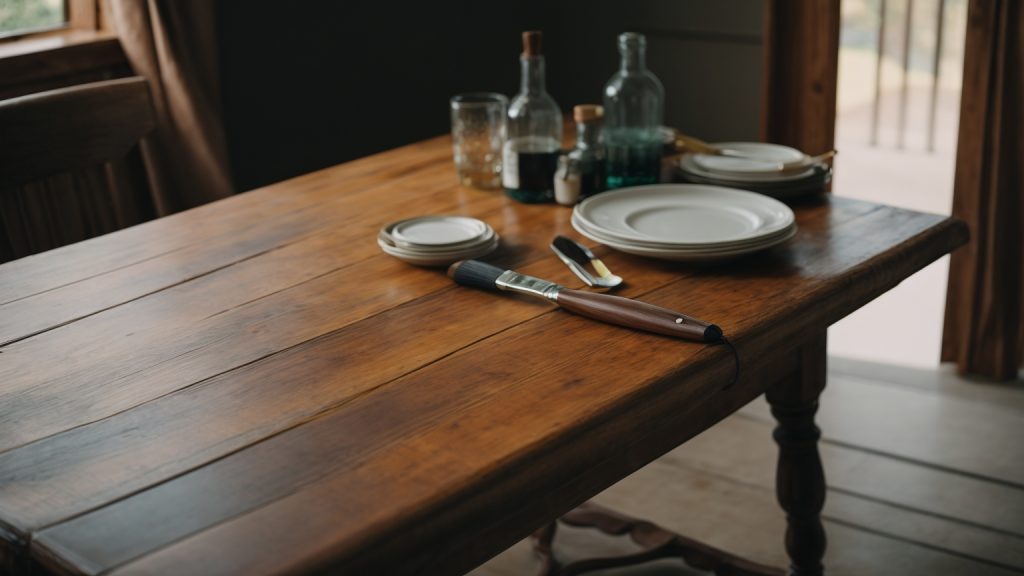
If you have an old wooden table that needs a fresh look, painting it is an excellent way to give it a new lease of life. But before you start, it’s essential to understand the basics of painting to achieve a professional-looking finish.

Types of Paint for Wood

When it comes to painting wood, there are two main types of paint: oil-based and water-based. Oil-based paints are more durable and provide better protection against scratches and stains. However, they take longer to dry and require solvents for cleanup, which can be toxic and harmful to the environment.

Water-based paints, on the other hand, are easier to clean up and dry faster. They are also less toxic and more environmentally friendly than oil-based paints. However, they may not be as durable as oil-based paints, and they may require more coats to achieve full coverage.

When choosing a paint for your wooden table, consider the level of durability you need and the amount of time you have for drying. Also, make sure to choose a color that complements your room’s decor.

Tools Needed for Painting

Before you start painting, you’ll need to gather some essential tools. Here are the tools you’ll need:

  • Sandpaper: You’ll need sandpaper to smooth out any rough spots on the table’s surface and to create a surface that the paint can adhere to.
  • Primer: A primer helps the paint adhere to the surface and provides a smooth base for the paint to go on.
  • Paintbrushes: You’ll need a variety of paintbrushes, including a larger brush for the main areas and smaller brushes for the corners and edges.
  • Paint: Choose a high-quality paint that is specifically designed for wooden surfaces.
  • Drop cloth: A drop cloth will protect your floor or work surface from drips and spills.
  • Painter’s tape: Use painter’s tape to mask off any areas that you don’t want to paint.

By having the right tools and understanding the basics of painting, you can transform your old wooden table into a beautiful and functional piece of furniture that will last for years to come.

Preparing the Wooden Table

Before you start painting your wooden table, it’s important to prepare the surface properly. This will ensure that the paint adheres well and that the finish is smooth and even. In this section, we’ll go over the two main steps involved in preparing your table: cleaning and sanding.

Cleaning the Table

The first step in preparing your wooden table for painting is to clean it thoroughly. This will remove any dirt, dust, or grime that may be on the surface, which can interfere with the paint’s ability to adhere properly. Here are a few tips to help you clean your table effectively:

  • Use a soft cloth or sponge to wipe down the surface of the table.
  • If there are any stubborn stains or marks, use a mild detergent mixed with warm water to clean them off.
  • Be sure to rinse the table thoroughly with clean water to remove any soap residue.
  • Allow the table to dry completely before moving on to the next step.

Sanding the Surface

The next step in preparing your wooden table for painting is to sand the surface. Sanding will help to smooth out any rough spots or imperfections in the wood, and it will also help the paint to adhere better. Here’s how to sand your table:

  1. Choose the right sandpaper: For most tables, a medium-grit sandpaper (such as 120-grit) is a good choice. If your table is in particularly rough shape, you may need to start with a coarser grit and work your way up to a finer grit.
  2. Sand the surface: Use the sandpaper to sand the entire surface of the table, working in the direction of the wood grain. Be sure to sand evenly and thoroughly, paying extra attention to any rough spots or areas that need extra attention.
  3. Clean up: Once you’re done sanding, use a soft cloth or vacuum to clean up any dust or debris. Be sure to remove all of the dust, as it can interfere with the paint’s ability to adhere properly.

By following these steps, you’ll be able to prepare your wooden table properly for painting. With a clean, smooth surface, your table will be ready for the next step: priming.

Priming the Table

Before you start painting your wooden table, you need to prime it. Priming helps the paint adhere better to the surface and gives it a smoother finish. Here are some steps to follow when priming your table:

  1. Choose the right primer: Select a primer that is suitable for wooden surfaces. Look for a primer that is compatible with the type of paint you plan to use. You can choose between oil-based or water-based primers.
  2. Sand the table: Sand the table to remove any old paint, dirt, or imperfections. Use a sandpaper with a grit of 120-150. Make sure to sand along the grain of the wood.
  3. Clean the table: Use a damp cloth to wipe away any dust or debris from the sanding. Make sure the table is completely dry before proceeding.
  4. Apply the primer: Apply the primer evenly using a paintbrush or a roller. Make sure to cover the entire surface of the table. You may need to apply more than one coat of primer depending on the condition of the table.
  5. Let the primer dry: Wait for the primer to dry completely before painting. This may take a few hours or overnight, depending on the type of primer you used.
  6. Sand the table again: Once the primer is dry, sand the table again with a fine-grit sandpaper (220 grit). This will help to smooth out any rough spots or bumps.
  7. Clean the table: Wipe the table with a clean, dry cloth to remove any dust or debris from sanding.

By following these steps, you will have a well-primed table ready for painting. Remember to choose a well-ventilated area to work in and to wear protective gear such as gloves and a mask.

Applying the Paint
applying-the-paint

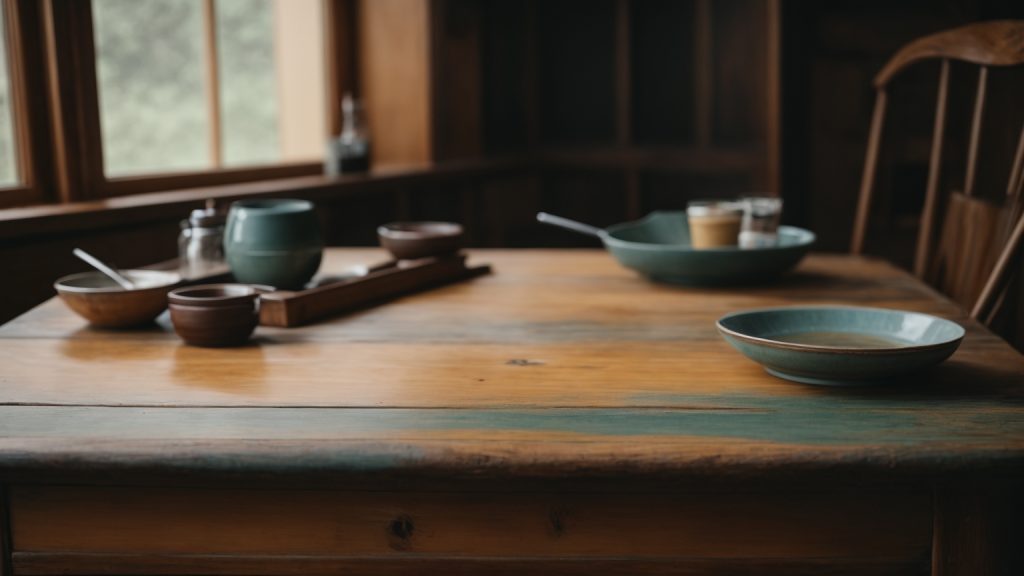
Once you have prepared your wooden table for painting, it’s time to apply the paint. In this section, we will cover the two main sub-sections of applying the paint: choosing the right color and painting techniques.

Choosing the Right Color

When choosing the color for your wooden table, it’s important to consider the overall style and color scheme of the room it will be in. You want to choose a color that complements the rest of the room and creates a cohesive look. Here are some tips to help you choose the right color:

  • Look at the color wheel: Choose colors that are opposite each other on the color wheel for a complementary look. If you want a more monochromatic look, choose colors that are next to each other on the color wheel.
  • Consider the room’s lighting: If the room is dark, choose a lighter color to brighten it up. If the room is already bright, you can choose a darker color to create a cozy atmosphere.
  • Think about the table’s use: If the table will be used for meals, choose a color that won’t show stains easily. If the table is more decorative, you can choose a bolder color.

Painting Techniques

Now that you have chosen the right color, it’s time to apply the paint. Here are some painting techniques to help you achieve a smooth and even finish:

  • Use a paintbrush: Use a high-quality paintbrush to apply the paint. Start at the top of the table and work your way down, using long strokes in the direction of the wood grain.
  • Roll the paint: If you want to save time, you can use a paint roller to apply the paint to larger areas of the table. Use a small paintbrush to get into any hard-to-reach areas.
  • Apply multiple coats: Depending on the color and type of paint you are using, you may need to apply multiple coats to achieve the desired finish. Allow each coat to dry completely before applying the next.

Remember to follow the manufacturer’s instructions for the paint you are using. With the right color and painting techniques, you can transform your wooden table into a beautiful and functional piece of furniture.

Drying and Finishing

After you have painted your wooden table, the next step is to let it dry properly. This is an important step as it ensures that the paint adheres well to the wood and doesn’t peel off easily. Here are some tips to help you ensure that your table dries properly.

Proper Drying Time

Different types of paint require different amounts of time to dry. Most paints will dry to the touch within a few hours, but it’s important to let the paint cure fully before using the table. The curing time can range from a few days to a few weeks, depending on the type of paint used.

To ensure that your table dries properly, it’s important to place it in a well-ventilated area, away from direct sunlight and heat sources. This will help the paint dry evenly and prevent it from cracking or peeling.

Applying Sealant

Once the paint has dried, you may want to apply a sealant to protect the table from scratches and other damage. There are several types of sealants available, including polyurethane, lacquer, and wax.

Polyurethane is a popular choice as it provides a durable, long-lasting finish. It’s available in both water-based and oil-based formulas and can be applied with a brush or sprayer. Lacquer is another option that provides a high-gloss finish, but it’s more difficult to apply than polyurethane.

Wax is a natural option that provides a soft, matte finish. It’s easy to apply and can be buffed to a shine with a soft cloth. However, it’s not as durable as polyurethane or lacquer and may need to be reapplied more frequently.

Before applying any sealant, it’s important to sand the table to ensure that the surface is smooth and free of any imperfections. Then, apply the sealant according to the manufacturer’s instructions and allow it to dry completely before using the table.

Maintenance Tips

Now that you’ve successfully painted your wooden table, it’s important to maintain it properly to ensure the longevity of your hard work. Here are some maintenance tips to keep your table looking great for years to come:

  • Use coasters and placemats: To prevent scratches and water damage, always use coasters and placemats when placing glasses, plates, or any other items on your table.
  • Avoid harsh chemicals: Harsh chemicals such as bleach or ammonia can damage the paint and finish of your table. Instead, use a mild cleaner and a soft cloth to clean your table.
  • Clean spills immediately: Accidents happen, but it’s important to clean up spills as soon as possible to prevent damage to the paint and wood. Use a damp cloth to gently clean up spills and dry the area thoroughly.
  • Avoid direct sunlight: Direct sunlight can cause the paint to fade and the wood to dry out, leading to cracks and damage. If possible, place your table away from direct sunlight or use curtains or blinds to block the sun.
  • Regularly dust your table: Dust can accumulate on your table and scratch the paint. Use a soft, dry cloth to regularly dust your table and keep it looking clean and beautiful.

By following these simple maintenance tips, you can keep your painted wooden table looking great for years to come.

paint-your-wooden-coffee-table

How to Paint Your Wooden Coffee Table: A Beginner's Guide

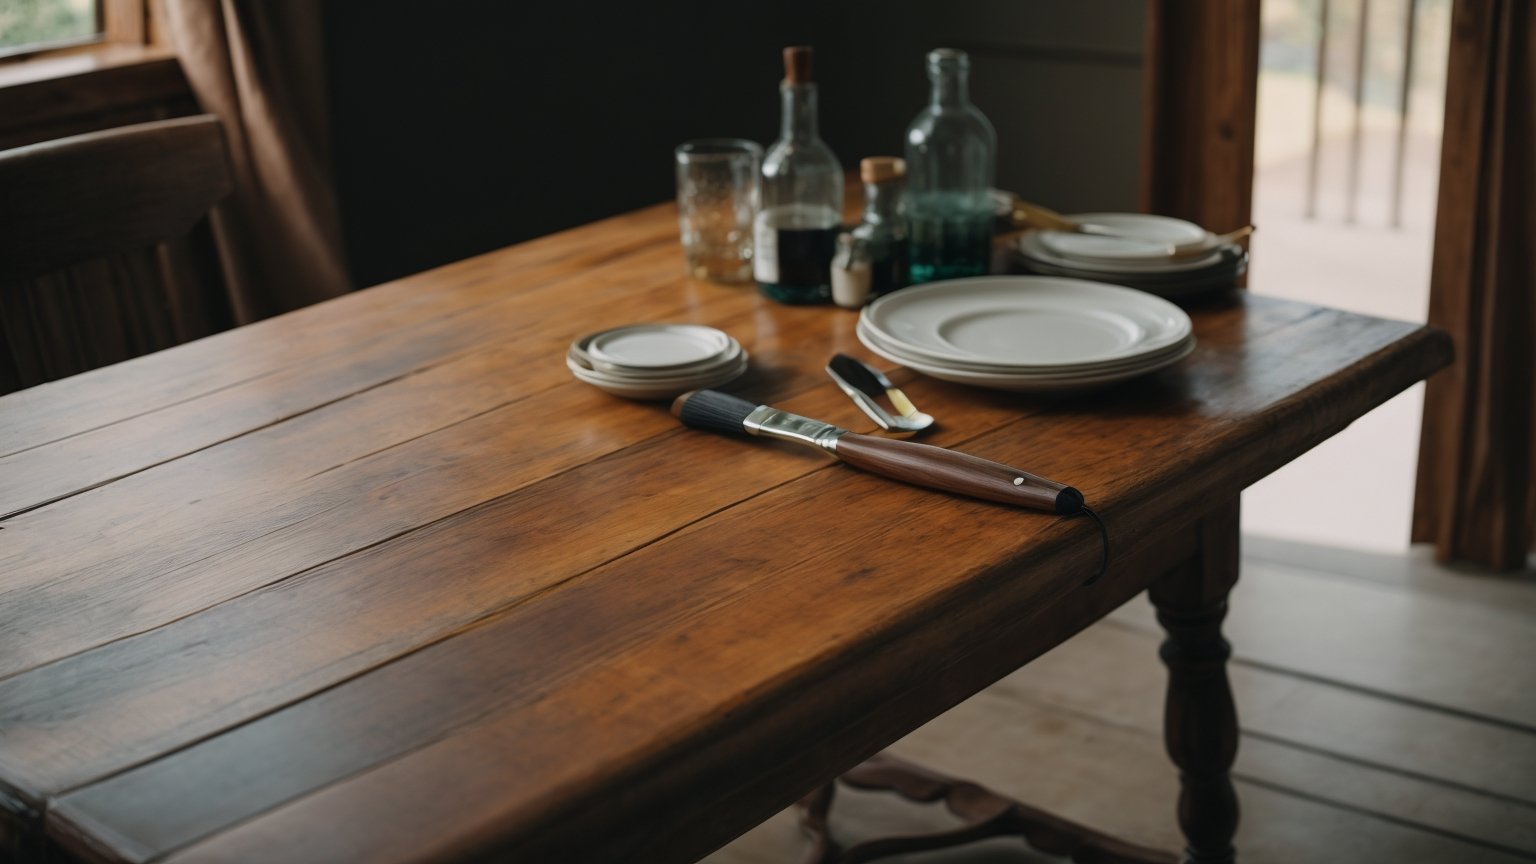
Are you tired of your old and worn-out wooden coffee table? Painting it can be a great way to give it a fresh new look without having to spend a lot of money on a new one. However, painting a wooden coffee table can seem like a daunting task, especially if you’ve never done it before. But don’t worry, with a little bit of knowledge and some patience, you can transform your coffee table into a beautiful piece of furniture that will enhance the look of your living room.

The first step in painting your wooden coffee table is to choose the right paint and supplies. You’ll need a primer, paint, paintbrushes, sandpaper, and a clean cloth. Once you have all your supplies, the next step is to clean your coffee table thoroughly. This will ensure that the primer and paint adhere properly to the surface. After cleaning, you’ll need to sand the table to remove any bumps or rough spots. Once you’ve sanded the table, you’ll need to clean it again to remove any dust or debris.

Understanding the Type of Wood

paint-your-wooden-coffee-table

Before you start painting your wooden coffee table, it’s important to understand the type of wood you’re dealing with. Different types of wood require different preparation and painting techniques to ensure the best results.

Identifying Hardwood and Softwood

The first step in understanding your wood is to identify whether it is hardwood or softwood. Hardwood comes from deciduous trees, such as oak, maple, and cherry, while softwood comes from coniferous trees, such as pine, spruce, and cedar. Hardwood is generally denser and more durable than softwood, but it can also be more difficult to work with.

To identify your wood, look at the grain pattern and color. Hardwood tends to have a more complex grain pattern, while softwood has a simpler, more uniform pattern. Hardwood also tends to be darker in color than softwood.

Checking for Wood Treatments

It’s also important to check whether your wood has been treated with any chemicals or finishes. If your wood has been previously painted or stained, it may have a layer of varnish or polyurethane that needs to be removed before you can paint it.

To check for wood treatments, look for any discoloration or staining on the surface of the wood. You can also try sanding a small area to see if the wood is absorbing the sandpaper or if the surface is too hard and glossy.

If you suspect that your wood has been treated, it’s best to consult a professional or do some research to determine the best way to prepare it for painting. Using the wrong technique could result in a poor finish or damage to the wood.

Choosing the Right Paint

When it comes to painting a wooden coffee table, choosing the right paint is crucial for a successful outcome. You want to choose a paint that will not only look great but also last for a long time. Here are some things to consider when choosing the right paint for your coffee table.

Oil-Based vs Water-Based Paint

One of the first things you need to decide is whether to use oil-based or water-based paint. Both types of paint have their pros and cons.

Oil-based paint is known for its durability and ability to provide a smooth, even finish. It is also resistant to stains and scratches. However, it can take a long time to dry and requires the use of solvents for cleanup.

Water-based paint, on the other hand, dries faster and is easier to clean up. It is also less likely to yellow over time. However, it may not be as durable as oil-based paint and may require multiple coats for a smooth finish.

Choosing the Right Color

Choosing the right color is also important when painting a coffee table. You want to choose a color that will complement the rest of your decor and add visual interest to the room.

Consider the color of your walls, curtains, and other furniture when choosing a color for your coffee table. If you have neutral-colored walls and furniture, you can add a pop of color with your coffee table. If you have bold-colored walls or furniture, you may want to choose a more neutral color for your coffee table.

In addition to color, consider the finish of the paint. A high-gloss finish will provide a shiny, reflective surface, while a matte finish will provide a more subdued look.

Overall, choosing the right paint for your coffee table requires careful consideration of factors such as durability, drying time, and color. By taking the time to choose the right paint, you can ensure that your coffee table looks great and lasts for years to come.

Preparation Before Painting

Before you start painting your wooden coffee table, it is important to properly prepare the surface. This will help ensure that the paint adheres well and lasts longer. Here are two key steps you should take to prepare your coffee table for painting:

Cleaning the Coffee Table

The first step in preparing your coffee table for painting is to clean it thoroughly. Use a bucket of soapy water and a sponge to remove dirt, dust, and oils that may be on the surface. Make sure to clean all surfaces of the table, including the legs and underside.

After cleaning, rinse the table with clean water and let it dry completely. You can use a clean cloth to wipe away any excess water. It is important to make sure the table is completely dry before moving on to the next step.

Sanding the Surface

The next step in preparing your coffee table for painting is to sand the surface. Sanding helps to create a smooth surface for the paint to adhere to. It also helps to remove any existing finish or paint that may be on the table.

Start by using a medium-grit sandpaper (around 120 grit) to sand the entire surface of the table. Make sure to sand in the direction of the wood grain. After sanding, use a damp cloth to wipe away any dust or debris.

Next, use a fine-grit sandpaper (around 220 grit) to sand the surface again. This will help create an even smoother surface for the paint to adhere to. After sanding, use a clean cloth to wipe away any dust or debris.

By properly cleaning and sanding your coffee table, you will be able to create a surface that is ready for painting. This will help ensure that your paint job looks great and lasts for a long time.

Priming the Coffee Table

priming-the-coffee-table

Before you start painting your wooden coffee table, it is essential to prime it. Priming helps the paint adhere better to the surface and provides a smooth and even finish. Here are the steps to prime your coffee table:

  1. Clean the coffee table: Use a damp cloth to wipe down the coffee table and remove any dust or debris. Allow it to dry completely before moving to the next step.
  2. Sand the coffee table: Use sandpaper to rough up the surface of the coffee table. This will help the primer adhere better to the wood. Be sure to wipe away any dust with a damp cloth.
  3. Apply the primer: Using a brush or roller, apply a thin coat of primer to the coffee table. Be sure to cover all surfaces evenly. Allow the primer to dry completely before applying the paint.

When selecting a primer, choose one that is specifically designed for wood surfaces. This will ensure that the primer bonds well with the wood and provides a good base for the paint. If your coffee table has any stains or discolorations, consider using a stain-blocking primer to prevent them from bleeding through the paint.

Remember, the key to a successful paint job is proper preparation. Taking the time to prime your coffee table will ensure that your paint job looks professional and lasts for years to come.

Painting Techniques

When it comes to painting a wooden coffee table, there are several techniques you can use to achieve a professional-looking finish. In this section, we’ll discuss three popular methods: using a brush, using a roller, and spray painting.

Using a Brush

Using a brush is a classic method for painting wooden furniture. It allows for precise application and can be useful for getting into tight corners and edges. Here’s how to do it:

  1. Choose a high-quality brush that’s appropriate for the type of paint you’re using. A natural bristle brush is best for oil-based paints, while a synthetic brush is better for water-based paints.
  2. Start by applying a coat of primer to the entire surface of the coffee table. Use long, even strokes and work in the direction of the wood grain.
  3. Once the primer is dry, apply the first coat of paint in the same manner. Be sure to work in small sections and avoid overloading the brush with paint.
  4. Allow the first coat to dry completely before applying a second coat. Repeat this process until you achieve the desired level of coverage.

Using a Roller

Using a roller can be a faster method for painting larger surfaces. It can also create a smoother finish than using a brush. Here’s how to do it:

  1. Choose a roller that’s appropriate for the type of paint you’re using. A foam roller is best for water-based paints, while a mohair roller is better for oil-based paints.
  2. Start by applying a coat of primer to the entire surface of the coffee table. Use long, even strokes and work in the direction of the wood grain.
  3. Once the primer is dry, apply the first coat of paint using the roller. Be sure to work in small sections and avoid overloading the roller with paint.
  4. Allow the first coat to dry completely before applying a second coat. Repeat this process until you achieve the desired level of coverage.

Spray Painting

Spray painting can be a quick and easy method for painting a coffee table. It can also create a smooth, even finish. However, it requires more preparation and can be more difficult to control than using a brush or roller. Here’s how to do it:

  1. Choose a high-quality spray paint that’s appropriate for the type of wood you’re painting. Be sure to choose a well-ventilated area to work in and wear protective gear, such as a mask and goggles.
  2. Start by preparing the coffee table by cleaning it thoroughly and sanding it lightly to create a rough surface for the paint to adhere to.
  3. Apply a coat of primer to the entire surface of the coffee table using the spray paint. Be sure to work in a well-ventilated area and follow the manufacturer’s instructions for application.
  4. Once the primer is dry, apply the first coat of paint using the spray paint. Be sure to work in small sections and avoid overloading the surface with paint.
  5. Allow the first coat to dry completely before applying a second coat. Repeat this process until you achieve the desired level of coverage.

Adding Finishing Touches

After painting your wooden coffee table, it’s important to add some finishing touches that will protect the paint and enhance the overall look of your furniture. Here are some tips to help you achieve a professional finish.

Applying a Sealant

A sealant is a protective coating that will help prevent scratches, stains, and other types of damage to your coffee table. It also makes the surface easier to clean and maintain. To apply a sealant, follow these steps:

  1. Choose a sealant that is compatible with your paint and the type of wood your coffee table is made of.
  2. Use a brush or roller to apply a thin, even coat of sealant to the surface of your coffee table. Be sure to cover the entire surface, including the edges and corners.
  3. Let the sealant dry completely before applying a second coat. Check the manufacturer’s instructions for the recommended drying time.
  4. Apply a second coat of sealant, if necessary, to achieve the desired level of protection.

Polishing the Coffee Table

Polishing your coffee table will give it a smooth, shiny finish that will enhance the beauty of the wood and the paint. Here’s how to do it:

  1. Use a soft cloth to remove any dust or debris from the surface of your coffee table.
  2. Apply a small amount of furniture polish to another clean, soft cloth.
  3. Rub the polish onto the surface of your coffee table in a circular motion. Be sure to cover the entire surface, including the edges and corners.
  4. Let the polish dry for a few minutes, then buff the surface with another clean, soft cloth until it shines.

Remember to reapply the sealant and polish as needed to keep your coffee table looking its best. With these finishing touches, your painted wooden coffee table will be a beautiful and functional addition to your home decor.

Maintaining Your Painted Coffee Table

Once you have painted your wooden coffee table, you’ll want to keep it looking fresh and new for as long as possible. Here are some tips to help you maintain your painted coffee table:

Regular Cleaning

To keep your painted coffee table looking its best, you should clean it regularly. Here are some tips for cleaning your coffee table:

  • Use a soft cloth or sponge to wipe down the surface of the table.
  • Avoid using abrasive cleaners or scrubbers, as they can scratch the paint.
  • If there are any spills or stains on the table, clean them up as soon as possible to prevent them from setting in.
  • If you need to use a cleaner, choose a mild, non-abrasive cleaner that is safe for painted surfaces.

Touching Up Paint

Over time, your painted coffee table may start to show signs of wear and tear. To keep it looking its best, you may need to touch up the paint from time to time. Here are some tips for touching up the paint on your coffee table:

  • Start by cleaning the surface of the table with a soft cloth or sponge.
  • If the paint has chipped or peeled, use sandpaper to smooth out the area.
  • Apply a small amount of paint to the area using a small brush or sponge.
  • Allow the paint to dry completely before using the table again.

By following these tips, you can keep your painted coffee table looking great for years to come.