
Are you looking for a simple and practical way to build a wooden box frame? Whether you need a storage solution or a decorative item, building a wooden box frame is a great DIY project that can be completed with basic tools and materials. In this article, we will provide you with step-by-step instructions on how to build a wooden box frame using lumber, screws, and nails.
First, you will need to gather the necessary tools and materials, such as a saw, a drill, screws, nails, and lumber. Then, you will need to measure and cut the lumber to the correct size and shape, and assemble the pieces using screws and nails. We will guide you through each step of the process, including how to create a sturdy frame and how to finish the box with paint or stain.
Whether you are a beginner or an experienced DIY enthusiast, building a wooden box frame can be a fun and rewarding project that allows you to create a custom piece that fits your needs and style. So, let’s get started and learn how to build a wooden box frame that will last for years to come.
Understanding Wooden Box Frames
If you’re looking for a simple and elegant way to showcase your artwork, photographs, or other prized possessions, a wooden box frame might be just what you need. These frames are easy to make, customizable, and can be built to fit any size or shape of item you want to display.
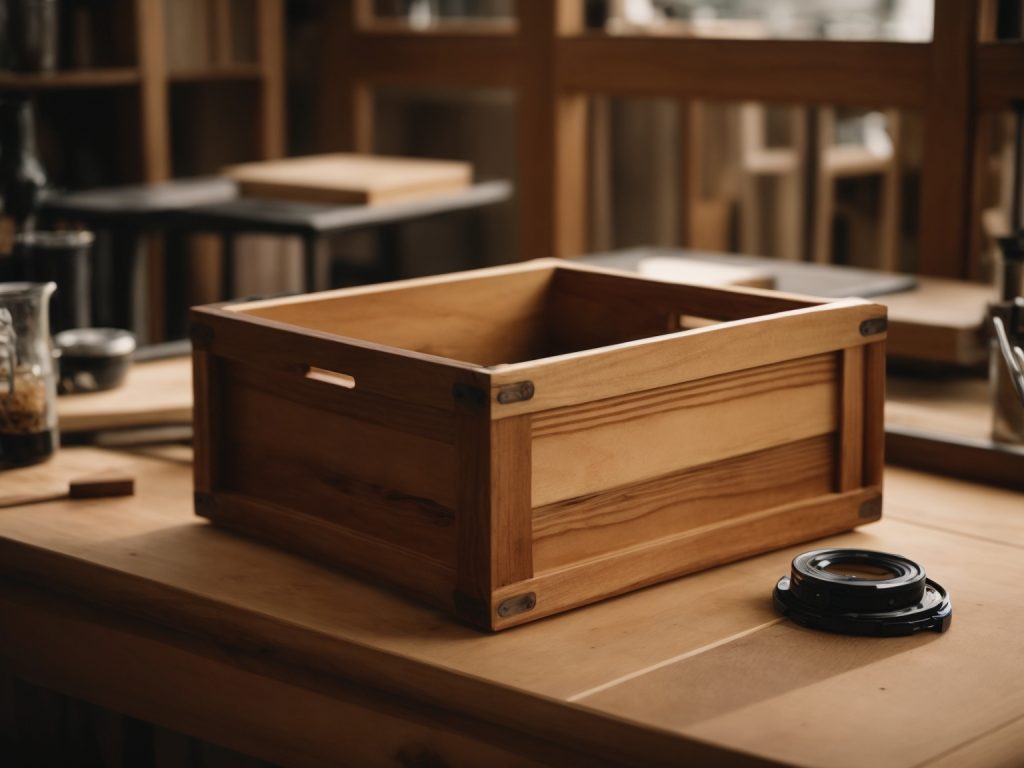
A wooden box frame is essentially a wooden frame with a box-like shape that can hold items inside it. The frame is made up of multiple layers of lumber glued together using special types of adhesive, making it sturdy and easy to assemble.
When building a wooden box frame, you’ll need to choose the right type of wood. Hardwoods like oak, maple, and cherry are popular choices because they’re strong and durable, but softwoods like pine and spruce can also be used if you’re on a budget.
One of the advantages of building a wooden box frame is that you can customize it to your specific needs. You can choose the dimensions of the frame, the thickness of the wood, and the finish you want to apply. You can also add decorative elements like moldings or carvings to give your frame a unique look.
Overall, building a wooden box frame is a fun and rewarding project that can be completed in just a few hours. With a little bit of patience and the right tools and materials, you can create a beautiful frame that will showcase your favorite items for years to come.
Choosing the Right Materials
When it comes to building a wooden box frame, choosing the right materials is crucial. Here are some things to consider when selecting materials for your project.
Types of Wood
Pine, oak, or cedar are all good choices for a box frame. Pine is a popular choice because it is affordable and easy to work with. Oak is a bit more expensive but is known for its durability and strength. Cedar is a great choice if you want a wood that is resistant to rot and insects.
When selecting your wood, make sure it is straight and free of knots. It should also be dry and have a moisture content of around 12%.
Selecting Nails and Screws
Make sure your nails and screws are large enough that they won’t pull out of the wood too easily. For a box frame, nails are usually the best choice. They are easy to use and provide a strong hold.
If you choose to use screws, make sure they are long enough to go through both pieces of wood and have a wide enough diameter to provide a secure hold.
Choosing the Right Tools
A hammer and nails are the most basic tools you’ll need for building a box frame. Make sure you use a hammer with an anti-vibration handle to prevent fatigue while driving in the nails.
An electric saw is ideal for making precise cuts with minimal effort. If you don’t have an electric saw, a hand saw will work, but it will take more time and effort to make accurate cuts.
In addition to these tools, you may also need a drill, sandpaper, and wood glue depending on the design of your box frame.
Designing the Box Frame
Before you start building your wooden box frame, you need to design it. This will ensure that your box frame meets your requirements and looks the way you want it to. Here are two important steps to follow when designing your box frame:
Determining the Dimensions
The first step in designing your box frame is to determine its dimensions. You need to decide how big you want your box frame to be. Consider what you will be storing in it and how much space you have available.
To determine the dimensions of your box frame, measure the length, width, and height of the items you will be storing in it. Add a few inches to each measurement to ensure that your box frame will be big enough to hold everything.
Sketching the Design
Once you have determined the dimensions of your box frame, it’s time to sketch your design. This will help you visualize what your box frame will look like and make any necessary adjustments before you start building.
You don’t need to be an artist to sketch your design. Simply draw a rough outline of your box frame and label the dimensions. You can also add any additional features you want, such as handles or a lid.
Here are some things to keep in mind when sketching your design:
- Make sure your box frame is symmetrical and balanced.
- Consider the type of wood you will be using and how it will look with your design.
- Think about any additional features you want to add, such as hinges or locks.
By following these steps, you can design a wooden box frame that meets your needs and looks great.
Preparing the Wood
Before you can begin constructing your wooden box frame, you need to prepare the wood. This involves cutting the wood to the desired size and sanding it to create a smooth surface. Here are the steps you should follow:
Cutting the Wood
The first step in preparing the wood is to cut it to the desired size. You can use a saw or a miter saw to cut the wood. Make sure to measure the wood carefully and mark the cut lines before you start cutting. Here are some tips to keep in mind:
- Use a saw with a fine-toothed blade to ensure a clean cut.
- Use a miter saw to make precise cuts at specific angles.
- Wear safety goggles and gloves to protect yourself from flying wood chips.
Sanding the Wood
Once you have cut the wood to the desired size, the next step is to sand it. Sanding the wood will help create a smooth surface and remove any rough edges. Here are some tips to keep in mind:
- Use a sandpaper with a low grit to remove any rough spots or imperfections.
- Use a sandpaper with a high grit to create a smooth surface.
- Sand in the direction of the grain to avoid creating scratches on the wood.
- Use a sanding block to ensure an even sanding surface.
By following these steps, you can prepare the wood for your wooden box frame. With the wood cut to size and sanded, you are now ready to start constructing your box frame.
Assembling the Box Frame
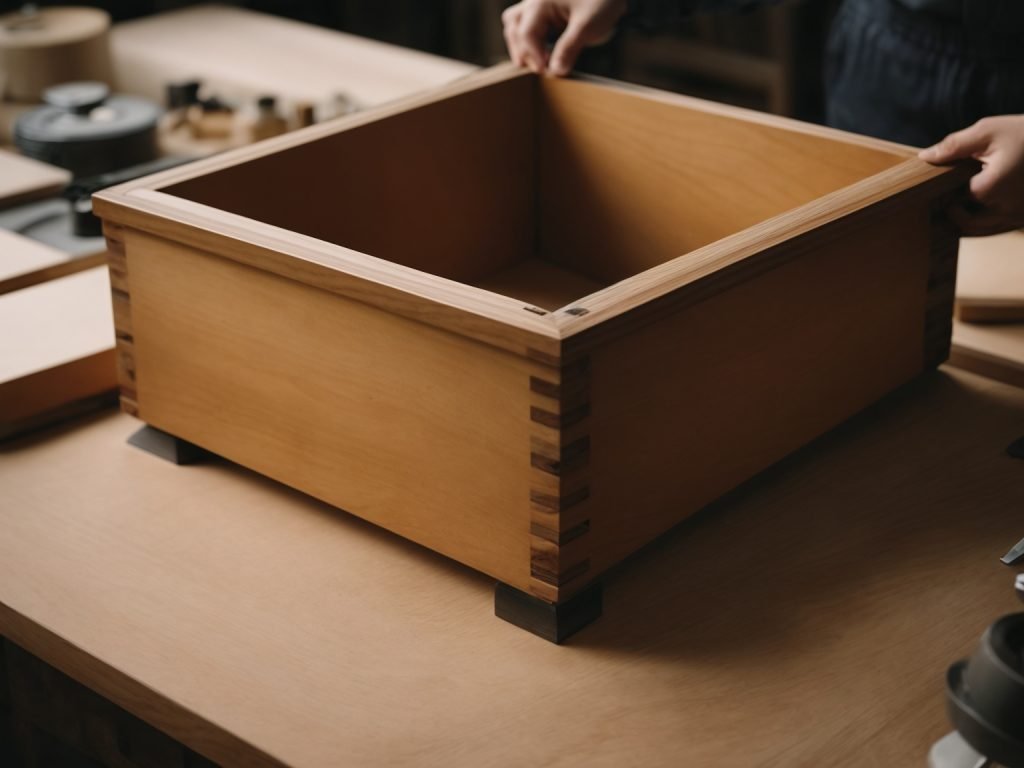
Once you have cut all the lumber pieces to the correct size and shape, it’s time to start assembling your wooden box frame. This section will guide you through the process of joining the pieces and securing the frame.
Joining the Pieces
To join the pieces of lumber together, you can use screws, nails, or wood glue. However, using all three will provide the most secure and stable frame. Here are the steps to follow:
- Apply a small amount of wood glue to the end of one of the side pieces.
- Place the glued end of the side piece flush against the end of one of the end pieces.
- Use a drill to make pilot holes through the side piece and into the end piece.
- Insert screws into the pilot holes to secure the pieces together.
- Repeat the process for the other side piece and the other end piece.
Securing the Frame
Once you have joined all the pieces together to form the frame, you need to secure it to ensure it remains stable. Here’s what you need to do:
- Place the frame on a flat surface.
- Use a square to ensure that the corners are 90 degrees.
- Drill pilot holes through the corners of the frame.
- Insert screws into the pilot holes to secure the corners.
- Check that the frame is level and adjust as necessary.
Congratulations! You have successfully assembled your wooden box frame. The next step is to finish it by sanding, staining, or painting it to your desired finish.
Finishing Touches
Once you have constructed your wooden box frame, it is time to add the finishing touches to make it look polished and professional. Here are a few things you can do to give your box frame a final touch of elegance.
Applying Paint or Stain
One of the easiest ways to give your wooden box frame a finished look is to apply paint or stain. You can choose a color that complements the decor of the room where the box frame will be displayed. Before applying paint or stain, make sure to sand the wood surface to ensure that it is smooth and free of any imperfections. Use a paintbrush or a cloth to apply the paint or stain evenly, and let it dry completely before handling the box frame.
Adding Protective Coating
If you want to protect your wooden box frame from scratches, dents, and other types of damage, you can add a protective coating. There are many types of protective coatings available, such as polyurethane, lacquer, and varnish. When applying a protective coating, make sure to read the instructions carefully to ensure that you are using it correctly. It is also important to apply the coating in a well-ventilated area and to wear protective gear, such as gloves and a mask.
By following these simple finishing touches, you can take your wooden box frame from a basic DIY project to a beautiful and functional piece of decor.