
Are you tired of your old, rusty mailbox that just doesn’t fit the aesthetic of your home? Building a wooden mailbox may be just the solution you need. Not only is it a functional addition to your property, but it can also add some charm and character to your curb appeal.
Building a wooden mailbox may seem like a daunting task, but with the right tools and materials, it can be a fun and rewarding DIY project. Whether you’re a seasoned woodworker or a beginner, there are plenty of resources available to guide you through the process. From step-by-step tutorials to detailed plans, you can find everything you need to build a mailbox that is both functional and stylish. So why wait? Get started on building your very own wooden mailbox today!
Choosing the Right Wood
When it comes to building a wooden mailbox, choosing the right type of wood is crucial to ensure the longevity and durability of your mailbox. Here are some factors to consider when selecting the right wood for your project.
Hardwood vs Softwood
The first decision you need to make is whether to use hardwood or softwood for your mailbox. Hardwoods, such as oak and maple, are denser and more durable, making them ideal for outdoor projects. However, they can be more expensive and harder to work with than softwoods.
Softwoods, such as cedar and pine, are more affordable and easier to work with, but they are less durable than hardwoods. If you choose to use a softwood, make sure it is treated to resist decay and insect damage.
Treated vs Untreated Wood
Another important factor to consider is whether to use treated or untreated wood for your mailbox. Treated wood is chemically treated to resist decay and insect damage, making it more durable and long-lasting than untreated wood. However, treated wood can be more expensive and may contain harmful chemicals.
Untreated wood, on the other hand, is more affordable but is more susceptible to decay and insect damage. If you choose to use untreated wood, make sure to apply a weather-resistant finish to protect it from the elements.
In summary, when selecting the right wood for your wooden mailbox, consider the durability, cost, and environmental impact of the wood. Hardwoods are denser and more durable, but they can be more expensive and harder to work with. Softwoods are more affordable and easier to work with, but they are less durable than hardwoods. Treated wood is more durable but may contain harmful chemicals, while untreated wood is more affordable but requires a weather-resistant finish to protect it from the elements.
Designing Your Mailbox
When designing your wooden mailbox, there are a few things to consider. In this section, we will cover size specifications and style considerations to help you create a unique and functional mailbox.
Size Specifications
Before you start building your wooden mailbox, you need to determine the size specifications. The size of your mailbox should be based on the amount of mail you receive and the size of your property.
Here are some general size guidelines to follow:
- The mailbox should be large enough to hold letters, magazines, and small packages.
- The mailbox should be at least 6 inches away from the curb or road.
- The mailbox should be between 41 and 45 inches from the ground to the bottom of the mailbox.
- The mailbox should be at least 8 inches deep and 6 inches wide.
By following these guidelines, you can ensure that your mailbox is the right size for your needs and meets the requirements of your local post office.
Style Considerations
When it comes to style considerations, there are many options to choose from. You can create a simple and classic mailbox or a more elaborate design that reflects your personal style.
Here are some style considerations to keep in mind:
- Choose a wood that is durable and weather-resistant, such as cedar or redwood.
- Consider adding decorative elements, such as a post cap or finial, to give your mailbox a unique look.
- Decide on a mailbox door style, such as a hinged door or a drop-down door.
- Choose a mailbox color that complements your home’s exterior.
By considering these style elements, you can create a wooden mailbox that not only functions well but also adds to the curb appeal of your home.
In conclusion, designing your wooden mailbox involves determining the size specifications and style considerations. By following these guidelines, you can create a unique and functional mailbox that adds to the overall aesthetic of your home.
Gathering Materials
Before starting to build your wooden mailbox, you need to gather all the necessary materials. This will ensure that you have everything you need at hand and won’t need to make any unnecessary trips to the hardware store. In this section, we will cover the materials you will need to build a wooden mailbox.
Wood and Hardware
The first thing you will need is wood. You can use any type of wood you like, but cedar, redwood, and pine are popular choices. Cedar and redwood are naturally resistant to rot and insects, while pine is an affordable option that can be treated to resist rot and insects.
In addition to wood, you will need hardware to assemble your wooden mailbox. Here is a list of hardware you will need:
- Screws or nails
- Hinges
- Latch
- Post cap
- Post anchor
Make sure to choose hardware that is suitable for outdoor use and can withstand the elements.
Tools Needed
To build a wooden mailbox, you will need a few basic tools. Here is a list of tools you will need:
- Circular saw or handsaw
- Drill
- Screwdriver or hammer
- Measuring tape
- Level
- Pencil
- Safety glasses
- Work gloves
If you don’t own these tools, you can rent them from a hardware store or borrow them from a friend.
With these materials and tools, you are now ready to start building your wooden mailbox. In the next section, we will cover the steps to build a wooden mailbox.
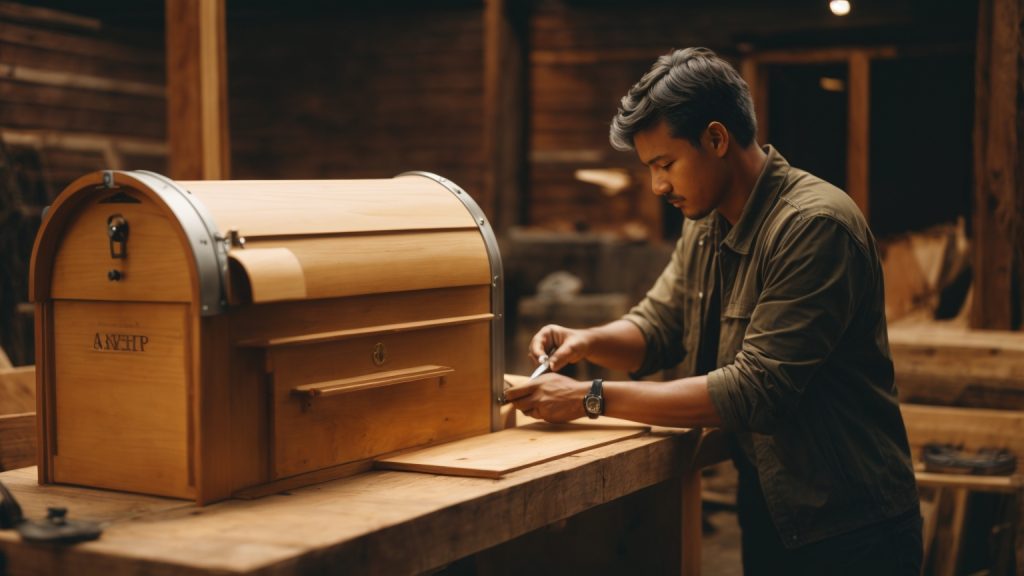
Building the Mailbox
Building a wooden mailbox can be a fun and rewarding project. In this section, we will guide you through the process of building your own wooden mailbox. We will cover the steps involved in cutting the wood, assembling the pieces, and installing the door.
Cutting the Wood
The first step in building your wooden mailbox is to cut the wood to size. You will need to cut the following pieces:
- Two 4×4 posts, each 6 feet long
- One 1×6 board, 6 feet long
- Two 1×6 boards, each 2 feet long
- One 1×6 board, 1 foot long
- One 1×8 board, 1 foot long
- One 1×2 board, 1 foot long
You can use a miter saw or a circular saw to cut the wood to size. Be sure to measure carefully and double-check your measurements before making any cuts.
Assembling the Pieces
Once you have cut the wood to size, you can begin assembling the pieces. Here are the steps involved:
- Attach the two 4×4 posts to the 2-foot-long 1×6 boards using screws. These will be the legs of your mailbox.
- Attach the 6-foot-long 1×6 board to the top of the posts using screws. This will be the bottom of your mailbox.
- Attach the 1-foot-long 1×6 board to the front of the bottom board using screws. This will be the front of your mailbox.
- Attach the 1-foot-long 1×8 board to the top of the front board using screws. This will be the top of your mailbox.
- Attach the 1-foot-long 1×2 board to the bottom of the front board using screws. This will be the bottom of your mailbox door.
Installing the Door
The final step in building your wooden mailbox is to install the door. Here’s how to do it:
- Cut a piece of plywood to fit the opening in the front of your mailbox.
- Attach the plywood to the 1×2 board using hinges.
- Attach a latch to the front of the door and the mailbox to keep the door closed.
Congratulations! You have now built your own wooden mailbox.
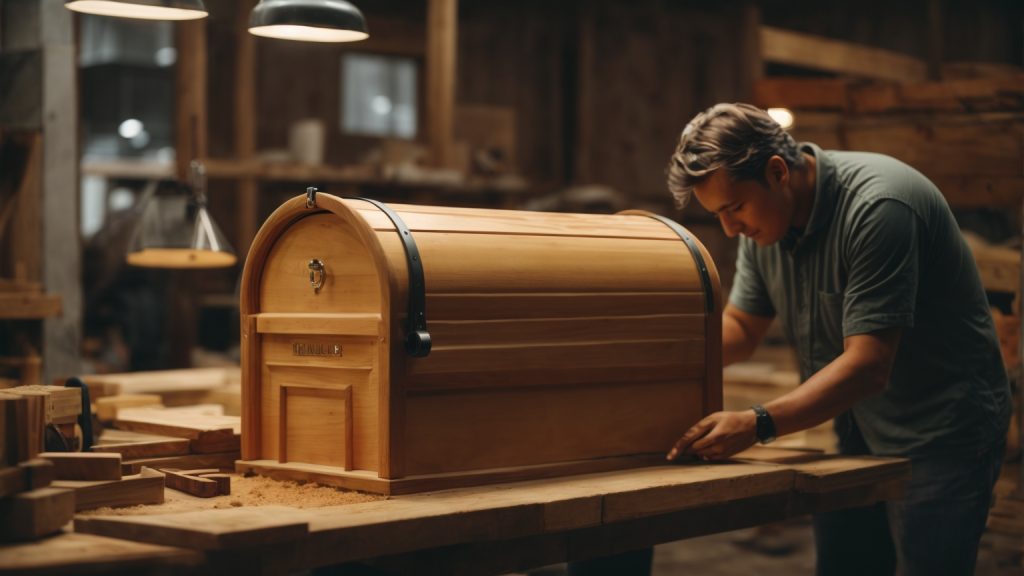
Finishing Touches
After building your wooden mailbox, it’s time to add the finishing touches to make it look great and protect it from the elements. Here are some tips to help you complete your project.
Sanding the Wood
Before you paint or stain your mailbox, it’s important to sand the wood to make it smooth and remove any rough spots. Start with a coarse-grit sandpaper and work your way up to a fine-grit sandpaper for a smooth finish. Be sure to sand in the direction of the wood grain to avoid scratches.
Painting or Staining
Once the wood is sanded, you can paint or stain your mailbox to match your home’s exterior. If you choose to paint, use a high-quality exterior paint and apply it in thin, even coats. Allow each coat to dry completely before applying the next one.
If you prefer the natural look of wood, you can stain your mailbox instead. Choose a stain that is designed for exterior use and apply it with a brush or rag. Be sure to follow the manufacturer’s instructions and apply the stain in thin coats for the best results.
Adding Numbers and Names
To make it easy for your mail carrier to find your mailbox, be sure to add your house number or name to the mailbox. You can use vinyl lettering, stencils, or even paint the numbers or name by hand.
If you want to add a decorative touch, consider adding a design or pattern to your mailbox. You can use stencils or tape to create a design, or even use a decal or sticker to add some personality to your mailbox.
By following these tips, you can add the finishing touches to your wooden mailbox and create a beautiful and functional addition to your home.
Installation Tips
When it comes to installing your wooden mailbox, there are a few things you need to keep in mind to ensure that your mailbox is secure and functional. In this section, we’ll cover some installation tips to help you get started.
Choosing a Location
The first thing you need to do when installing your wooden mailbox is to choose a suitable location. Here are some things to consider:
- Accessibility: Make sure your mailbox is easily accessible from the road or sidewalk. The mailbox should be no more than 45 inches above street level, as per USPS requirements.
- Visibility: Ensure that your mailbox is visible to the mail carrier and clearly marked with your house number.
- Distance: Keep your mailbox at least 6-8 inches away from the curb or road to prevent damage from snowplows or passing vehicles.
- Obstructions: Avoid installing your mailbox near trees, bushes, or other obstructions that could interfere with mail delivery.
Securing the Mailbox
Once you’ve chosen a suitable location, it’s time to secure your mailbox. Here are some tips to help you do so:
- Use a sturdy post: A wooden mailbox post should be at least 4×4 inches in size and set in concrete to prevent it from tipping over.
- Secure the mailbox to the post: Use screws or bolts to attach the mailbox to the post. Make sure the mailbox is level and securely attached.
- Add a support arm: If you’re concerned about the weight of your mailbox, you can add a support arm to the post to help distribute the weight.
- Consider a locking mailbox: If you’re concerned about mail theft, consider installing a locking mailbox to keep your mail secure.
By following these installation tips, you can ensure that your wooden mailbox is secure and functional for years to come.