When working on a woodworking project, you may find yourself needing to fill in gaps or cracks in the wood. This is where wood filler comes in handy. However, once you have applied the wood filler, you need to wait for it to dry before you can sand it down and continue working on your project. So, how long does a wood filler need to dry before sanding?
The drying time of wood filler can vary depending on the type of filler you are using and the conditions in which it is applied. Water-based wood fillers typically take around 30 minutes to an hour to dry, while oil-based fillers can take up to six to seven hours. However, if you are working in a space with high humidity or extreme temperatures, the drying process may take longer. Additionally, the thickness of the application can also affect the drying time.
Understanding Wood Filler
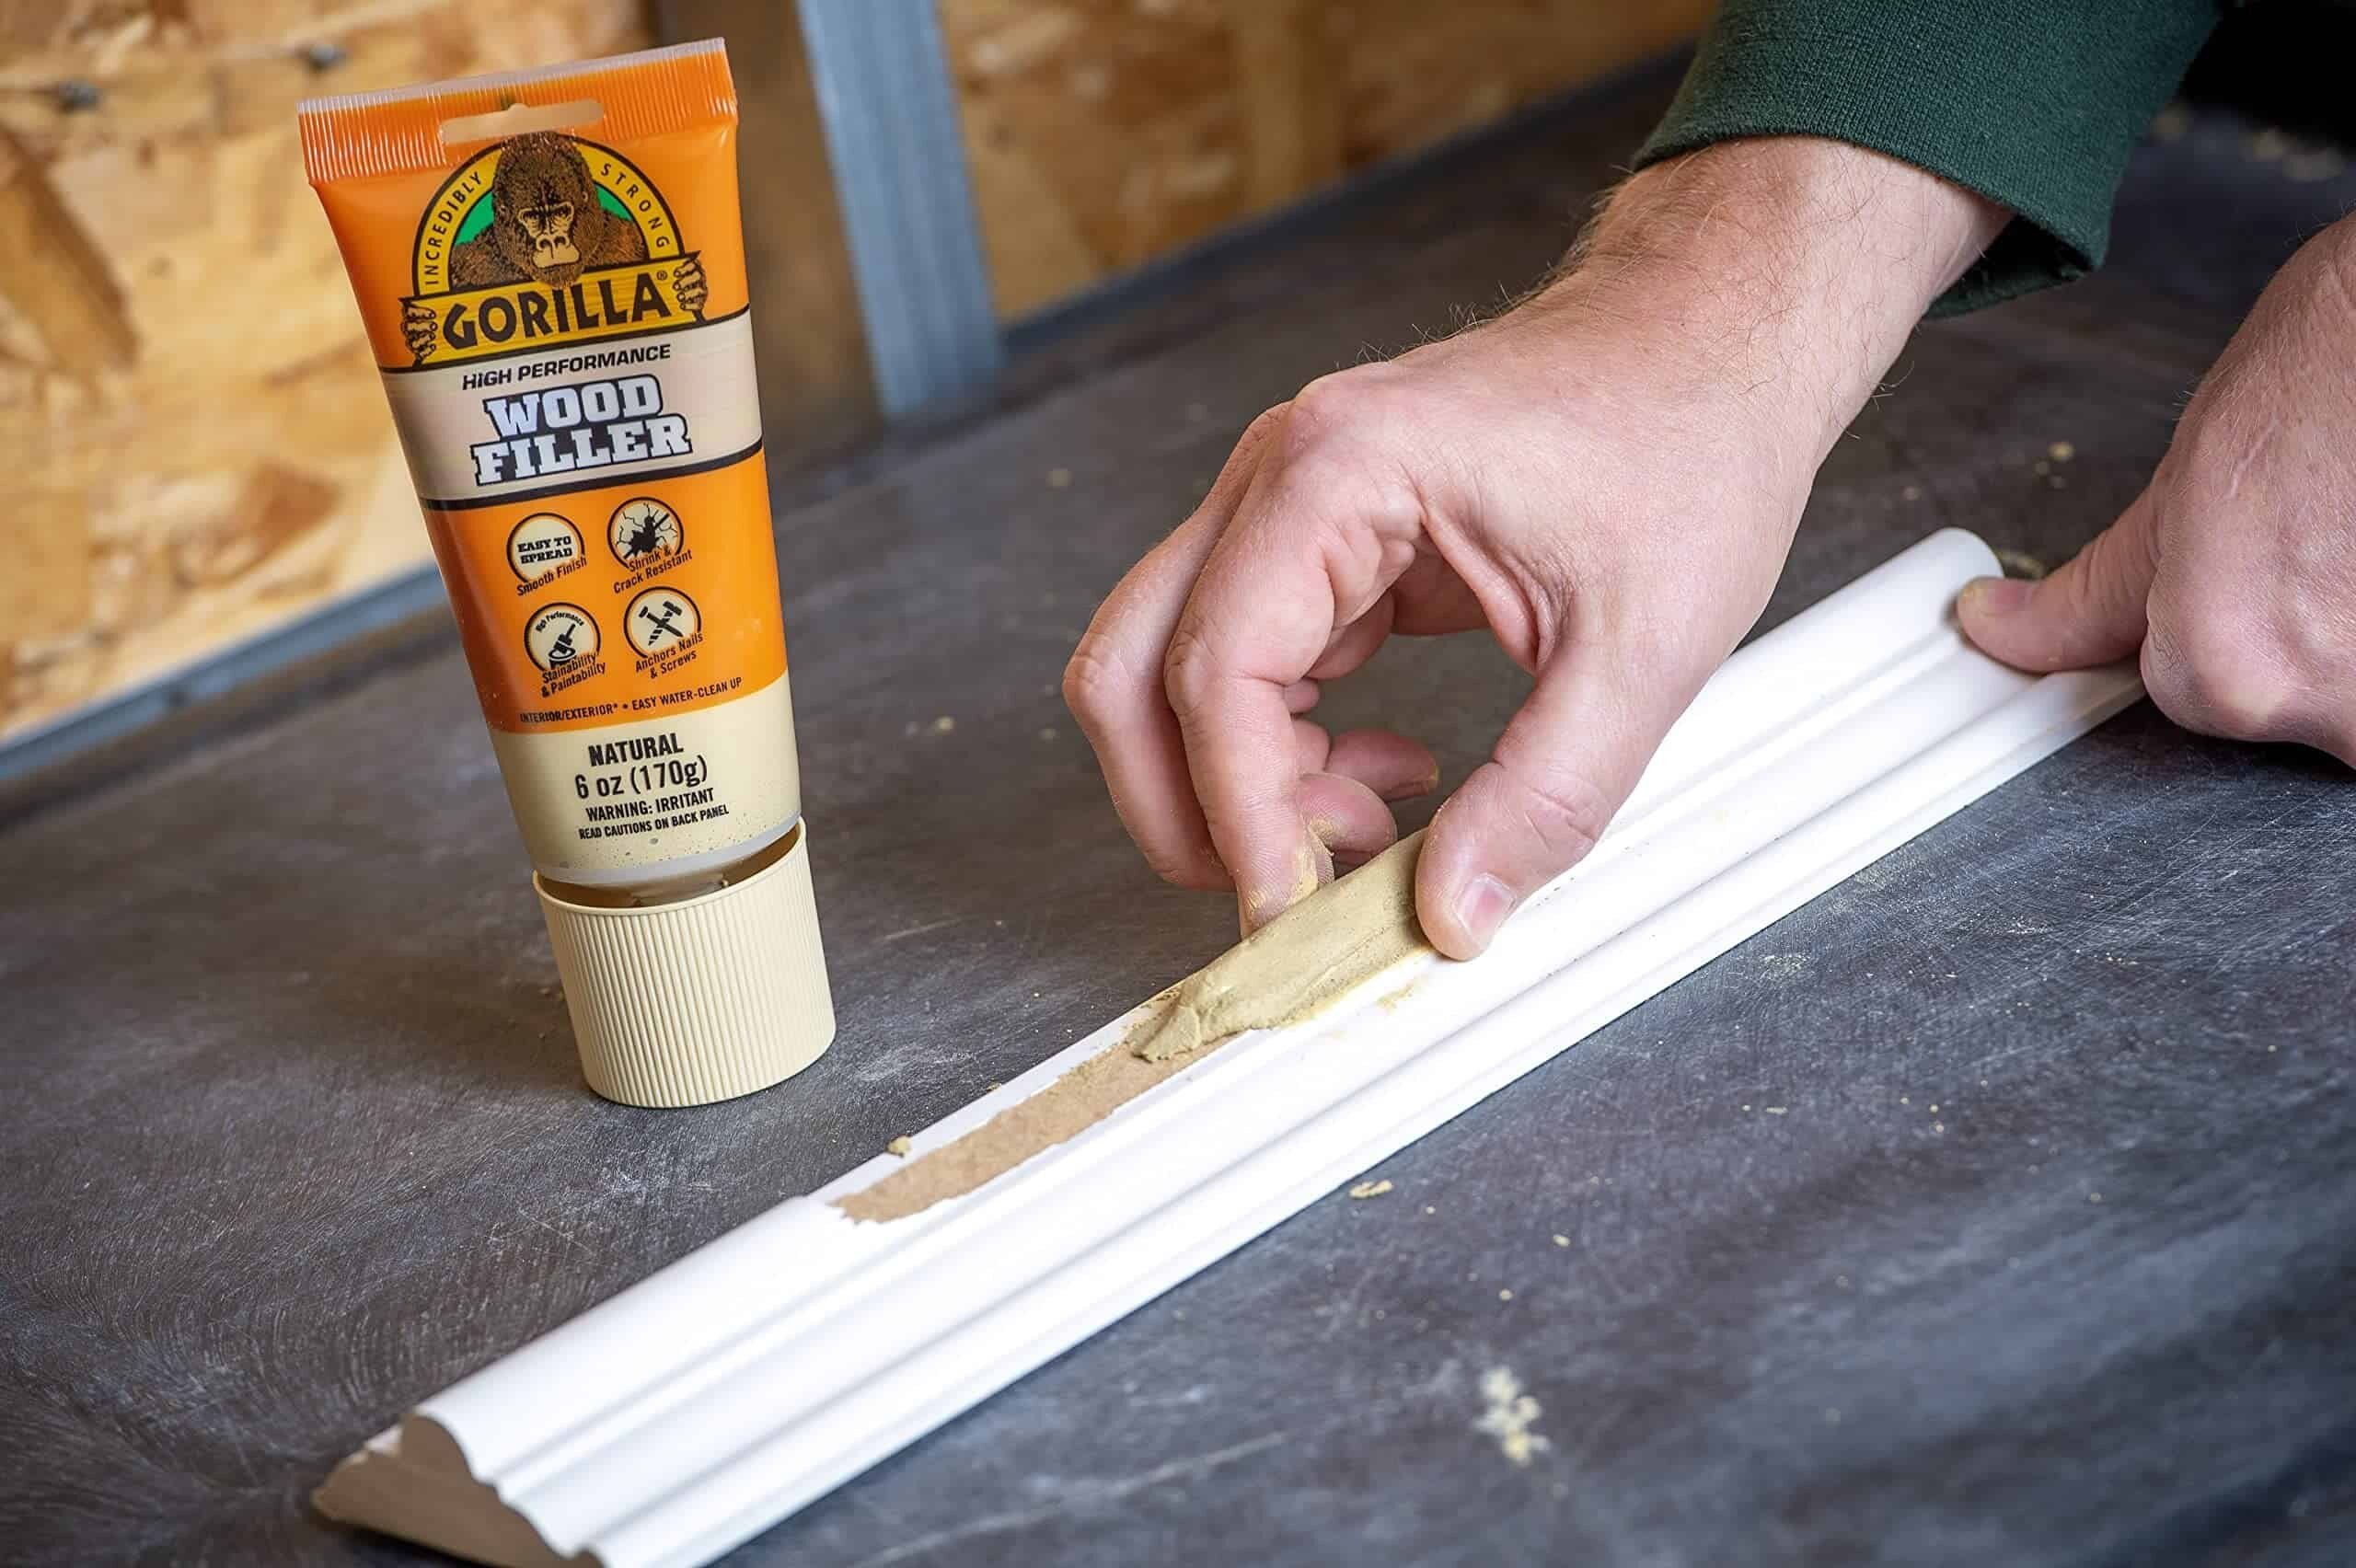
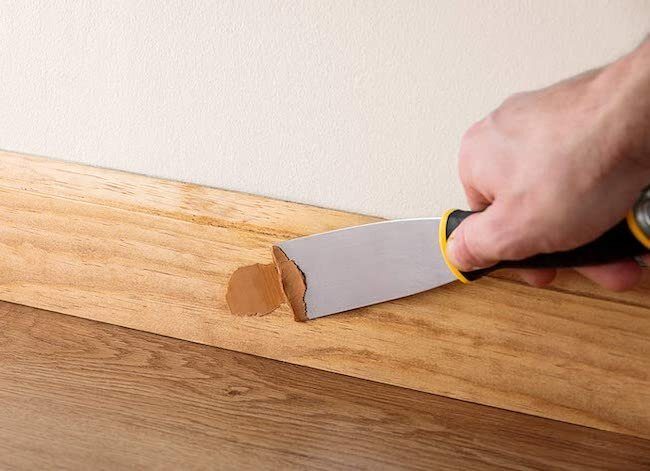
If you’re looking to repair small gaps, cracks, or holes in wood, wood filler can be a great solution. It’s a putty-like material that can be applied to the surface of the wood to fill in any imperfections. However, before you can start sanding, you need to make sure that the wood filler is completely dry.
Wood filler comes in two main types: water-based and oil-based. Water-based wood fillers typically dry faster, while oil-based wood fillers take longer to dry. The drying time can also be affected by other factors such as the temperature, humidity, and thickness of the application.
It’s important to note that wood filler is not a permanent solution. It’s a temporary fix that can help improve the appearance of the wood. If you’re looking for a more permanent solution, you may need to replace the damaged wood entirely.
When using wood filler, it’s important to follow the manufacturer’s instructions carefully. Make sure that the surface of the wood is clean and dry before applying the filler. Apply the filler in thin layers, allowing each layer to dry completely before applying the next.
Once the wood filler is dry, you can start sanding. Sanding helps to smooth out the surface of the wood and remove any excess filler. Start with a coarse-grit sandpaper and gradually work your way up to a finer-grit sandpaper. Be careful not to sand too much, as this can damage the wood.
In summary, wood filler can be a great solution for repairing small imperfections in wood. Understanding the type of wood filler you’re using and the drying time can help you achieve the best results. Remember to follow the manufacturer’s instructions carefully and take your time when sanding to achieve a smooth and flawless finish.
Types of Wood Filler
When it comes to wood fillers, there are several types available in the market. Each type has its own unique characteristics and is suitable for different applications. In this section, we will discuss the three most common types of wood fillers.
Water-Based Wood Filler
Water-based wood fillers are a popular choice among woodworkers because they are easy to use and clean up. They are also non-toxic and have a low odor, making them ideal for indoor use. These fillers are made from a mixture of water, cellulose fibers, and binding agents.
One of the main advantages of water-based wood fillers is that they dry quickly, usually within an hour. However, they are not as strong as solvent-based or epoxy wood fillers and may not be suitable for larger repairs or heavy-duty applications.
Solvent-Based Wood Filler
Solvent-based wood fillers are made from a mixture of solvents, resins, and wood fibers. They are stronger and more durable than water-based fillers and can be used for heavier repairs. However, they have a strong odor and are not as environmentally friendly as water-based fillers.
One of the advantages of solvent-based wood fillers is that they can be sanded and stained to match the surrounding wood. They also dry quickly, usually within a few hours. However, they can be difficult to clean up and may require the use of solvents.
Epoxy Wood Filler
Epoxy wood fillers are a two-part system that consists of a resin and a hardener. When mixed together, they create a strong, durable filler that can be used for large repairs and heavy-duty applications. They are also waterproof and resistant to rot and decay.
One of the advantages of epoxy wood fillers is that they can be sanded, stained, and painted to match the surrounding wood. They also dry quickly, usually within a few hours. However, they can be more difficult to work with than other types of wood fillers and require careful mixing and application.
Understanding Drying Time
When it comes to using wood filler, drying time is an important factor to consider. The length of time it takes for wood filler to dry can vary depending on a variety of factors, including the type of filler, the humidity and temperature of the room, and the thickness of the application.
Water-based wood filler typically takes around 30 minutes to an hour to dry, while oil-based wood filler can take six to seven hours to dry. However, it’s important to note that if the wood filler is applied in a space with high humidity, the drying process can take longer. Direct sunlight, temperature, and weather can also elongate the drying process.
The amount of wood filler applied can also affect drying time. Small amounts of filler in shallow applications take around 2 hours to dry, while thicker applications can take longer. Additionally, the brand of filler and the amount of hardener used in a 2-part filler can also impact drying time.
To ensure that your wood filler dries properly, it’s important to follow the manufacturer’s instructions carefully. This may include allowing the filler to dry for a specific amount of time before sanding or applying a sealant. Sanding too soon can result in the filler not adhering properly, while waiting too long can make it more difficult to sand.
In summary, understanding the drying time of wood filler is crucial to achieving a smooth and flawless finish. Take into consideration the type of filler, the humidity and temperature of the room, and the thickness of the application to determine the appropriate drying time. Always follow the manufacturer’s instructions carefully to ensure the best results.
Factors Affecting Drying Time
When it comes to wood fillers, the drying time can vary depending on several factors. In this section, we’ll take a closer look at some of the factors that can affect the drying time of wood fillers.
Type of Wood Filler
Different types of wood fillers have different drying times. For example, water-based fillers tend to dry faster than oil-based fillers. Two-part fillers also tend to dry faster than one-part fillers. It’s important to follow the manufacturer’s instructions regarding drying time for the specific type of wood filler you are using.
Application Thickness
The thickness of the wood filler application can also affect the drying time. Thicker applications will take longer to dry than thinner applications. It’s important to apply the wood filler in thin layers and allow each layer to dry completely before applying the next layer. This will help ensure that the wood filler dries evenly and thoroughly.
Ambient Conditions
The ambient conditions of the room where the wood filler is drying can also affect the drying time. Humidity and temperature can both play a role in how long it takes for the wood filler to dry. In general, higher humidity and lower temperatures will result in longer drying times. It’s important to keep the room well-ventilated and at a moderate temperature to help ensure that the wood filler dries properly.
In summary, the type of wood filler, application thickness, and ambient conditions can all affect the drying time of wood fillers. It’s important to follow the manufacturer’s instructions and take these factors into consideration to ensure that the wood filler dries properly and is ready for sanding.
How to Determine if Wood Filler is Dry
When working with wood filler, it’s important to know when it’s dry before sanding or painting. Here are a few ways to determine if your wood filler is dry:
1. Touch Test
The most straightforward way to check if your wood filler is dry is to touch it. If it feels hard and doesn’t leave any residue on your finger, it’s likely dry. However, if it feels tacky or soft, it needs more time to dry.
2. Color Test
Another way to check if your wood filler is dry is to look at its color. If the filler is white or grey when wet, it will turn a darker shade when dry. Once the color has changed, you can assume that the filler is dry.
3. Time Test
The amount of time it takes for wood filler to dry varies depending on the type of filler and the conditions in which it’s applied. As a general rule, shallow repairs involving wood filler will only take 15 minutes to two hours to dry. Deeper fills can take as long as six hours before they are fully affixed to the wood. However, it’s always best to check the manufacturer’s guidelines for specific drying times.
4. Smell Test
Some wood fillers emit a strong odor when they’re wet, but the smell will dissipate as they dry. If you still smell the filler after a few hours, it’s likely not dry yet.
Remember, it’s always better to wait a little longer than to sand or paint too soon and ruin your project.
Preparation for Sanding
Before sanding your wood filler, there are a few things you need to keep in mind to ensure a smooth and flawless finish. In this section, we’ll discuss the safety measures you need to take and the tools required for sanding.
Safety Measures
Sanding wood can produce a lot of dust, which can be harmful if inhaled. To protect yourself, make sure to wear a dust mask and safety goggles while sanding. Additionally, it’s a good idea to work in a well-ventilated area to minimize dust buildup.
Tools Required
To sand your wood filler, you’ll need a few tools. Here are the essential tools you’ll need:
- Sandpaper: Choose sandpaper with a grit that matches the level of roughness of your wood filler. For example, if you used a coarse filler, start with a coarse grit sandpaper, and work your way up to a finer grit.
- Sanding block: A sanding block helps you apply even pressure while sanding, which helps prevent uneven sanding.
- Oscillating sander: An oscillating sander is a power tool that helps you sand large areas quickly and efficiently. If you don’t have access to an oscillating sander, you can sand by hand using a sanding block.
Once you have these tools, you’re ready to start sanding your wood filler. Remember to take your time and sand slowly to avoid over-sanding and damaging your wood.
The Sanding Process

Sanding is an essential step in achieving a smooth and polished finish for your woodwork project. Once the wood filler has dried, you can begin sanding. Here are the steps to follow:
Step by Step Sanding
- Start with a coarse-grit sandpaper, such as 80 grit, to remove any excess wood filler and level out the surface. Sand in the direction of the grain to avoid damaging the wood.
- Move on to a finer-grit sandpaper, such as 120 grit, to smooth out the surface. Sand in the direction of the grain until the surface is even and smooth.
- Finish with an even finer-grit sandpaper, such as 220 grit, to create a polished finish. Sand lightly in the direction of the grain to avoid scratches.
Tips for Effective Sanding
- Use a sanding block to keep the sandpaper flat and even, preventing uneven sanding and scratches.
- Change the sandpaper frequently to avoid clogging and ensure effective sanding.
- Wear a dust mask and eye protection to avoid inhaling wood dust and protect your eyes from flying debris.
- Sand in a well-ventilated area to avoid inhaling harmful fumes from the wood filler and sandpaper.
- Take breaks to rest your hands and avoid overexertion, which can lead to hand fatigue and injuries.
Following these steps and tips will ensure that your woodwork project has a smooth and polished finish.
Frequently Asked Questions
How long does it take for wood filler to dry before sanding?
The drying time for wood filler before sanding depends on the type of filler used. Water-based fillers usually take 2 to 4 hours to dry, while oil-based fillers take 6 to 8 hours. It’s important to read the manufacturer’s instructions to determine the exact drying time for your specific filler.
What is the drying time for sandable wood filler?
Sandable wood filler dries in about 2 to 4 hours, but it’s best to wait at least 24 hours before sanding. This will ensure that the filler is completely dry and will prevent it from cracking or shrinking when sanded.
Can wood fillers be sanded?
Yes, wood fillers can be sanded once they are completely dry. Use a fine-grit sandpaper to sand the filler until it’s smooth and level with the surrounding wood.
How long does it take for DAP Plastic Wood Filler to dry?
DAP Plastic Wood Filler dries in about 2 to 6 hours depending on the size of the repair, depth of the fill, and temperature and humidity conditions. It’s best to wait at least 24 hours before sanding or painting.
What is the best wood filler for large holes?
For large holes, it’s best to use an epoxy wood filler. Epoxy fillers are strong, durable, and can be sanded and painted over once dry. Some popular brands include Abatron WoodEpox and J-B Weld Wood Restore.
How do I use wood filler before painting?
To use wood filler before painting, first clean and dry the area to be repaired. Apply the filler using a putty knife, making sure to fill the entire area. Let the filler dry completely, then sand it smooth with a fine-grit sandpaper. Finally, prime and paint the repaired area to match the surrounding wood.