If you’re looking for a fun and functional DIY project, making a wooden footstool is a great place to start. Not only can you customize the design to fit your personal style, but you’ll also have a practical piece of furniture that can be used in any room of your home.
To get started, you’ll need some basic woodworking tools and materials such as wood boards, screws, a saw, and sandpaper. There are a variety of designs and styles to choose from, so you can create a footstool that matches your existing decor or adds a unique touch to your space.
Whether you’re a seasoned woodworker or a beginner, making a wooden footstool is a fun and rewarding project that can be completed in a weekend. With a little creativity and some elbow grease, you’ll have a beautiful and functional piece of furniture that you can be proud of.
Understanding Wood Types
When it comes to building a wooden footstool, choosing the right type of wood is crucial. Different types of wood have varying levels of hardness, durability, and appearance. In this section, we will discuss the two main categories of wood: hardwood and softwood.
Hardwood
Hardwood comes from deciduous trees, which are trees that lose their leaves in the fall. Hardwood is known for its strength, durability, and resistance to wear and tear. It’s also more expensive than softwood. Some common types of hardwood used in woodworking include:
Each type of hardwood has its own unique characteristics. For example, oak is a strong and durable wood that is often used in furniture making. Maple, on the other hand, is known for its light color and smooth texture.
Softwood
Softwood comes from coniferous trees, which are trees that have needles instead of leaves. Softwood is less dense and less expensive than hardwood, but it’s also less durable. Some common types of softwood used in woodworking include:
Softwood is often used for construction and outdoor projects. Pine, for example, is a popular choice for building decks and fences.
When choosing the type of wood for your footstool, consider the look you want to achieve, as well as the durability and cost. Hardwood is a great choice for indoor furniture, while softwood is a good option for outdoor projects.
Tools Required
To build a wooden footstool, you will need a few tools to get started. Here are some of the essential tools you will need:
Saw
A saw is an essential tool for cutting the wood to the desired size. You can use either a hand saw or a power saw, depending on your preference and experience. If you are new to woodworking, a hand saw might be easier to use. However, a power saw can make the job faster and more efficient.
Hammer
A hammer is necessary for driving nails into the wood. You can use either a claw hammer or a framing hammer, depending on the size of the nails and the type of wood you are using. A claw hammer is more versatile and can be used for a variety of tasks, while a framing hammer is better suited for heavy-duty work.
Sandpaper
Sandpaper is necessary for smoothing out the rough edges and surfaces of the wood. You will need a variety of grits, ranging from coarse to fine, depending on the level of smoothing required. You can use either sandpaper sheets or a sanding block, depending on your preference.
Varnish
Varnish is necessary for protecting the wood from moisture and wear. You can use either a brush or a spray can, depending on your preference. You will need to apply several coats of varnish, allowing each coat to dry completely before applying the next one.
In summary, you will need a saw, hammer, sandpaper, and varnish to build a wooden footstool. These tools are essential for cutting, smoothing, and protecting the wood.
Choosing the Right Wood
When it comes to building a wooden footstool, choosing the right type of wood is crucial. You want a wood that is strong enough to support your weight, but also lightweight and easy to work with. Here are some factors to consider when choosing the right wood for your footstool:
Strength and Durability
You want a wood that is strong and durable enough to withstand the weight of your feet. Hardwoods, such as oak, maple, and cherry, are great choices for footstools because they are strong and dense. Softwoods, such as pine and cedar, are also good options, but they may not be as durable as hardwoods.
Weight
Since footstools are meant to be moved around, you want a wood that is lightweight and easy to carry. Softwoods are generally lighter than hardwoods, but some hardwoods, such as poplar and basswood, are also lightweight.
Appearance
The appearance of the wood is also important. You want a wood that looks good and matches the decor of your room. Hardwoods have a more elegant and refined look, while softwoods have a more rustic and natural look.
Cost
The cost of the wood is also a factor to consider. Hardwoods are generally more expensive than softwoods, but they are also more durable and long-lasting. Softwoods are more affordable, but they may not last as long as hardwoods.
Overall, the best wood for your footstool depends on your personal preferences and needs. Consider the factors mentioned above and choose a wood that is strong, lightweight, and matches your decor.
Designing the Foot Stool
Before you start building your footstool, you need to decide on the design you want. There are many different styles of footstools to choose from, so you should consider the following factors when designing your footstool:
Size and Shape
The size and shape of your footstool will depend on your personal preferences and the space you have available. Consider the height of your chair or couch and the length of your legs when deciding on the size of your footstool. You should also consider the shape of your footstool. A rectangular or square footstool will provide more surface area for your feet, while a round or oval footstool may be more visually appealing.
Material
The material you choose for your footstool will depend on your personal preferences and the style of your home. Wooden footstools are a popular choice because they are sturdy and durable. You can choose from a variety of woods, such as oak, cherry, or walnut, depending on your budget and the look you want. Upholstered footstools are also a popular choice because they are comfortable and can add a pop of color or pattern to your room.
Style
The style of your footstool should complement the style of your home. If you have a traditional home, a footstool with ornate details and a rich wood finish may be a good choice. If you have a modern home, a footstool with clean lines and a simple design may be more appropriate. You can also consider adding decorative elements, such as nailhead trim or tufting, to your footstool to give it a unique look.
Functionality
Finally, you should consider the functionality of your footstool. Will it be used primarily for resting your feet, or will it also be used as a seat or storage space? If you plan to use your footstool as a seat, you should make sure it is sturdy enough to support your weight. If you plan to use it for storage, you should consider adding a hinged lid or a removable cushion to make it easy to access your belongings.
By considering these factors when designing your footstool, you can create a piece that is both functional and stylish.
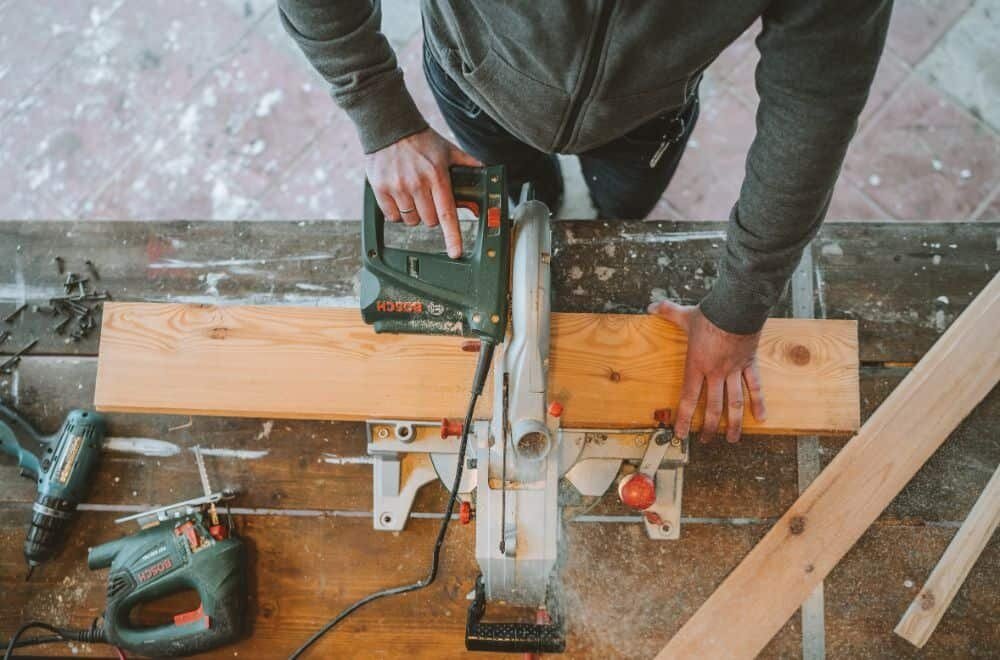
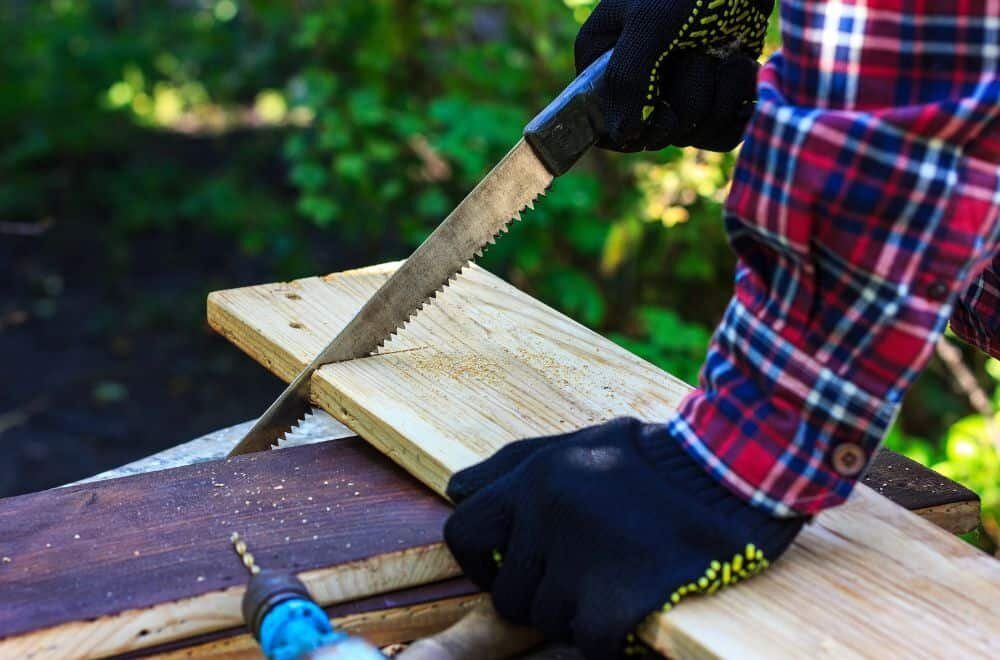
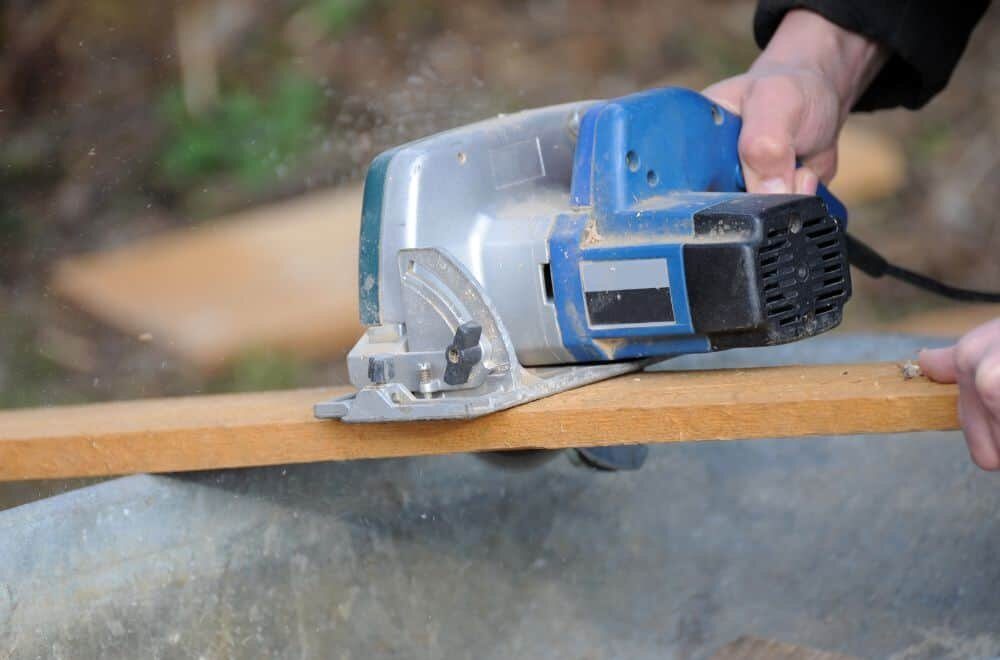
Cutting the Wood Pieces
To start building your wooden footstool, you’ll need to cut the wood pieces to the appropriate sizes. Here are the steps to follow:
-
First, gather all the necessary materials, including a saw, measuring tape, and the wood pieces you’ll be cutting.
-
Measure and mark the wood pieces according to the dimensions you need. You can use a measuring tape to ensure that the pieces are the right size.
-
Use a saw to cut the wood pieces to the appropriate size. Be sure to use a steady hand and follow your markings carefully to ensure that the pieces are cut accurately.
-
If you’re cutting multiple pieces of the same size, consider using a stop block to make the process faster and more efficient. This will allow you to cut multiple pieces to the same size without having to measure and mark each one individually.
-
Once all the pieces are cut, use sandpaper to smooth out any rough edges or surfaces. This will ensure that the footstool looks neat and professional when it’s finished.
Remember to always wear appropriate safety gear when cutting wood, including eye protection and gloves. Additionally, be sure to work in a well-ventilated area and follow all safety guidelines for your specific tools and equipment. With these precautions in mind, you’ll be able to cut the wood pieces for your footstool safely and accurately.
Assembling the Foot Stool
Now that you have all the pieces cut and sanded, it is time to assemble the foot stool. Follow these steps to put everything together:
-
First, attach the legs to the top piece. Apply wood glue to the top of each leg and then place the top piece on top of them. Make sure everything is lined up properly before securing the pieces together with screws.
-
Next, attach the side pieces to the legs. Apply wood glue to the edges of the side pieces and then place them against the legs. Use clamps to hold everything in place while you drill pilot holes and then secure the pieces together with screws.
-
Once the side pieces are attached, flip the foot stool over and attach the bottom piece. Apply wood glue to the top of the legs and the edges of the side pieces, and then place the bottom piece on top. Secure everything together with screws.
-
Finally, attach the felt to the bottom of the foot stool. Cut the felt to the size of the bottom piece and then use a staple gun to attach it to the wood. This will protect your floors from scratches and also give the foot stool a finished look.
And that’s it! Your wooden foot stool is now complete and ready to use.
Sanding and Finishing
Once you have assembled your footstool, it’s time to sand and finish it. Sanding is an important step to ensure that your footstool is smooth and free of rough edges. Here are the steps to sand and finish your wooden footstool:
-
Start by sanding the entire surface of your footstool with a coarse-grit sandpaper. This will remove any rough spots or bumps on the wood surface.
-
Once you have sanded the entire surface with a coarse-grit sandpaper, switch to a finer-grit sandpaper and sand the surface again. This will help to smooth out the surface of the wood and remove any remaining rough spots.
-
After you have sanded the entire surface with a finer-grit sandpaper, use a tack cloth to remove any dust or debris from the surface of the wood. This will ensure that the surface is clean and ready for finishing.
-
Apply wood stain to the surface of the footstool using a brush or cloth. Be sure to apply the stain evenly and in the direction of the grain. Allow the stain to dry completely before moving on to the next step.
-
Once the stain has dried, apply a coat of polyurethane to the surface of the footstool. Use a brush or cloth to apply the polyurethane evenly and in the direction of the grain. Allow the polyurethane to dry completely before using your footstool.
By following these simple steps, you can sand and finish your wooden footstool and ensure that it looks great and lasts for years to come.
Safety Tips
When working with wood, it is important to prioritize safety to prevent accidents and injuries. Here are some safety tips to keep in mind when making a wooden footstool:
Use Protective Gear
Wear protective gear such as safety glasses, earplugs, and a dust mask to protect yourself from wood dust and debris. Gloves can also be worn to provide additional protection.
Use Proper Tools
Ensure that you are using the proper tools for the job. Using the wrong tool can lead to accidents and injuries. Make sure that your tools are in good condition and are sharp.
Follow Instructions Closely
Follow the instructions closely when making your footstool. Deviating from the instructions can lead to mistakes and accidents. If you are unsure about something, consult the instructions or seek advice from a professional.
Take Breaks
Take regular breaks to prevent fatigue and maintain focus. Working for extended periods of time without taking breaks can lead to mistakes and accidents.
Keep Your Workspace Clean
Keep your workspace clean and organized to prevent accidents and injuries. Remove any clutter and debris from your workspace and ensure that your tools are properly stored.
By following these safety tips, you can ensure that your woodworking project is completed safely and without incident.