
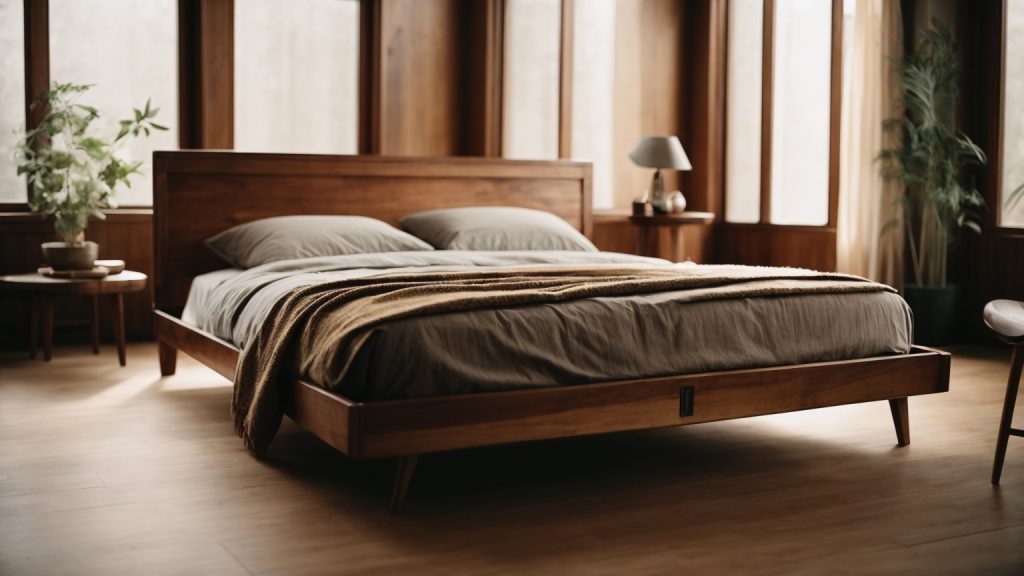
If you’re looking to add a personal touch to your bedroom, building a wooden bed frame is a great way to do so. Not only is it a fun and rewarding DIY project, but it also allows you to customize your bed to fit your specific needs and style. Whether you’re an experienced woodworker or a beginner, building a wooden bed frame is a project that anyone can tackle with the right tools and materials.
Before you get started, it’s important to decide on the size and style of your bed frame. You’ll need to measure your mattress to ensure that your frame fits properly, and consider the height and design of your frame to ensure that it complements the overall aesthetic of your bedroom. Once you have a clear idea of what you want your bed frame to look like, you can begin gathering the necessary materials and tools. Depending on the design you choose, you may need bed rail hangers, wood screws, plywood, and other hardware. With these basic supplies and a little bit of know-how, you’ll be on your way to creating a beautiful and functional wooden bed frame that you can be proud of.
Understanding the Basics of a Wooden Bed Frame
If you’re looking to build your own bed frame, it’s important to understand the basics of a wooden bed frame. A wooden bed frame consists of several components that work together to provide a sturdy and comfortable sleeping surface. Here’s what you need to know:
Platform
The platform is the part of the bed frame that supports the mattress. It can be made of slats or a solid piece of wood. If you’re using slats, make sure they’re evenly spaced and sturdy enough to support the weight of the mattress and the people sleeping on it.
Headboard and Footboard
The headboard and footboard are the vertical panels at the head and foot of the bed. They can be simple or ornate, depending on your design preferences. Make sure they’re securely attached to the rest of the bed frame for stability.
Side Rails
The side rails are the horizontal pieces that connect the headboard and footboard. They’re usually made of wood, but can also be made of metal. Make sure they’re long enough to provide ample support for the mattress and people sleeping on it.
Center Support
A center support is optional, but recommended for larger bed frames. It helps to distribute the weight of the mattress and people sleeping on it more evenly, reducing the risk of sagging or warping over time.
Materials
When building a wooden bed frame, it’s important to choose the right materials. Hardwoods like oak, maple, and cherry are strong and durable, but can be expensive. Softwoods like pine and spruce are more affordable, but may not be as strong as hardwoods. Make sure the wood is kiln-dried to prevent warping or cracking.
By understanding the basics of a wooden bed frame, you’ll be better equipped to build a sturdy and comfortable bed that will last for years to come.
Materials Needed
When it comes to building a wooden bed frame, you’ll need a few materials to get started. This section will outline the different types of wood and hardware requirements you’ll need to build a sturdy bed frame.
Wood Types
The type of wood you choose for your bed frame will depend on your personal preference and budget. Here are a few popular options:
- Pine: Pine is a popular choice for bed frames because it’s affordable and easy to work with. However, it’s a softwood and can dent and scratch easily.
- Oak: Oak is a hardwood that’s durable and has a beautiful grain pattern. It’s more expensive than pine but will last longer.
- Maple: Maple is another hardwood that’s known for its strength and durability. It’s more expensive than pine but less expensive than oak.
When selecting your wood, make sure it’s kiln-dried to prevent warping and splitting.
Hardware Requirements
In addition to wood, you’ll need a few hardware items to build your bed frame. Here’s what you’ll need:
- Bed rail hangers: These are used to attach the side rails to the headboard and footboard.
- Wood screws: You’ll need screws to attach the bed rail hangers to the headboard and footboard.
- Wood glue: Wood glue is used to reinforce the joints and make them stronger.
- Drill and drill bits: You’ll need a drill to make pilot holes for the screws.
- Saw: A saw is needed to cut the wood to size.
- Sandpaper: Sandpaper is used to smooth out any rough edges.
- Finishing materials: Depending on your preference, you may want to finish your bed frame with paint, stain, or a clear coat.
Tools Required
To build a wooden bed frame, you will need a few tools. Here is a list of the essential tools you will need:
Power Tools
- Circular saw or jigsaw
- Power drill
- Drill bits
- Pocket hole jig
- Orbital sander
Hand Tools
- Tape measure
- Carpenter’s square
- Chisels
- Hammer
- Screwdrivers
- Clamps
- Level
Other Materials
- Wood glue
- 2½” pocket hole screws
- 2″ wood screws
- Finishing nails
- Sandpaper
- Sandable wood filler
- All surface primer and optionally BIN primer
- Paint or stain
- Paintbrushes, rags, etc.
- Safety equipment – goggles, dust mask
Before starting, make sure you have all the necessary tools and materials. It’s also a good idea to read through the entire set of instructions to ensure you understand the process and have everything you need.
Designing Your Bed Frame
When it comes to designing your own wooden bed frame, there are a few things to consider. Here are some tips to help you get started:
Size Considerations
The first thing you need to think about is the size of your bed frame. You want to make sure that it fits your mattress perfectly. Here are some standard mattress sizes to keep in mind:
- Twin: 39″ x 75″
- Full: 54″ x 75″
- Queen: 60″ x 80″
- King: 76″ x 80″
- California King: 72″ x 84″
Make sure to measure your mattress before you start building your bed frame. You don’t want to end up with a bed that’s too small or too big for your mattress.
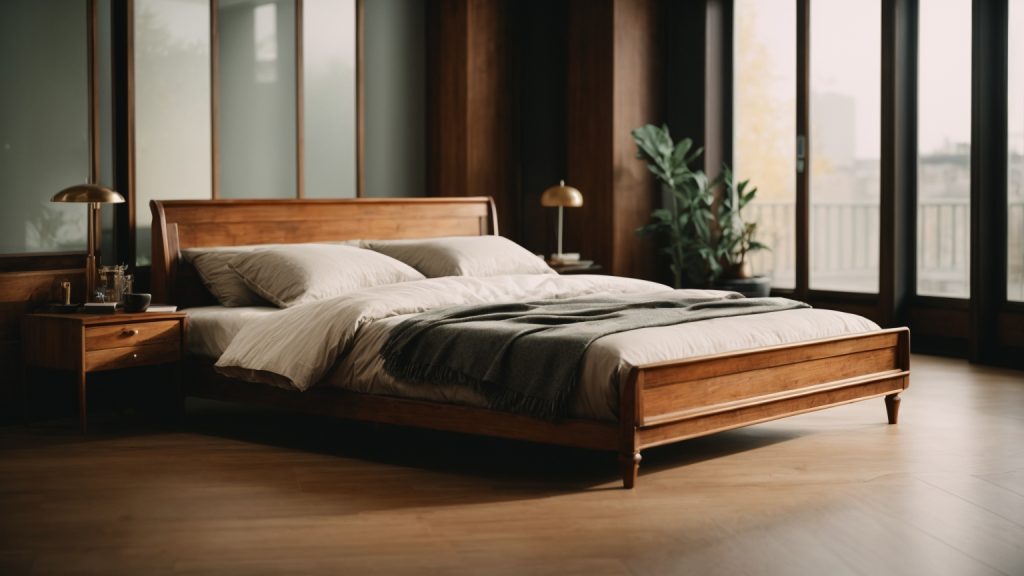
Style Preferences
Once you have the size figured out, it’s time to think about the style of your bed frame. Do you want a simple, minimalist design? Or do you prefer something more ornate and decorative?
Here are a few different styles to consider:
- Platform bed: A simple, low-to-the-ground design that doesn’t require a box spring.
- Canopy bed: A four-poster bed with a frame that extends above the mattress, often with curtains or drapes.
- Sleigh bed: A bed with a curved headboard and footboard that resembles a sleigh.
Think about the overall aesthetic of your bedroom and choose a bed frame style that complements it. You can also add your own personal touches, such as carving designs into the wood or painting the frame a unique color.
By considering these factors, you can design a wooden bed frame that fits both your practical needs and personal style preferences.
Preparing the Wood
Before you begin building your wooden bed frame, it’s important to properly prepare your wood. Here are a few steps to follow:
Step 1: Choose the Right Wood
Selecting the right type of wood is crucial to the success of your project. You’ll want to choose a wood that is strong, durable, and easy to work with. Some popular options include pine, oak, and maple. Make sure to choose wood that is straight and free of knots or defects.
Step 2: Measure and Cut
Next, you’ll need to measure and cut your wood to the appropriate lengths. Use a saw to cut your wood to the correct size. Be sure to measure twice and cut once to avoid any mistakes.
Step 3: Sand and Smooth
After cutting your wood, use sandpaper to smooth out any rough edges or surfaces. This will ensure that your bed frame looks professional and is comfortable to use.
Step 4: Apply a Finish
Finally, you’ll want to apply a finish to your wood to protect it from wear and tear. You can choose from a variety of finishes, such as paint, stain, or varnish. Be sure to apply your finish evenly and let it dry completely before assembling your bed frame.
By properly preparing your wood, you’ll ensure that your bed frame is strong, durable, and looks great.
Assembling the Bed Frame
Once you have all the necessary materials, it’s time to start assembling your wooden bed frame. This section will guide you through the process, step by step.
Building the Headboard
First, you’ll want to start with the headboard. Begin by laying out the two long boards parallel to each other, with the shorter boards running perpendicular to them. Use wood glue and screws to attach the shorter boards to the longer ones, forming a rectangular frame.
Next, cut the decorative boards to the desired length and attach them to the frame using wood glue and screws. Make sure they are evenly spaced and level. Sand the entire headboard to smooth out any rough edges.
Constructing the Footboard
The footboard is constructed in the same way as the headboard. Begin by laying out the two long boards parallel to each other, with the shorter boards running perpendicular to them. Use wood glue and screws to attach the shorter boards to the longer ones, forming a rectangular frame.
Next, cut the decorative boards to the desired length and attach them to the frame using wood glue and screws. Make sure they are evenly spaced and level. Sand the entire footboard to smooth out any rough edges.
Forming the Side Rails
To form the side rails, take the remaining long boards and cut them to the desired length. Attach the shorter boards to the ends of the long boards using wood glue and screws, forming a rectangular frame.
Next, attach the headboard and footboard to the side rails using wood screws. Make sure everything is level and secure. Finally, attach the slats to the bed frame, evenly spaced and level.
Congratulations! You have successfully assembled your own wooden bed frame.
Finishing Touches
Once you have assembled your wooden bed frame, it’s time to give it a finishing touch. This will not only add to the aesthetic appeal of your bed but also protect it from wear and tear. Here are some finishing touches you can consider:
Sanding the Wood
Before you apply any finish, it’s important to sand the wood to make it smooth and remove any rough edges. Start with a coarse-grit sandpaper and work your way up to a finer grit. Be sure to sand with the grain of the wood to avoid damaging it.
Painting or Staining
Painting or staining your wooden bed frame is a great way to add color and protect the wood. If you decide to paint, choose a paint that is specifically designed for wood and apply it in thin, even coats. Allow each coat to dry completely before applying the next one.
If you prefer the natural look of wood, staining is a great option. Choose a stain that complements the wood grain and apply it with a brush or cloth. Be sure to wipe off any excess stain and allow it to dry completely before applying a sealer.
Sealing the Wood
Once you have painted or stained your wooden bed frame, it’s important to seal it to protect it from moisture and scratches. You can use a clear polyurethane sealer or wax to seal the wood. Apply the sealer in thin, even coats and allow each coat to dry completely before applying the next one.
By following these simple finishing touches, you can give your wooden bed frame a professional look and protect it from wear and tear.
Safety Precautions
When building a wooden bed frame, safety should be your top priority. Here are a few safety precautions to keep in mind:
Wear Protective Gear
Wear protective gear such as safety glasses, gloves, and a dust mask to protect yourself from dust, wood chips, and other debris. This will help prevent injuries to your eyes, hands, and lungs.
Use the Right Tools
Using the right tools for the job is crucial to ensuring your safety. Make sure your tools are in good condition and are appropriate for the task at hand. Using the wrong tool can result in accidents and injuries.
Follow Instructions Carefully
Follow the instructions carefully and take your time to avoid mistakes. Rushing through the project can lead to errors that can compromise the safety and stability of the bed frame.
Work in a Well-Ventilated Area
Working in a well-ventilated area will help reduce the risk of inhaling harmful fumes from paints, stains, and other chemicals.
Keep Children and Pets Away
Keep children and pets away from your work area to prevent accidents. Make sure your tools and materials are stored safely when not in use.
By following these safety precautions, you can ensure that your wooden bed frame project is completed safely and successfully.