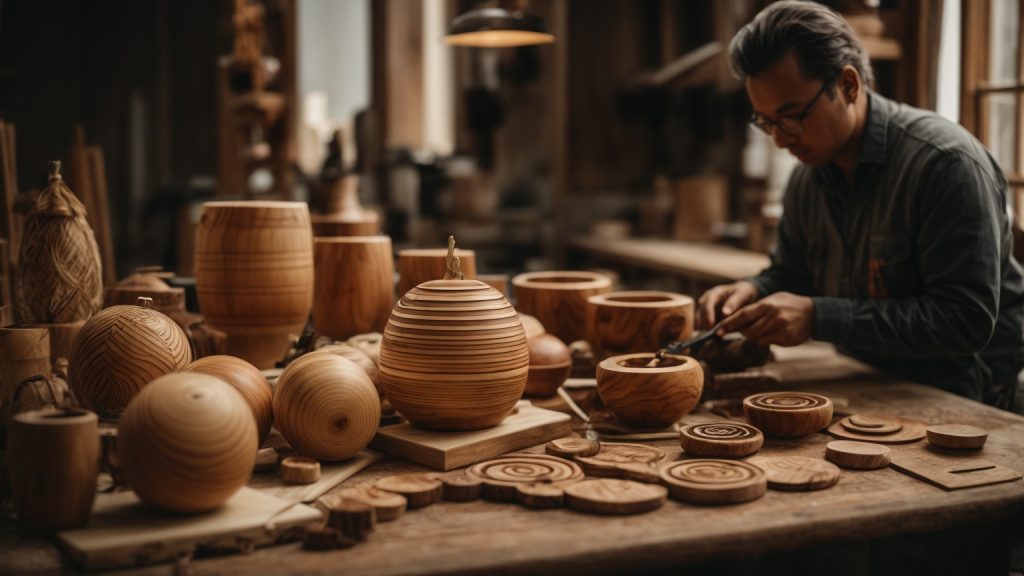
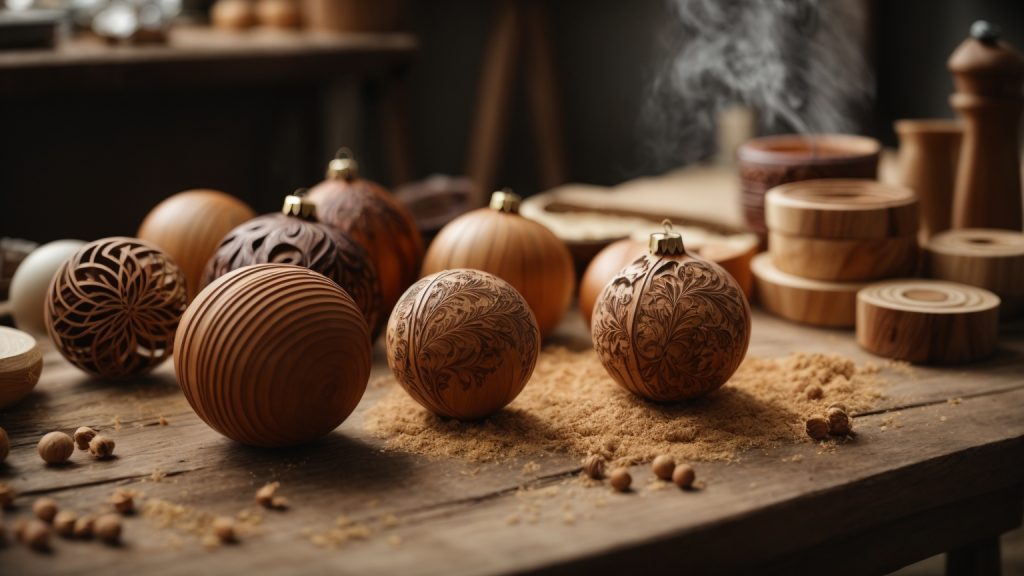
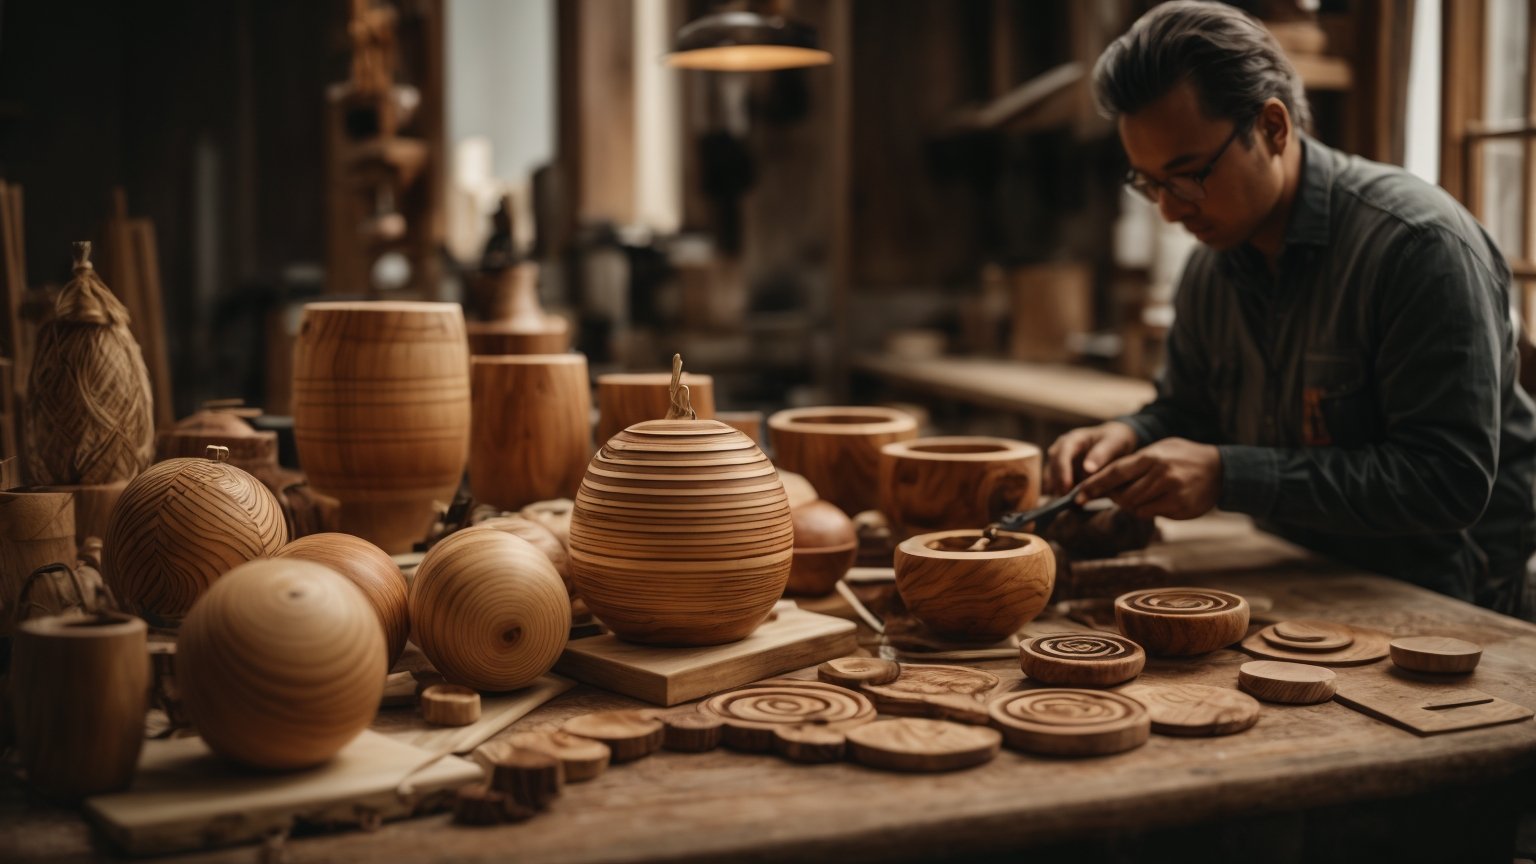
Are you looking for a fun and creative way to decorate your Christmas tree this year? Why not try making your own wooden ornaments? Not only are they a unique addition to your holiday decor, but they also make great gifts for friends and family.
There are many different ways to make wooden ornaments, from using scrap wood to more high-quality materials. One popular method is using a lathe to shape the wood into various designs, such as snowflakes or stars. Another option is to paint or etch designs onto wood slices. Whatever method you choose, making your own wooden ornaments allows for endless possibilities and personalization.
Understanding Wood Types

When it comes to creating wooden ornaments, it’s important to understand the different types of wood available. Each type has its own unique characteristics that can affect the final outcome of your project.
Hardwood
Hardwoods come from deciduous trees, which means they lose their leaves annually. They are generally denser and heavier than softwoods, making them more durable and resistant to wear and tear. Some popular types of hardwoods include oak, maple, cherry, and walnut.
Softwood
Softwoods come from evergreen trees, which means they keep their leaves year-round. They are generally lighter and less dense than hardwoods, making them easier to work with. Some popular types of softwoods include pine, cedar, and spruce.
Plywood
Plywood is a type of engineered wood made by gluing together thin layers of wood veneer. It is strong, stable, and resistant to warping and cracking. Plywood is often used as a more affordable alternative to solid wood, and it can be found in a variety of thicknesses and grades.
When choosing a wood type for your ornament project, consider the look you want to achieve, as well as the durability and workability of the wood. Hardwoods are great for intricate designs and detailed carving, while softwoods are better for simpler shapes and designs. Plywood is a versatile option that can be used for a variety of projects.
Keep in mind that different types of wood can also vary in price, so consider your budget when making your selection. With a little research and planning, you can choose the perfect wood type for your wooden ornament project.
Gathering Tools
When it comes to making wooden ornaments, you’ll need a few tools to get started. Here are the essential tools you’ll need, broken down into three categories: Wood Carving Tools, Sanding Tools, and Painting Tools.
Wood Carving Tools
To carve your wooden ornaments, you’ll need some basic carving tools. Here are the essential wood carving tools you’ll need:
| Tool | Description |
|---|---|
| Carving Knife | A sharp knife with a pointed tip used for carving fine details. |
| Chisels | A set of chisels with different blade shapes and sizes used for carving and shaping the wood. |
| Gouges | Curved chisels used for carving rounded shapes and contours. |
Sanding Tools
After carving your wooden ornaments, you’ll need to sand them to smooth out any rough edges and prepare them for painting. Here are the essential sanding tools you’ll need:
| Tool | Description |
|---|---|
| Sandpaper | A variety of sandpapers in different grits, ranging from coarse to fine, used for smoothing and shaping the wood. |
| Sanding Block | A block of wood or foam with sandpaper attached used for sanding flat surfaces. |
| Dremel Tool | A rotary tool with sanding attachments used for sanding hard-to-reach areas and fine details. |
Painting Tools
Once your wooden ornaments are sanded, it’s time to paint them. Here are the essential painting tools you’ll need:
| Tool | Description |
|---|---|
| Paintbrushes | A variety of paintbrushes in different sizes and shapes used for painting details and filling in larger areas. |
| Paint | Acrylic paint in a variety of colors used for painting the wooden ornaments. |
| Palette | A flat surface used for mixing and blending paint colors. |
With these essential tools, you’ll be well on your way to making beautiful wooden ornaments.
Sketching the Design
Before you start making your wooden ornaments, it’s important to sketch out your design. This will help you visualize what the finished product will look like and ensure that you have all the necessary materials.
To sketch out your design, you can use a pencil and paper or a digital drawing program. If you’re not confident in your drawing skills, there are plenty of free templates and designs available online that you can use as a starting point.
Once you have your design sketched out, it’s time to transfer it onto the wood. You can do this by using transfer paper or by free-hand drawing directly onto the wood with a pencil.
If you’re using transfer paper, simply place the transfer paper onto the wood with the design facing down. Then, place your sketch on top of the transfer paper and trace over the design with a pencil. The pressure from the pencil will transfer the design onto the wood.
If you’re free-hand drawing, use a pencil to lightly sketch out your design onto the wood. Don’t worry if your lines aren’t perfect – you can always sand away any mistakes later.
Once your design is sketched onto the wood, you’re ready to start cutting, carving, or burning your ornament. Remember to take your time and be patient – making wooden ornaments can be a time-consuming process, but the end result is worth it.
Carving the Ornament

To carve a wooden ornament, you will need some basic tools and materials. Here are the steps to follow:
- Choose the type of wood you want to use. Softwoods like pine and cedar are easy to carve, while hardwoods like oak and maple are more difficult but can produce beautiful results.
- Draw your design onto the wood using a pencil. You can use stencils or freehand your design. Make sure to leave enough space around the edges to hold onto while carving.
- Use a carving knife or chisel to carefully remove the wood around your design. Start with small cuts and work your way around the edges, being careful not to cut too deeply or remove too much wood at once.
- Once you have the basic shape carved out, use sandpaper to smooth the edges and refine the details of your design.
- If you want to add texture or depth to your ornament, you can use a wood-burning tool to create patterns or lines on the surface.
- Finish your ornament with a coat of wood sealer or varnish to protect it and bring out the natural beauty of the wood.
Remember to take your time and work carefully when carving your ornament. With practice and patience, you can create a beautiful and unique decoration for your home or as a gift for someone special.
Sanding the Ornament
After turning your wooden ornament, it’s important to sand it down to create a smooth surface for painting or staining. Sanding also helps to remove any rough spots or tool marks left behind from the turning process.
To start sanding, you’ll need a variety of sandpaper grits, ranging from coarse to fine. Begin with a coarse grit, such as 80 or 100, and work your way up to finer grits, such as 220 or 320.
To sand your ornament, hold it firmly in place with one hand while using the other hand to move the sandpaper back and forth over the surface. Be sure to sand evenly and in the direction of the grain to prevent scratches or gouges.
As you progress through the grits, be sure to remove any scratches or marks left behind by the previous grit before moving on to the next one. This will help ensure a smooth, even finish.
Once you’ve finished sanding, wipe the ornament down with a clean, dry cloth to remove any dust or debris. Your ornament is now ready for painting or staining.
Remember, sanding is an important step in creating a beautiful, polished wooden ornament. Take your time and be patient, and you’ll be rewarded with a stunning finished product.
Painting and Decorating
When it comes to making wooden ornaments, painting and decorating is where you can really let your creativity shine. Here are some tips to help you get started.
Choosing Paints
When choosing paints for your wooden ornaments, it’s important to consider the type of paint you’ll be using. Acrylic paints are a popular choice, as they dry quickly and come in a wide variety of colors. You can also use spray paint, but be sure to do so in a well-ventilated area and follow the manufacturer’s instructions.
If you want to add some sparkle to your ornaments, consider using metallic paints or glitter. Just be sure to use a clear sealant to keep the glitter from flaking off.
Applying Paints
Before you start painting, be sure to sand your wooden ornaments to create a smooth surface. You can use a fine-grit sandpaper to do this.
When applying paint, use a small brush to get into all the nooks and crannies of your ornament. You may need to apply multiple coats to get the desired color and coverage.
If you want to create a more textured look, consider using a sponge or stencils to apply your paint. This can create a fun, unique look for your ornaments.
Adding Decorations
Once your paint has dried, you can add decorations to your wooden ornaments. Ribbons, bows, and small ornaments can all be used to add some extra flair.
If you want to add some sparkle, consider using rhinestones or glitter glue. Just be sure to use a strong adhesive to keep your decorations in place.
Overall, painting and decorating wooden ornaments is a fun and creative way to add some holiday cheer to your home. With a little bit of imagination and some basic supplies, you can create beautiful, unique ornaments that will be treasured for years to come.
Safety Precautions
When working with wood, it’s important to take safety precautions to protect yourself and those around you. Here are some key safety measures to keep in mind when making wooden ornaments.
Tool Handling
Handling tools correctly is essential to avoid injuries. Make sure you know how to use each tool properly before starting your project. Here are some tips to keep in mind:
- Keep your tools sharp and clean to avoid accidents.
- Wear protective gear such as safety glasses and gloves.
- Keep your work area clean and organized to avoid trips and falls.
- Use clamps to secure your wood in place before starting to work on it.
- Keep your hands away from the cutting edge of the tools.
Paint and Chemical Safety
When working with paints and chemicals, it’s important to take proper precautions to avoid exposure to harmful substances. Here are some tips to keep in mind:
- Work in a well-ventilated area to avoid inhaling fumes.
- Wear a mask and gloves when working with chemicals.
- Use paints and finishes that are safe for indoor use.
- Dispose of chemicals and rags properly to avoid fire hazards.
- Keep chemicals out of reach of children and pets.
By following these safety precautions, you can ensure that your woodworking project is a success without any accidents or injuries.
Maintenance and Care
Taking good care of your wooden ornaments is important to ensure that they last for years to come. Here are some tips on how to clean and store your wooden ornaments properly.
Cleaning Wooden Ornaments
Cleaning your wooden ornaments is a simple process that can help keep them looking like new. Here’s how to do it:
- Use a soft, dry cloth to wipe down the ornament and remove any dust or debris.
- If the ornament is varnished or painted, you can polish it with a soft, dry cloth.
- For ornaments with intricate details or carvings, you can use a soft, dry toothbrush to gently brush away any dust or debris.
Avoid using water or harsh cleaning chemicals on your wooden ornaments, as this can damage the wood and the finish.
Storing Wooden Ornaments
Proper storage is key to keeping your wooden ornaments in good condition. Here are some tips on how to store your ornaments:
- Wrap each ornament in tissue paper or bubble wrap to protect it from scratches and other damage.
- Store the ornaments in a dry, cool place to prevent warping or cracking.
- Avoid storing the ornaments in direct sunlight or near sources of heat, as this can damage the wood and the finish.
If you have a large collection of wooden ornaments, consider investing in a storage container specifically designed for ornaments. These containers often have individual compartments to keep each ornament safe and secure.
By following these simple tips, you can keep your wooden ornaments looking beautiful for years to come.
