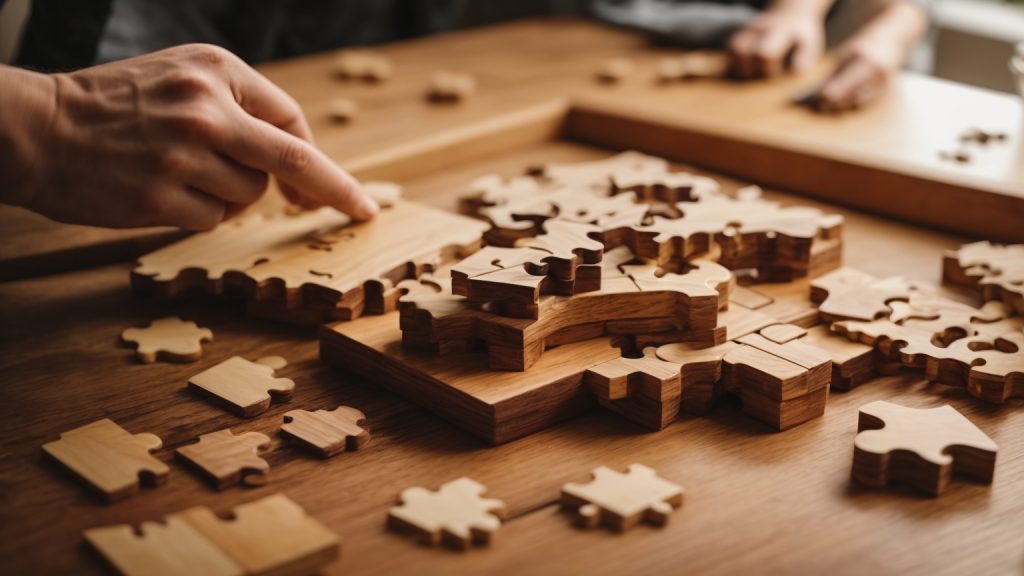
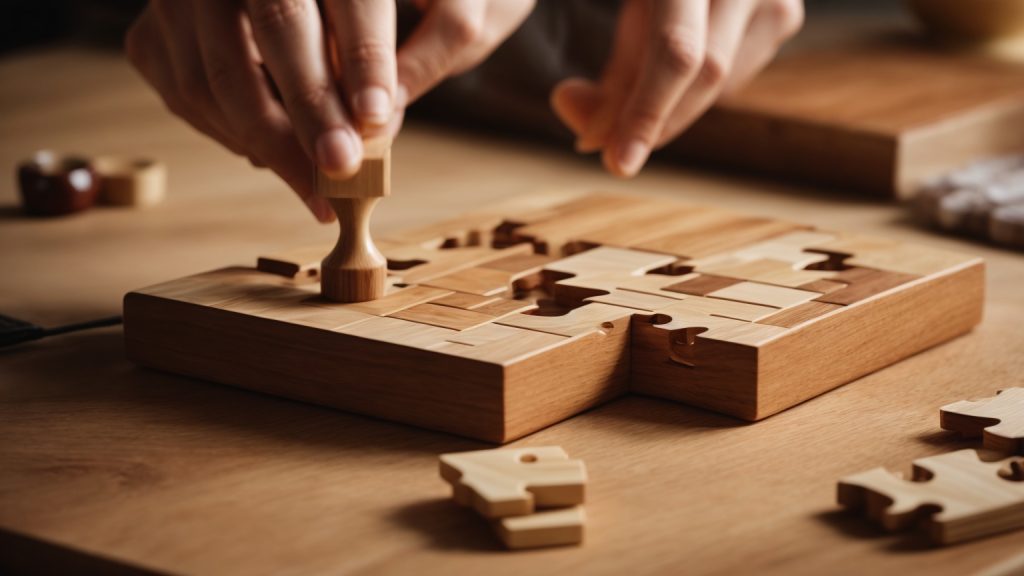
Are you looking for a fun and unique way to challenge your mind and creativity? Making a wooden puzzle is a great DIY project that can provide hours of entertainment for both kids and adults. Whether you want to create a custom puzzle for a loved one or just enjoy the process of crafting something with your own hands, making a wooden puzzle is a great way to exercise your brain and improve your problem-solving skills.
To get started, you’ll need a few basic materials such as a hardwood board, a saw, and sandpaper. There are several different methods for making wooden puzzles, including cutting puzzle pieces out of a single board or creating individual pieces that can be assembled into a larger puzzle. No matter which method you choose, the key to a successful puzzle is careful planning and precise cutting. With a little patience and practice, you can create a beautiful and challenging puzzle that will be enjoyed for years to come.
Whether you’re an experienced woodworker or just starting out, making a wooden puzzle is a fun and rewarding project that anyone can enjoy. With a few basic tools and some creativity, you can create a puzzle that is both beautiful and challenging. So why not give it a try and see what kind of masterpiece you can create?
Understanding Wood Types

When it comes to making wooden puzzles, choosing the right type of wood is crucial. Different types of wood have different properties, and understanding these properties can help you choose the best wood for your project. In this section, we’ll take a look at some of the most common types of wood used for puzzles.
Hardwood
Hardwood is a popular choice for making wooden puzzles because of its durability and strength. It is also resistant to wear and tear, making it a good choice for puzzles that will be handled frequently. Some common types of hardwood used for puzzles include maple, oak, cherry, and walnut.
Softwood
Softwood, as the name suggests, is softer than hardwood. It is less durable and less resistant to wear and tear, but it is also less expensive. Some common types of softwood used for puzzles include pine, spruce, and cedar.
Plywood
Plywood is made by gluing together several layers of wood veneer. It is strong and durable, but it is also less expensive than solid wood. Plywood can be a good choice for puzzles that require a lot of pieces, as it is easy to cut and shape.
When choosing wood for your puzzle, consider the size and complexity of the puzzle, as well as your budget. Hardwood is generally the best choice for large, complex puzzles that will be handled frequently, while plywood may be a good choice for smaller, less complex puzzles. Softwood can be a good choice if you are on a tight budget, but keep in mind that it may not be as durable as hardwood or plywood.
Choosing the Right Tools
When it comes to making wooden puzzles, having the right tools is essential to ensure that your puzzle comes out perfectly. Here are some of the tools you’ll need to make your own wooden puzzle.
Saw Types
One of the most important tools you’ll need is a saw. There are several types of saws that you can use, including:
- Jigsaw
- Scroll saw
- Table saw
- Band saw
Each of these saws has its own advantages and disadvantages. For example, a jigsaw is great for making curved cuts, while a table saw is better for making straight cuts. Consider the type of puzzle you want to make and choose the saw that will work best for your needs.
Chisel and Mallet
Another important tool you’ll need is a chisel and mallet. This tool is used to carve out the individual puzzle pieces. You’ll want to choose a chisel that is the right size for the puzzle pieces you want to create. A mallet is also important because it allows you to apply more force to the chisel without risking injury to your hand.
Sandpaper
Once you’ve cut out your puzzle pieces, you’ll need to sand them down to remove any rough edges or splinters. Sandpaper is the best tool for this job. You’ll want to start with a coarse-grit sandpaper and work your way up to a finer grit to ensure that your puzzle pieces are smooth and ready to be assembled.
Overall, making a wooden puzzle requires a few essential tools. With the right saw, chisel and mallet, and sandpaper, you’ll be well on your way to creating your own beautiful and challenging wooden puzzle.
Designing Your Puzzle

Designing your own wooden puzzle can be a fun and challenging experience. Here are some tips to help you get started.
Sketching the Design
The first step in designing your wooden puzzle is to sketch out your design. You can use graph paper or a computer program to create your design. Keep in mind that the design should be simple enough to cut out with a saw, but still challenging enough to be fun to solve.
Consider using a theme for your puzzle, such as animals, shapes, or letters. This can make the puzzle more visually interesting and engaging.
Selecting Puzzle Complexity
Once you have sketched out your design, you need to decide on the complexity of the puzzle. A simple puzzle may have only a few pieces, while a more complex puzzle may have dozens or even hundreds of pieces.
Consider who will be solving the puzzle. If it is for children, a simpler puzzle may be more appropriate. If it is for adults, a more complex puzzle may be more challenging and engaging.
You can also consider adding additional challenges to the puzzle, such as hidden pieces or pieces that must be assembled in a particular order.
By following these tips, you can create a unique and engaging wooden puzzle that will provide hours of entertainment and challenge.
Cutting the Puzzle Pieces
Cutting the puzzle pieces is the most crucial step in making a wooden puzzle. It requires precision and patience to get the right shape and size for each piece. Here are some safety measures and precision cutting tips to help you make perfect puzzle pieces.
Safety Measures
Before you start cutting, it is essential to take some safety measures to avoid any accidents. Here are some safety tips to keep in mind:
- Wear safety glasses to protect your eyes from sawdust and wood chips.
- Use a dust mask to avoid inhaling sawdust.
- Keep your fingers away from the saw blade.
- Keep the saw blade sharp to prevent kickbacks.
- Use a clamp or a vice to hold the wood securely in place.
Precision Cutting Tips
Cutting the puzzle pieces requires precision and accuracy. Here are some tips to help you get the perfect puzzle pieces:
- Draw the outline of the puzzle piece on the wood before you begin cutting.
- Use a ruler to make sure the lines are straight and the puzzle pieces are of the same size.
- For curved pieces, use a scroll saw or a band saw to make the cuts.
- Use a drill press to make detailed and intricate cuts.
- Cut slowly and steadily to avoid mistakes and ensure precision.
- Sand the puzzle pieces to smooth out any rough edges.
By following these safety measures and precision cutting tips, you can create perfect puzzle pieces for your wooden puzzle.
Finishing Touches
Congratulations! You have completed cutting out your wooden puzzle pieces. Now it’s time to give them a finishing touch that will make them look great.
Sanding
The first step to finishing your wooden puzzle pieces is sanding. Use sandpaper to remove any rough edges or splinters. You can use a belt sander or a knife to clean up the edges. If your wood has paper on the back, a belt sander will take it off nicely. Regular sandpaper will also work.
Start with a coarse grit sandpaper, such as 80 grit, and work your way up to a fine grit sandpaper, such as 220 grit. Sand in the direction of the grain to avoid scratches. Be sure to sand all edges and corners of each piece.
Painting or Staining
Once you have sanded your wooden puzzle pieces, you can choose to paint or stain them. Painting will give your puzzle a colorful and playful look, while staining will enhance the natural beauty of the wood.
If you choose to paint your puzzle pieces, use a primer first to help the paint adhere better. Then, apply a coat or two of paint, allowing each coat to dry completely before applying the next. You can use acrylic or oil-based paint.
If you choose to stain your puzzle pieces, use a wood conditioner first to help the stain absorb evenly. Then, apply the stain with a brush or a cloth, wiping off any excess. Allow the stain to dry completely before applying a clear coat of polyurethane to protect the wood.
Remember to let your puzzle pieces dry completely before assembling them into a puzzle. And don’t forget to have fun!
Caring for Your Wooden Puzzle
When you spend time creating a wooden puzzle, you want to make sure it lasts a long time. Proper care and maintenance can help extend the life of your puzzle. Here are some tips to keep your wooden puzzle in great condition.
Cleaning
Cleaning your wooden puzzle is an essential part of its maintenance. Here are some tips to keep your puzzle clean:
- Use a soft cloth to wipe down the puzzle pieces. Avoid using abrasive materials that can scratch or damage the surface.
- If your puzzle has any stains or marks, use a damp cloth to gently wipe them away. Avoid using harsh chemicals or solvents that can damage the wood.
- If your puzzle has intricate details or hard-to-reach areas, use a soft-bristled brush to remove any dust or debris.
Storage
Proper storage is crucial to keeping your wooden puzzle in good condition. Here are some tips to help you store your puzzle:
- Store your puzzle in a cool, dry place to prevent warping or cracking.
- Keep your puzzle out of direct sunlight, which can cause the wood to fade or discolor.
- If you need to store your puzzle for an extended period, consider disassembling it and storing the pieces in a labeled container to make it easier to reassemble later.
By following these simple tips, you can help ensure that your wooden puzzle remains in great condition for years to come.