Are you looking for a unique and creative way to add some color to your home decor or special event? Look no further than wooden flowers! Not only are they eco-friendly and long-lasting, but they also offer endless possibilities for customization. One of the easiest ways to add color to wooden flowers is by dyeing them. In this article, we will guide you through the process of dyeing wooden flowers, including the supplies you’ll need and step-by-step instructions.
To get started, you’ll need some wooden flowers and dye. There are a variety of dyes available, including wood flower dye, acrylic paint, and even natural dyes like tea or coffee. Depending on the type of dye you choose, you may also need some additional supplies like water, gloves, and a bowl. Once you have your supplies ready, you can begin the fun and creative process of dyeing your wooden flowers.
Whether you’re looking to add a pop of color to your home decor or create a unique bouquet for your wedding, dyeing wooden flowers is a simple and affordable way to achieve the look you want. So, grab your supplies and let’s get started on this fun and creative project!
Understanding the Nature of Wooden Flowers
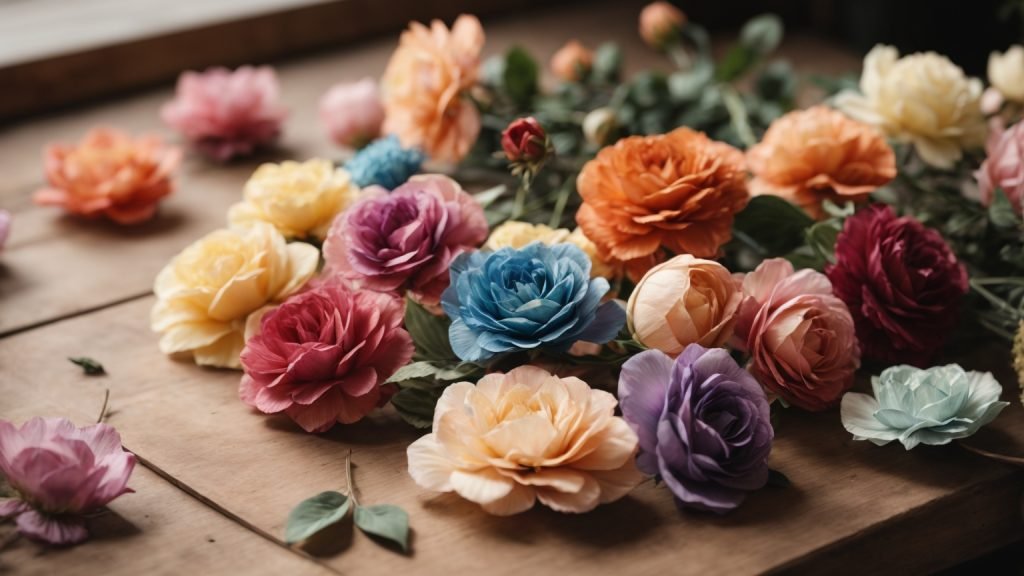
Wooden flowers, also known as sola wood flowers, are a popular choice for crafting and wedding projects due to their versatility and durability. These flowers are made from the tapioca plant root, making them eco-friendly and sustainable. They are also lightweight and easy to work with, making them a great option for DIY projects.
When it comes to dyeing wooden flowers, it is important to understand their nature. Unlike real flowers, wooden flowers do not absorb dye in the same way. Instead, they require a special type of dye that is specifically designed for use on wood.
One popular method for dyeing wooden flowers is the dip-dye method. This involves dipping the flowers into a mixture of dye and water, allowing them to soak up the color. However, it is important to note that the amount of dye and water used can affect the final color of the flowers.
Another important factor to consider when dyeing wooden flowers is the type of paint or dye used. Acrylic paint is a popular choice for dyeing wooden flowers, as it is easy to work with and comes in a wide range of colors. However, other types of paint and dye can also be used, such as alcohol ink and fabric dye.
Overall, understanding the nature of wooden flowers is key to successfully dyeing them. With the right tools and techniques, you can create beautiful, customized flowers that are perfect for any occasion.
The Importance of Choosing the Right Dye
When it comes to dyeing wooden flowers, choosing the right dye is crucial to achieving the desired result. Not all dyes are created equal, and each type of dye has its own unique properties that can affect the final outcome of your project.
One of the most important factors to consider when choosing a dye is the colorfastness. This refers to the ability of the dye to resist fading or bleeding over time. If you want your wooden flowers to maintain their vibrant colors for a long time, it’s important to choose a dye that is colorfast.
Another factor to consider is the type of wood that your flowers are made from. Some dyes may work better on certain types of wood than others. For example, water-based dyes may work well on softer woods like balsa or basswood, while oil-based dyes may be better suited for harder woods like oak or maple.
It’s also important to consider the application method when choosing a dye. Some dyes are designed to be applied with a brush, while others are meant to be sprayed on. Make sure to choose a dye that is compatible with the application method you plan to use.
In addition to these factors, it’s important to choose a dye that is safe for both you and the environment. Some dyes may contain harmful chemicals or require special disposal methods. Make sure to read the label carefully and choose a dye that is safe and eco-friendly.
Overall, taking the time to choose the right dye can make a big difference in the final outcome of your wooden flower project. By considering factors like colorfastness, wood type, application method, and safety, you can ensure that your flowers turn out beautifully and stand the test of time.
Materials Needed for Dyeing Wooden Flowers
Dyeing wooden flowers can be a fun and creative way to add a personal touch to your home decor or special events like weddings. However, before you dive into the dyeing process, it’s important to gather the right materials. Here are some essential materials you’ll need to dye wooden flowers:
Choosing the Right Type of Dye
Choosing the right type of dye is crucial to achieving the desired color and texture for your wooden flowers. Here are some common types of dyes you can use:
- Craft acrylic paint: This is a versatile and affordable option that can be easily mixed to create custom colors. However, it may not provide the same level of saturation as other types of dyes.
- Latex paint: This type of paint is thicker and more opaque than acrylic paint, which can result in a more vibrant color. However, it may not be as flexible as other types of dyes.
- Wood flower dye: This type of dye is specifically designed for wooden flowers and can provide a more realistic and natural-looking color. It’s available in different shades and can be mixed with a sola softener to make the flowers more pliable.
Other Essential Materials
In addition to the dye, there are a few other materials you’ll need to dye wooden flowers:
- Warm water: This will be used to dilute the dye and make it easier to apply to the flowers.
- Fork or stirring stick: This will be used to mix the dye and water together.
- Plastic container or bowl: This will be used to hold the dye and water mixture.
- Tray or rack: This will be used to dry the dyed flowers.
- Parchment paper or paper towels: This will be used to protect the surface where you’ll be drying the flowers.
- Sola softener: This is an optional material that can be added to the dye to make the wooden flowers more pliable and realistic-looking.
By gathering these essential materials, you’ll be well on your way to creating beautiful and unique wooden flowers that can add a personalized touch to any space or event.
Preparation Before Dyeing
Before you start dyeing your wooden flowers, it’s important to prepare both the flowers and your workspace. This will ensure that you have everything you need and that the process goes smoothly.
Preparing the Wooden Flowers
The first step in preparing your wooden flowers is to make sure they are clean and dry. If they are not, the dye may not adhere properly. You can use a soft-bristled brush to remove any dust or debris from the flowers.
Next, you may want to consider softening your wooden flowers. This can help the dye penetrate the wood more easily, resulting in a more even color. You can use a sola softener, which is specifically designed for wooden flowers, or you can soak them in warm water for a few minutes.
Preparing the Workspace
It’s important to have a clean and organized workspace before you start dyeing your wooden flowers. Here are a few things to keep in mind:
- Choose a workspace that is well-ventilated, as some dyes can have a strong odor.
- Lay down a drop cloth or newspaper to protect your work surface from any spills or drips.
- Gather all of your supplies before you start dyeing. This includes your wooden flowers, dye or paint, a bowl of warm water, a stirring stick, and a drying rack or tray.
- Wear gloves to protect your hands from the dye or paint.
By taking the time to prepare both your wooden flowers and your workspace, you can ensure that your dyeing process goes smoothly and that you achieve the desired results.
Step-by-Step Guide to Dye Wooden Flowers
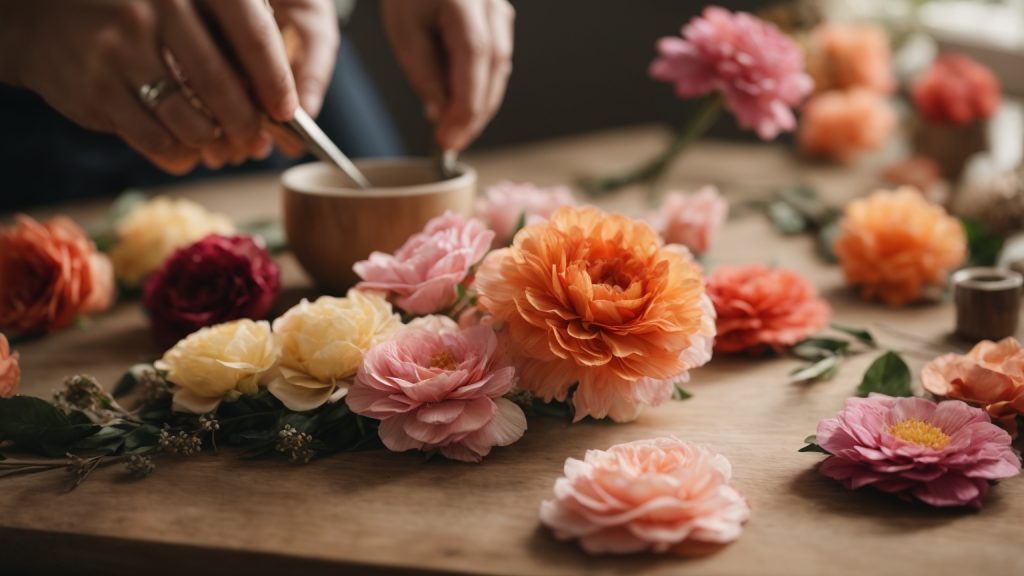
Dyeing wooden flowers is a fun and easy way to add a pop of color to your home decor or special event. Here’s a step-by-step guide to dye wooden flowers:
Applying the Dye
- First, gather all the supplies you will need, including wooden flowers, dye or acrylic paint, warm water, a bowl, a fork or spoon for stirring, and a tray or rack for drying the dyed flowers.
- Mix the dye or acrylic paint with warm water in a bowl. Start with a 1:1 ratio of dye or paint to water, and adjust as needed to achieve the desired color intensity.
- Hold the wooden flower by the bottom, and dunk it face down into the dye or paint. You may want to turn and/or flip the flower as well to make sure the dye or paint gets into all the petals. Do not let the flowers soak, a quick dunk is enough.
- Once the flower is fully coated, use a fork or spoon to remove it from the dye or paint. Gently shake off any excess liquid.
Drying Process
- Place the dyed wooden flowers on a tray or rack to dry. You can use parchment paper or paper towels to prevent any dye or paint from dripping onto the surface underneath.
- Allow the flowers to dry completely before handling or arranging them. This can take several hours or overnight, depending on the humidity and temperature.
- Once the flowers are dry, you can use them to decorate your home or event space. They can be arranged in vases, used as table centerpieces, or even made into a DIY flower crown or bouquet.
Dyeing wooden flowers is an easy and affordable way to add a personal touch to your decor or event. With this step-by-step guide, you can create beautiful and colorful wooden flowers in no time.
Tips and Tricks for Better Results
Dyeing wooden flowers can be a fun and rewarding experience, but it can also be frustrating if you don’t get the results you want. Here are some tips and tricks to help you achieve better results:
Choose the Right Dye
When choosing a dye, it’s important to consider the type of wood your flowers are made of. Some dyes work better on certain types of wood than others. For example, water-based dyes work well on porous woods like birch and pine, while alcohol-based dyes work better on hardwoods like oak and maple.
Prep Your Flowers
Before dyeing your wooden flowers, make sure they are clean and free of any dirt or debris. You can use a soft-bristled brush or a damp cloth to clean them. It’s also a good idea to sand the flowers lightly to create a smooth surface for the dye to adhere to.
Test Your Dye
Before dyeing all of your wooden flowers, it’s a good idea to test the dye on a small, inconspicuous area first. This will help you determine if the color is what you want and if the dye is compatible with your flowers.
Use Gloves
Dyeing can be messy, so it’s a good idea to wear gloves to protect your hands. You can use disposable gloves or reusable ones, depending on your preference.
Experiment with Techniques
There are many different techniques you can use to dye wooden flowers, including dip-dyeing, hand-painting, and spray-painting. Experiment with different techniques to see which one gives you the best results.
Be Patient
Dyeing wooden flowers can be a time-consuming process, especially if you want to achieve a deep, rich color. Be patient and allow enough time for the dye to fully penetrate the wood.
By following these tips and tricks, you can achieve beautiful, vibrant colors on your wooden flowers.
Safety Measures While Dyeing Wooden Flowers
Dyeing wooden flowers is a fun and creative activity that can produce beautiful results. However, it is important to take certain safety measures to ensure that the process is safe and enjoyable. Here are some tips to keep in mind when dyeing wooden flowers:
Wear Protective Gear
It is important to wear protective gear, such as gloves and a mask, when dyeing wooden flowers. This will protect your skin and lungs from the chemicals in the dye. Make sure to choose gloves that are made of a material that will not be damaged by the dye. A mask will prevent you from inhaling any fumes that may be released during the dyeing process.
Work in a Well-Ventilated Area
When dyeing wooden flowers, it is important to work in a well-ventilated area. This will help to prevent the buildup of fumes that may be released during the dyeing process. If you are dyeing wooden flowers indoors, make sure to open windows and doors to allow fresh air to circulate. If you are dyeing wooden flowers outdoors, make sure to choose a location that is not too windy.
Use the Right Type of Dye
When dyeing wooden flowers, it is important to use the right type of dye. Make sure to choose a dye that is safe for use on wooden flowers. Some dyes may contain chemicals that can damage the flowers or cause them to become brittle. Make sure to read the label carefully before purchasing a dye.
Follow the Instructions Carefully
When dyeing wooden flowers, it is important to follow the instructions carefully. Make sure to mix the dye according to the instructions on the label. Use the right amount of dye and water to achieve the desired color. Do not leave the flowers in the dye for too long, as this can cause them to become damaged.
Clean Up Properly
After dyeing wooden flowers, it is important to clean up properly. Make sure to dispose of any leftover dye in a safe and responsible manner. Rinse any containers or utensils used in the dyeing process thoroughly with water. Store any leftover dye in a cool, dry place away from children and pets.
By following these safety measures, you can ensure that your experience with dyeing wooden flowers is safe and enjoyable.