What should you use to fill large gaps in wood? A guide to choosing the right wood filler
If you’re working with wood, you may encounter gaps that need to be filled. These gaps can be caused by a variety of factors, including wood shrinkage, warping, or damage. Filling large gaps in wood can be a daunting task, but it’s important to choose the right filler for the job to ensure a successful repair.
There are several options available for filling large gaps in wood, including epoxy fillers, powdered fillers, and wood putty. Each type of filler has its own unique properties and advantages, so it’s important to consider the specific needs of your project before choosing a filler. Factors to consider include the size of the gap, the type of wood, and the desired appearance of the finished repair.
When selecting a filler, it’s also important to consider the strength and durability of the product. Some fillers may be more suitable for high-traffic areas or outdoor use, while others may be better suited for indoor projects. By taking the time to carefully evaluate your options and choose the right filler for your project, you can ensure a successful repair that will last for years to come.
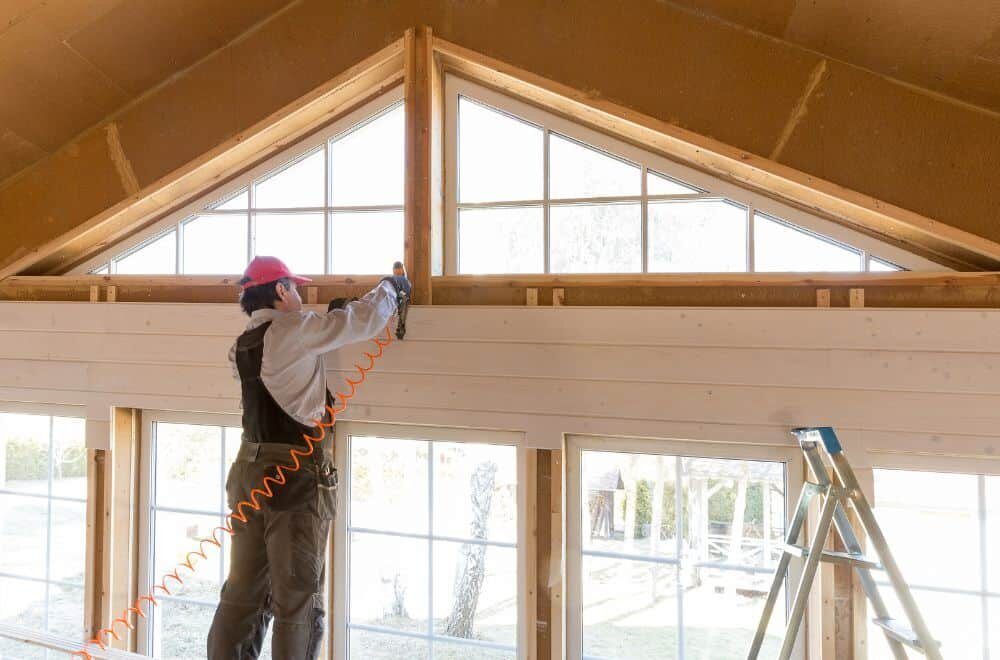
Understanding Wood Gaps
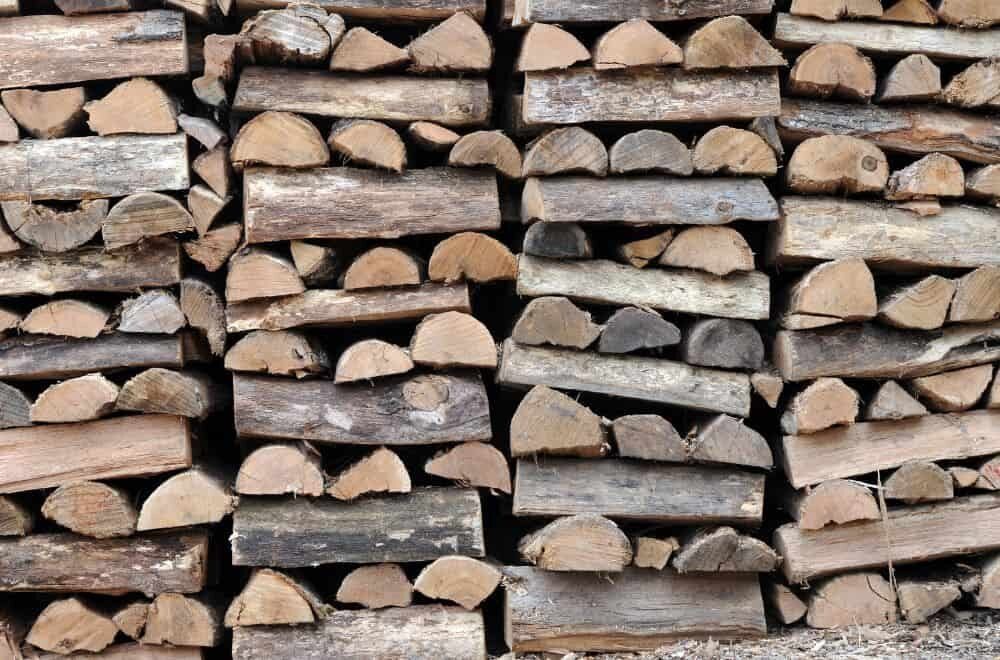
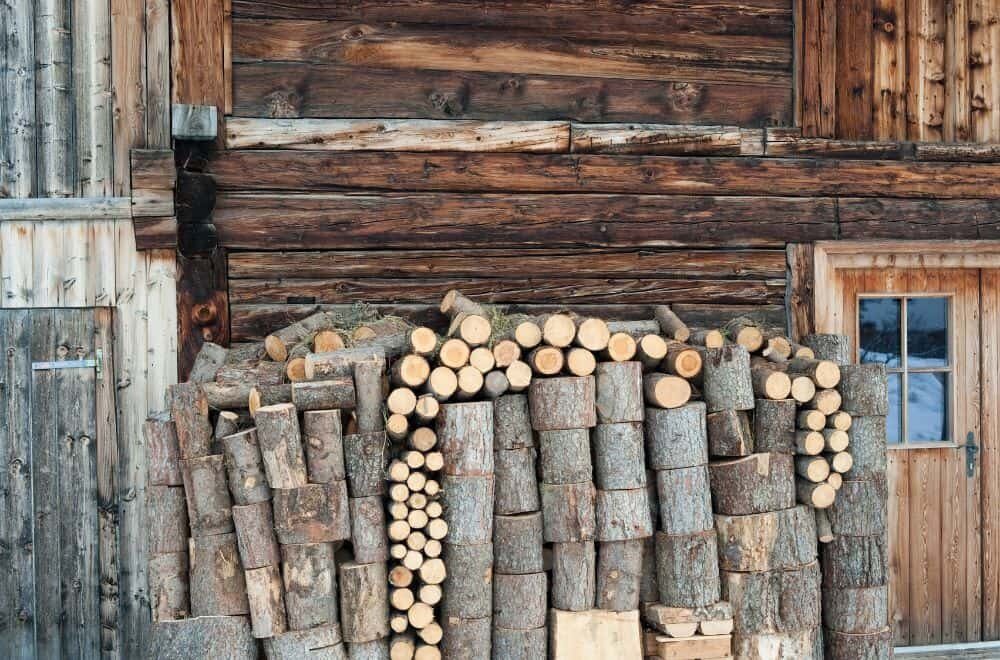
If you’ve ever worked with wood, you’ve probably encountered gaps. These gaps can be frustrating, especially when they’re large. But understanding why gaps occur and how they can affect your project can help you choose the best way to fill them.
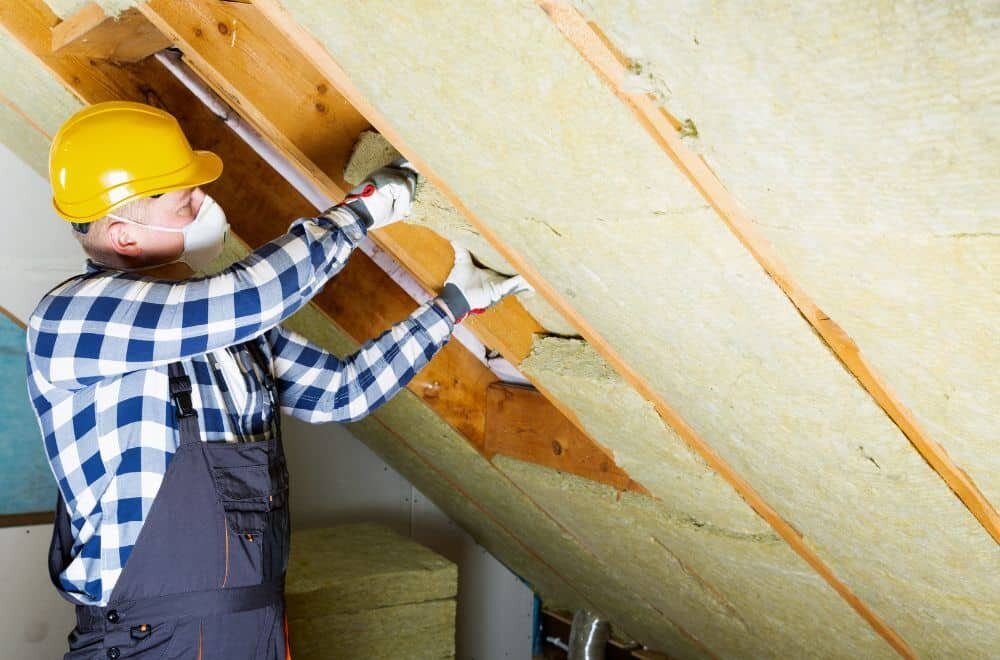
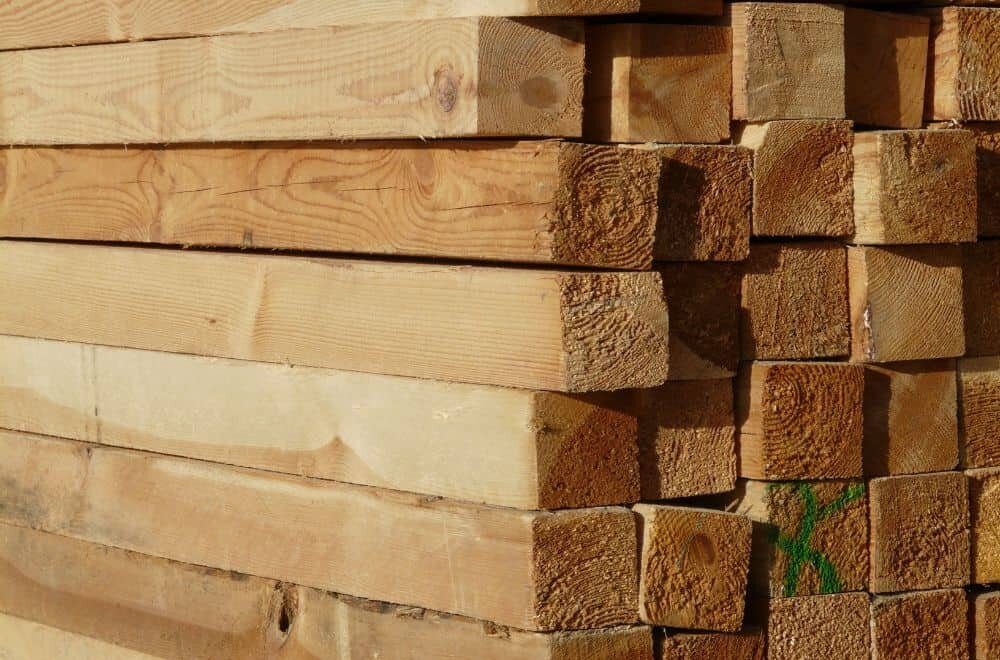
Causes of Large Wood Gaps
Large wood gaps can be caused by a variety of factors. Some of the most common causes include:
- Wood movement: Wood is a natural material that expands and contracts with changes in temperature and humidity. If you don’t account for this movement when building your project, gaps can occur.
- Drying: As wood dries, it can shrink and crack, leading to gaps.
- Poor joinery: If your joints aren’t tight, gaps can occur.
- Knots: Knots can create voids in the wood that can lead to gaps.
Effects of Unfilled Gaps
Unfilled gaps can have several negative effects on your project, including:
- Weakness: Gaps can weaken your project by reducing the amount of contact between the wood pieces.
- Appearance: Large gaps can be unsightly and detract from the appearance of your project.
- Dirt and debris: Gaps can collect dirt and debris, making your project harder to clean.
By understanding the causes and effects of large wood gaps, you can choose the best method for filling them and ensure that your project looks and performs its best.
Choosing the Right Filler
When it comes to filling large gaps in wood, it’s important to choose the right filler for your project. Here are three options to consider:
Wood Putty
Wood putty is a popular choice for filling small to medium-sized gaps in wood. It’s made from a mixture of wood particles and a binding agent, such as linseed oil or epoxy. Wood putty is easy to apply and can be sanded and painted over once it dries. However, it’s not the best option for larger gaps as it can crack and shrink over time.
Epoxy Resin
For larger gaps or holes, epoxy resin is a more durable and long-lasting option. Epoxy is a two-part adhesive that hardens when mixed together. It’s strong, waterproof, and can be sanded and painted over once it dries. Epoxy resin is also heat-resistant, making it a good choice for outdoor projects. However, it can be more difficult to work with and requires careful mixing and application.
Sawdust and Glue Mix
Another option for filling large gaps is to create a mixture of sawdust and wood glue. This method is cost-effective and easy to make at home. Simply mix sawdust with wood glue to create a thick paste and apply it to the gap. Once it dries, sand it down and paint over it if desired. However, this method may not be as strong or long-lasting as other options and may not work well for larger gaps.
When choosing the right filler for your project, consider the size of the gap, the type of wood you’re working with, and the desired finish. Always follow the manufacturer’s instructions and take necessary safety precautions when working with any type of filler.
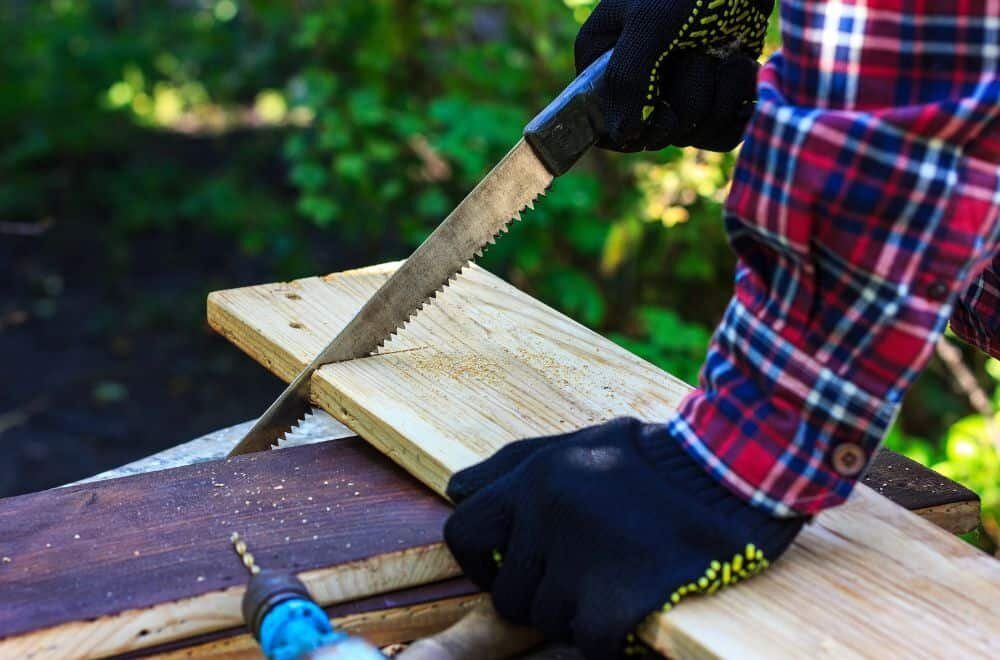
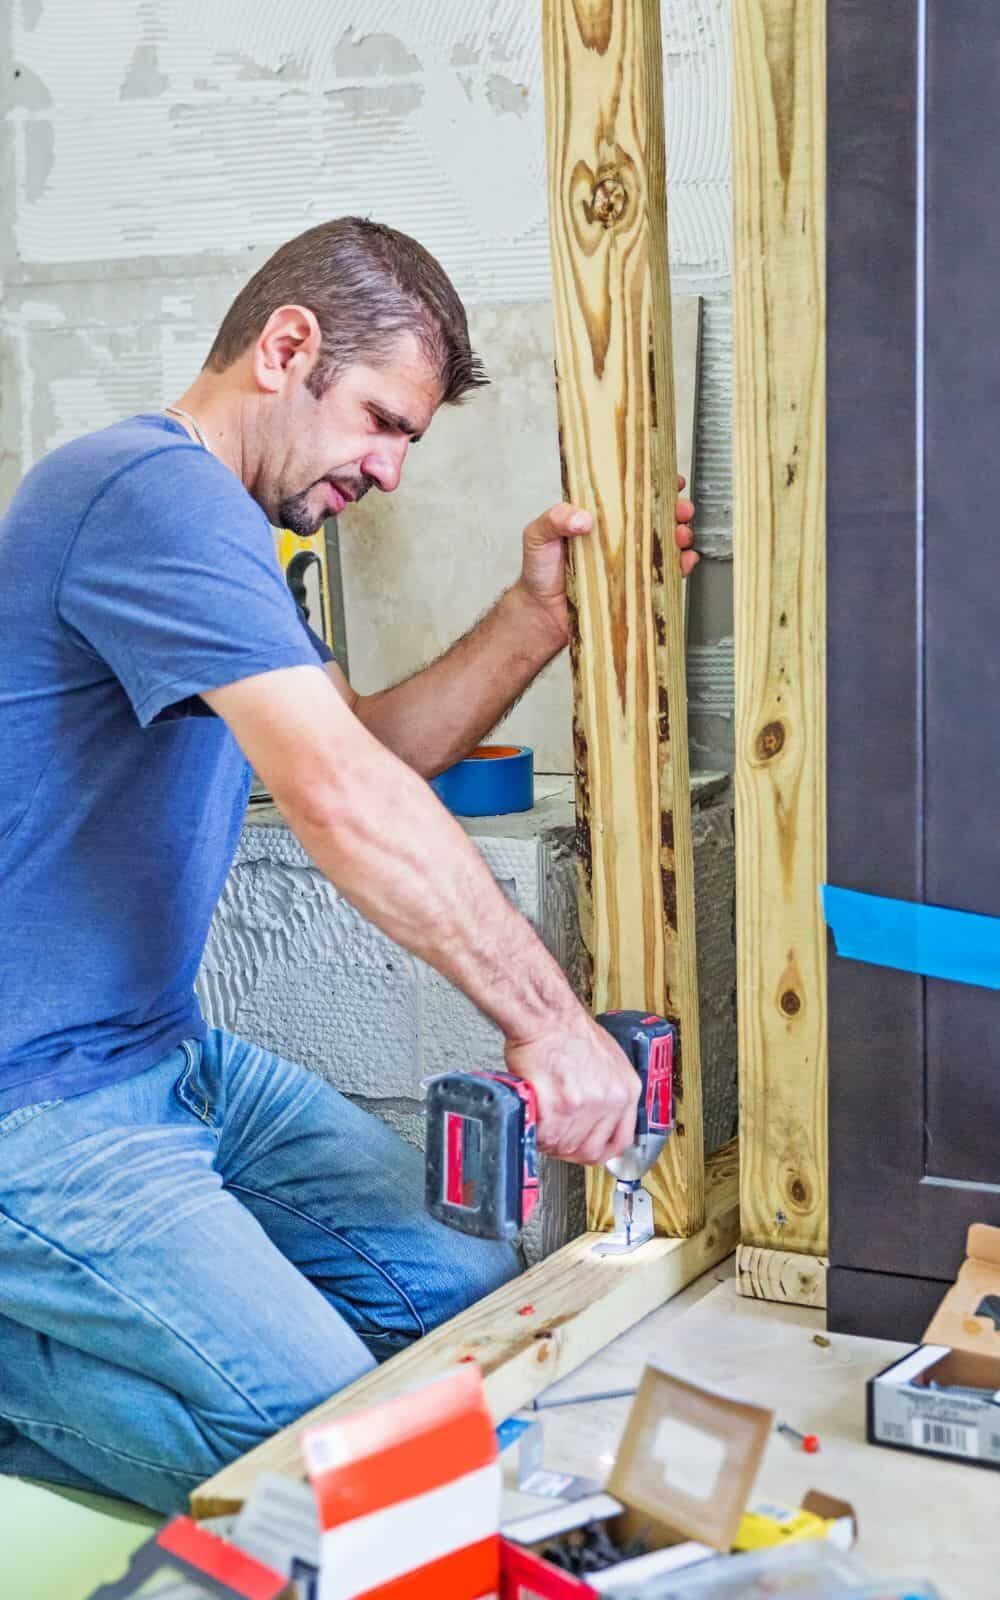
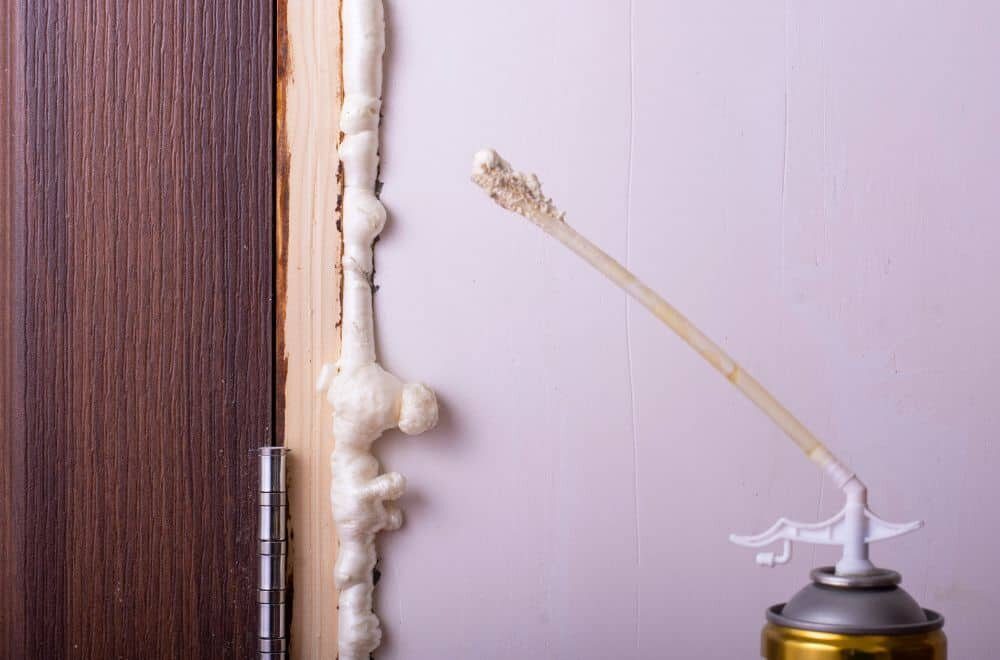
Application Process
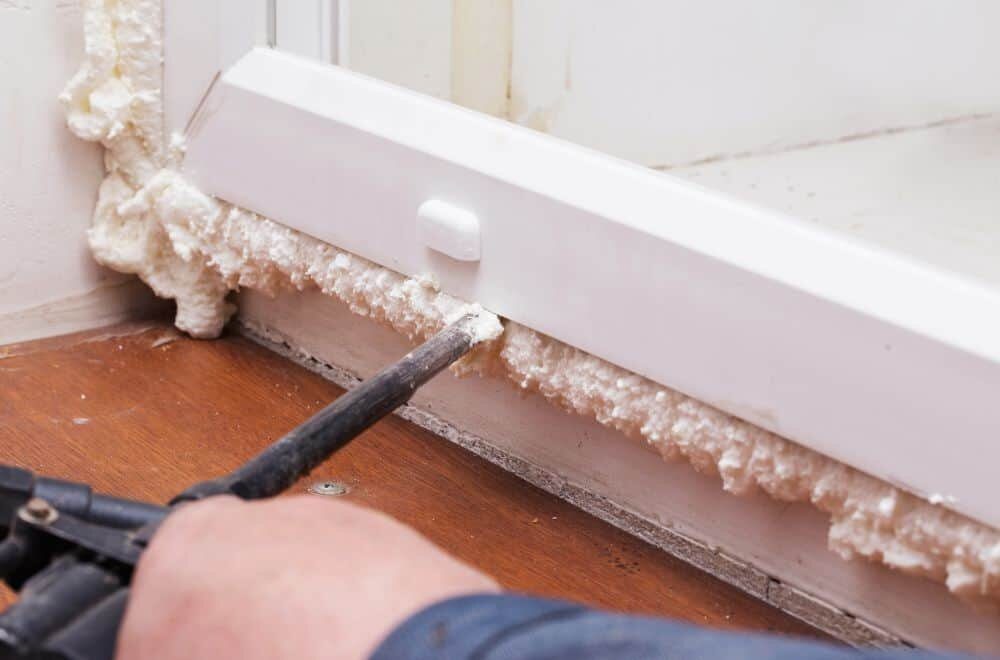
Preparation
Before applying wood filler to large gaps, it is important to prepare the surface properly. Here are the steps to follow:
- Clean the surface: Use a clean cloth or brush to remove any dust, debris, or loose particles from the gap. You can also use a vacuum cleaner to ensure that the gap is completely clean.
- Sand the surface: Use sandpaper to roughen up the surface around the gap. This will help the wood filler adhere better to the surface.
- Apply wood conditioner: If you are working with softwood, it is recommended to apply a wood conditioner before applying the wood filler. This will help the wood filler dry evenly and prevent it from soaking into the wood.
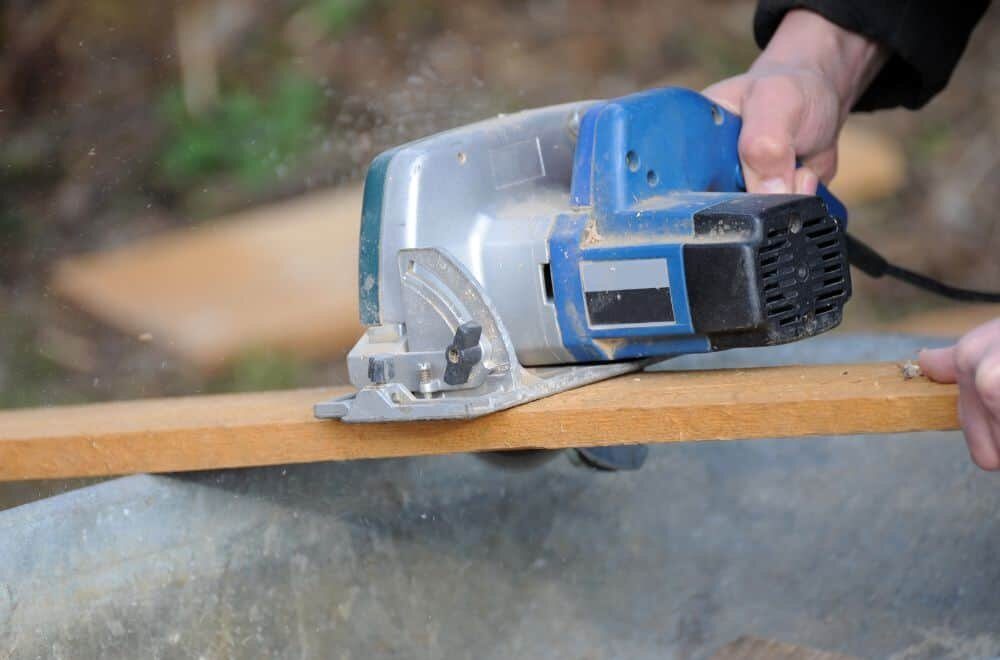
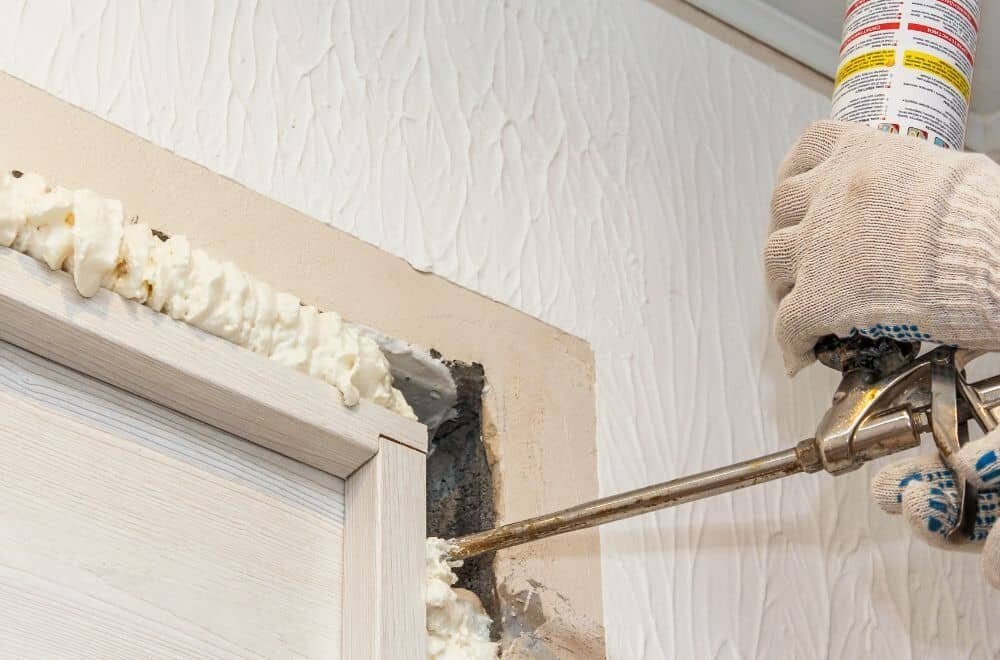
Application
Once you have prepared the surface, you can start applying the wood filler. Here are the steps to follow:
- Choose the right filler: Select a wood filler that is appropriate for the size of the gap you are filling. For large gaps, use a filler that is specifically designed for this purpose.
- Mix the filler: If you are using a two-part wood filler, mix the two components together according to the manufacturer’s instructions. If you are using a pre-mixed filler, you can skip this step.
- Apply the filler: Use a putty knife to apply the filler to the gap. Make sure to press the filler firmly into the gap to ensure that it fills the entire space. If the gap is deep, you may need to apply the filler in layers, allowing each layer to dry before applying the next.
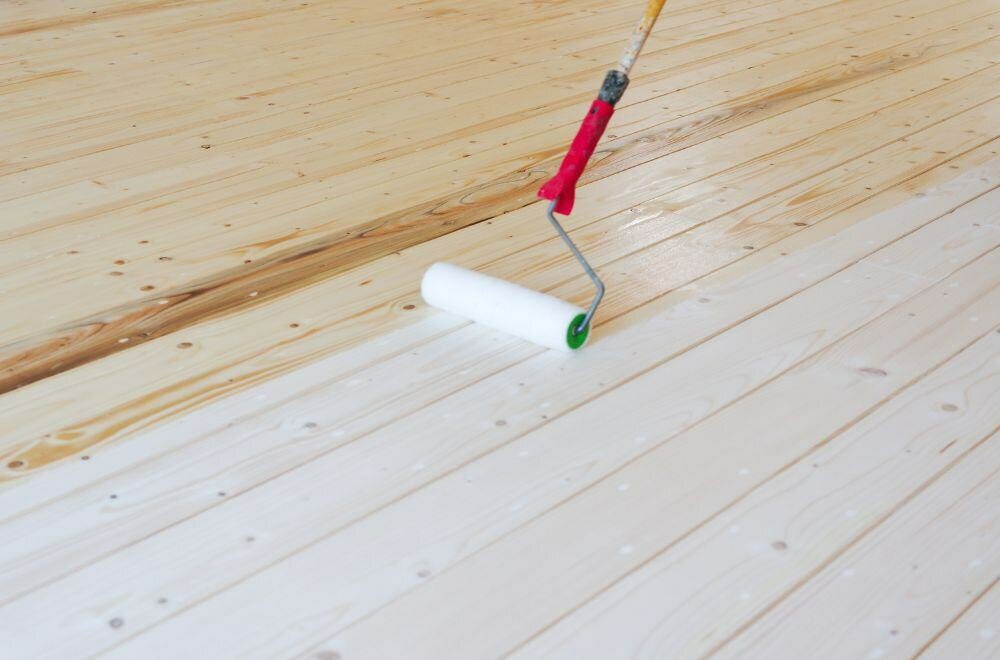
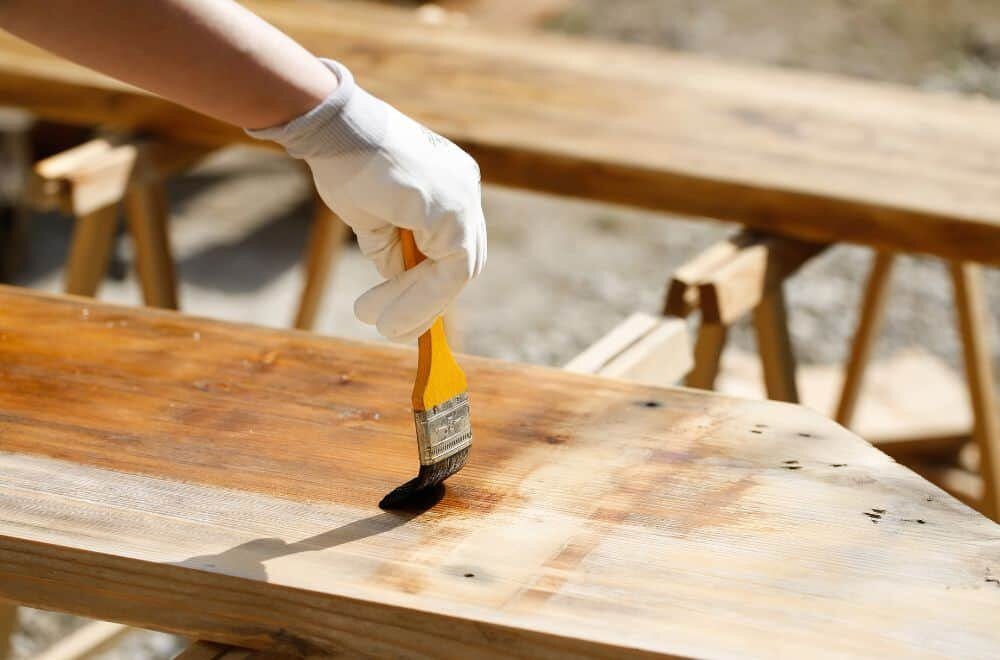
Finishing
Once the wood filler has dried, you can finish the surface to match the rest of the wood. Here are the steps to follow:
- Sand the surface: Use sandpaper to smooth out the surface of the wood filler. Start with a coarse grit sandpaper and work your way up to a finer grit sandpaper.
- Stain or paint the surface: If you want the surface to match the rest of the wood, apply a stain or paint to the surface. Make sure to use a product that is compatible with the wood filler you used.
- Seal the surface: Once the stain or paint has dried, apply a sealer to the surface. This will protect the surface from moisture and prevent the wood filler from cracking or shrinking over time.
Safety Measures
When working with wood, safety should always be a top priority. Here are a few safety measures to keep in mind when filling large gaps in wood:
1. Wear Protective Gear
Before starting any woodworking project, it’s important to wear the appropriate protective gear. This includes safety glasses to protect your eyes from flying debris, a dust mask to prevent inhalation of sawdust, and gloves to protect your hands from sharp tools and splinters.
2. Work in a Well-Ventilated Area
When filling large gaps in wood, you may be working with wood glue or other chemicals that can emit fumes. It’s important to work in a well-ventilated area, such as a workshop or garage, to prevent inhalation of these fumes.
3. Use the Right Tools
Using the right tools for the job can help prevent accidents and injuries. When filling large gaps in wood, use a putty knife or scraper to apply the filler, and a sandpaper to smooth it out.
4. Follow Manufacturer Instructions
When using wood filler or other products, be sure to follow the manufacturer’s instructions carefully. This includes using the product in the recommended amounts, allowing sufficient drying time, and disposing of any leftover materials properly.
5. Clean Up Thoroughly
After filling large gaps in wood, be sure to clean up any leftover materials, such as sawdust or wood filler. This will help prevent accidents and keep your work area clean and safe.
By following these safety measures, you can ensure a safe and successful woodworking project.
Maintenance Tips
To ensure that your wood stays in good condition, it is important to perform regular maintenance. Here are some tips to keep in mind:
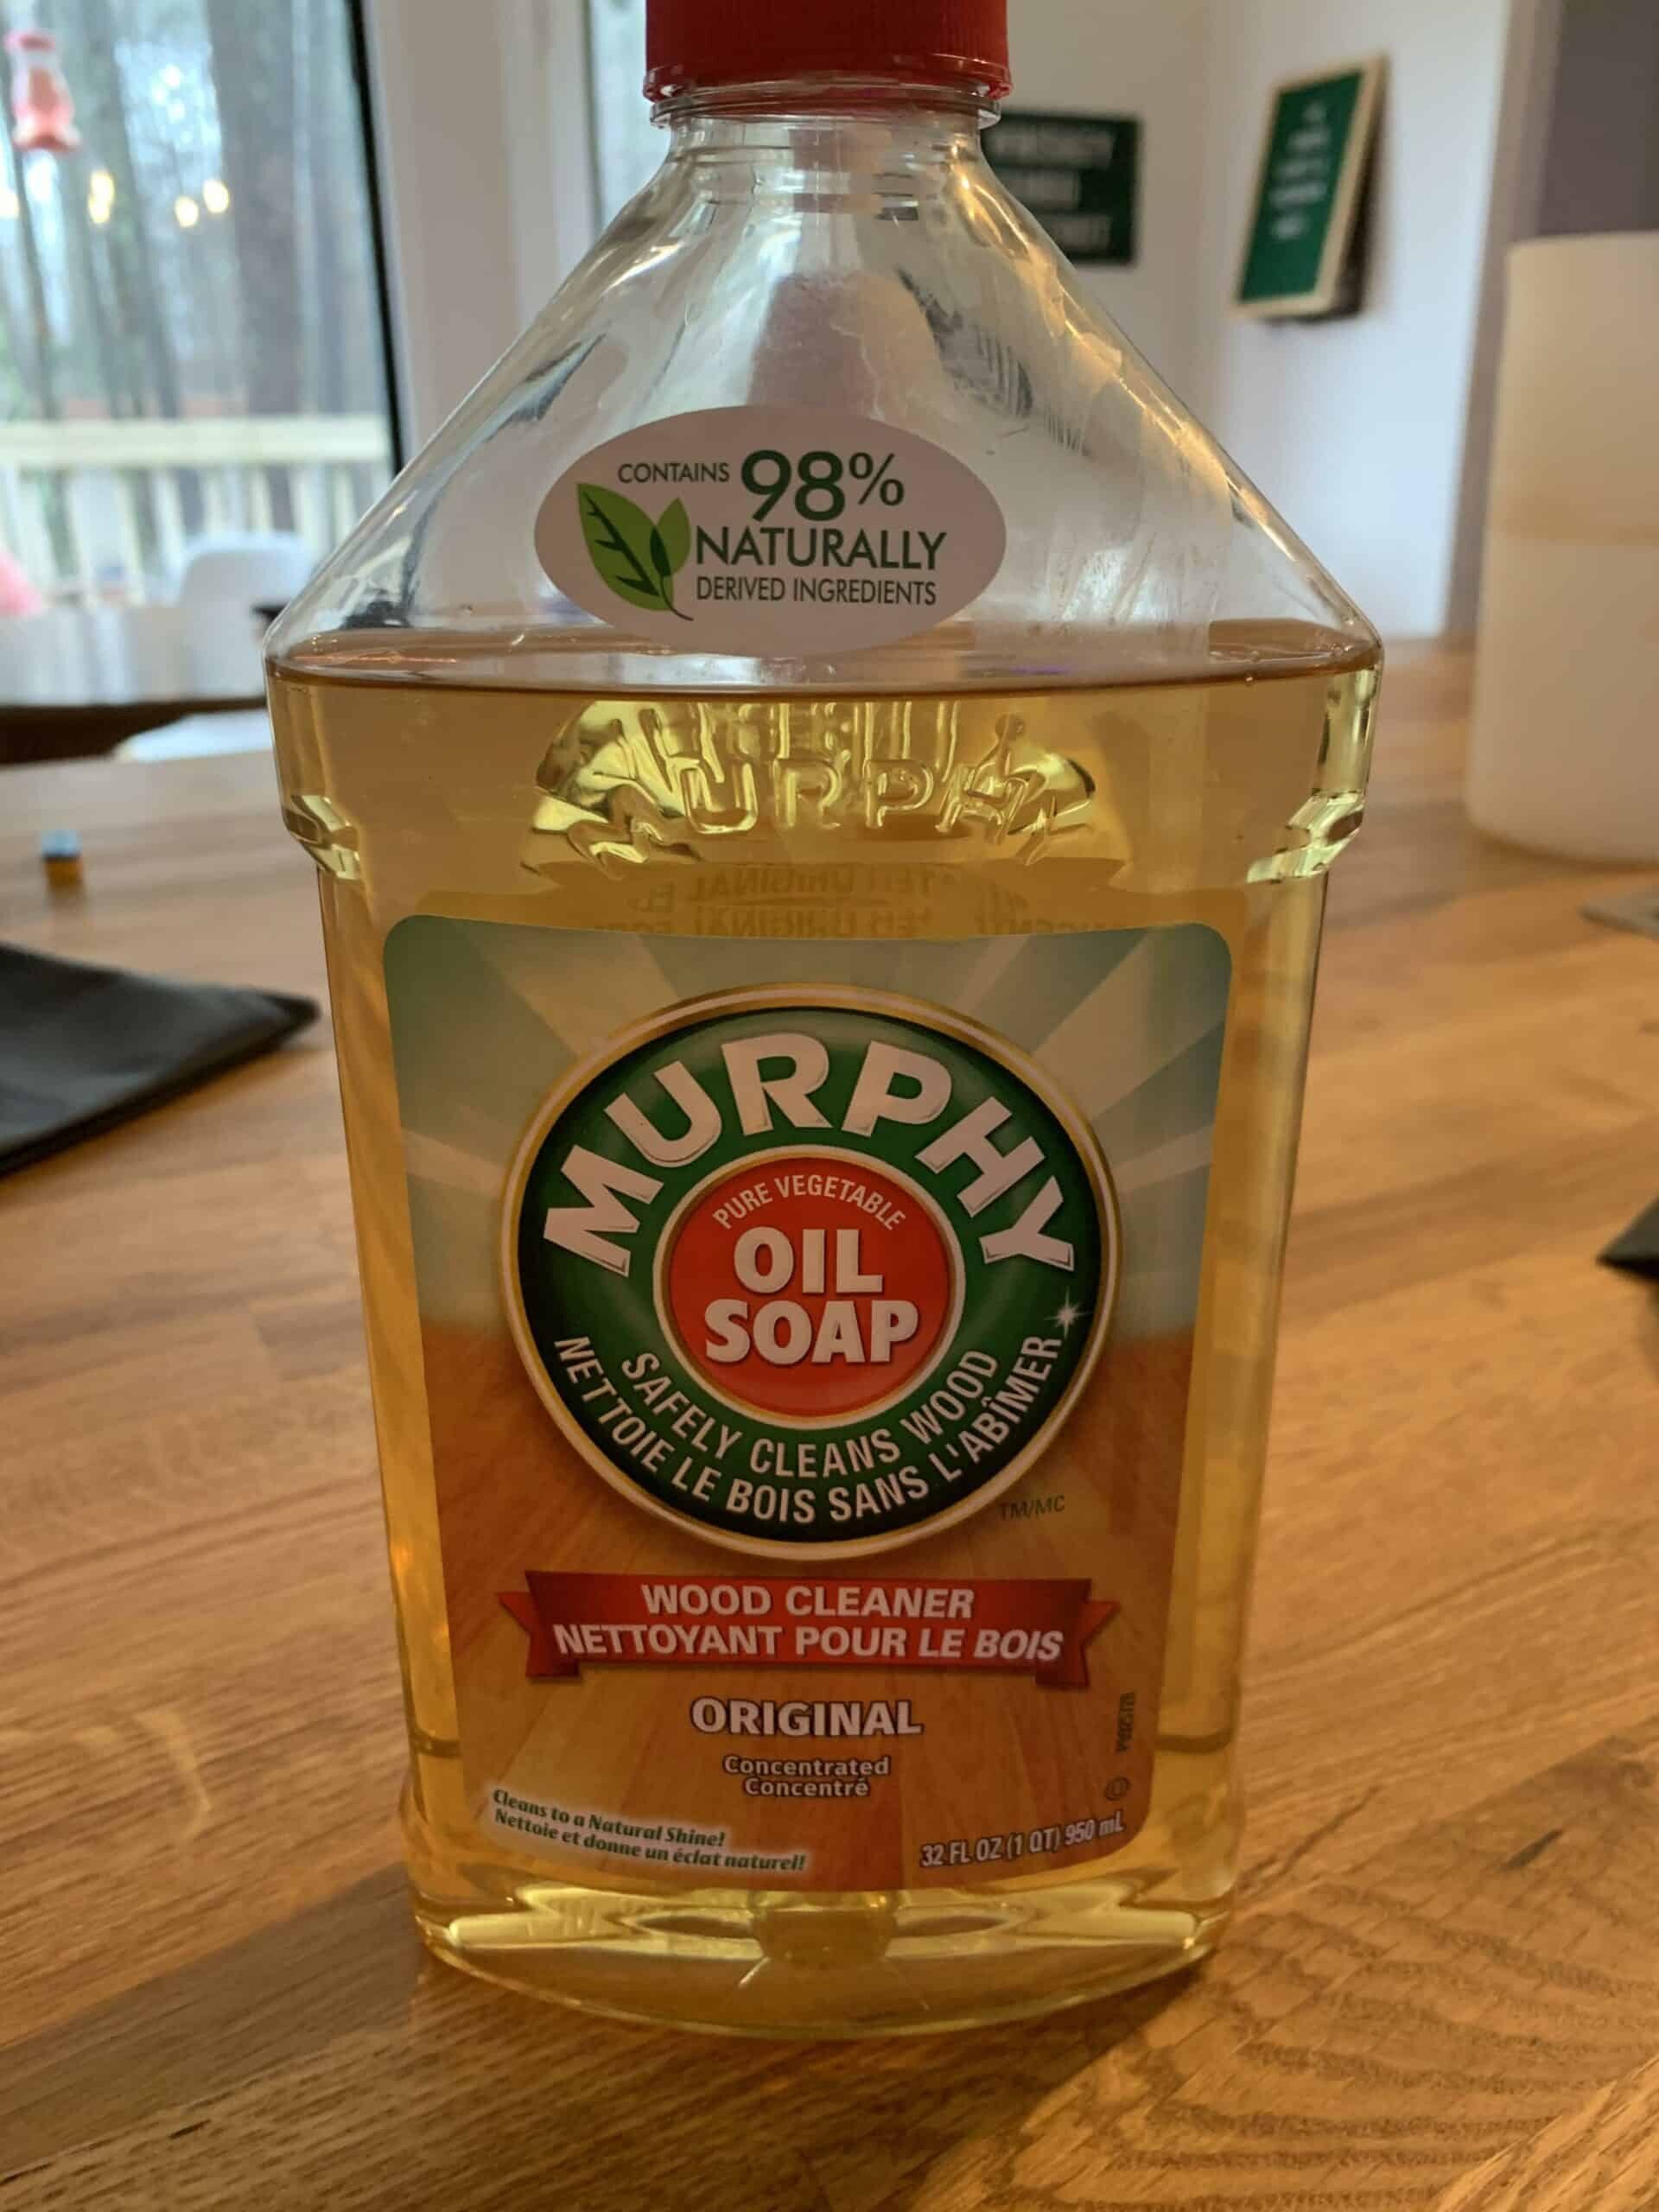
- Clean your wood regularly with a soft cloth or brush to remove dust and dirt. Avoid using harsh chemicals or abrasive materials that can damage the surface of the wood.
- Use a wood conditioner or oil to protect the wood from drying out and cracking. Apply the conditioner or oil with a soft cloth, following the manufacturer’s instructions.
- Keep your wood away from direct sunlight and heat sources, which can cause the wood to warp or fade over time.
- Repair any cracks or gaps in the wood as soon as possible to prevent further damage. Use a wood filler or putty to fill in the gap, following the manufacturer’s instructions.
- If you notice any signs of insect damage, such as small holes or sawdust, take action immediately to prevent further infestation. Use an insecticide or contact a professional pest control service for assistance.
By following these maintenance tips, you can help ensure that your wood stays in good condition for years to come.
Frequently Asked Questions
What is the best product for filling large gaps in wood?
There are several products that you can use to fill large gaps in wood, including wood filler, epoxy, and caulk. The best product for filling large gaps in wood depends on the size of the gap, the type of wood, and the intended use of the wood. For example, wood filler is a good choice for filling small to medium-sized gaps in indoor wood projects, while epoxy is a better choice for filling larger gaps in outdoor wood projects.
How do you fill large gaps in outdoor wood?
To fill large gaps in outdoor wood, you should use a product that is specifically designed for outdoor use, such as epoxy or a high-quality outdoor wood filler. Before applying the filler, make sure the wood is clean and dry. Apply the filler using a putty knife, and then smooth it out with a damp cloth. Allow the filler to dry completely before sanding and painting or staining the wood.
What is the best wood filler for large holes in outdoor projects?
The best wood filler for large holes in outdoor projects is an epoxy-based filler. Epoxy is a durable and weather-resistant material that can withstand exposure to the elements. It is also strong enough to support heavy loads, making it ideal for filling large holes in outdoor projects like decks and fences.
How do you fill gaps in wood furniture?
To fill gaps in wood furniture, you should use a wood filler that matches the color of the wood. Start by cleaning the area around the gap with a damp cloth, and then apply the filler using a putty knife. Make sure to apply enough filler to completely fill the gap. Once the filler has dried, sand it down until it is flush with the surrounding wood.
What is the best wood filler for large gaps in floors?
The best wood filler for large gaps in floors is a two-part epoxy filler. This type of filler is strong and durable, and can withstand the heavy foot traffic that floors are subjected to. It is also water-resistant, which is important for areas like kitchens and bathrooms.
How can you fill large gaps in exterior wood trim effectively?
To fill large gaps in exterior wood trim effectively, you should use a high-quality exterior wood filler. Before applying the filler, make sure the area around the gap is clean and dry. Apply the filler using a putty knife, and then smooth it out with a damp cloth. Allow the filler to dry completely before sanding and painting the trim.